

If you’re wondering which embroidery stitches to learn first, start here.
You don’t need to know hundreds of stitches to create beautiful hand embroidery. In fact, just a handful of basic stitches can outline flowers, fill shapes, add texture, stitch lettering, and decorate clothing, quilts, and home décor.
In this guide, we’ve gathered 10 easy embroidery stitches that every beginner should know. Each stitch includes a short description and links to a full step-by-step tutorial with photos.
Once you’ve learned these stitches, you’ll be able to combine them in countless ways to create your own embroidery designs.
What you’ll learn
By the end of this guide you’ll know:
As an Amazon Associate I earn from qualifying purchases. Read more about our affiliate linking policy.
- which embroidery stitches every beginner should learn
- when to use each stitch
- the easiest stitch to start with
- which stitches work best for outlines
- which stitches fill spaces quickly
- where to find detailed tutorials for every stitch
What are the easiest embroidery stitches for beginners?
Running stitch, back stitch, stem stitch, chain stitch, French knots, seed stitch, fly stitch, feather stitch, lazy daisy stitch, and couching are among the easiest stitches to learn.
Which embroidery stitch should I learn first?
Start with the running stitch. It teaches basic needle control and becomes the foundation for many other stitches.
How many embroidery stitches do I need to know?
You only need to know a handful of stitches. I use the ten that are in this article, but some people use as few as 3-4 in all of their work. Start with the running stitch, backstitch and French knot, then see what else you might want to try!
What embroidery stitch is best for outlines?
Back stitch and stem stitch are best for outlines.
| Stitch | Best for | Difficulty |
| Running | Outlines | Very easy |
| Back | Lettering | Very easy |
| Stem | Curves | Easy |
| Chain | Bold lines | Easy |
| French knot | Texture | Easy |
| Lazy daisy | Flowers | Very easy |
| Feather | Borders | Easy |
| Seed | Filling | Very easy |
| Couching | Thick threads | Easy |
Quick start
New to embroidery?
You’ll only need:
- embroidery hoop
- cotton or linen fabric
- embroidery floss
- embroidery needle
- embroidery scissors
RELATED: Best threads for hand embroidery
RELATED: 9 ways to transfer your embroidery design
Start with these stitches in order:
- Running Stitch
- Back Stitch
- Stem Stitch
- Chain Stitch
- French Knot
Best embroidery stitches for outlines
These easy outline stitches create clean lines for flower stems, lettering, borders, and the outlines of almost any embroidery design.

Running stitch
Running stitch is the simplest embroidery stitch, and often the first one beginners learn.
Made with evenly spaced stitches, it’s perfect for outlines, simple borders, quilting details, and adding delicate decorative lines. Once you’ve mastered the running stitch, you’ll have the foundation for many other embroidery techniques.
Looking for a little more interest with the running stitch? Try the whipped running stitch and the laced running stitch.
HOW TO: Running stitch
Back stitch
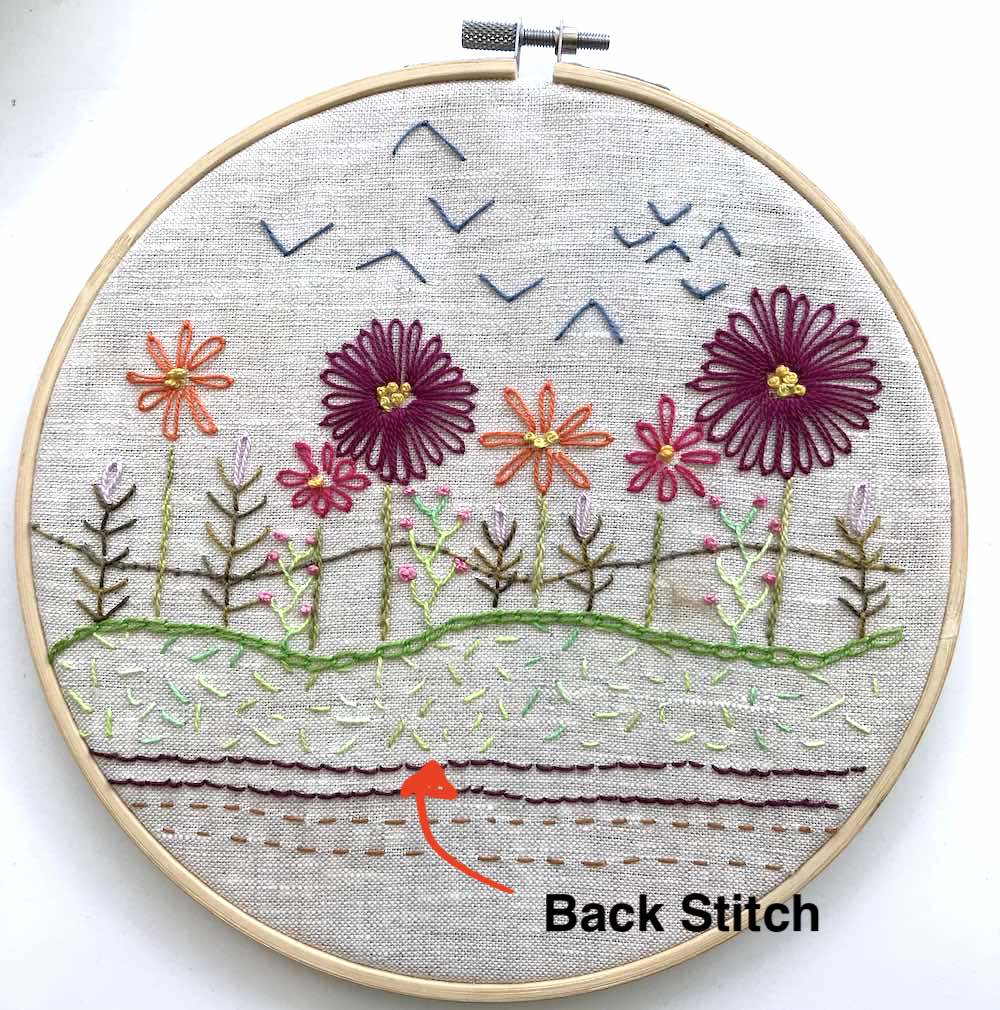
Back stitch creates a smooth, continuous line that is stronger and more defined than a running stitch. It’s one of the best stitches for lettering, outlines, and detailed designs where you want crisp, solid lines that don’t have gaps.
Variations on the back stitch are the whipped back stitch and the threaded back stitch.
HOW TO: Back stitch
Stem stitch
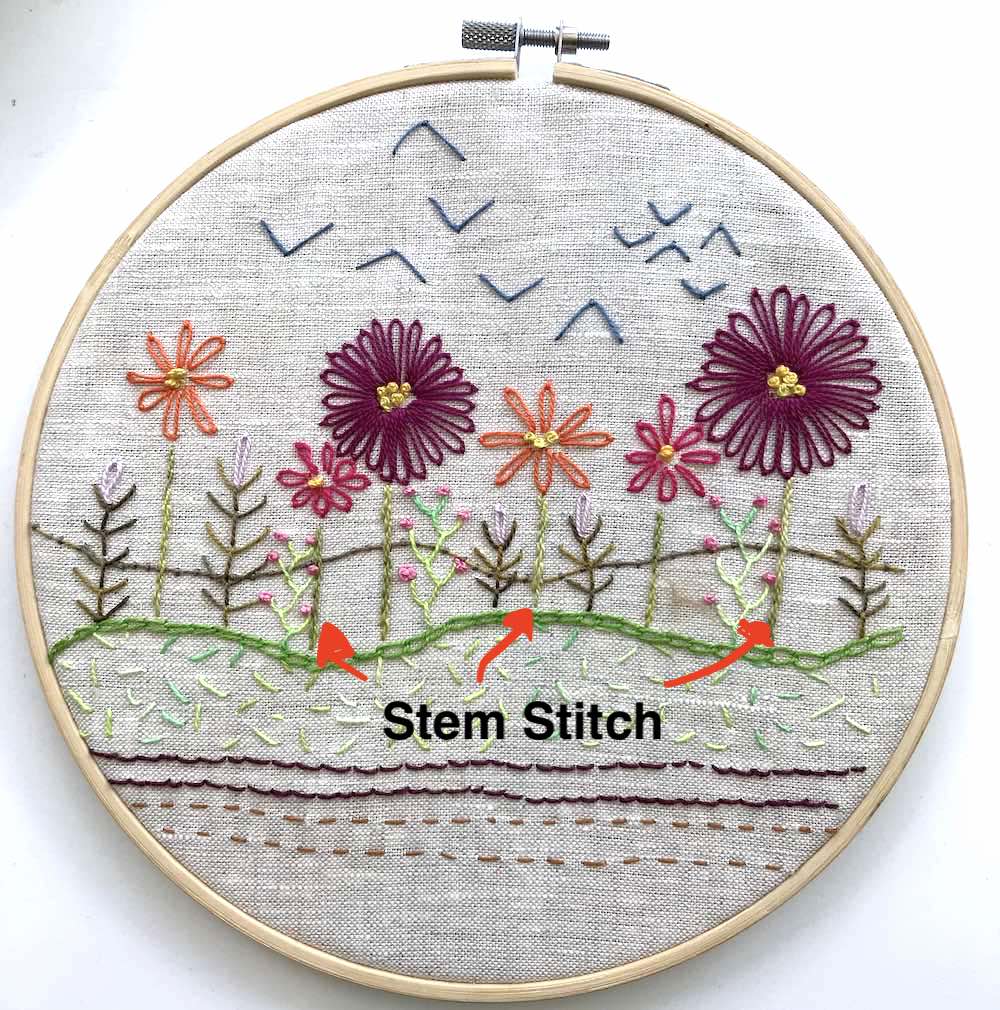
Stem stitch creates a soft, rope-like line that naturally follows curves, making it ideal for flower stems, vines, leaves, and script lettering. This classic embroidery stitch adds a graceful, slightly twisted texture that brings botanical designs to life.
HOW TO: Stem stitch
Best stitches for flowers and leaves
These decorative stitches are perfect for creating petals, leaves, branches, and delicate accents that add personality and dimension to your embroidery.

Lazy daisy
The lazy daisy stitch is a simple loop stitch that’s traditionally used to make flower petals, but it’s also wonderful for leaves, tiny sprigs, and whimsical decorative motifs. Stitch one loop or combine several together to create cheerful flowers in just a few minutes.
It is also referred to as the detached chain stitch
HOW TO: Lazy Daisy Stitch, also referred to as the detached chain stitch

Fly Stitch
Fly stitch forms a neat V-shaped stitch that works beautifully for leaves, grasses, feathers, tiny branches, and decorative borders. By changing the spacing and angle of the stitches, you can create a surprising variety of textures and designs.
A detached fly stitch makes perfect birds flying in the sky.
HOW TO: Fly stitch
Feather stitch
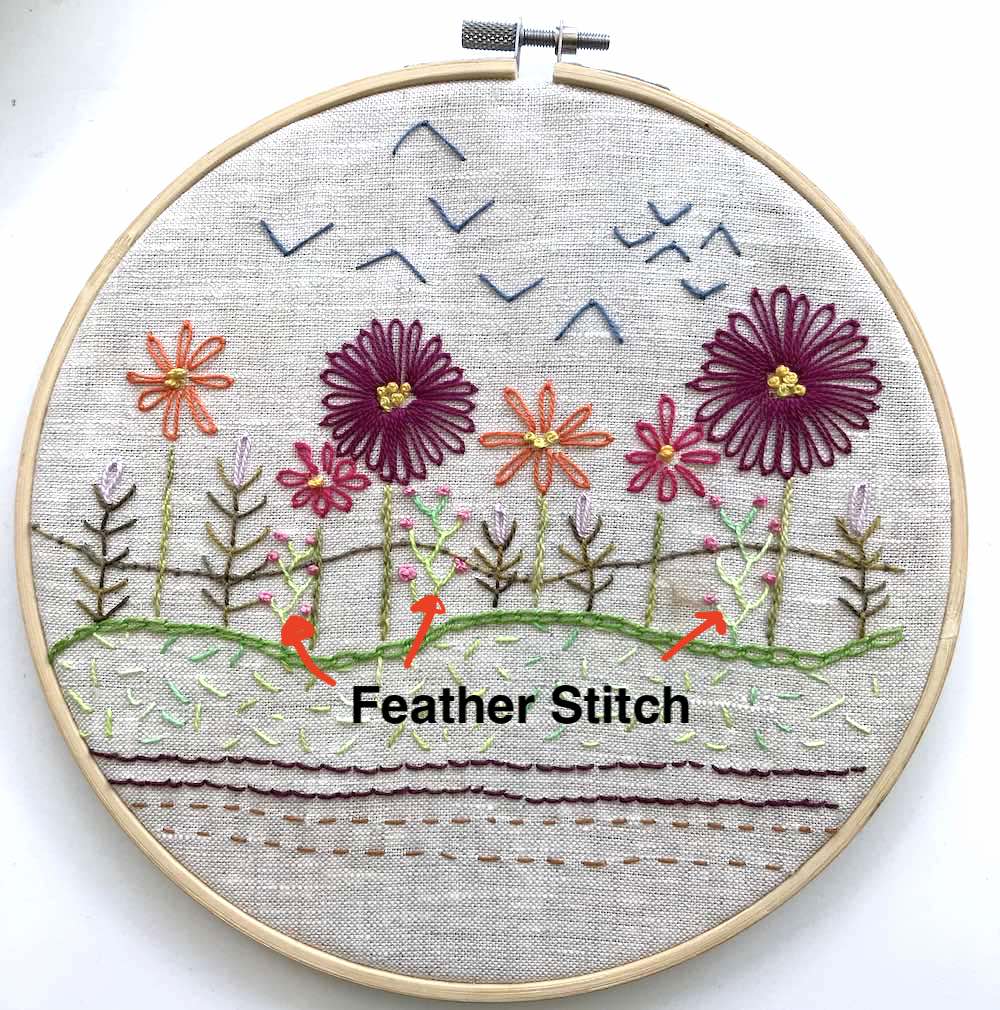
Feather stitch creates an airy, branching line that’s perfect for vines, stems, borders, and organic-looking decorative accents. Its open design adds movement and texture while remaining easy enough for beginners to learn.
HOW TO: Feather stitch
Best stitches for texture
Use these stitches to fill spaces, add texture, and create eye-catching details that make your embroidery projects stand out.
French knot
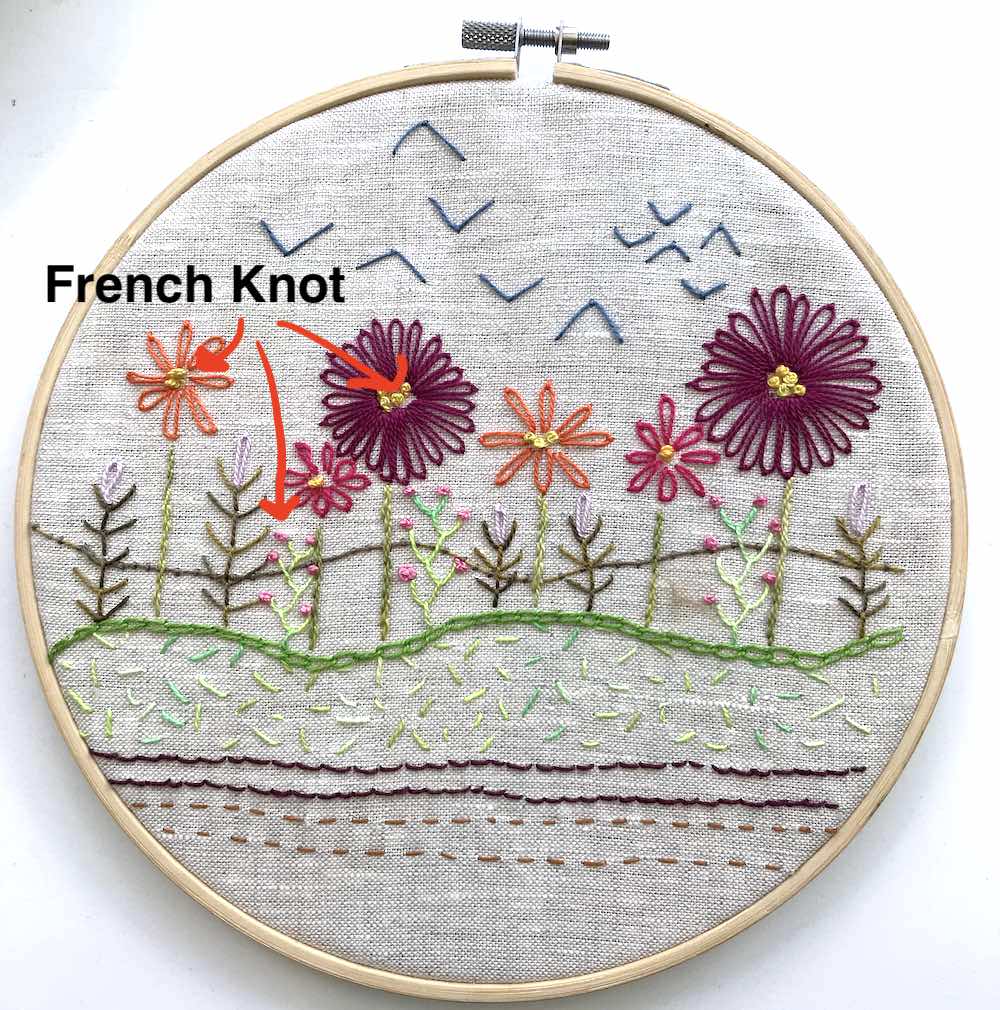
French knots may look complicated, but they’re easier than they appear with a little practice. These tiny raised knots add wonderful texture to flower centers, berries, snowflakes, animal eyes, and scattered decorative details that make embroidery come alive.
HOW TO: French knot
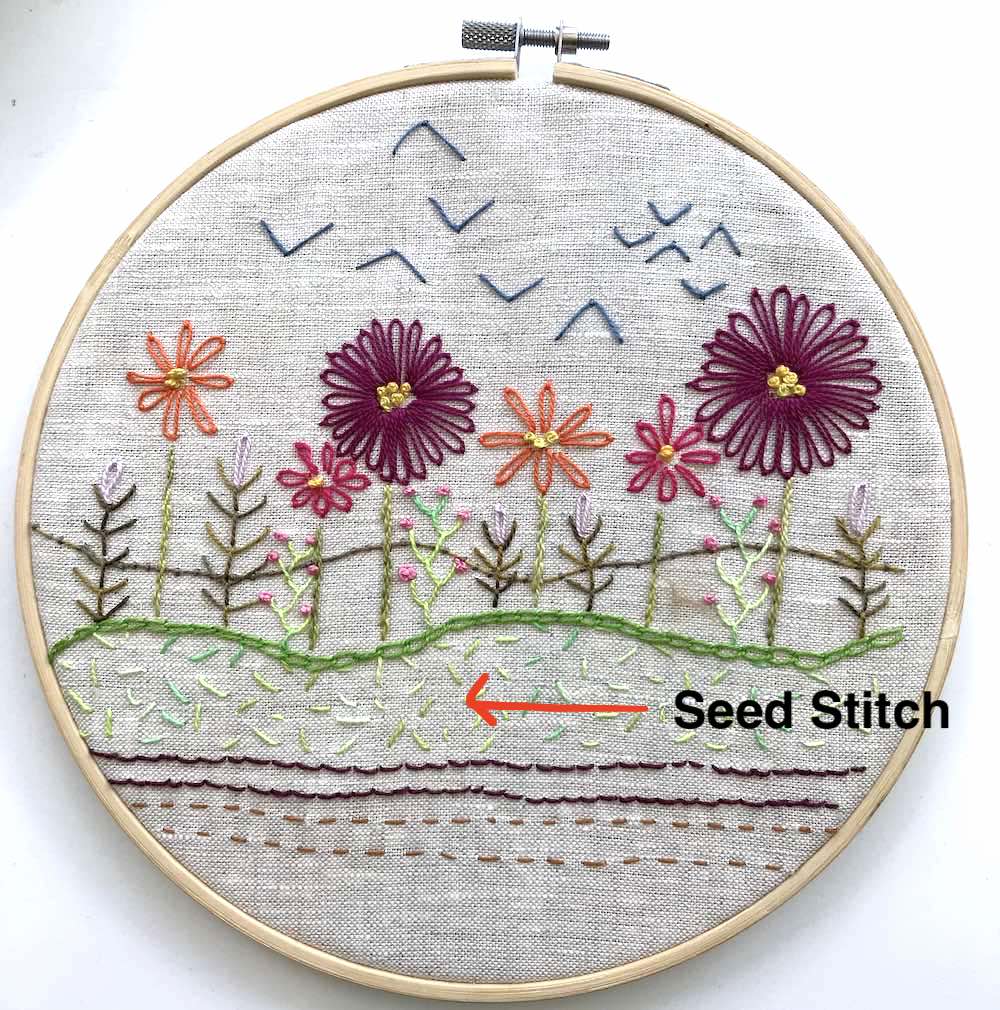
Seed stitch
Seed stitch is made with tiny straight stitches scattered randomly across an area, creating soft texture and subtle shading. It’s an excellent choice for filling backgrounds, adding texture to landscapes, or giving fabric a lightly stitched appearance without covering it completely.
HOW TO: Seed stitch
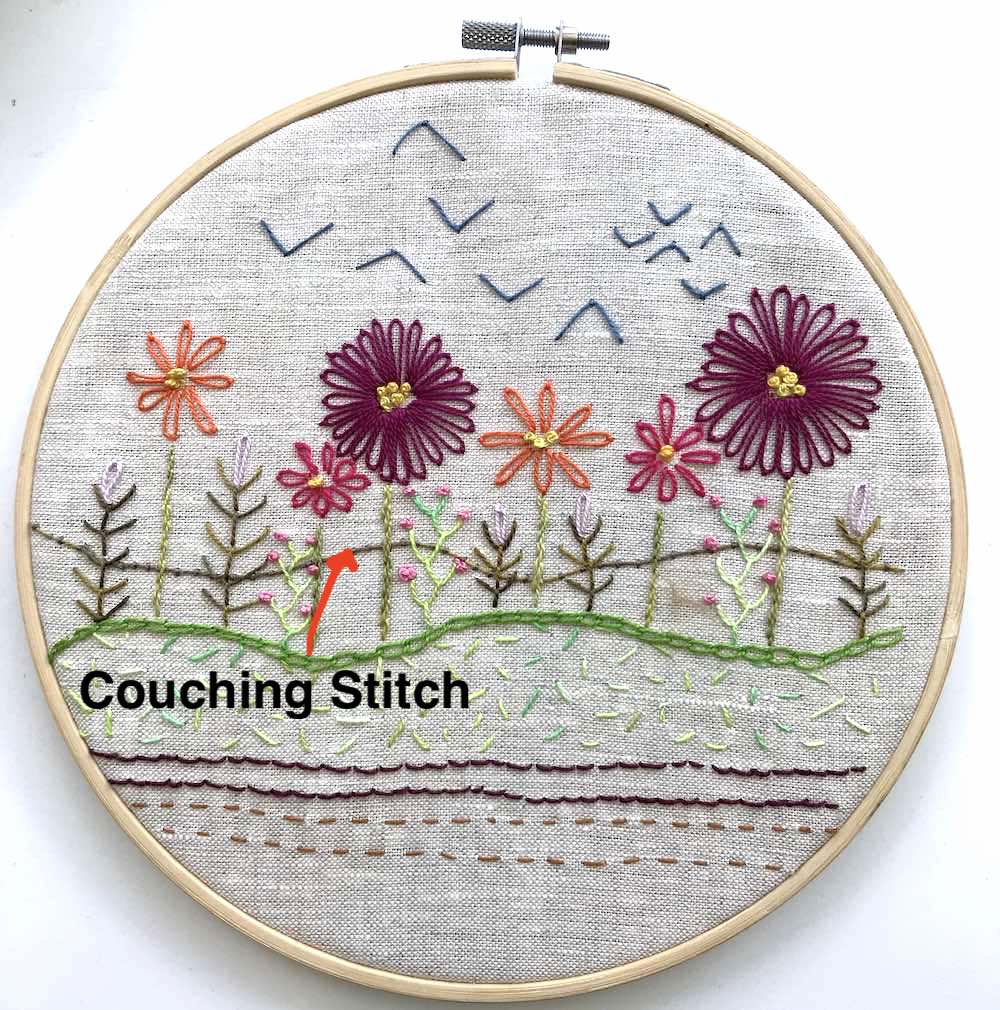
Couching stitch
Couching lets you secure thicker threads, yarns, ribbons, or specialty fibers to your fabric with tiny stitches. It’s a fun way to add bold lines, interesting textures, and materials that would be difficult or impossible to stitch through the fabric directly.
HOW TO: Couching stitch
Best stitch for bold lines and filling
When you want your stitching to stand out, these stitches create bold lines, decorative borders, and beautiful textured accents.
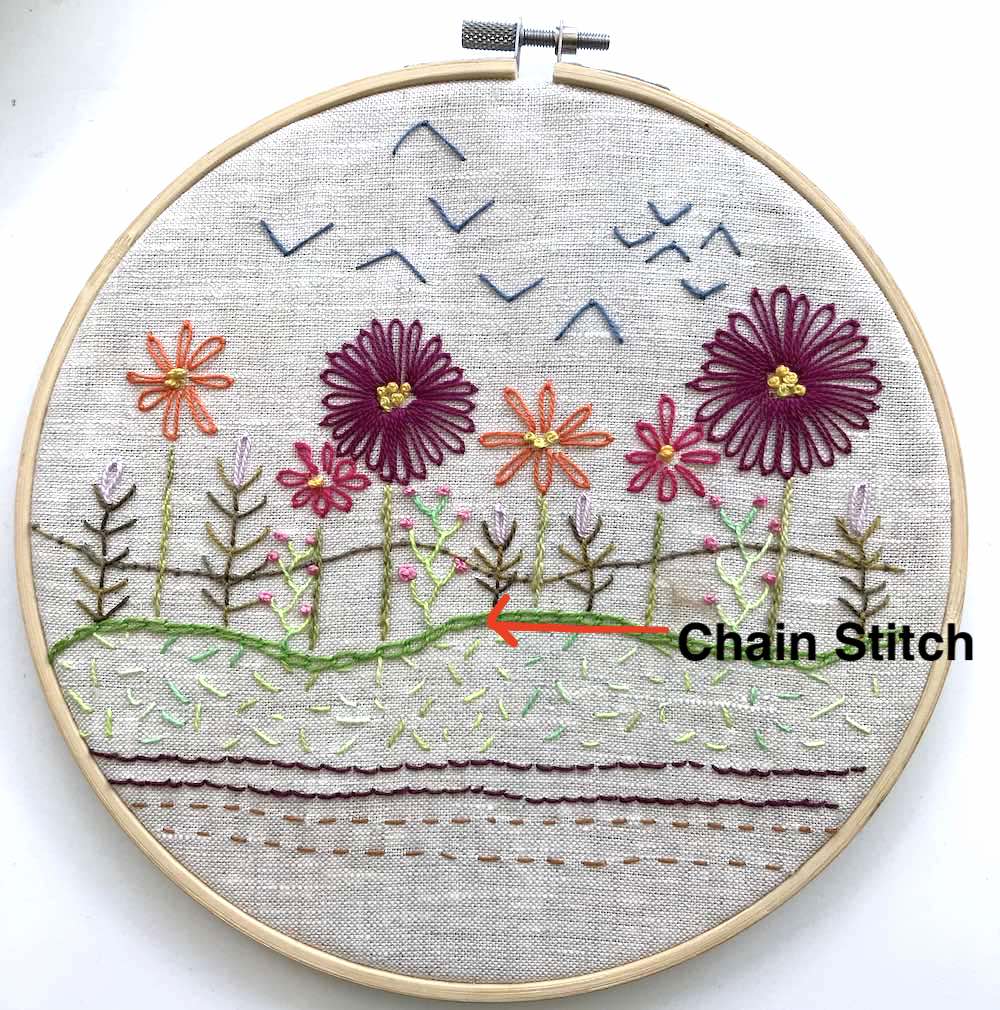
Chain stitch
Chain stitch forms a row of connected loops that creates a bold, textured line. It’s perfect for outlines, decorative borders, lettering, and even filling larger shapes. By changing the size of the loops, you can create everything from delicate details to dramatic design elements.
HOW TO: Chain stitch
Common mistakes beginners make
Using all six strands of embroidery floss > Most embroidery uses two or three strands for smoother stitches.
Pulling stitches too tight > Tight stitches can pucker the fabric.
Skipping the embroidery hoop > A taut fabric surface makes stitching much easier.
Using a needle that’s too small > Choose a needle with an eye large enough for your thread.
Learning too many stitches at once > Master three to five basic stitches before adding more.
Frequently asked questions
Running stitch is the easiest embroidery stitch because it uses simple, evenly spaced stitches to create lines and outlines.
Back stitch creates smooth, continuous lines that work beautifully for lettering and monograms. Runner-up is the stem stitch for bolder lines.
Seed stitch fills large spaces quickly with an open look. Chain stitch completely fills the space.
Most beginners use two or three strands of standard six-strand embroidery floss. Or, you can use Perle cotton.
Absolutely. Most embroidery combines several stitches to create outlines, texture, and filled areas.
Plain weave cotton and linen are the easiest fabrics to learn on because the needle passes through easily.
Not always. Simple flowers, leaves, and borders are easy to stitch freehand once you’ve practiced a few basic stitches.
Looking to transfer a design? Check out our article with 9 ways to transfer your embroidery design to fabric.
Herringbone stitch, blanket stitch, satin stitch, and colonial knots are great next steps.
Learning hand embroidery doesn’t happen by memorizing dozens of stitches. It comes from practicing a few reliable ones until they become second nature.
Start with the running stitch, add a few outline and filling stitches, and before long, you’ll be mixing them to create embroidery that’s uniquely yours.
When you’re ready to learn more, explore our complete collection of embroidery tutorials and discover even more ways to stitch with confidence.
