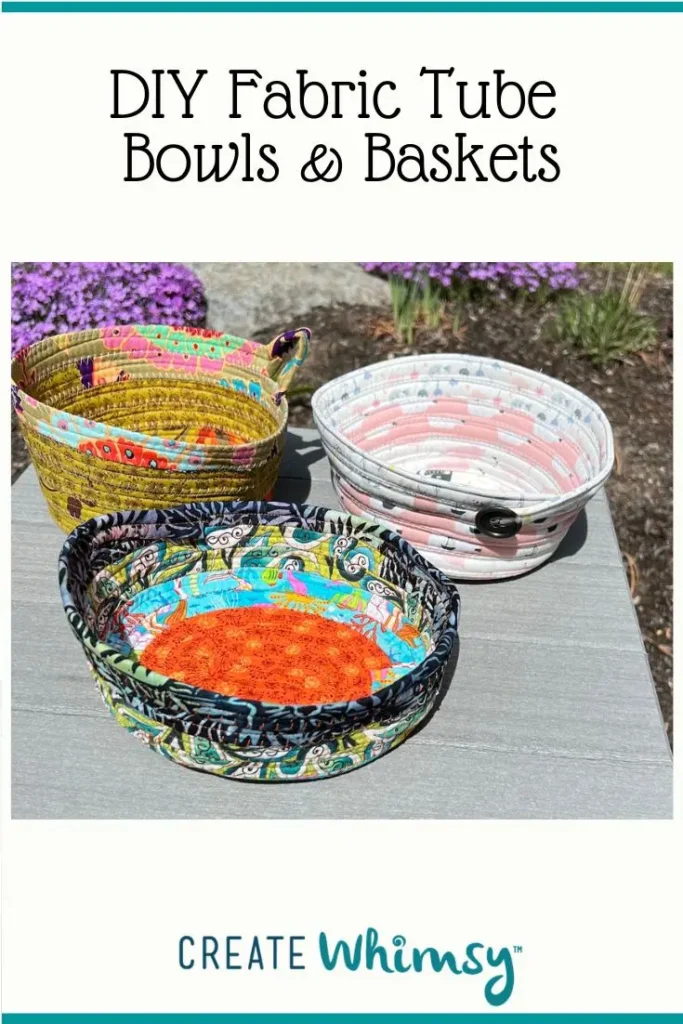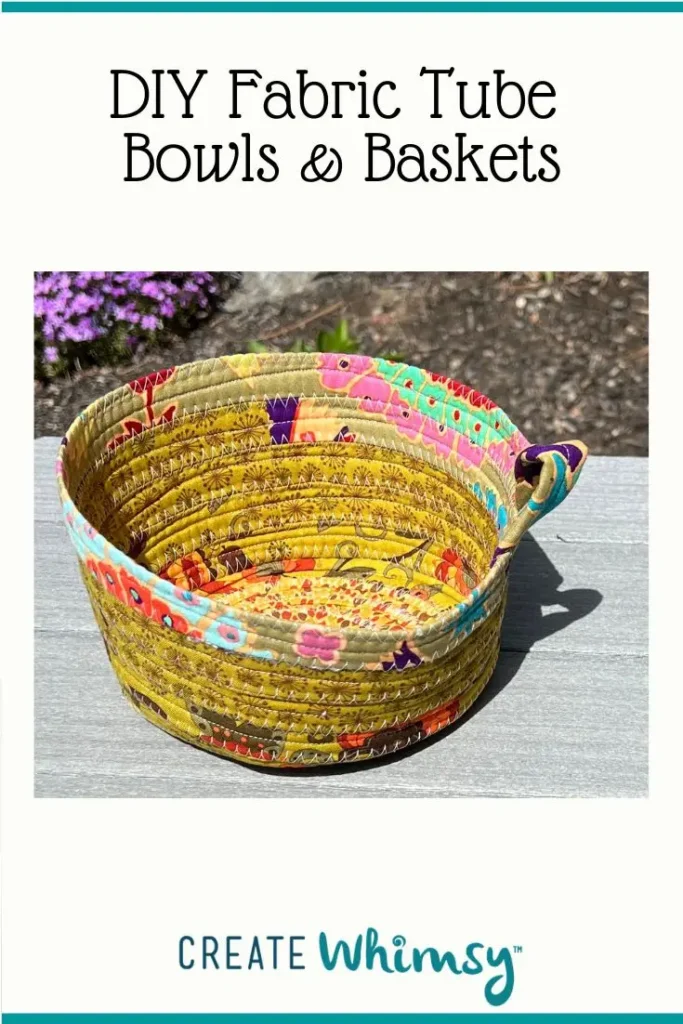
There’s something quietly satisfying about turning simple fabric strips into something sculptural. If you’ve made a jelly roll rug, you already know the rhythm of stitching a fabric tube and guiding it into shape. Now, we’re taking that same technique off the floor and onto the table.
In this tutorial, you’ll learn how to transform a folded fabric tube into a bowl or basket, with soft curves or structured sides depending on how you shape it. Whether you make your tube or use a fabric tube maker, the process is approachable, flexible, and a great way to use up favorite fabrics.
From shallow catch-all dishes to deeper baskets, this project lets you play with form, color, and texture while building on skills you may already have. Once you make one, it’s hard not to start imagining a whole collection.
Get out that jelly roll (or rolls) you just had to buy and whip up some baskets or bowls in less than an hour. This is a quick and easy project – perfect for beginners.
I’m going to show you how to make a jelly roll basket in two ways: 1) by folding the fabric and batting twice and sewing, and 2) using the Clover Fabric Tube Maker.
As an Amazon Associate I earn from qualifying purchases. Read more about our affiliate linking policy.
RELATED: How to make a jelly roll rug
YOU MAY ALSO ENJOY: How to make a fabric-wrapped rope basket
Before you start
Skill level: Beginner
Estimated time to make a bowl: Less than one hour
Finished size: Approximately 8-inches in diameter, and 4-inches tall
Key techniques: Double-folded fabric and batting, zigzag stitching
Let’s start with the traditional way of double-folding the fabric and batting.
Jelly Roll Rug Basket Tutorial
Materials
- Four (4) jelly roll strips, or 2-1/2 inch strips of fabric WOF (width of fabric - 40" - 45" wide)
- 2-1/4" side batting
- Coordinating thread
Tools
- Sewing machine
- Iron
- Pressing surface
Instructions
Prepare your jelly roll strips
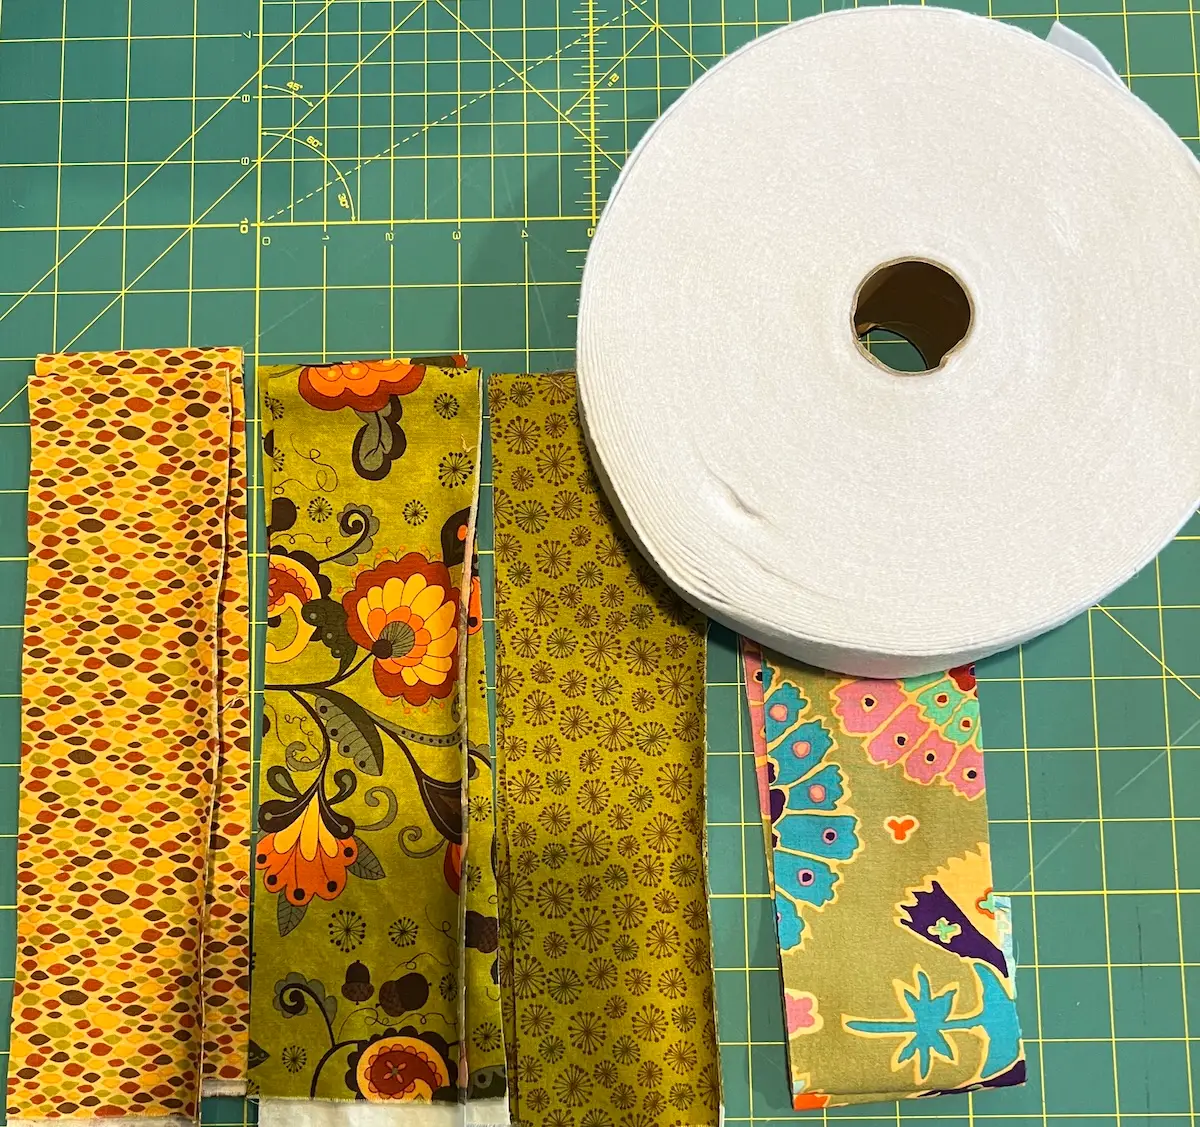
- Here are your supplies: Four (4) jelly roll strips and 2-1/4" wide batting. You can purchase pre-cut batting in a roll, or cut your own 2-1/4" strips from batting scraps.
- Start by centering the batting on the wrong side of your strip of fabric.
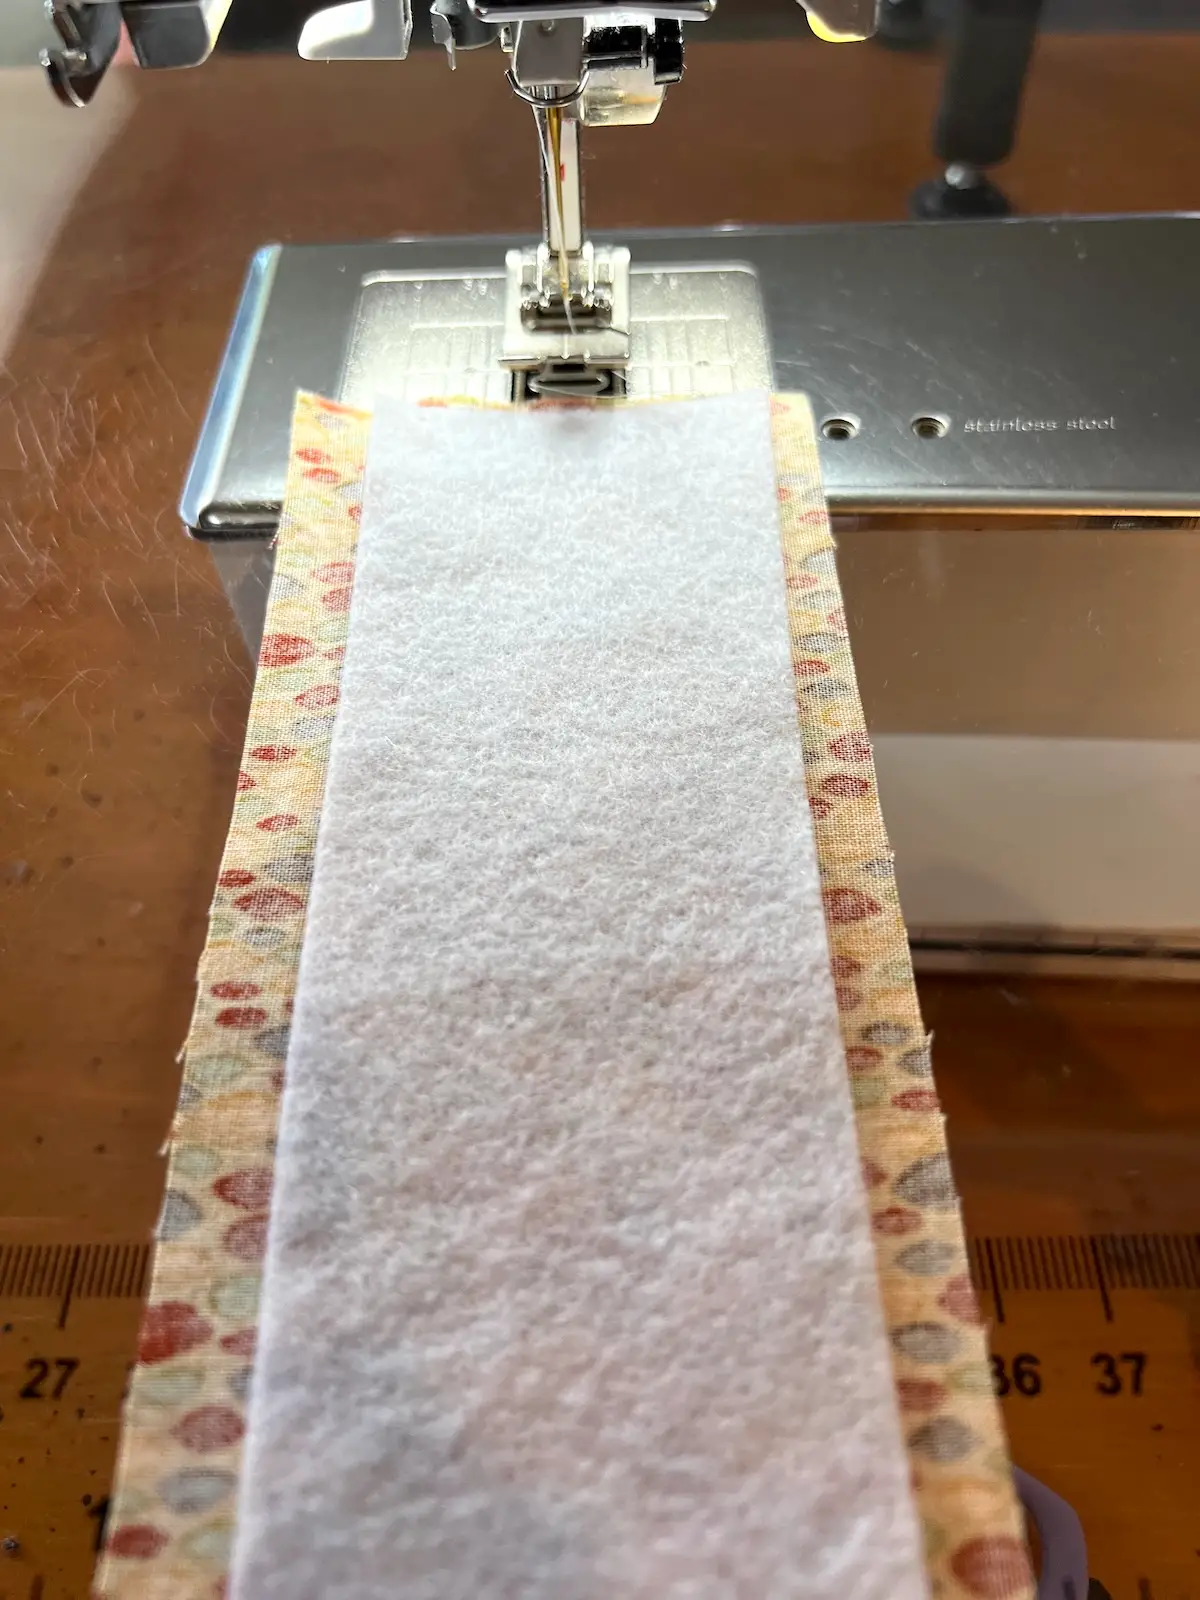
- Fold both sides to the middle.
- Next, fold this in half.
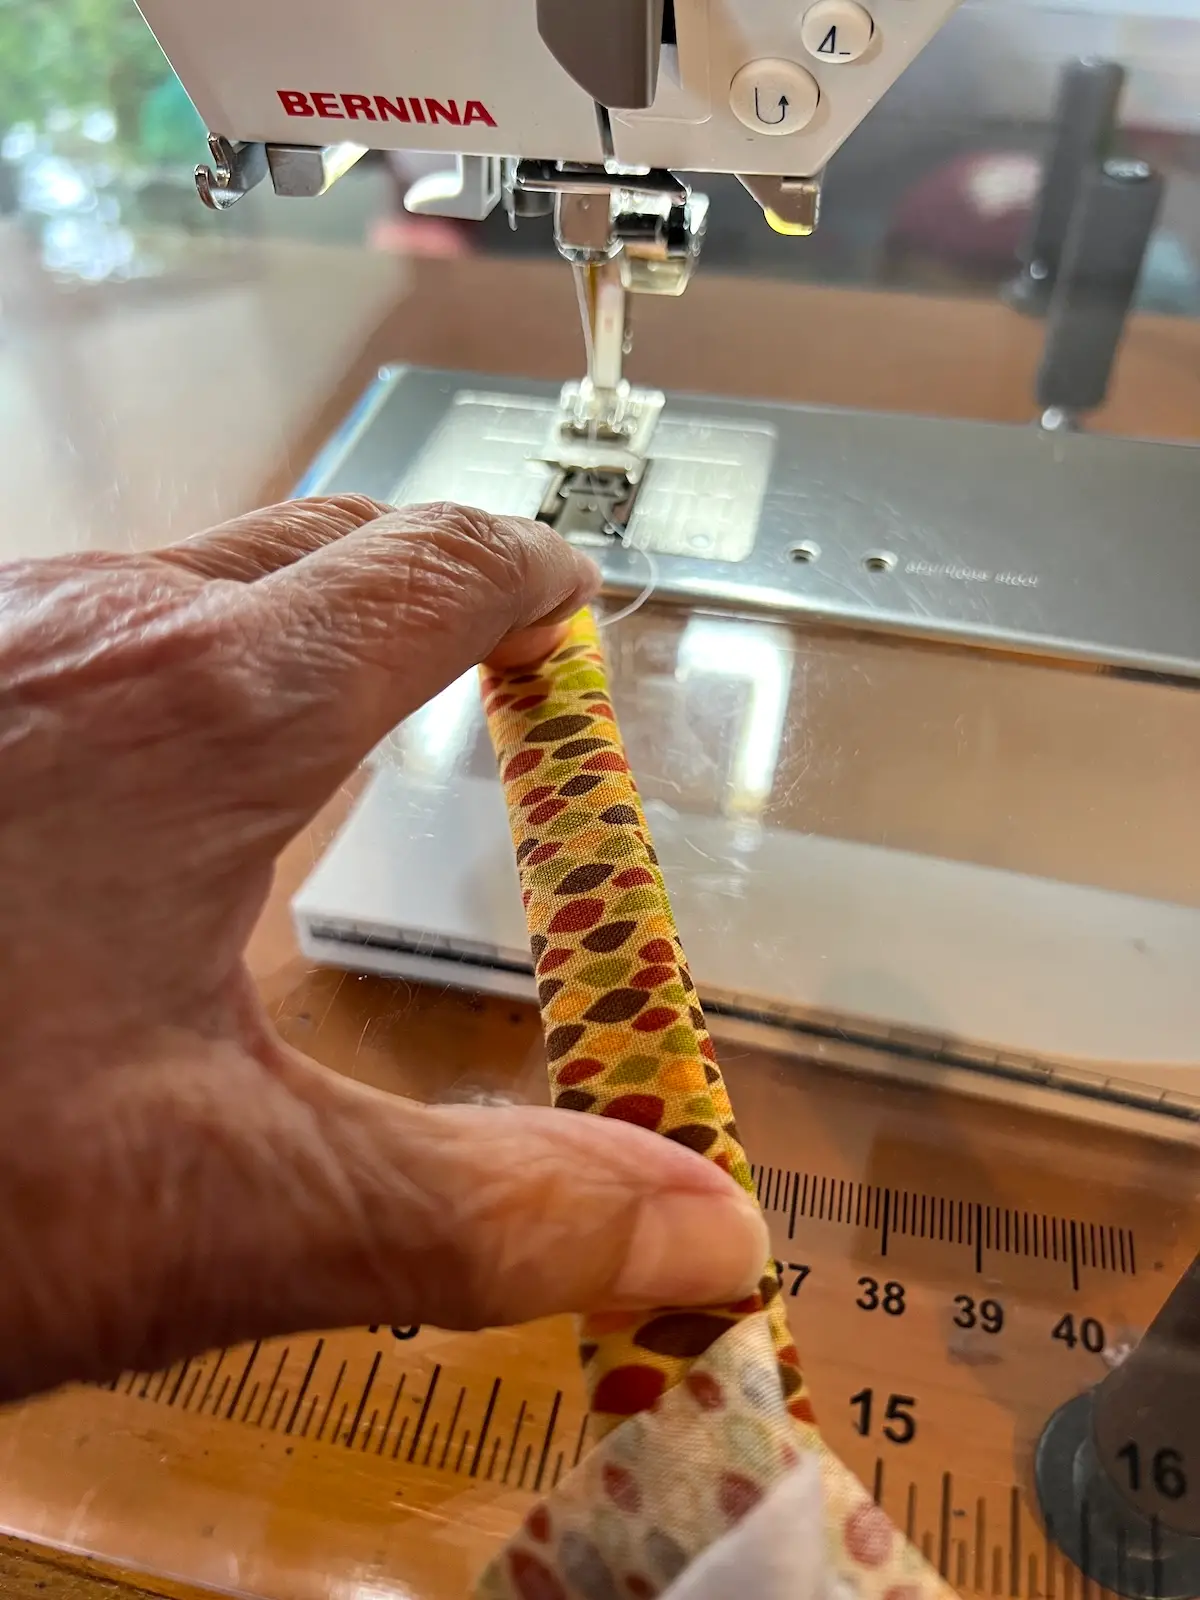
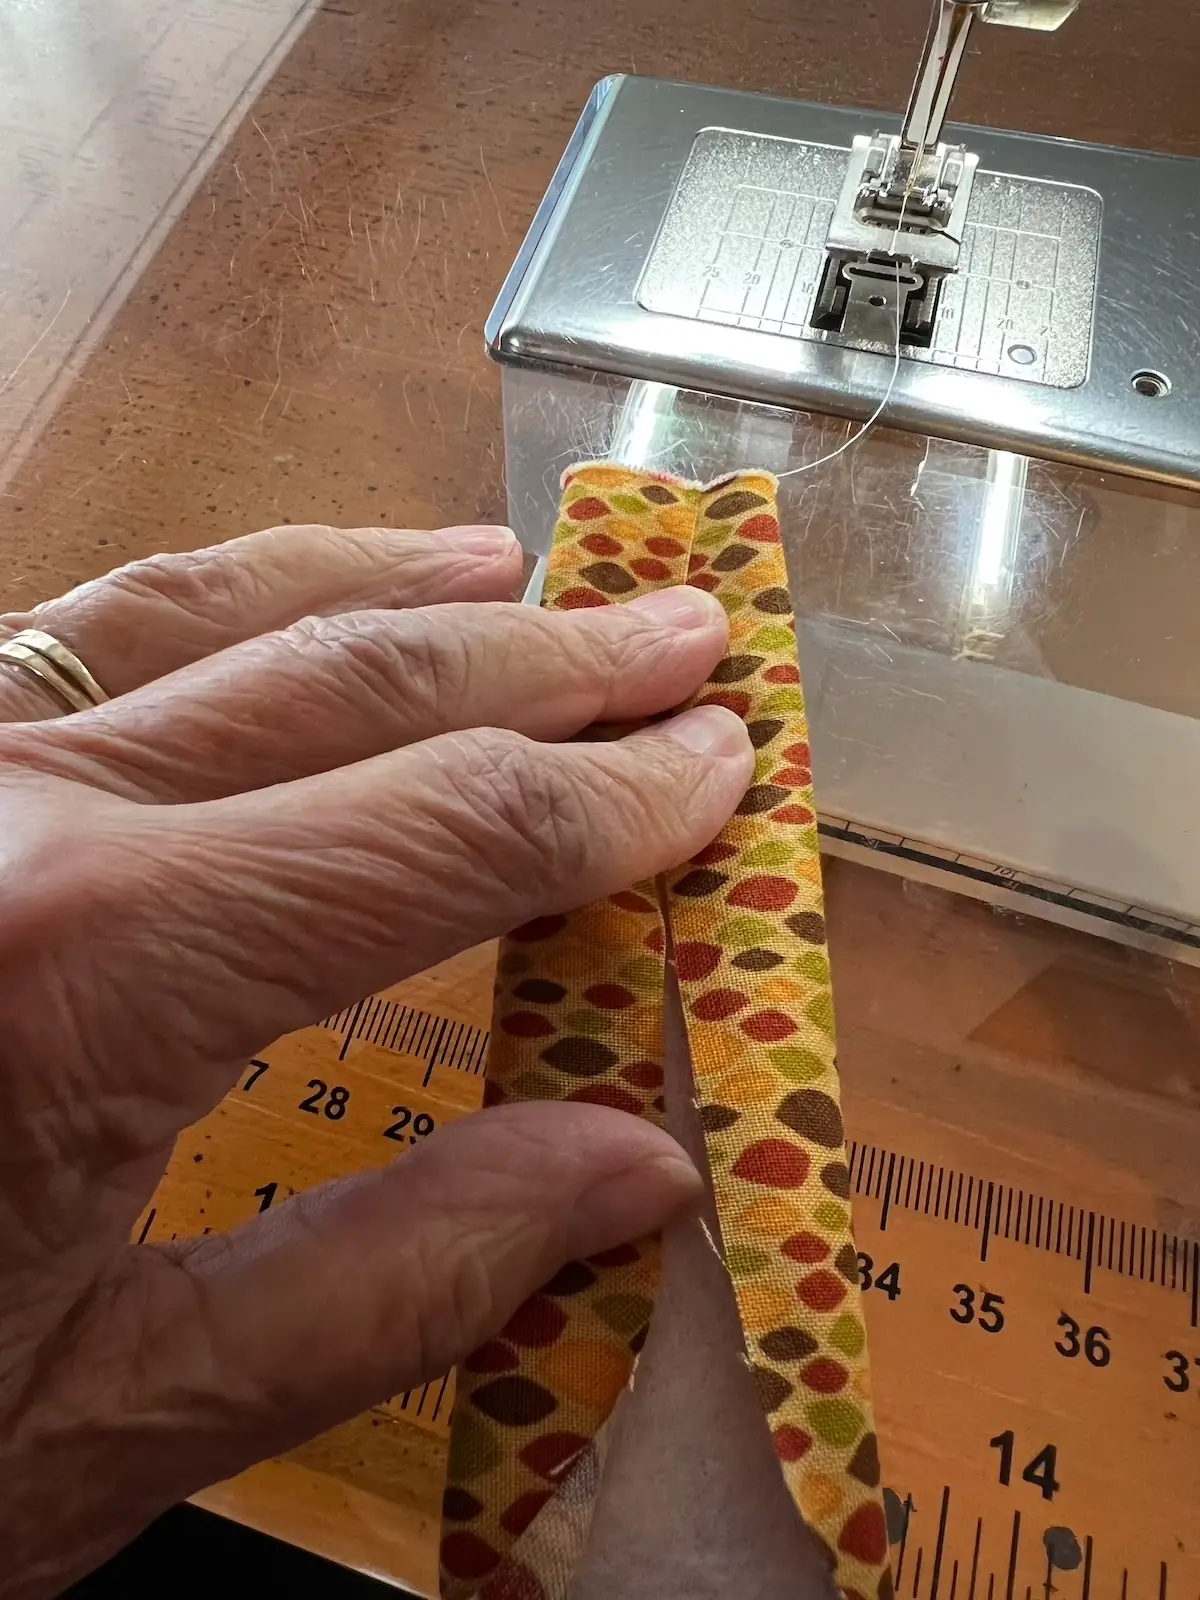
TIP: Before you start, fold the fabric end over the batting. This finishes the edge of the tube. - If you didn't fold the fabric over the end, take a small scrap of fabric and wrap the end of your fabric tube, and secure with stitching through all layers.
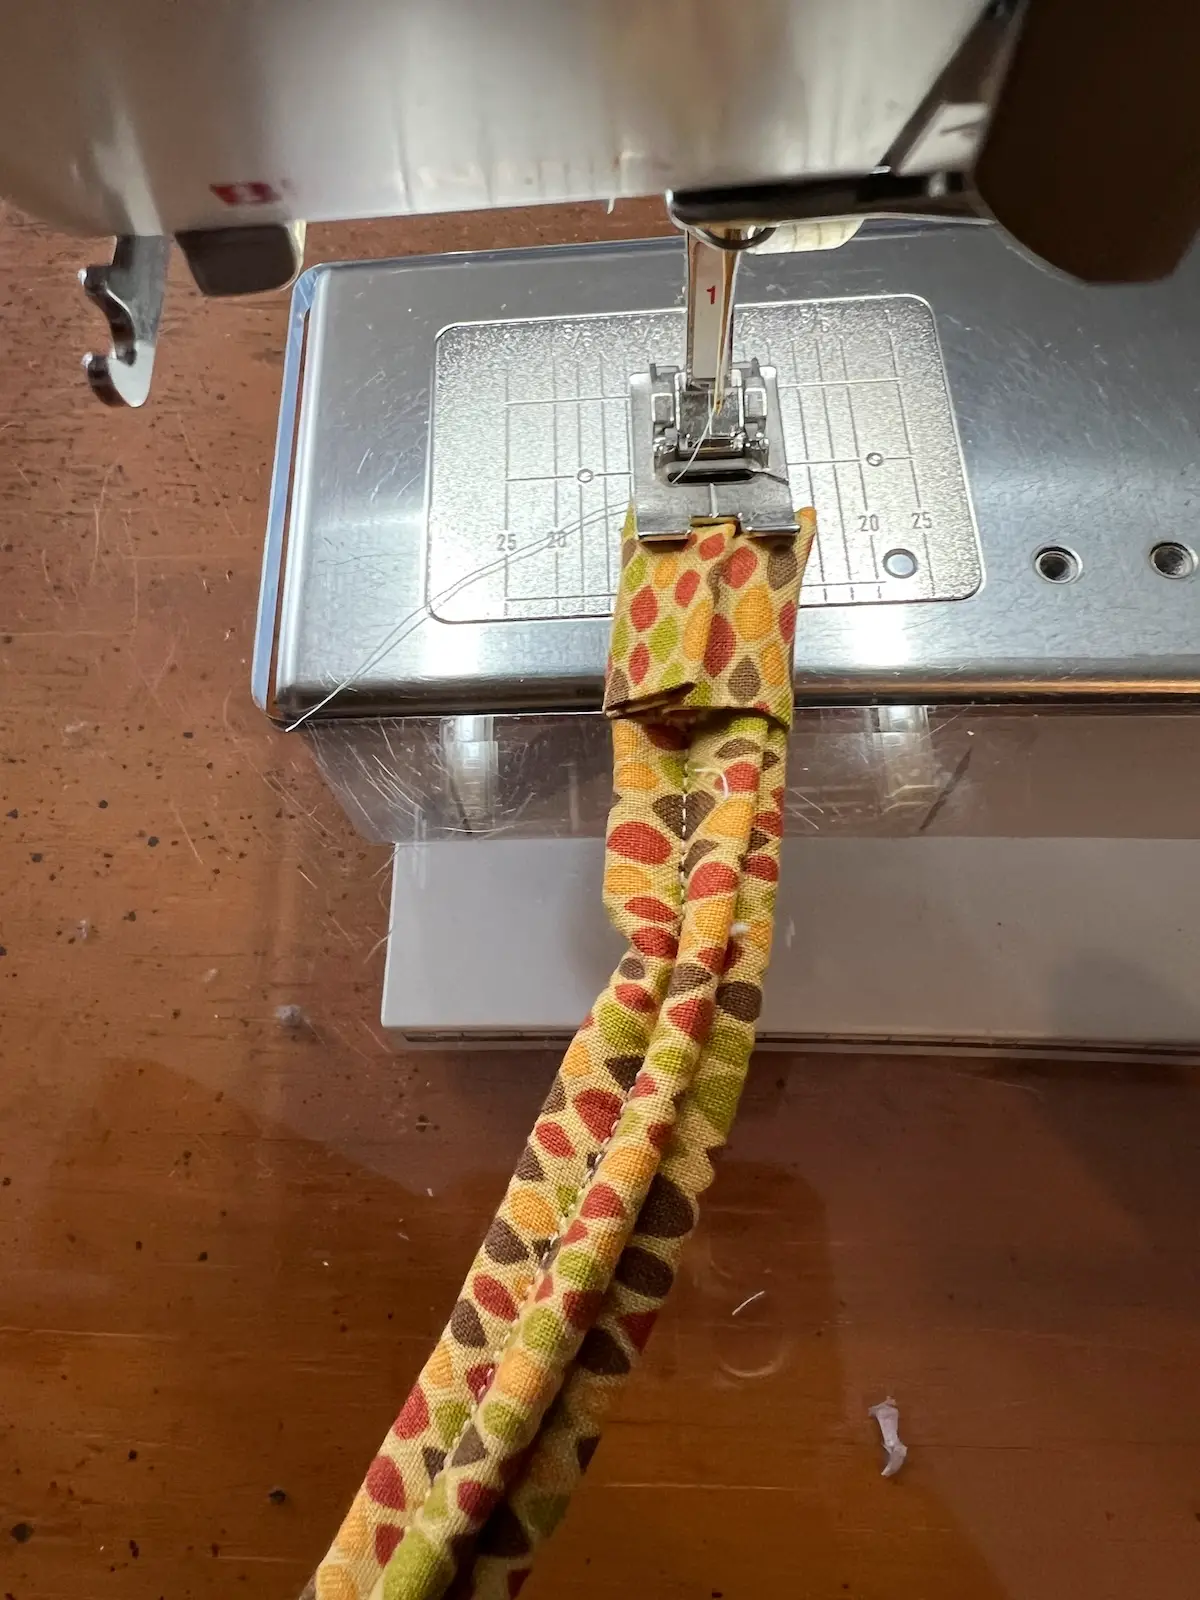
Sewing your jelly roll bowl
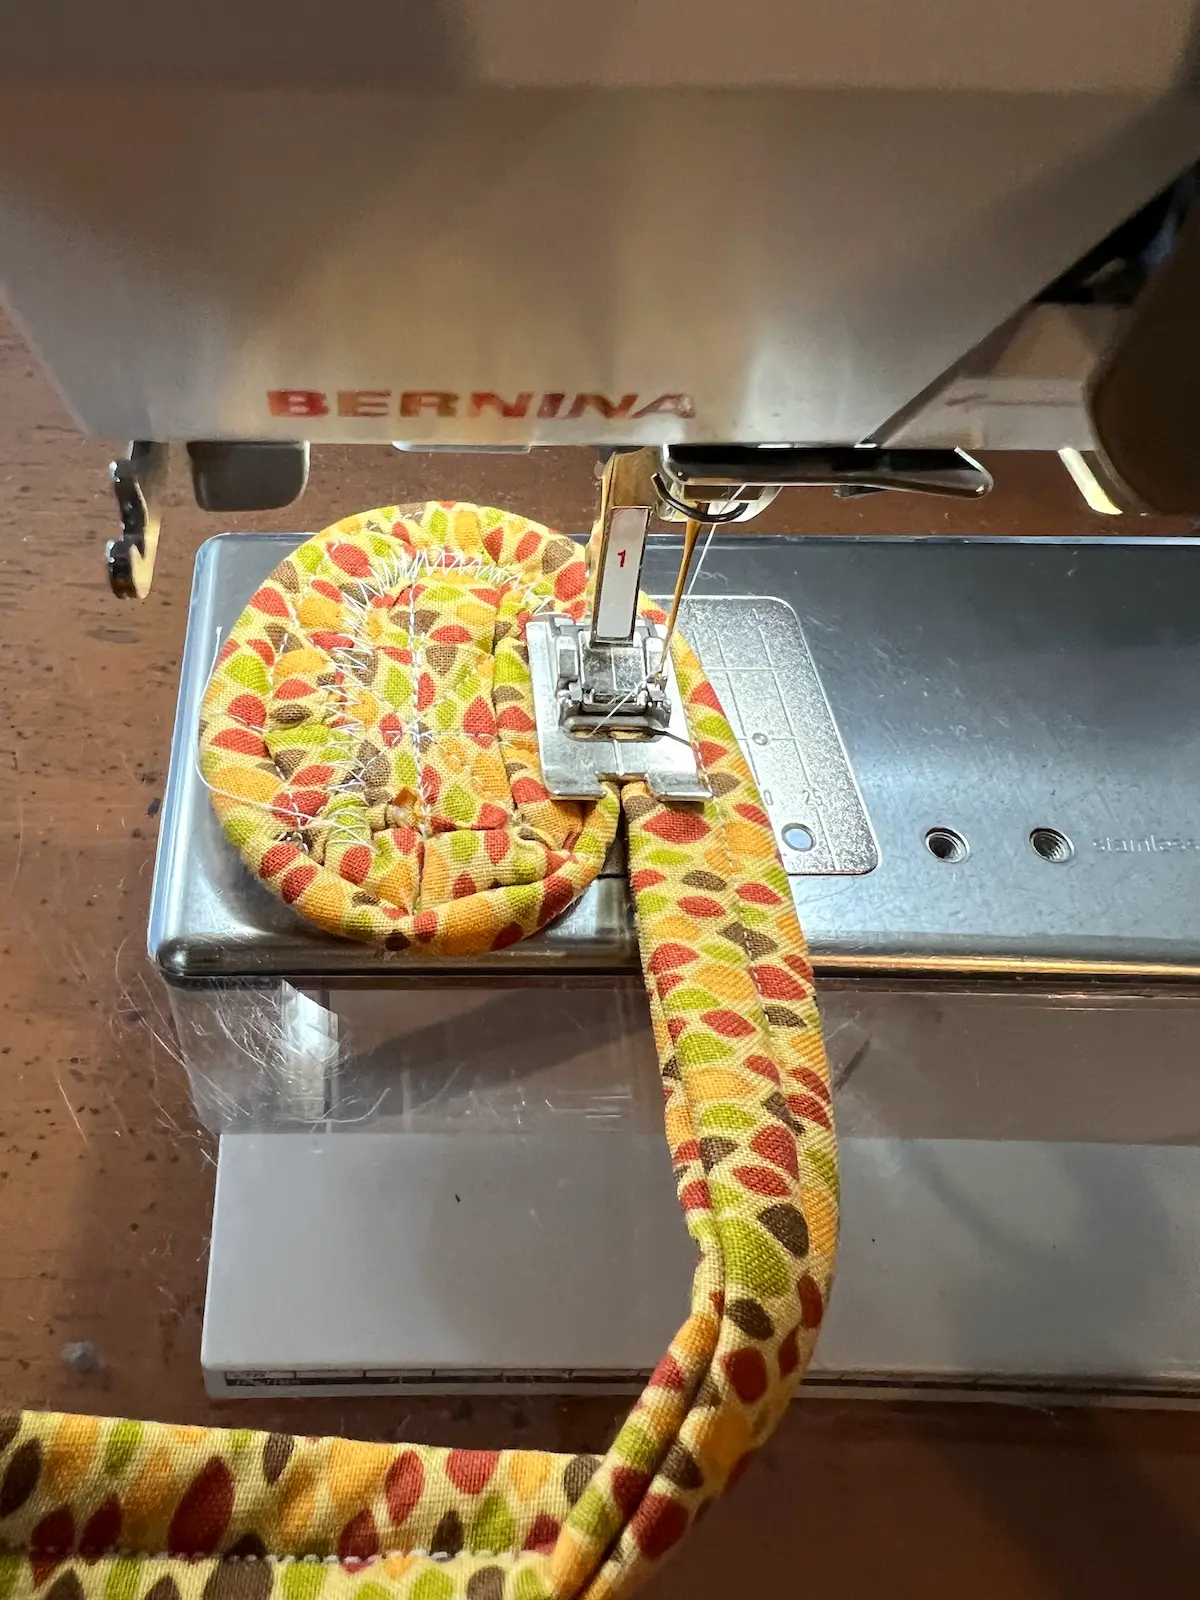
- Start by taking one end of your fabric tube and rolling it into a spiral for the bowl bottom.
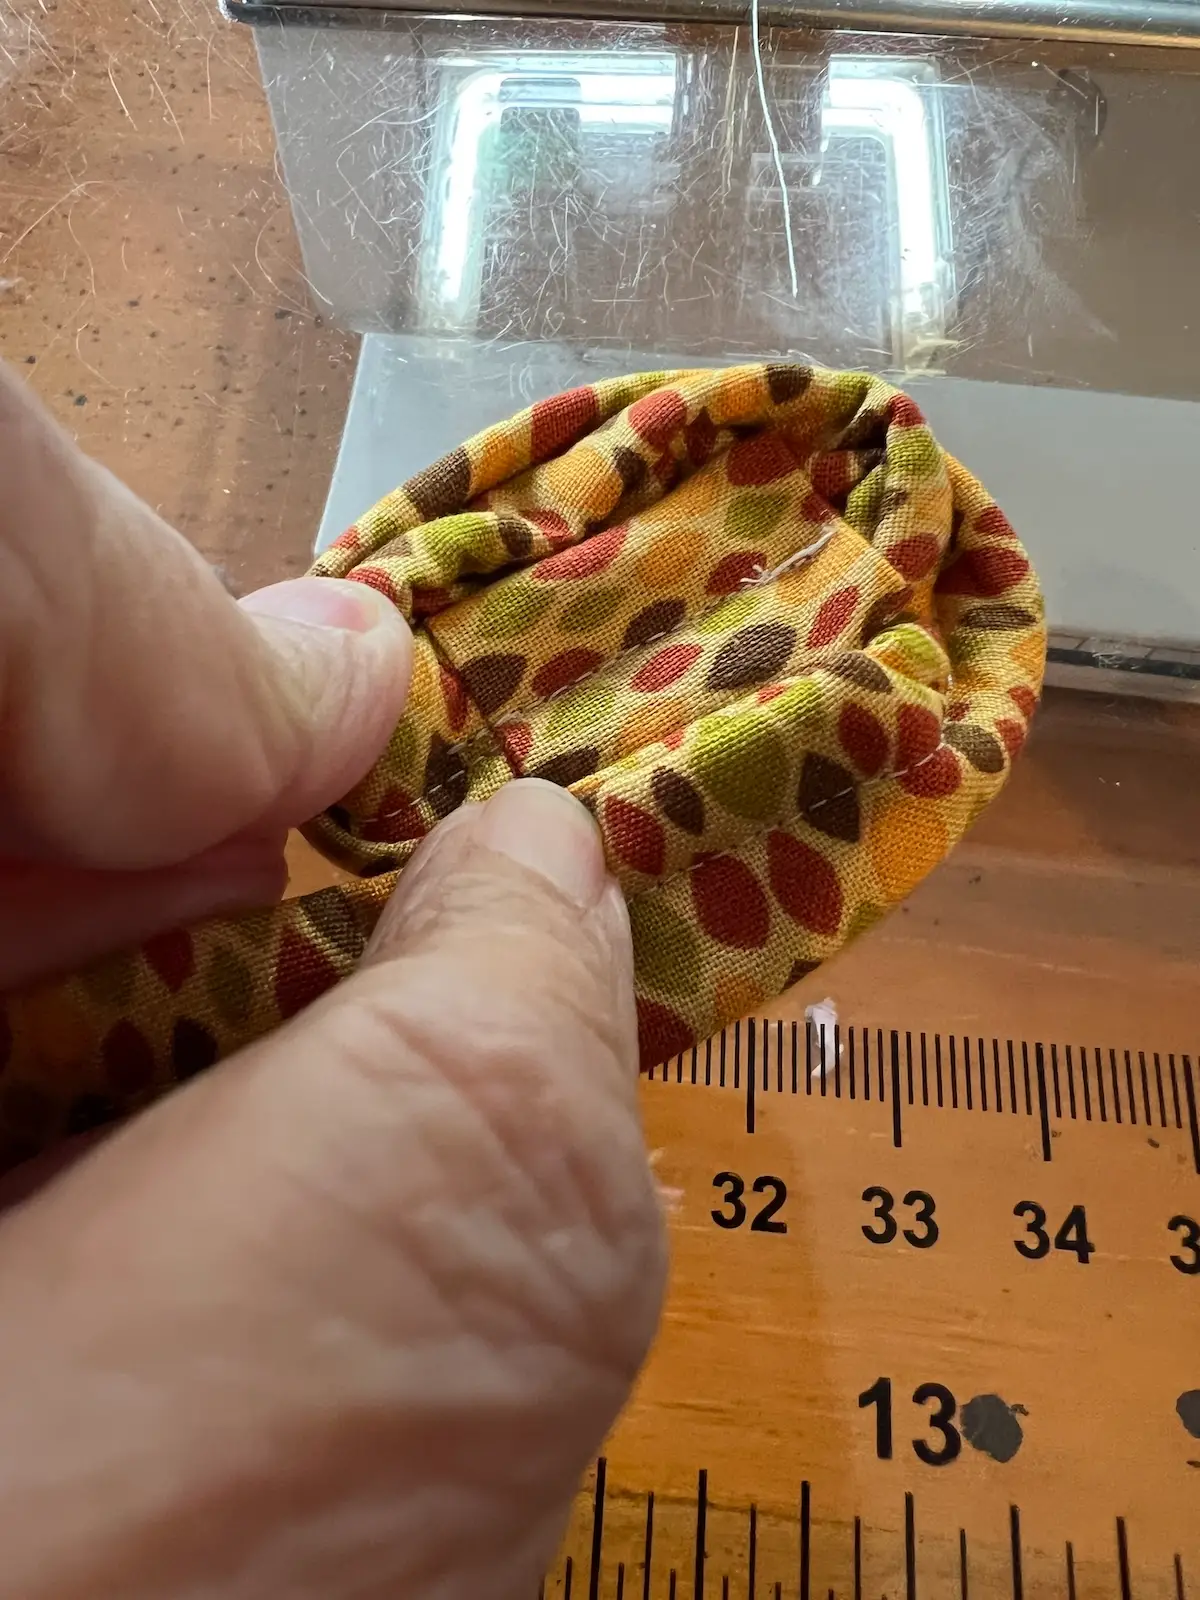
- Stitch across, turn 90 degrees, and stitch again, then stitch between those lines to secure the center of the bowl.
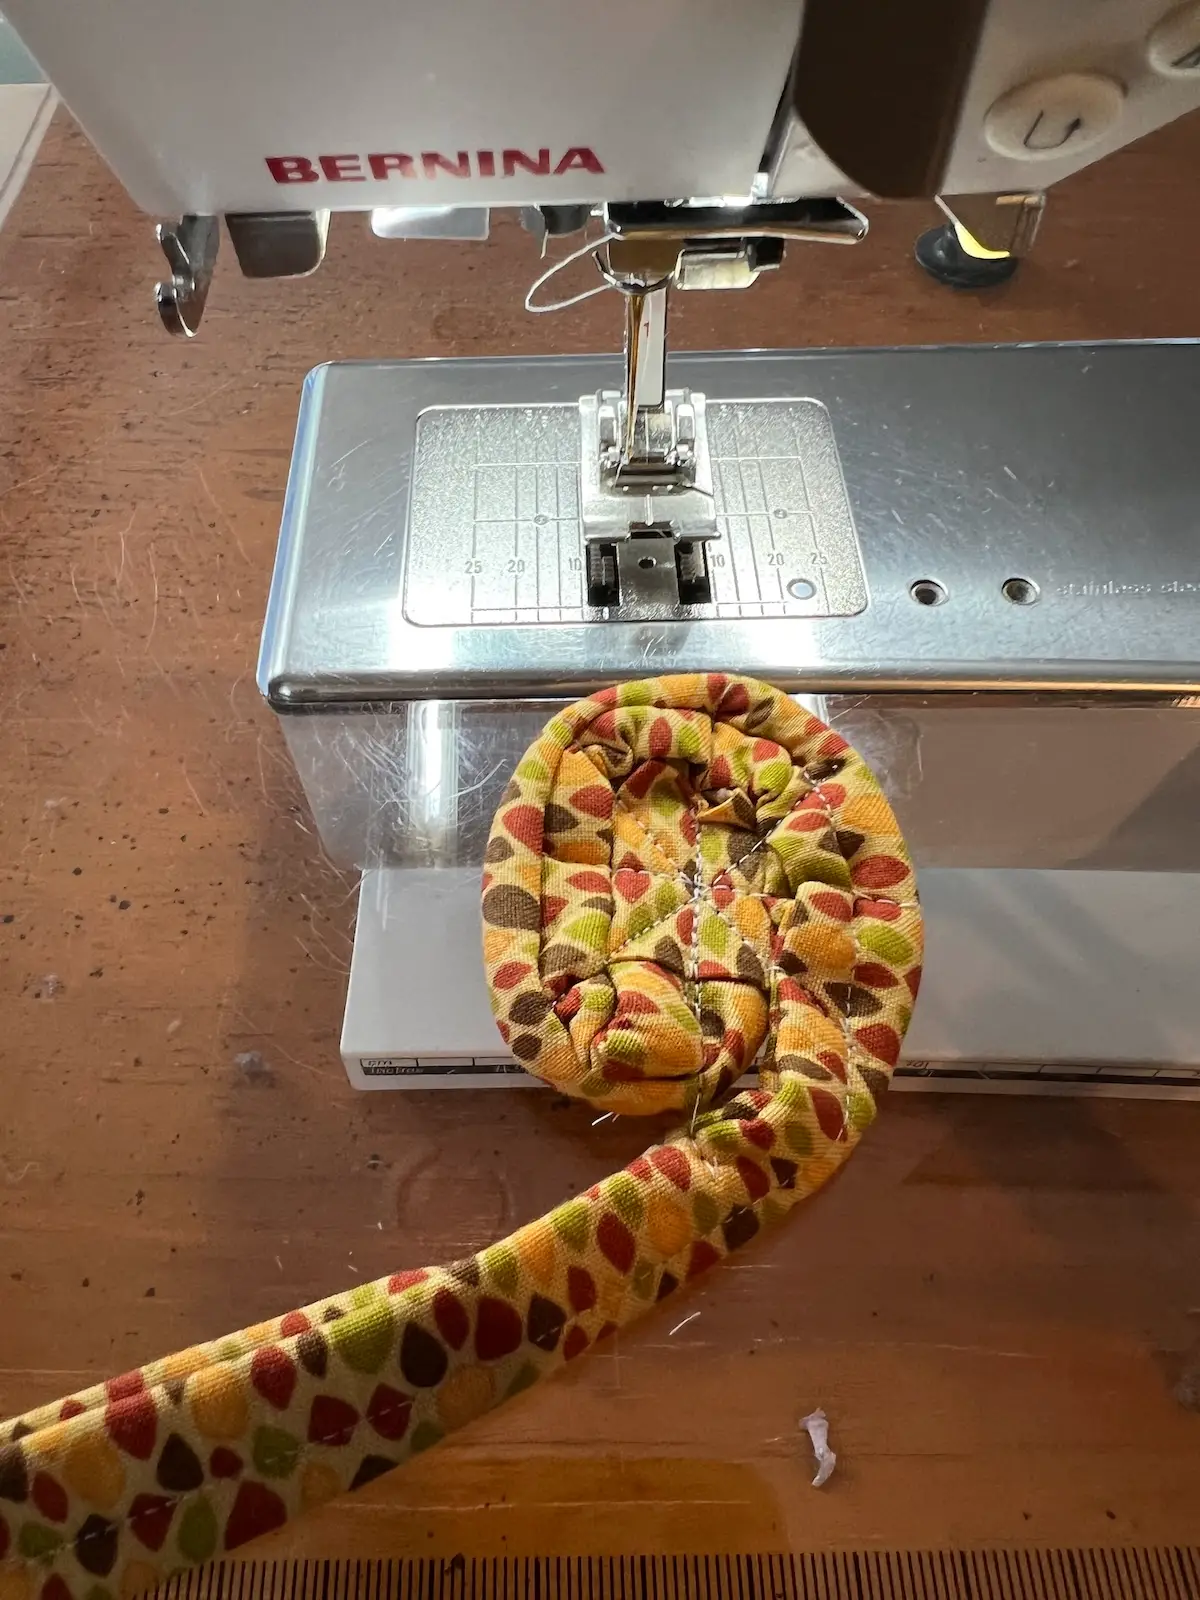
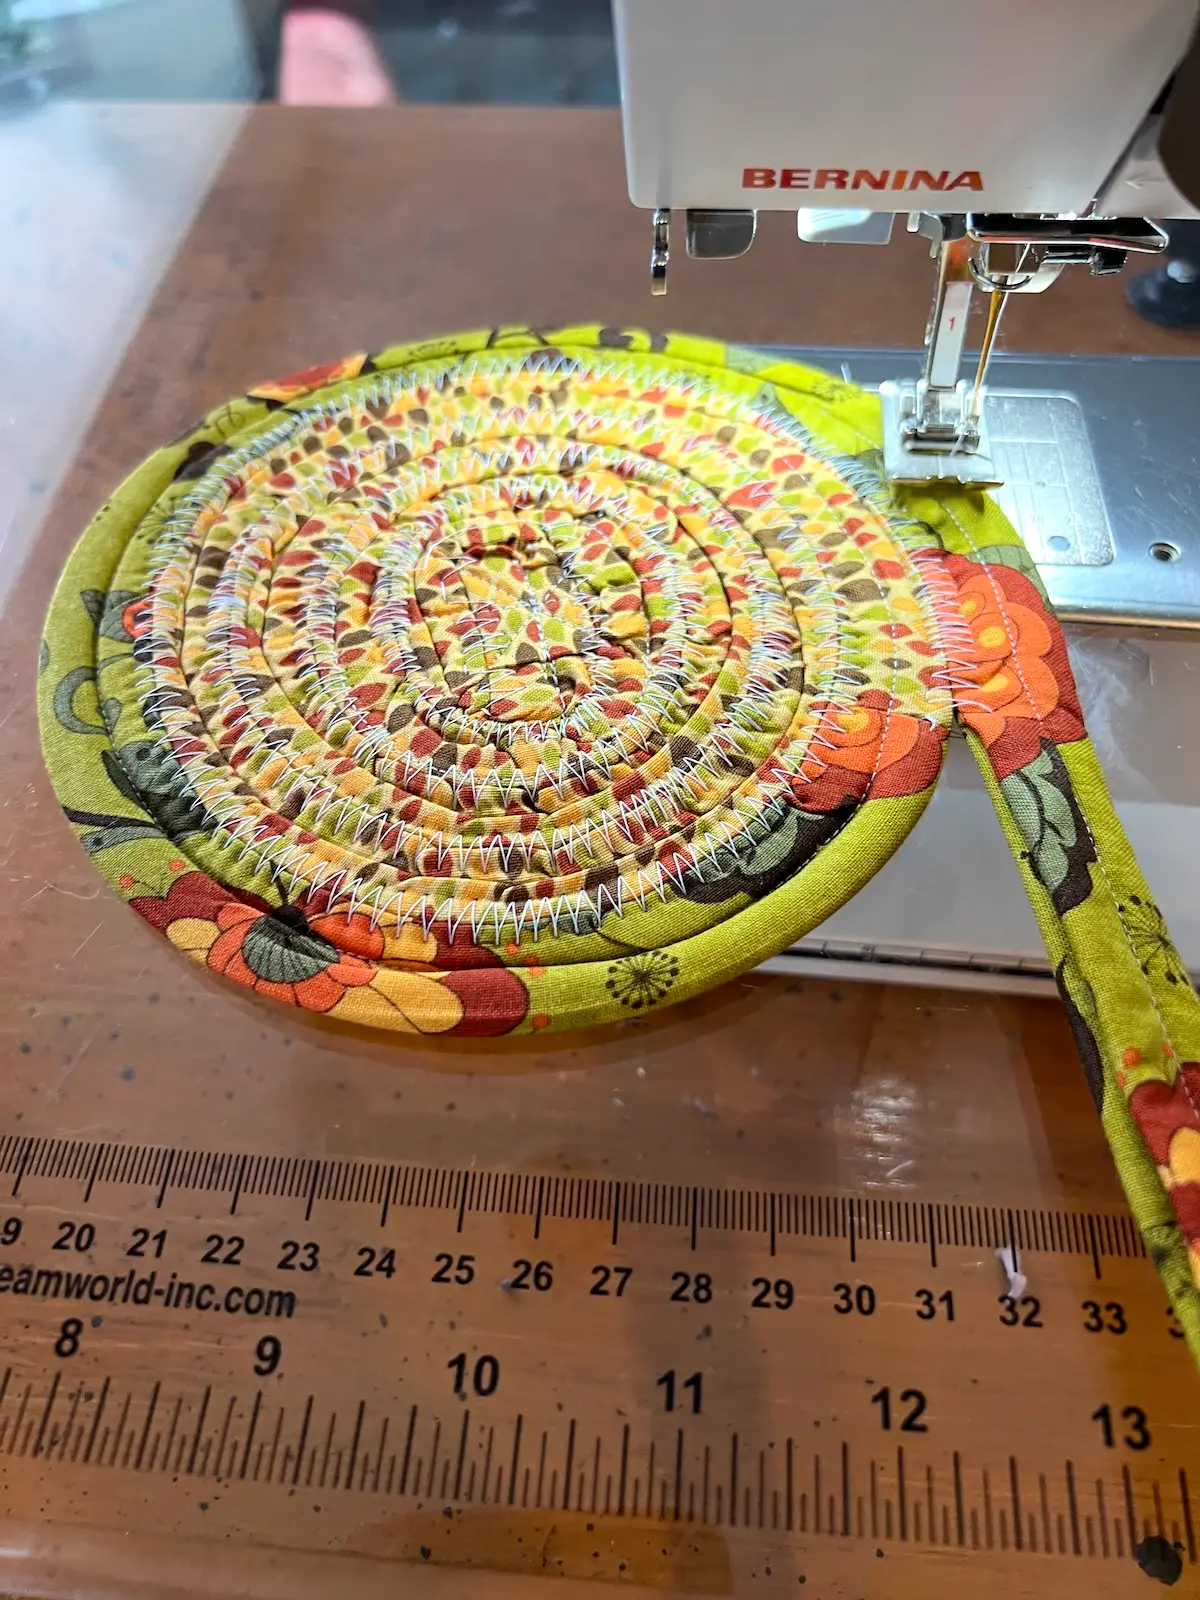
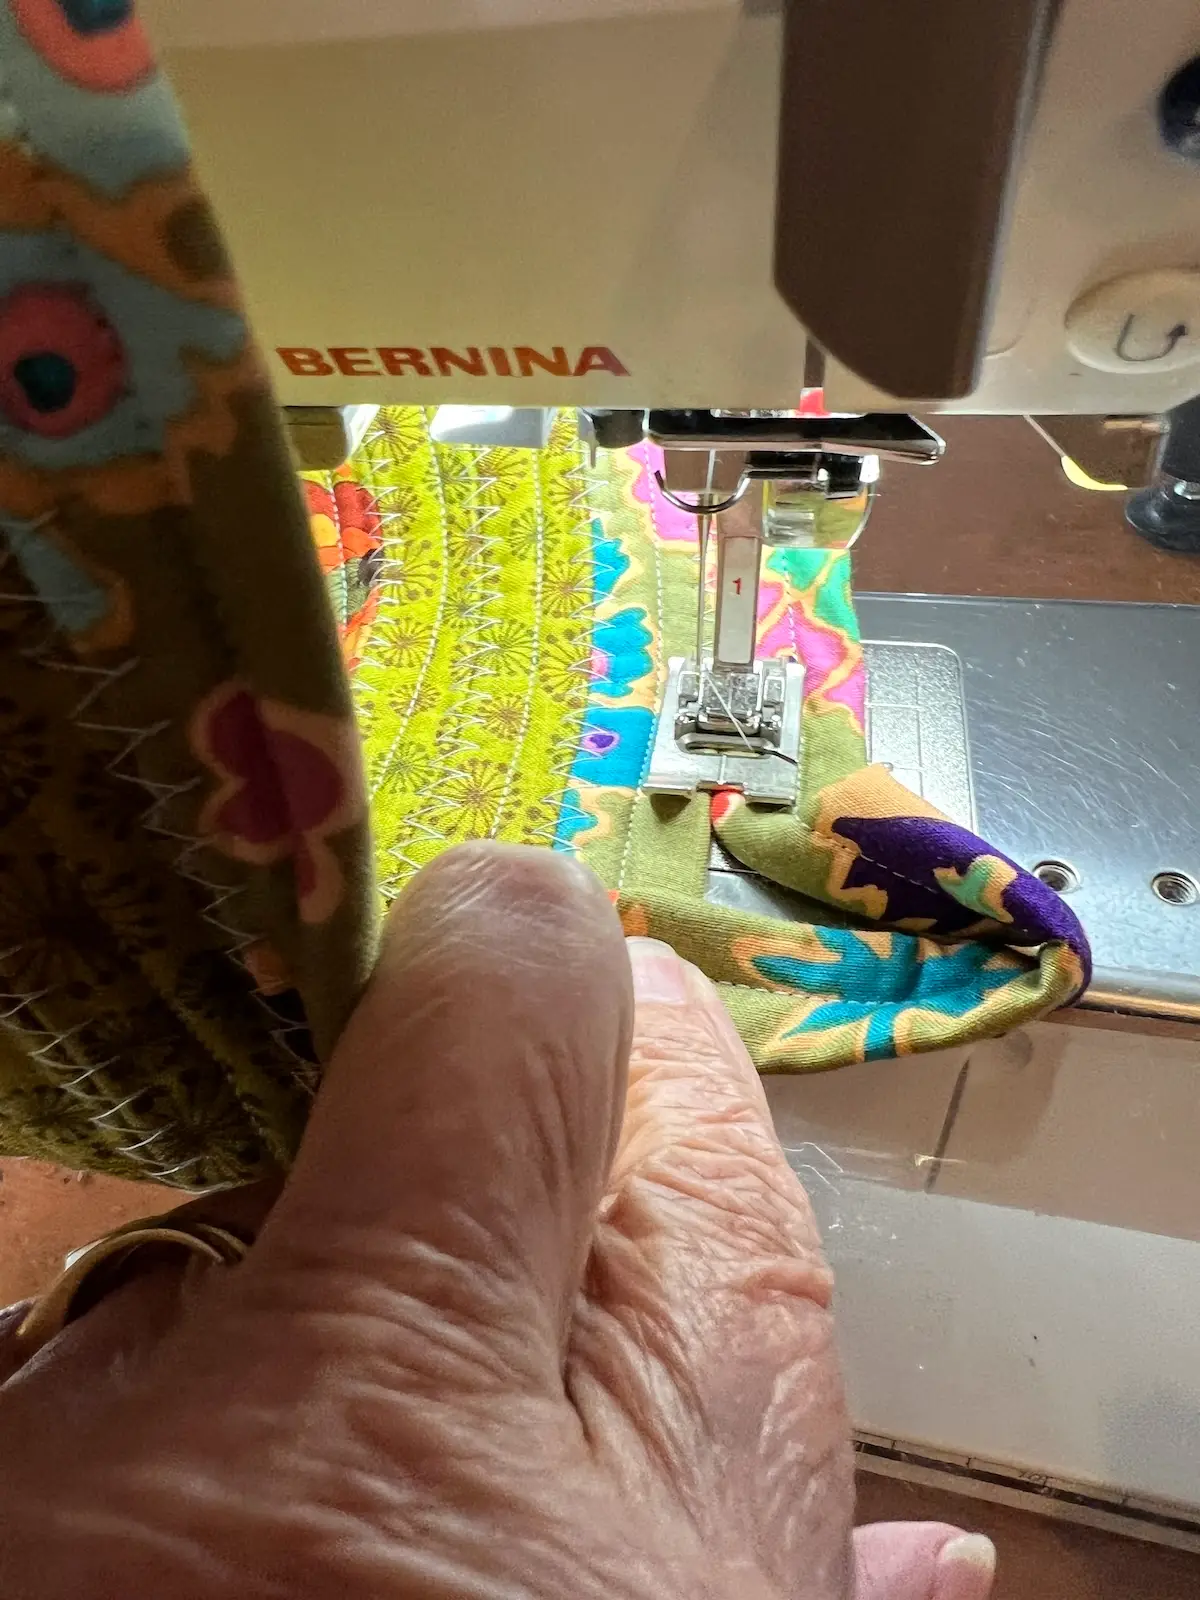
- Now, switch to a wide and long zig-zag stitch on your sewing machine. Place the fabric tube so that it looks like "9" to you. This way, as the basket grows in size, it will be on the outside of your machine. Start turning your fabric tube, stitching the fabric tube to the center with a zigzag stitch.
- Try to keep everything flat. It may look a little messy now, but we'll press everything before beginning the basket sides.
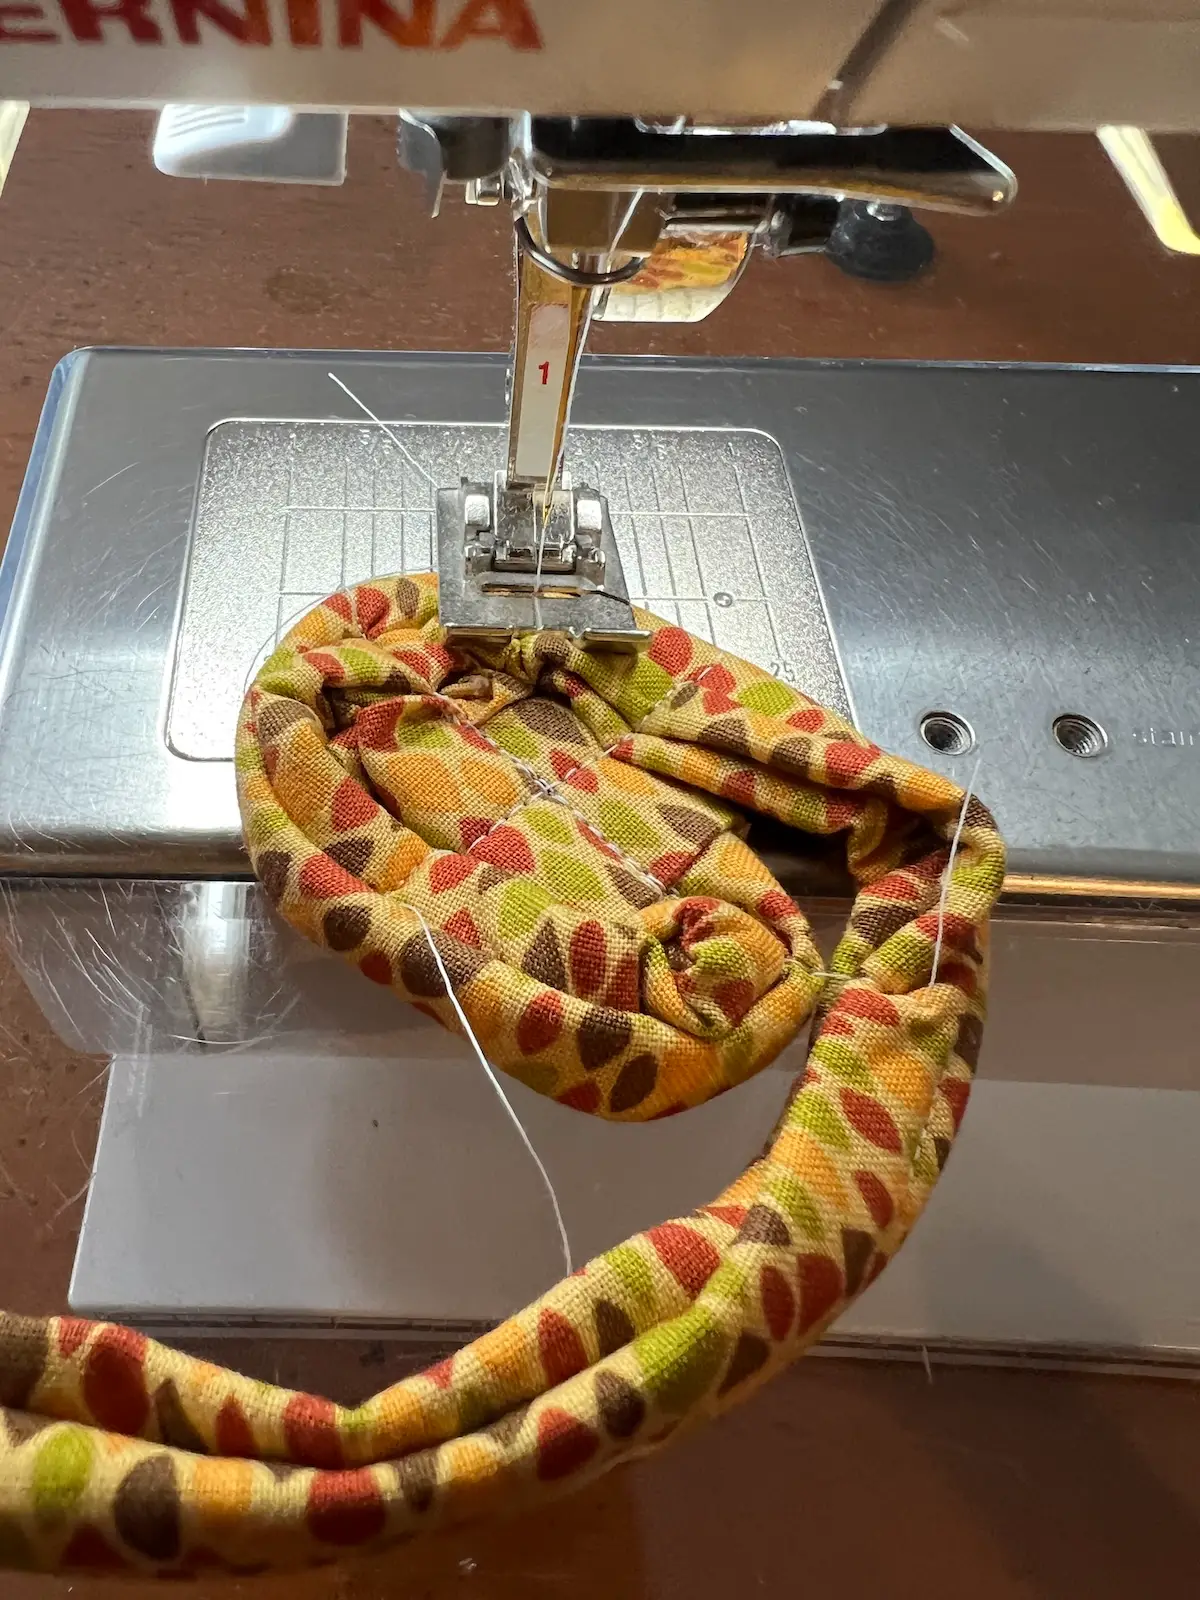
- Keep turning and stitching until you have the bottom of the basket the size you'd like.
- When you are ready to start the sides, clip your threads and press the bottom of the basket flat. It's easier to do it now. 🙂
Once it is pressed, come back to your sewing machine. Hold the bottom of the basket straight up to begin forming the sides. Continue sewing the fabric tube to the center.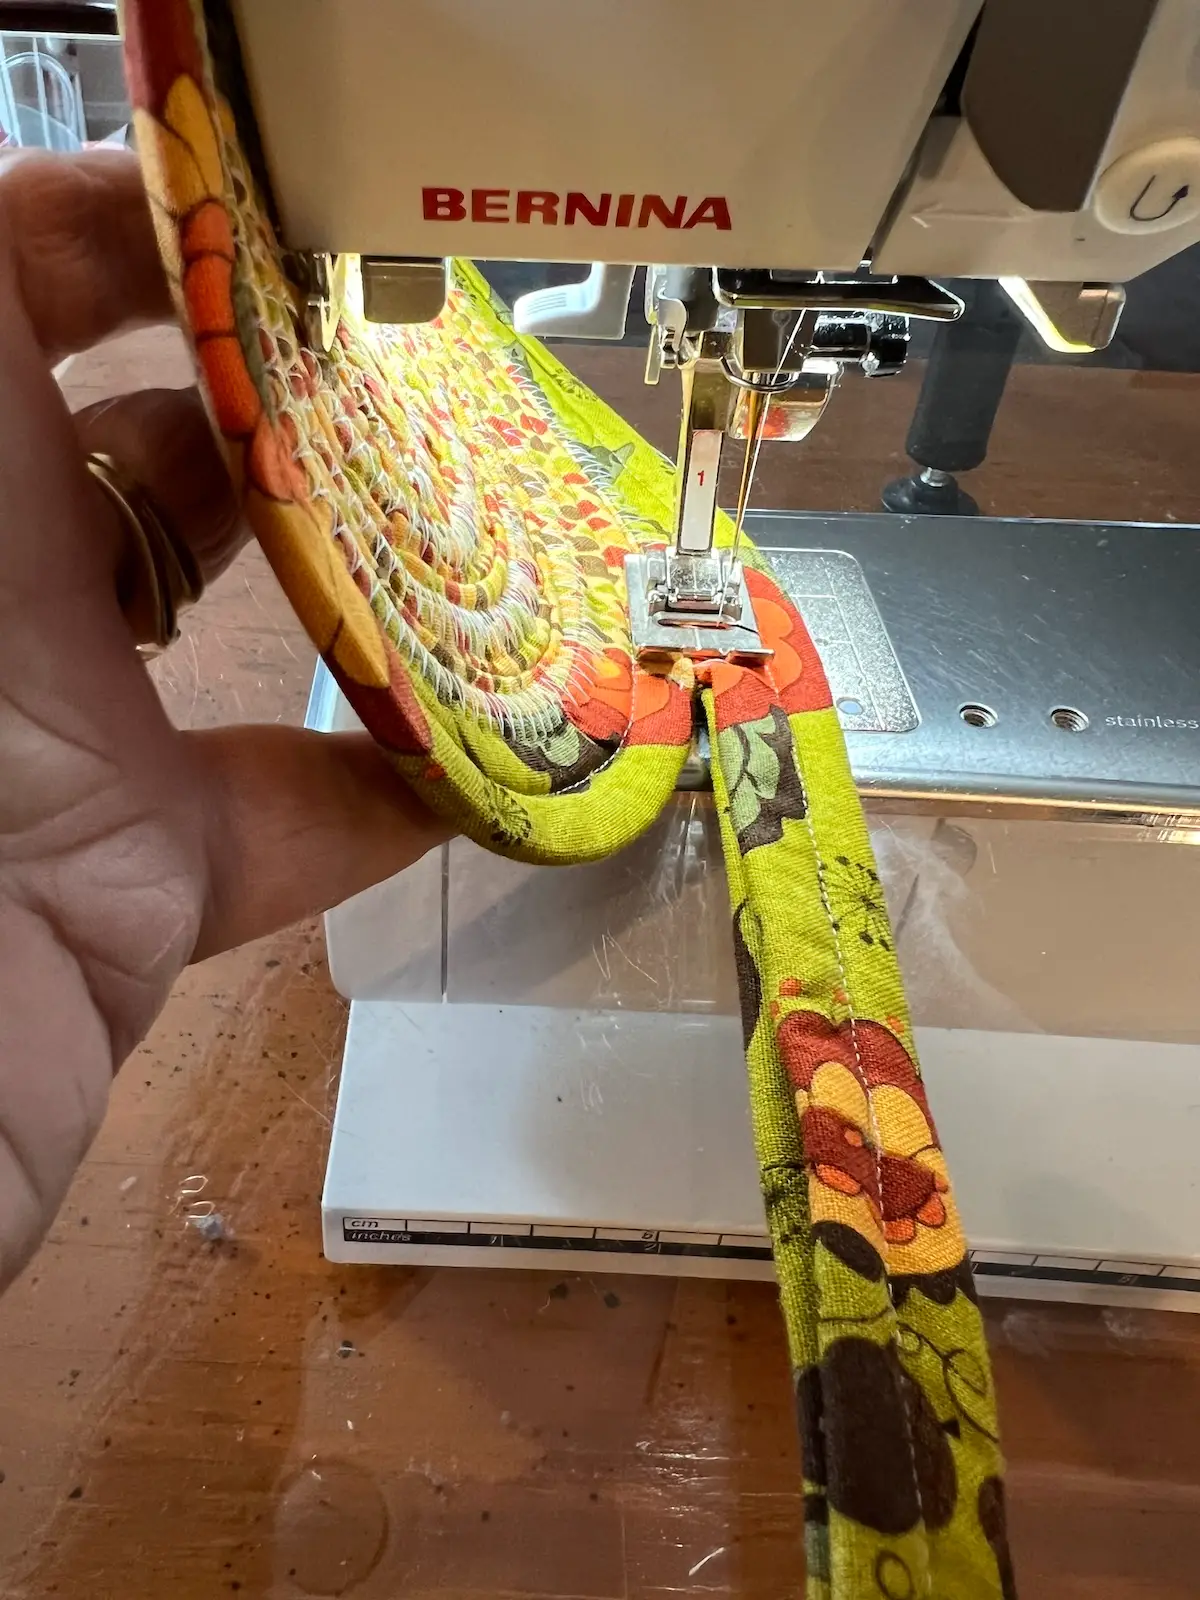
- Keep sewing round and round to form your basket.
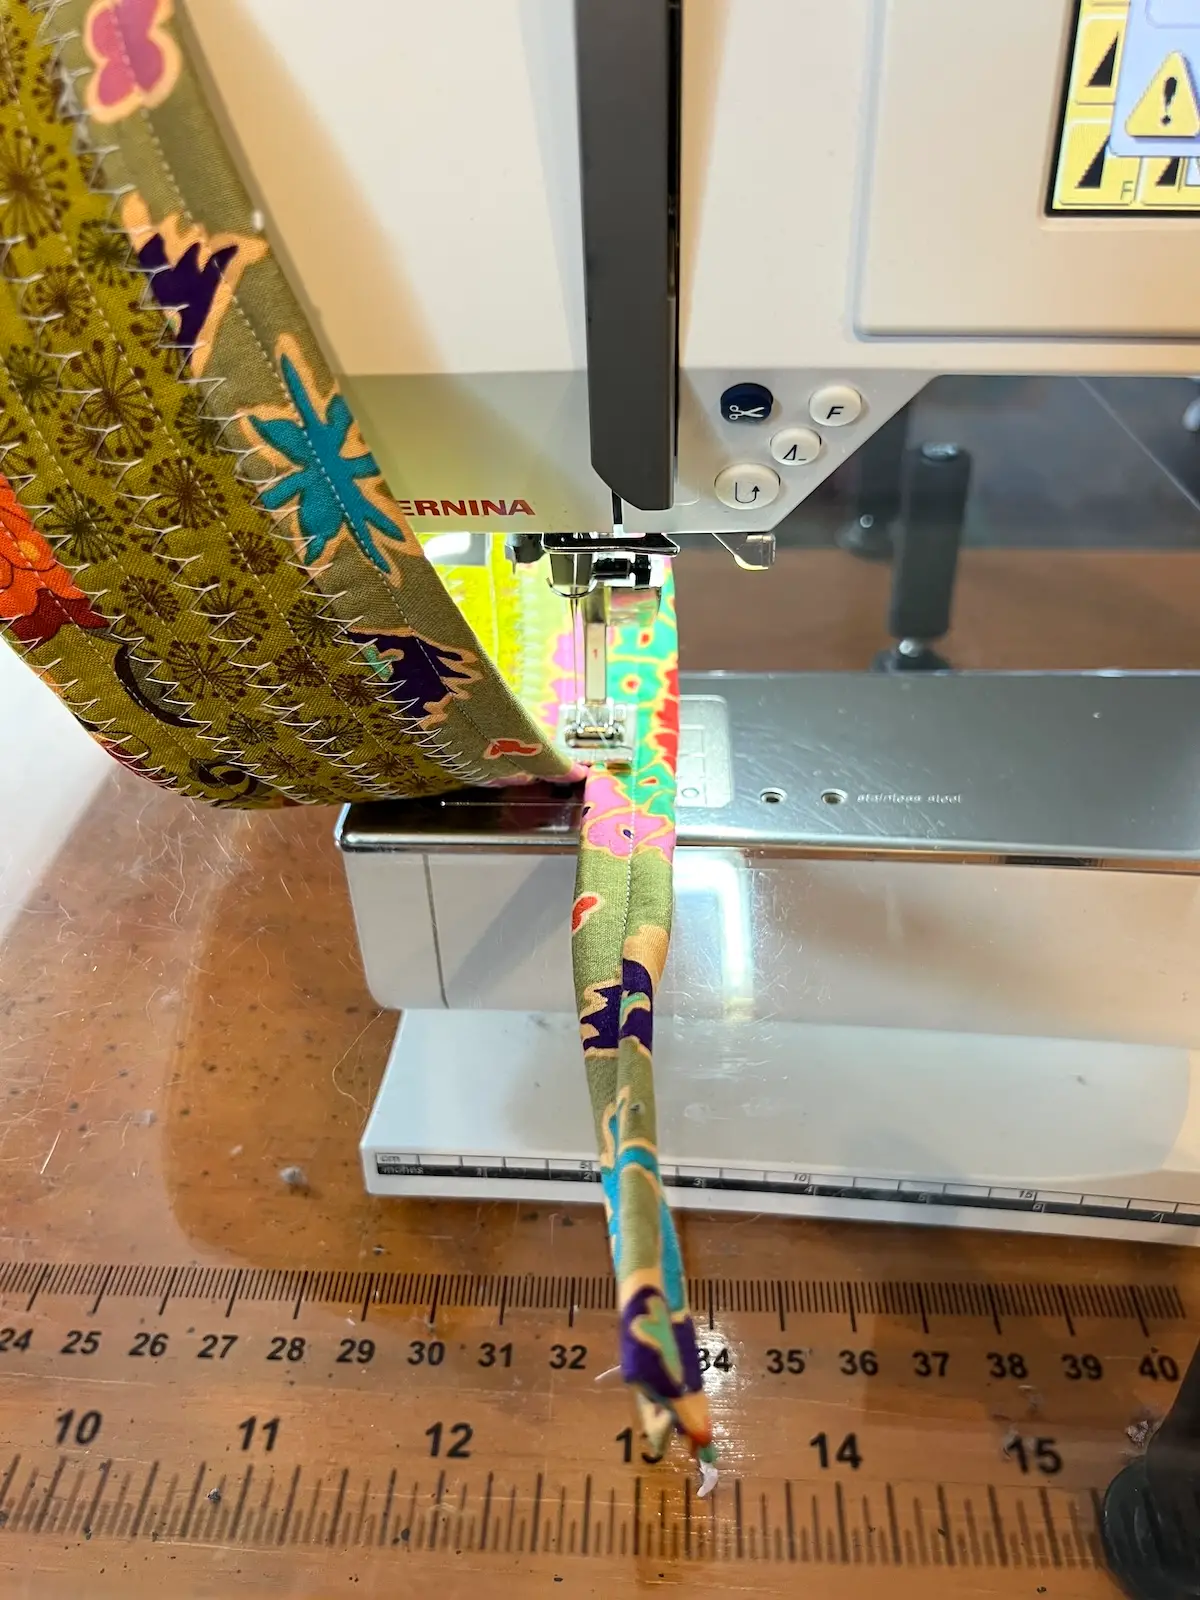
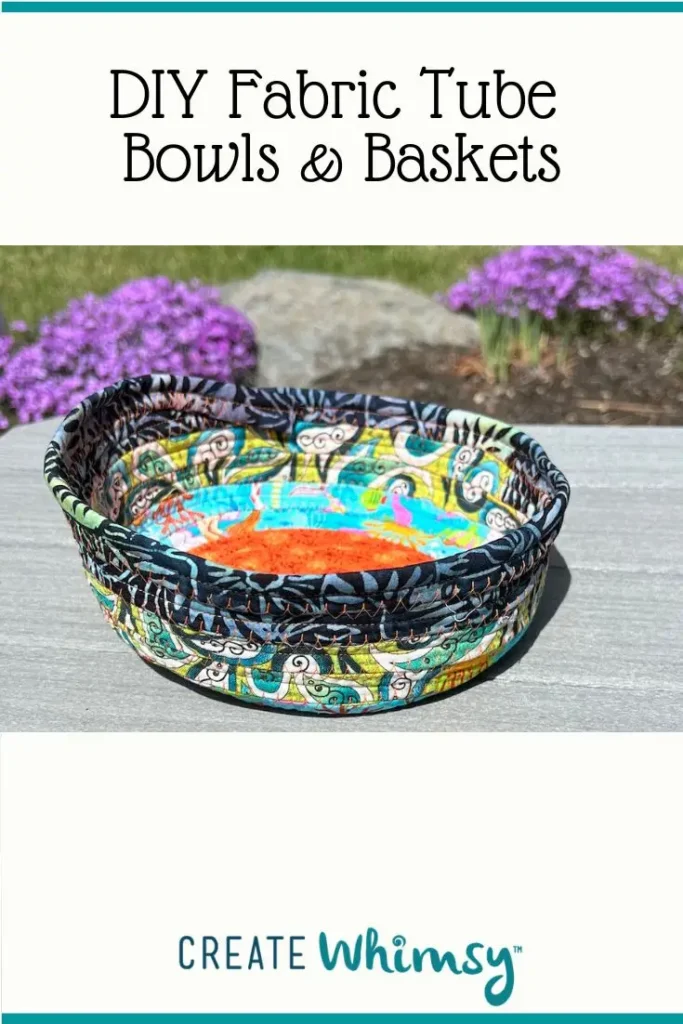
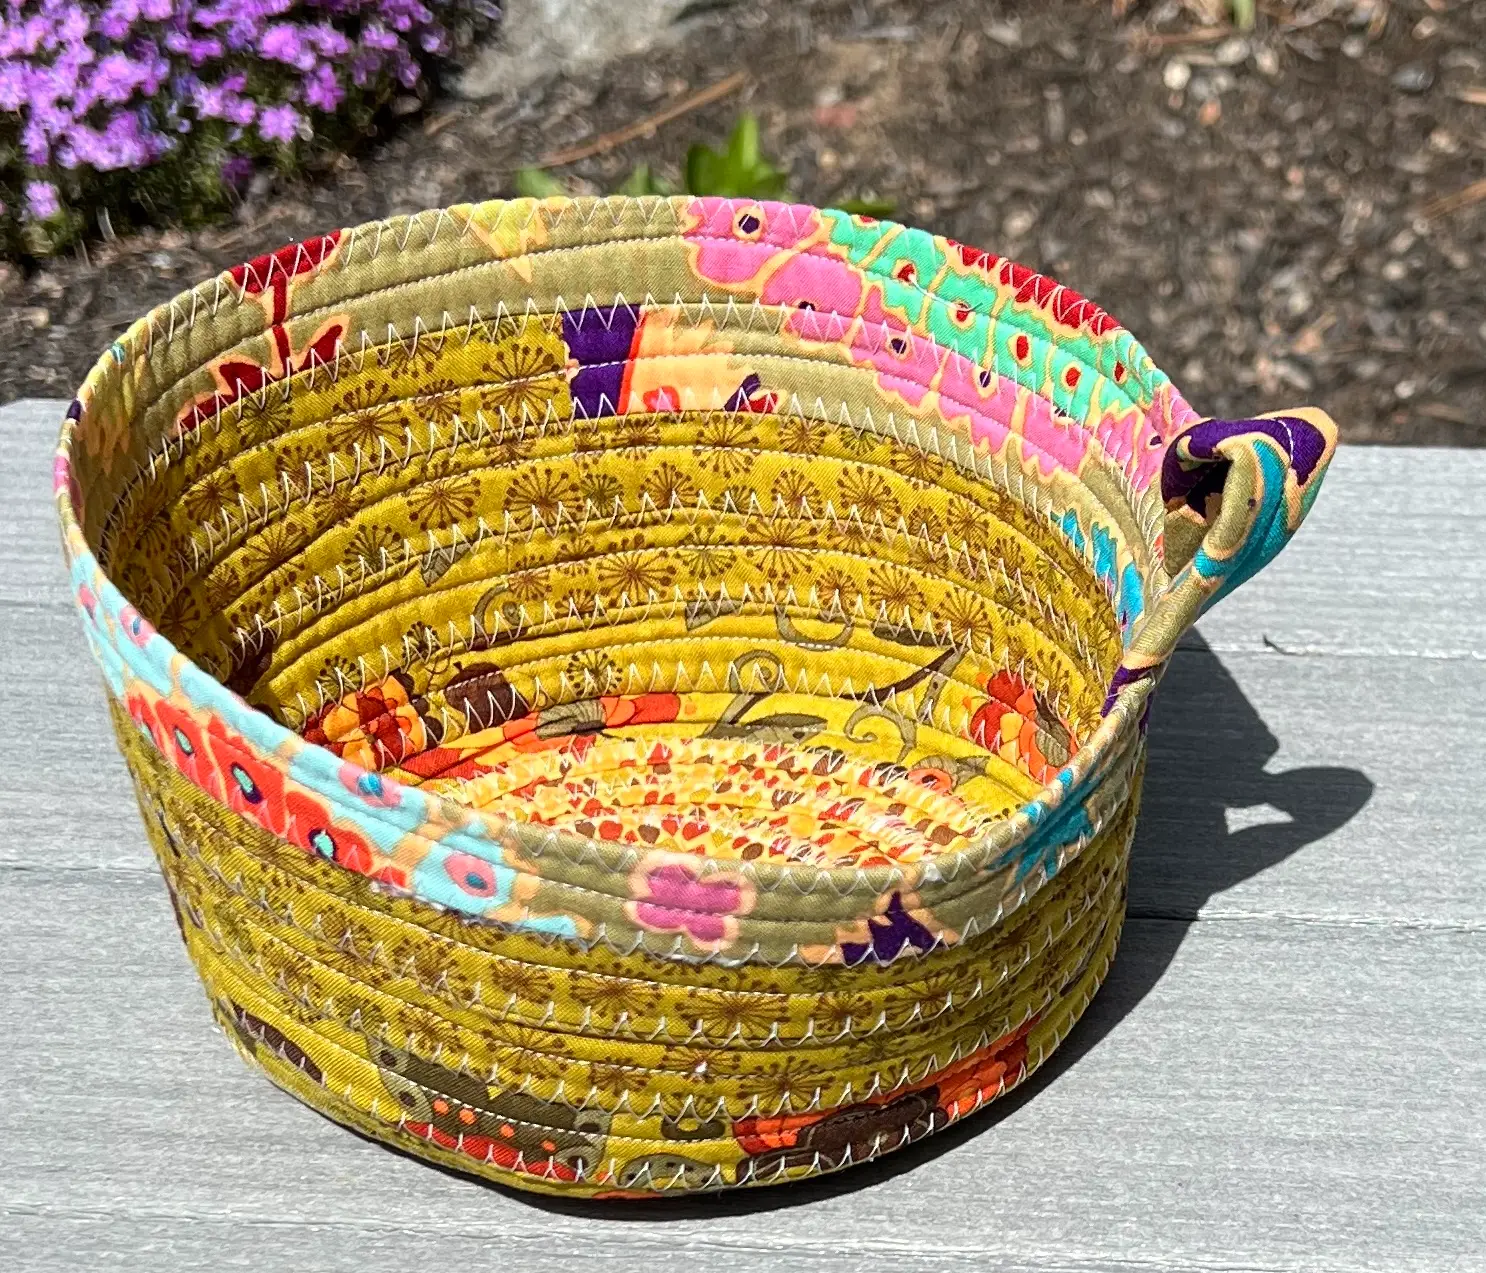
- For this basket, I'm finishing the end with a loop. When there is about 7" left of the fabric tube, make a loop and bring the end to the inside of the basket. Continue sewing, holding the loop. Sew over the loop end.
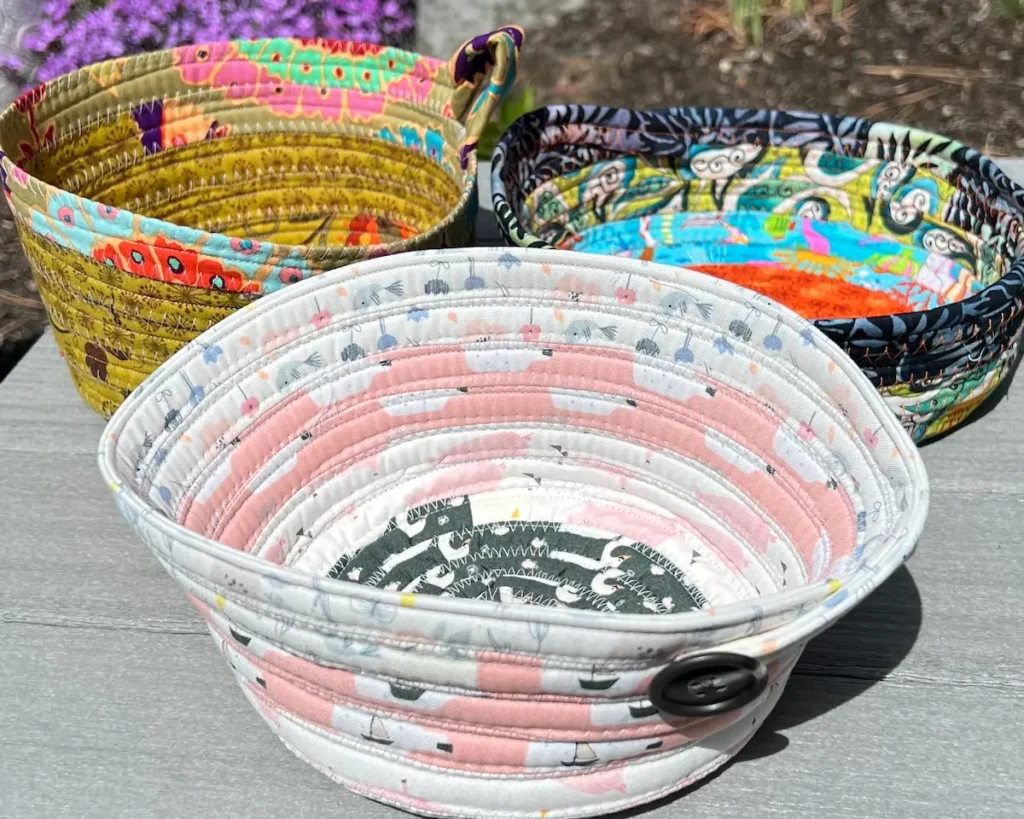
- Here is the finished fabric tube basket with a loop:
Recommended Products
As an Amazon Associate and member of other affiliate programs, I earn from qualifying purchases.


How to make a jelly roll bowl with a Clover Fabric Tube Maker
PRODUCT: Clover Fabric Tube Maker
I saw this gadget and wanted to try it and see if it made making the fabric tubes easier. It was a little tricky to figure out how to use it, but once I did, everything went quickly.
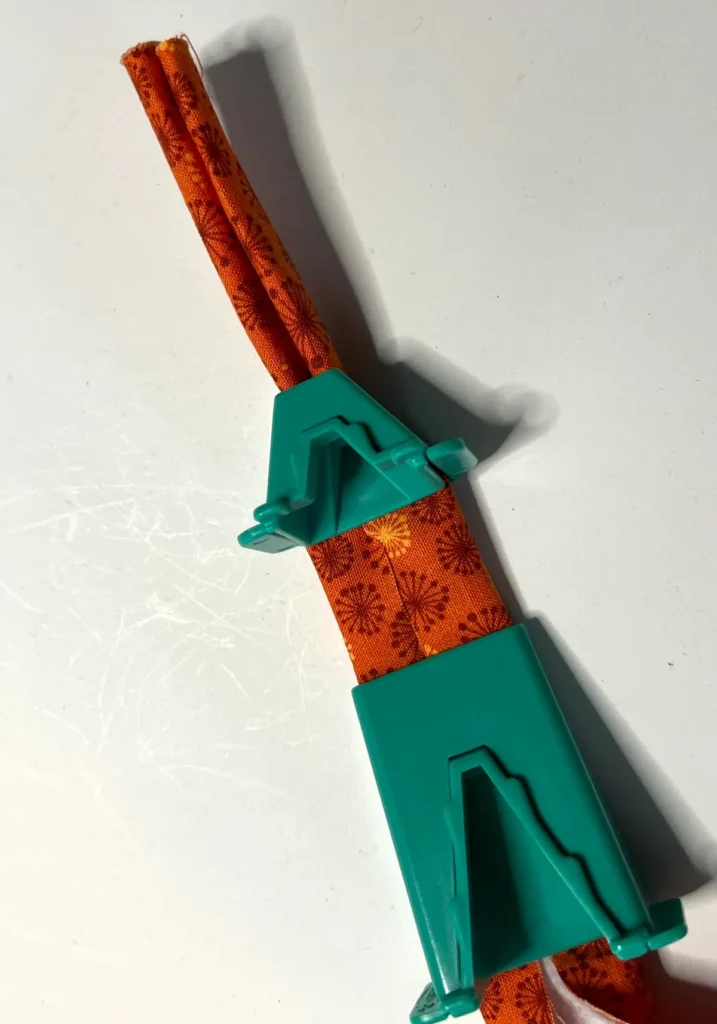
There are four parts to the Clover Fabric Tube Maker. Two pieces to fold the fabric and batting in half, and two pieces to fold that in half.
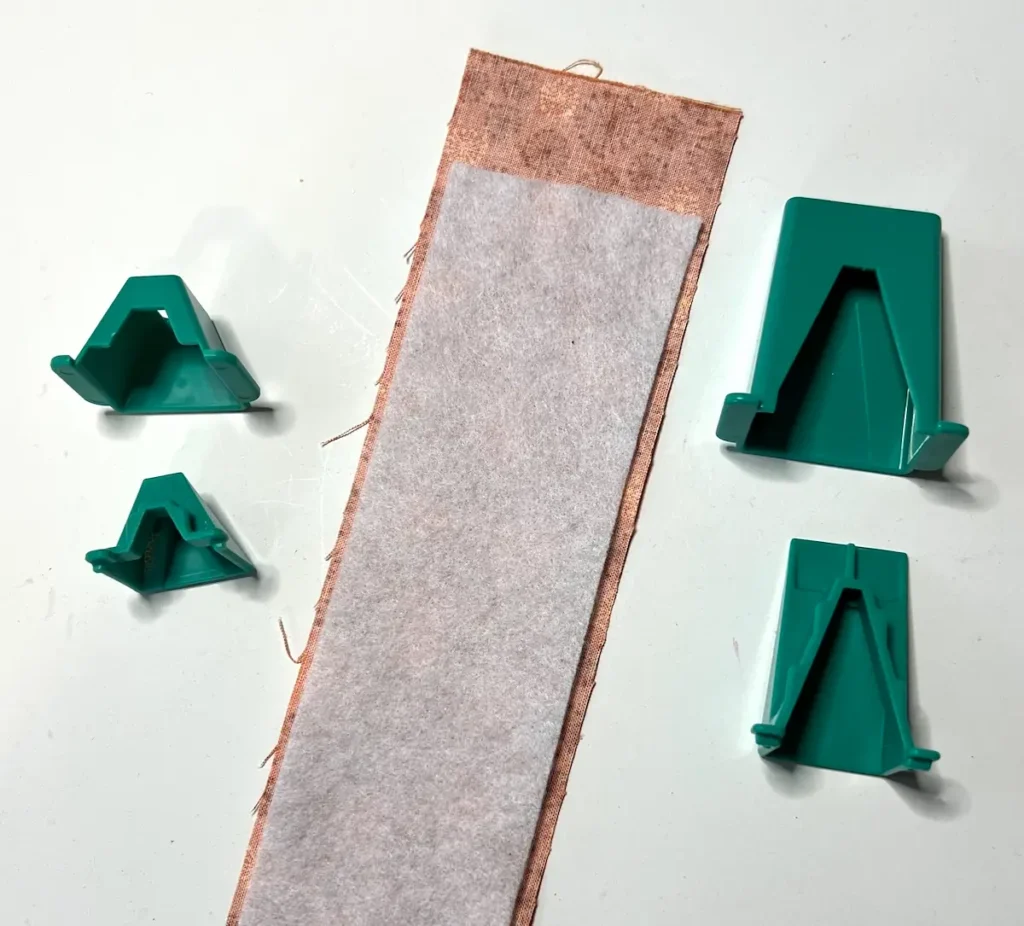
Start by taking the larger tool and place your fabric layered with the batting into the tool. Center your fabric/batting, forming a fold.
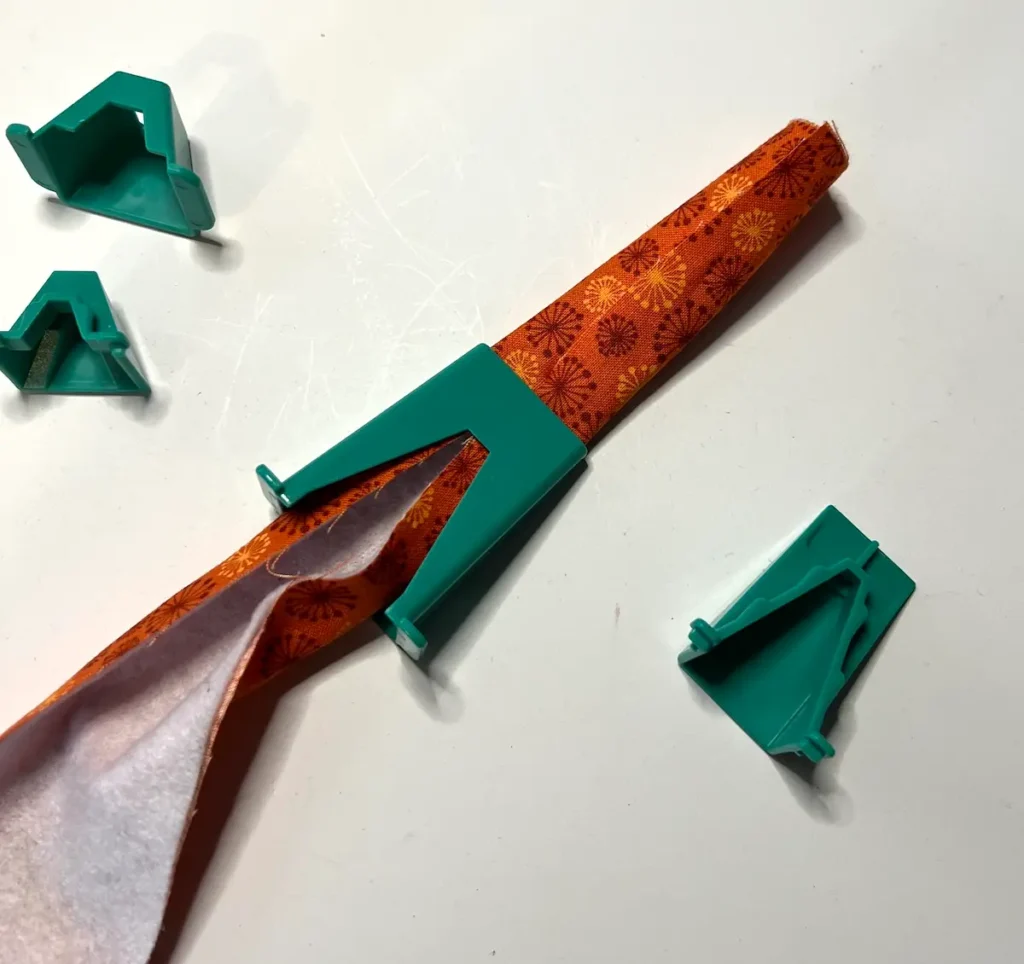
Next, place the second part of the first fold tool inside the end and click in place.This will make the first fold for the fabric tube.
Then, take the outside of the smaller tool and place it on the batting/fabric strip. Help guide the fabric to form the second fold.
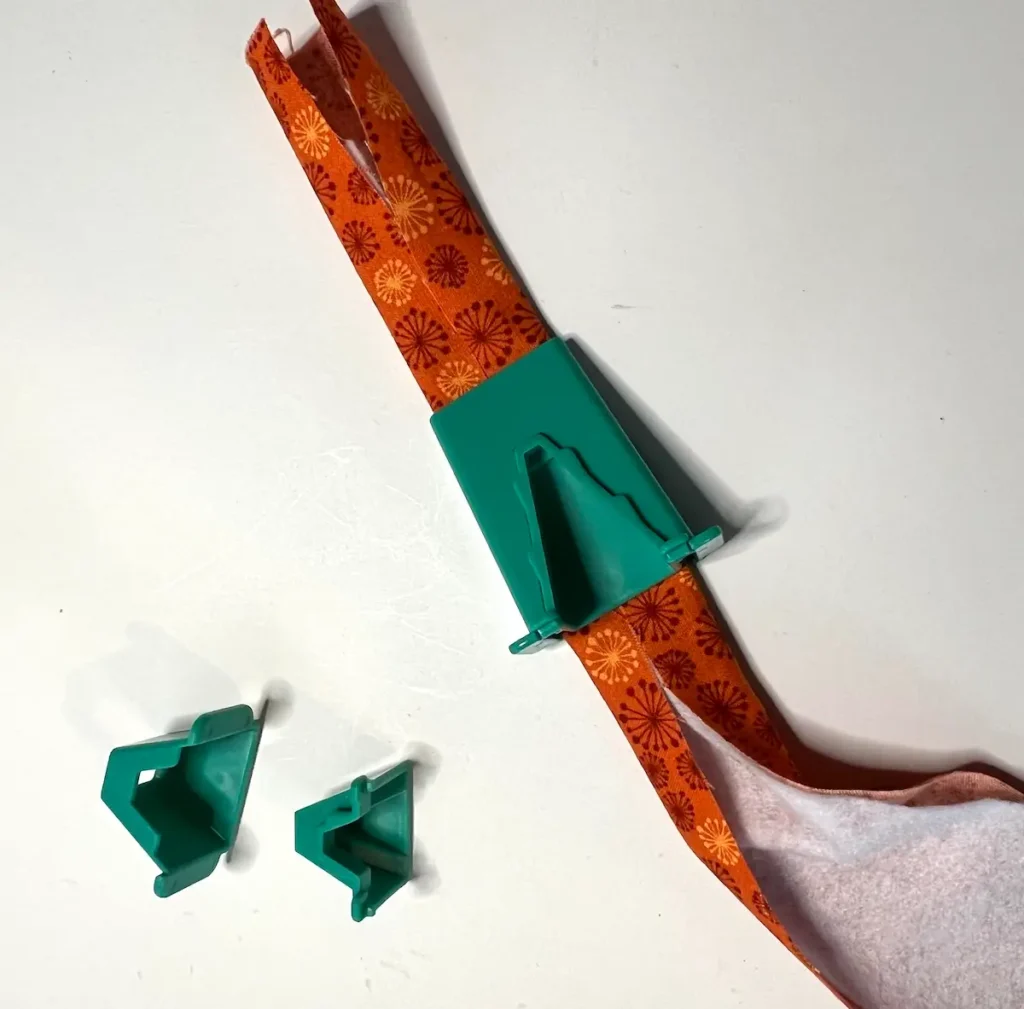
Now you are ready to sew the fabric tube. Place the end under your presser foot and stitch either along the folded edge or down the middle. This will secure the edges to the inside of the tube.
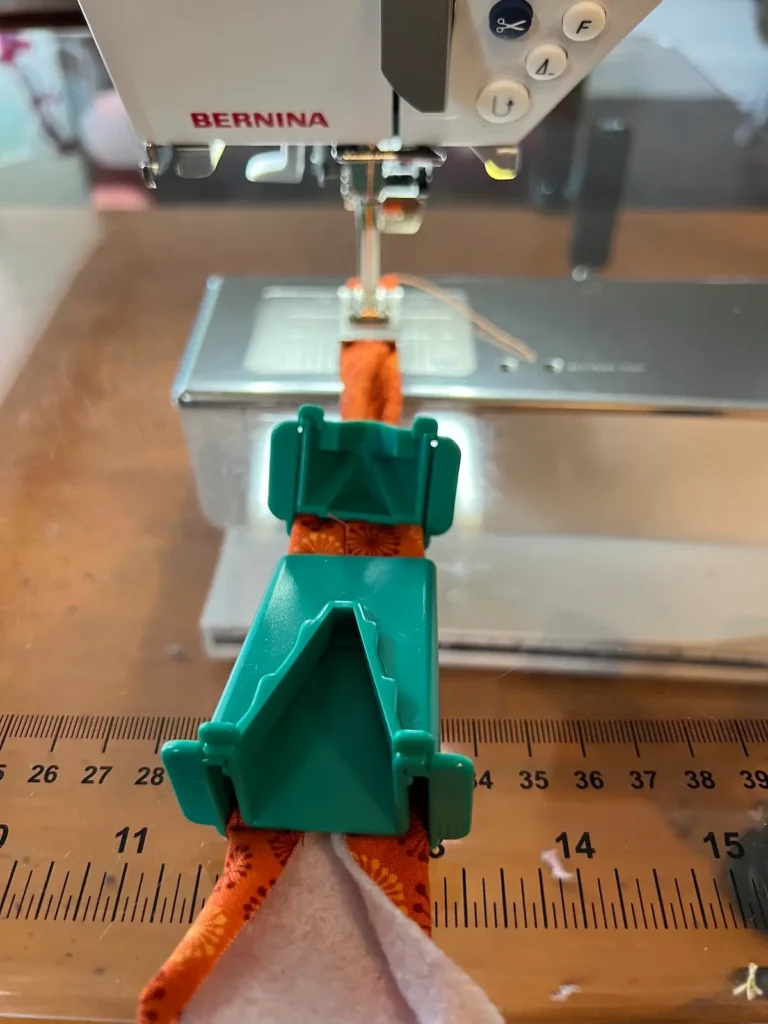
As you stitch, first move the larger fold tool towards you, and then the smaller one, creating the double folded tube.

Continue until all four strips have been sewn. Now you are ready to make your bowl or basket!
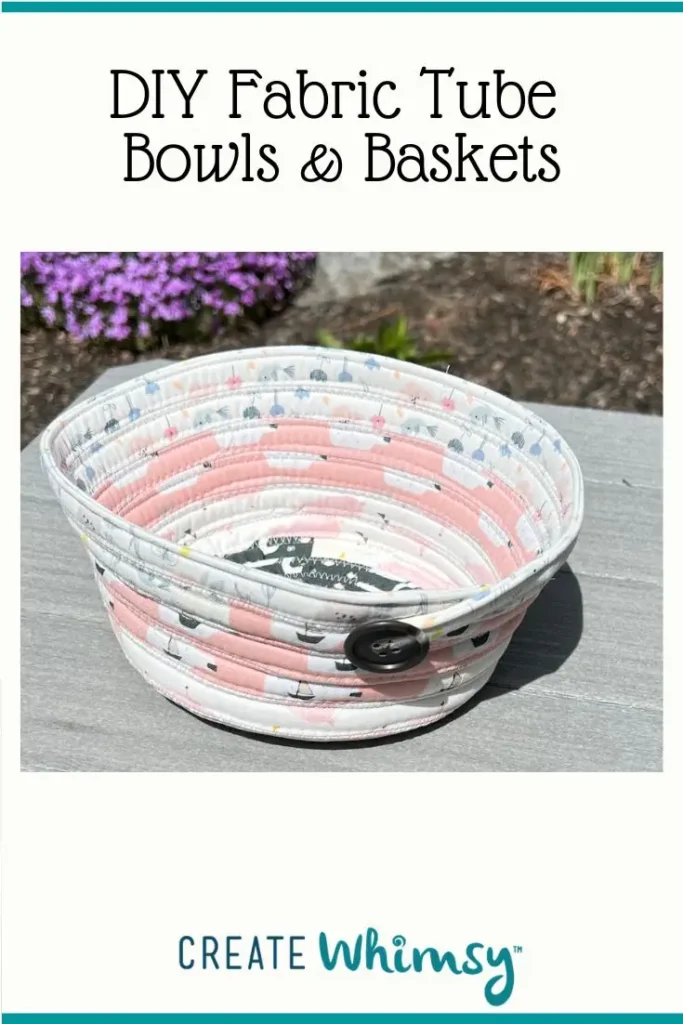
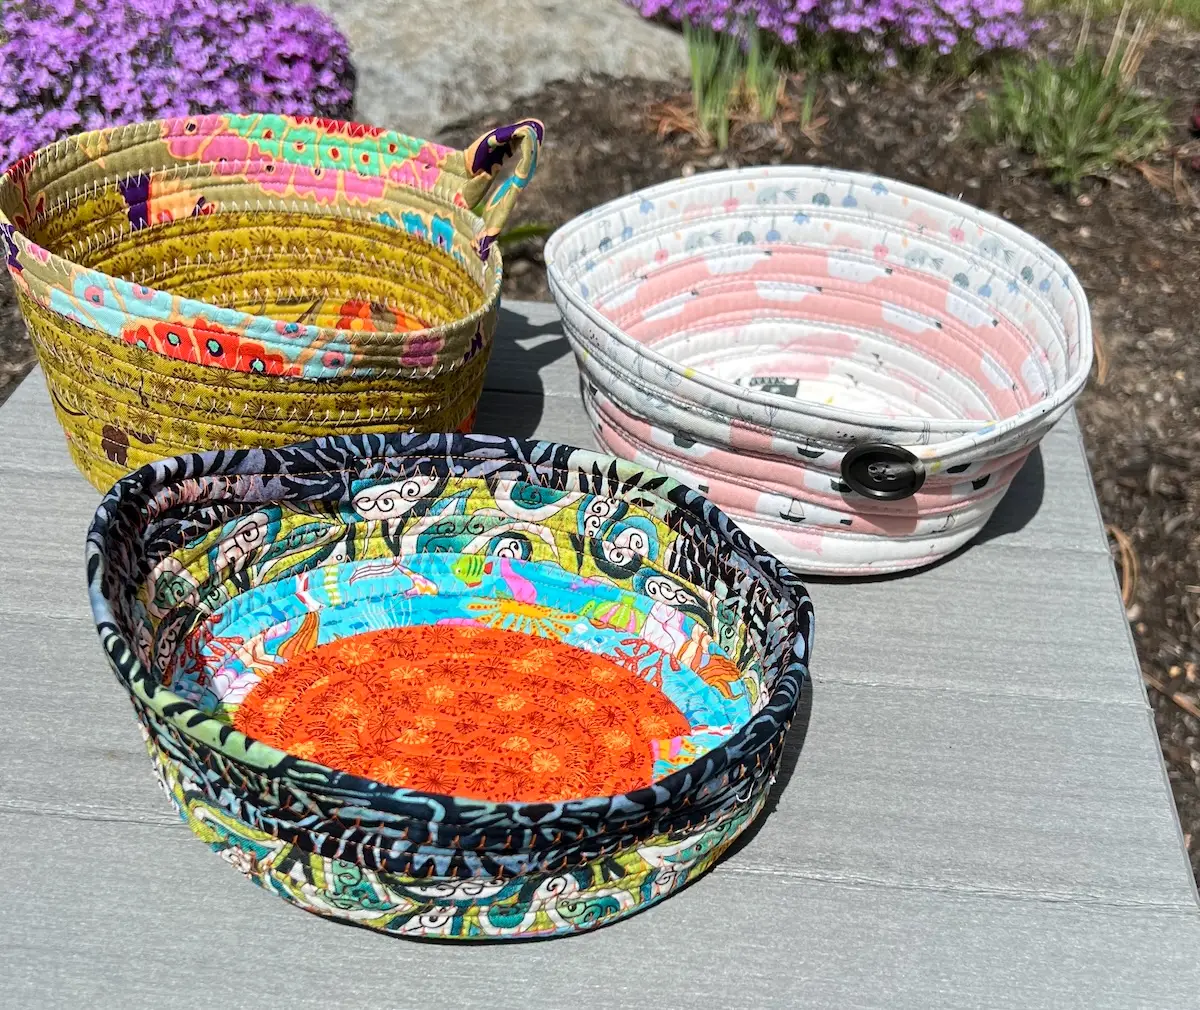
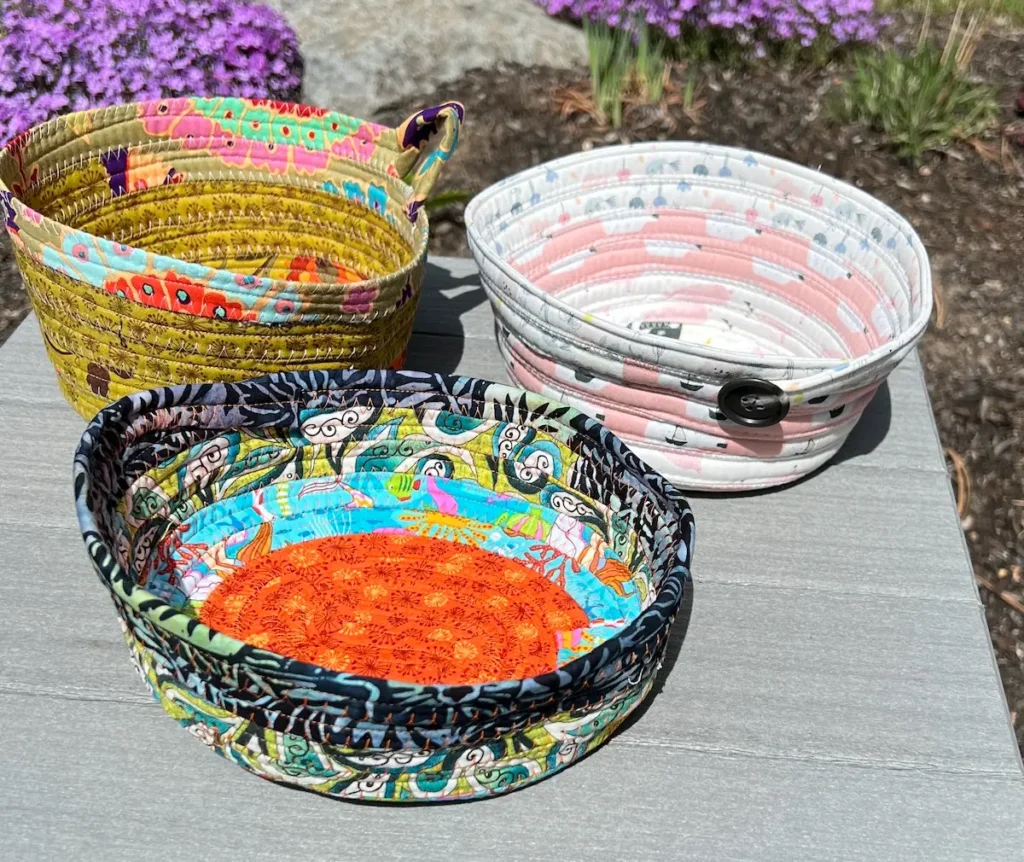
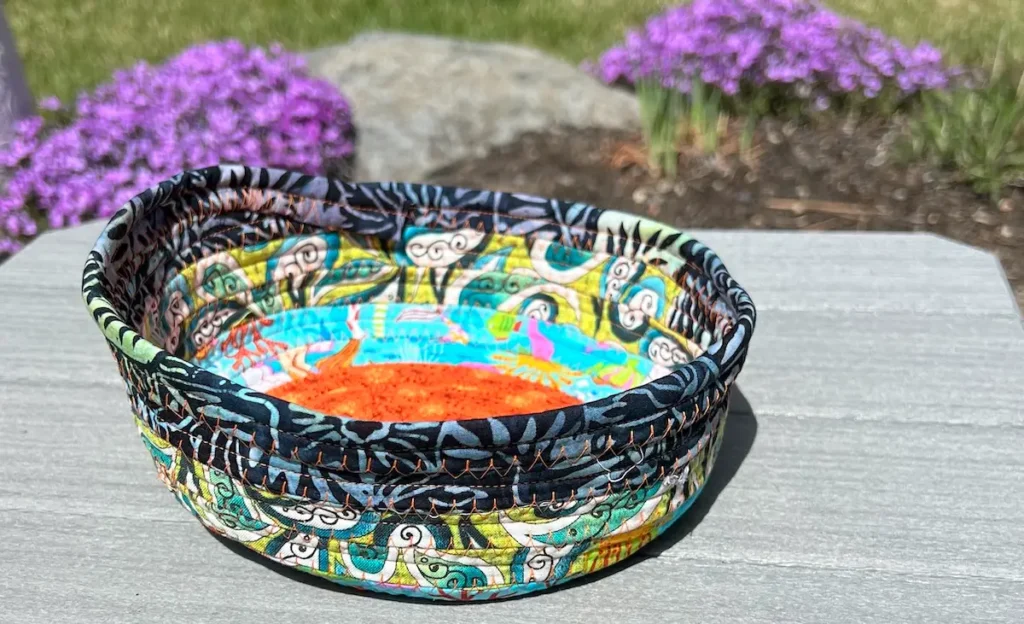
Here is a bowl I made using the Clover fabric tube maker:
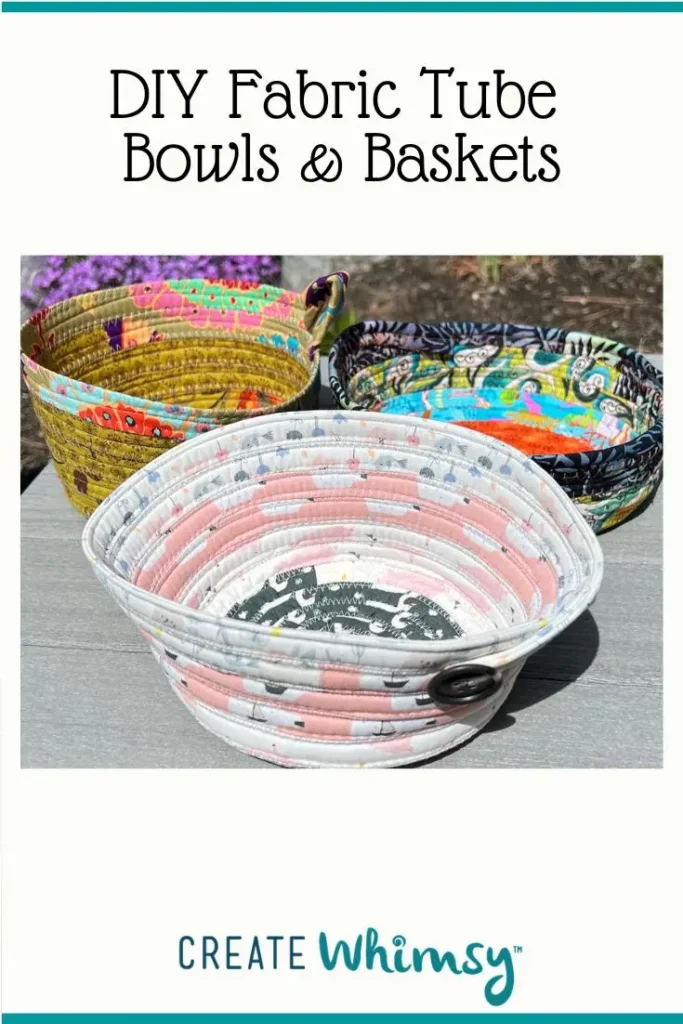
What size of bowls or baskets can I make?
You can make them any size you’d like! For a smaller basket, make the base smaller, and use fewer strips of fabric. For a larger bowl, make the base larger, and use more strips of fabric,
How do I finish the fabric tube bowl?
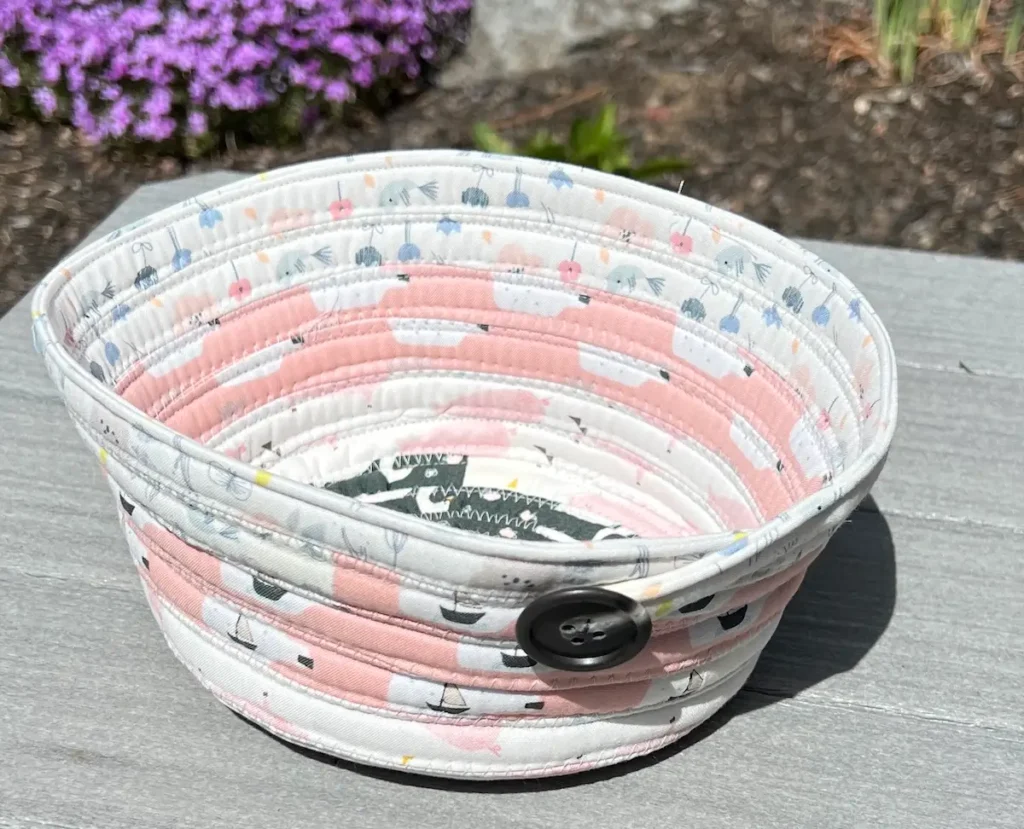
You can turn the end of the tube inside and sew. You can make a loop, and I’ve sewn the end to the outside and covered it with a button.
What fabrics and batting work best?
Jelly roll strips, 2-1/2″ strips of quilting cotton, work great. You’ll want a light loft batting – nothing thick or dense.
This can be a perfect stash-busting or scrap-happy project. Just cut 2-1/2 strips and sew them together to make four (4) strips of fabric that are 40-inches long!
If you want more texture to your bowl or basket, use lightweight textured garment fabrics, like dotted swiss, or a nubby woven.
How can I control the shape of my basket?
To start your basket, it is important to keep the bottom flat. And, as I suggested above, when you’ve got your bottom the size you would like, give it a good press with steam to make sure it is really flat.
If you’d like your sides to be a gentle shallow bowl, when forming the sides of the basket, only slightly angle your bowl bottom.
I made this bowl with straighter sides and held the bottom at a steeper angle.
Troubleshooting
Why won’t my sides stand up?
If your sides are floppy, you need a thicker batting. I wouldn’t go too thick. For your first baskets, I’d recommend buying the batting on the roll. It’s the right thickness.
RECOMMENDED PRODUCT: Bosal jelly roll rug batting
Why are there gaps?
Gaps occur when the zigzag stitch doesn’t catch both sides of the fabric tubes. You can go back in and zigzag over the gaps. If you can’t reach a gap with your sewing machine, you can easily stitch it closed by hand. This might be a great opportunity for embellishments or embroidery!
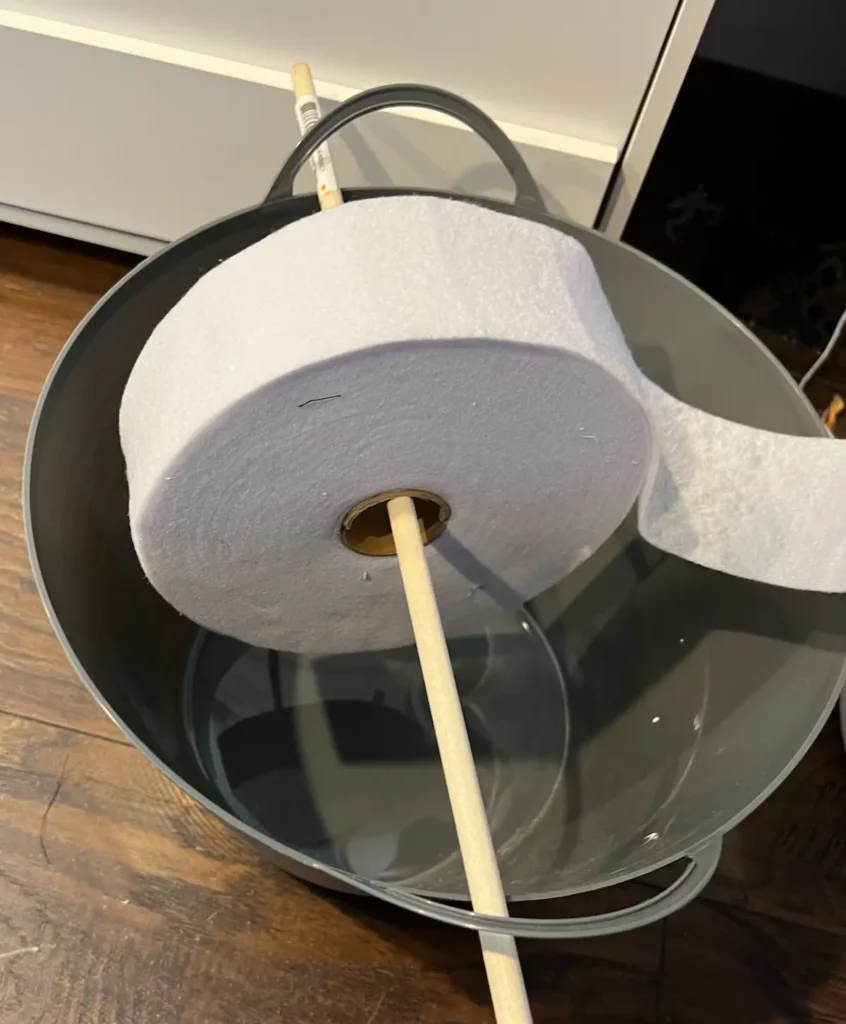
My batting keeps twisting.
TIP: Get a small basket and a piece of dowel. Thread the dowel through the center of the batting roll and through the handles of the basket. Now, the batting comes off without twisting!
Design ideas and variations
This is where you can make it yours!
- Use ombre fabrics for a subtle change in colors
- Make it scrappy by sewing together your scraps and cut the scraps to 2-1/2″ wide
- Add pre-made handles. RELATED: How to add leather handles with rivets
- Play with the decorative stitches on your sewing machine. Select a wide decorative stitch
- Use contrasting threads for the stitching
Caring for your fabric tube bowls and baskets
Can I wash my bowl?
Yes! Use a gentle cycle in the washer and air dry.
How do I reshape my bowl?
Dry your bowl standing upright. After it is dry, press the sides with a steam iron. Your bowl should stand up perfectly – ready for more use!
What are some ideas for using my bowl?
- Yarn bowl
- I use mine all of the time to collect threads for embroidery projects. My needle case, thimbles are all contained and easy to move wherever I’m stitching.
- Bread basket
- Catch-all for keys and other small items
- Gift basket
- Matchbox car basket (or other small toys)
Frequently asked questions
Do I have to use a jelly roll?
Nope! You can cut your own 2-1/2″ strips from stash fabric. It’s a great scrap-buster.
What kind of batting works best inside the tube?
I like to use pre-cut cotton batting on a roll. You can cut your own batting strips from your batting scraps. You don’t want the batting to be too thick or dense.
Can I make this without a sewing machine?
You could . . . but it is a lot faster and sturdier with a sewing machine.
How do I keep my bowl from going wonky?
While you are sewing, focus on consistent stitching. When you get to the sides of the bowl, try to keep the same angle at all times. Small changes in the tilt will make a big difference.
Why is my bowl rippling or cupping unevenly?
This usually means you aren’t keeping the base flat, and didn’t press it enough – press it into submission! And, for the sides, the shaping angle wasn’t consistent.
Can I add handles?
Of course! Add purchased handles, use fabric scraps to create handles to sew to the basket, or even leave gaps in your zigzag stitching on the last row to create handles.
How big can I make a bowl or basket?
You can make them as big as your patience and fabric stash will allow! With this technique, I probably wouldn’t make them larger than 20-inches wide and 10-inches tall.
Is this project beginner-friendly?
Yes! If you are comfortable sewing a zigzag stitch, it’s a great beginner project.
How do I finish the top edge neatly?
Fold the end of the tube under and stitch it down. You can bind the upper edge for a polished look. Use the same fabric or a contrasting binding.
Once you understand how to control the shape, making fabric bowls and baskets becomes a wonderfully intuitive process. A slight change in angle, a different batting, or a new color combination can completely transform the final piece.
These coiled creations are as practical as they are satisfying to make. Use them around your home, fill them with gifts, or experiment with new variations to make each one your own. Like many good sewing projects, this one rewards both precision and play.
And don’t be surprised if your first bowl turns into a stack. They tend to multiply in the most delightful way.
Explore more ways to get organized on Create Whimsy.