
Make that package of tissues in the bottom of your bag pretty with a handmade tissue holder! This purse tissue holder is a quick and easy project – great for beginner sewists and perfect last-minute gift! If you can sew a straight line, you can make this project!
Here is a step-by-step tutorial for a DIY Tissue Holder. This is a fun and easy project to use up scraps – a perfect scrap-buster! Make a personalized tissue holders for your purse, backpack, bags and putting one in your car! These will make great stocking stuffers, or perfect small teacher gifts.
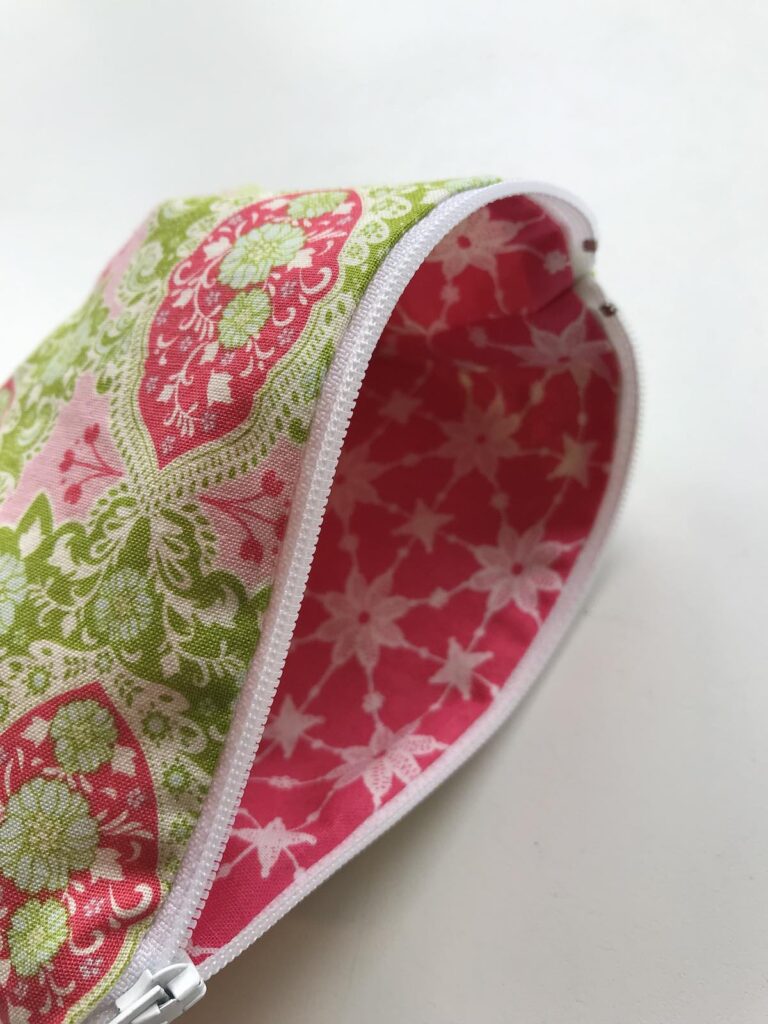
This can be made out of a single fabric, but I thought it would be fun to have coordinating fabrics. You can make this in one (1), two (2) or three (3) fabrics. Make a coordinating small zipper pouch to hold your lip gloss and other small items in your bag or purse! You probably already have fabrics in your fabric stash to whip one of these pocket tissue pouches up right now!
This project is really easy and quick. From start to finish was less than 20 minutes – and I had to wait for the iron to heat up! If you cut your fabric ahead of time, these would be even faster!

DIY Tissue Holder Tutorial
Keep your tissues protected in the bottom of your purse, backpack or bag with this super quick and easy DIY Tissue Holder project.
As an Amazon Associate I earn from qualifying purchases. Read more about our affiliate linking policy.
Learn how to sew this fabric pocket tissue holder with our step-by-step tutorial with photos.
Have fun with your fabric selections. You can use one fabric, two fabrics (as I have done), or three fabrics! With three fabrics, one would be for the bottom of the tissue holder, and then there would be two fabric for the top of the tissue holder.
This is a perfect project for your scrap fabrics!
There are perfect for small gifts for stocking stuffers, or teacher gifts!
Materials
- One (1) piece of fabric 4-inches x 5-1/2 Inches
- Two (2) pieces of fabric 3-1/2 inch x 10-inches long. These will be the top of the tissue case. One fat quarter will make a tissue cover.
- Thread
- Pocket tissue package to put in your new cover
Tools
- Sewing machine
- Iron
- Pressing surface
- Rotary cutter and mat
- Quilter's ruler
Instructions
- Cut your fabrics. You can use one fabric, two or three fabrics. Have fun with your fabric selections!
It's easier to use your rotary cutter and quilter's ruler to cut the fabrics.
- Take the 3-1/2 inch strips and fold them in half lengthwise. Press them in half. Here I had a strip in the flowers and a strip in the polka dot.
From one strip, cut two (2) pieces at 4-1/2 inches and from the other piece cut two (2) at 5-1/2 inches. Here are all of the pieces ready to be put together.
By folding the fabrics in half horizontally, this makes the lining for the pocket tissue pack cover.
- Next, layer the strips, overlapping them, on top of the right side of the rectangle. Make sure to have the folded edge of the strips to the interior and match the raw edges of the strips to the raw edge of the rectangle. (Ask me why I'm emphasizing this - I did some un-sewing after having the raw edge on one strip to the inside. Sigh.)

- Go to your sewing machine and sew all around the edge with a 1/4 inch seam allowance. TIP: Use your 1/4 inch presser foot for your machine to make it easy to have accurate seam allowances. This is sewing the side seams for the cover.
Trim the corners so they will turn nicely.
- Turn right side out. Now your new cute pocket tissue holder is ready for a package of pocket sized tissues!

- Here is the finished tissue holder.

Notes
If you'd like, you can finish the inside seams with an overlock stitch or zigzag stitch.
Recommended Products
As an Amazon Associate and member of other affiliate programs, I earn from qualifying purchases.


Now when you have a runny nose, when you pull out a tissue, it will be in a cute fabric tissue holder!
Looking for more projects to sew for gifts that you can make from your stash, like the DIY Tissue Holder?

English Paper Pieced Mug Rug – perfect for beginner to English Paper Piecing, also known as EPP
Quick and easy project to make a Zipper Pouch – perfect for carrying lip gloss and other small items in your purse or bag.

These wine coasters double as mug rugs and are made from charm packs, or 5-1/2 inch squares of fabric. Have fun mixing different fabrics – personalize them with novelty prints or colors so everyone knows which wine glass is theirs!
Browse through all of the sewing projects and inspiration on Create Whimsy.
