
Reversible cloth napkins are a simple sewing project that gives you two looks in one. Choose coordinating fabrics for a seasonal table, mix favorite prints, or make a set that works for everyday meals and special occasions. With no exposed seams and easy straight-line sewing, these napkins are a great project for beginners and a quick way to use up fabric from your stash.
RELATED: DIY cloth napkins: easy sewing project for beginners
RELATED: How to make rick rack cloth napkins
RELATED: How to make cloth napkins with a serger
Quick Start
Skill level: Beginner
Time: 20-30 minutes
Finished Size: 18-inch square
Best fabric: Quilting cotton
Supplies:
- 2 coordinating 18-inch fabric squares
- Coordinating thread
- Sewing machine
- Pins or clips
- Iron and pressing surface
Basic steps:
As an Amazon Associate I earn from qualifying purchases. Read more about our affiliate linking policy.
- Place the two fabrics right sides together.
- Sew around all four sides, leaving a small opening for turning.
- Trim the corners to reduce bulk.
- Turn the napkin right side out.
- Press well, turning the opening edges under.
- Topstitch around the entire napkin to close the opening and create a crisp edge.
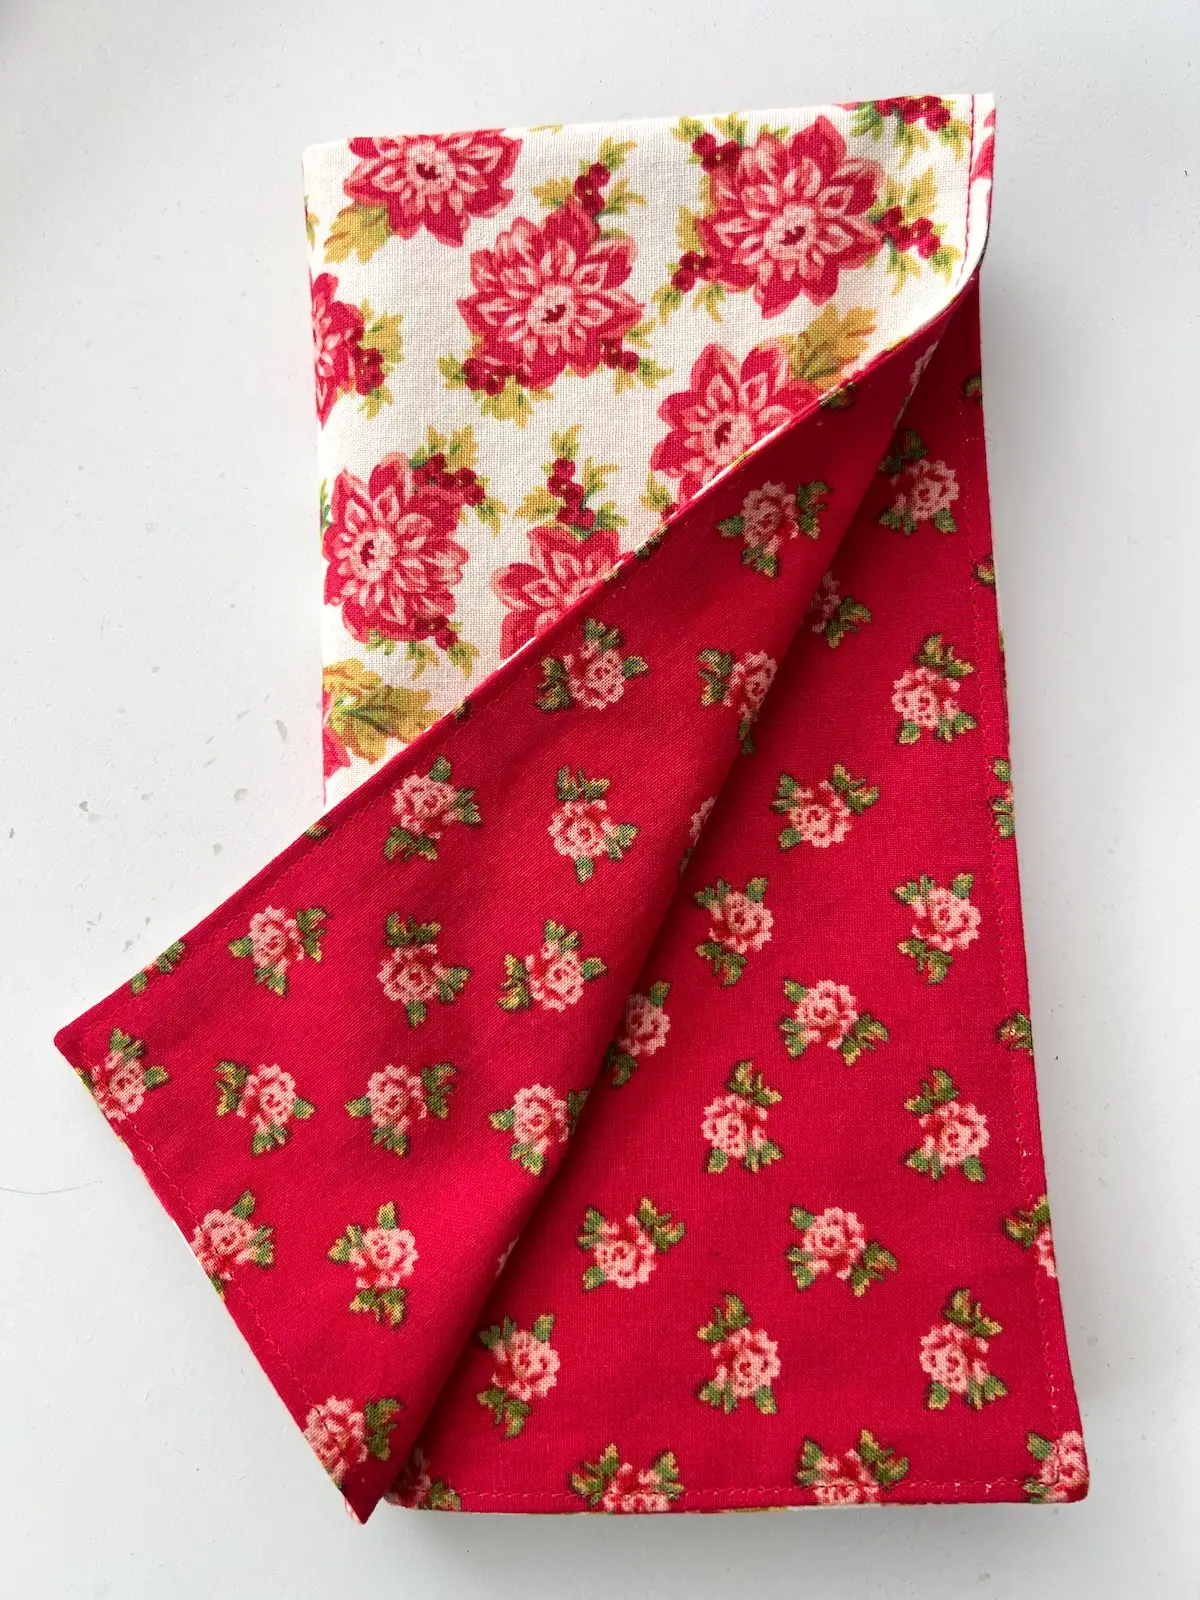
DIY Reversible Cloth Napkins
Materials
- Two (2) - 18-inch squares of cotton fabric
- Thread
- Pins or Wonder Clips
Tools
- Sewing machine
- Iron
- Pressing surface
Instructions
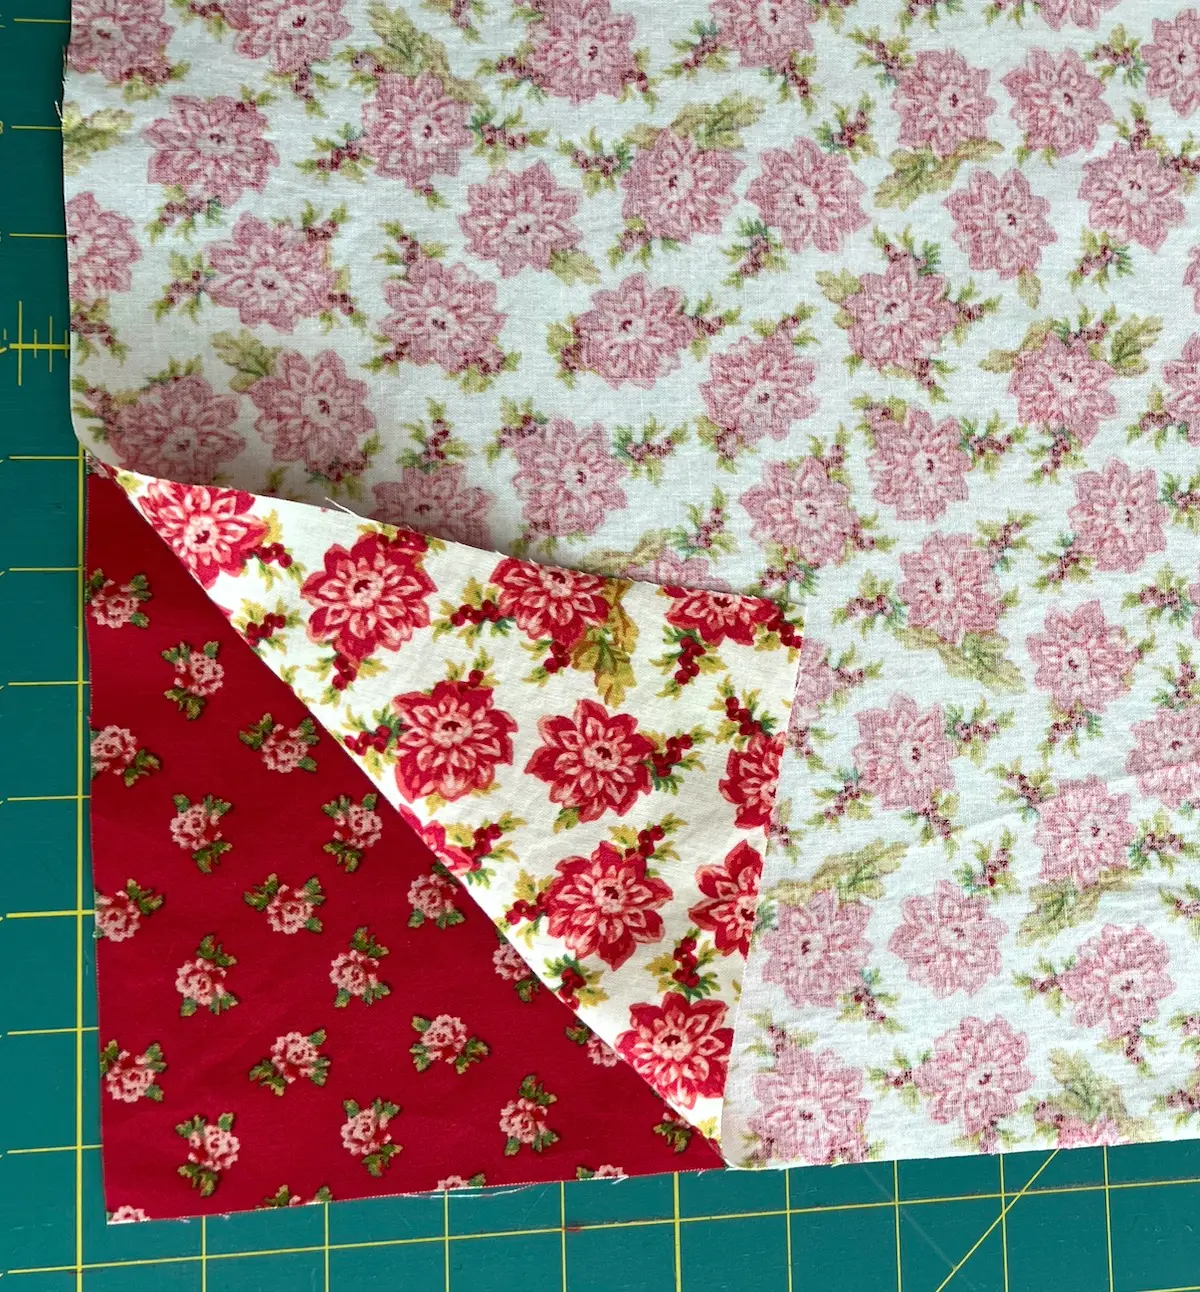
Step 1: Place your fabric right sides together
Step 2: Sew
With right sides together, use a 1/2-inch seam allowance for stitching around the edge. Start on one side about 2/3rd from a corner. We'll be leaving an opening to turn the napkin right side out.
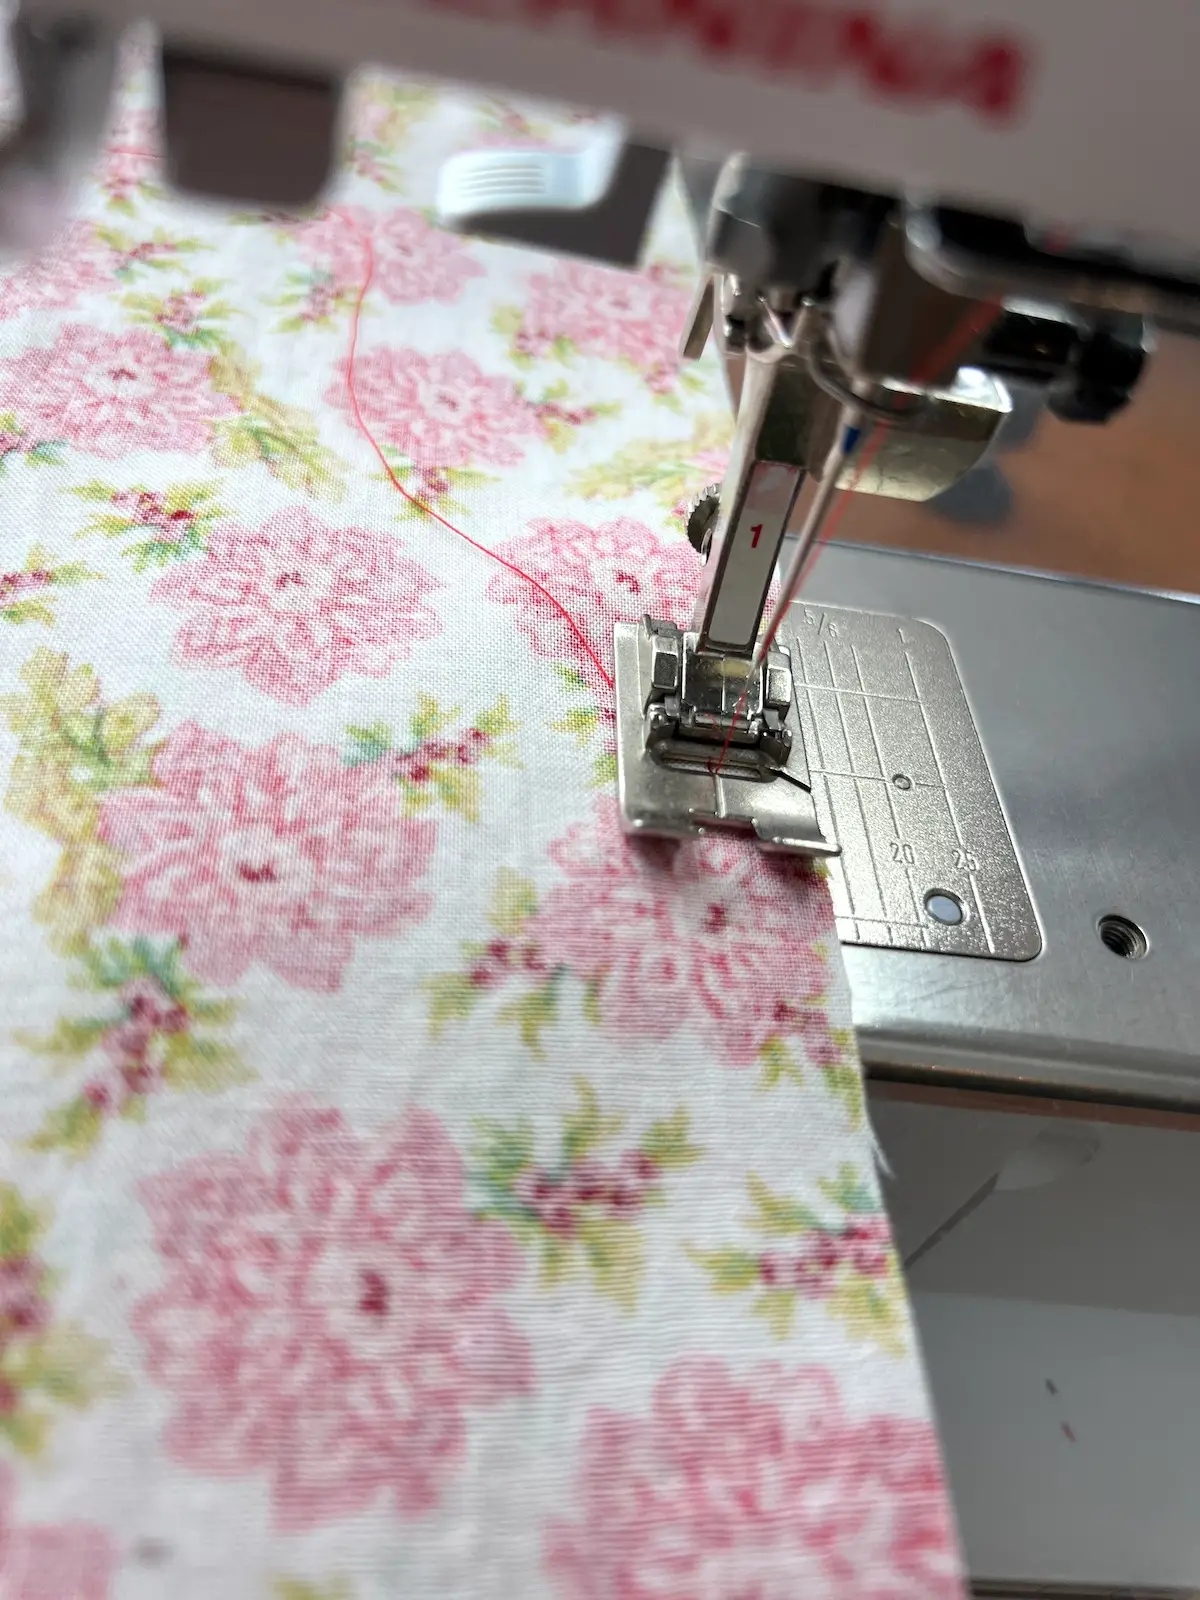
At the corner, put your needle down, lift your presser foot, and swing the napkin around to sew the next side. Do this for the next three sides.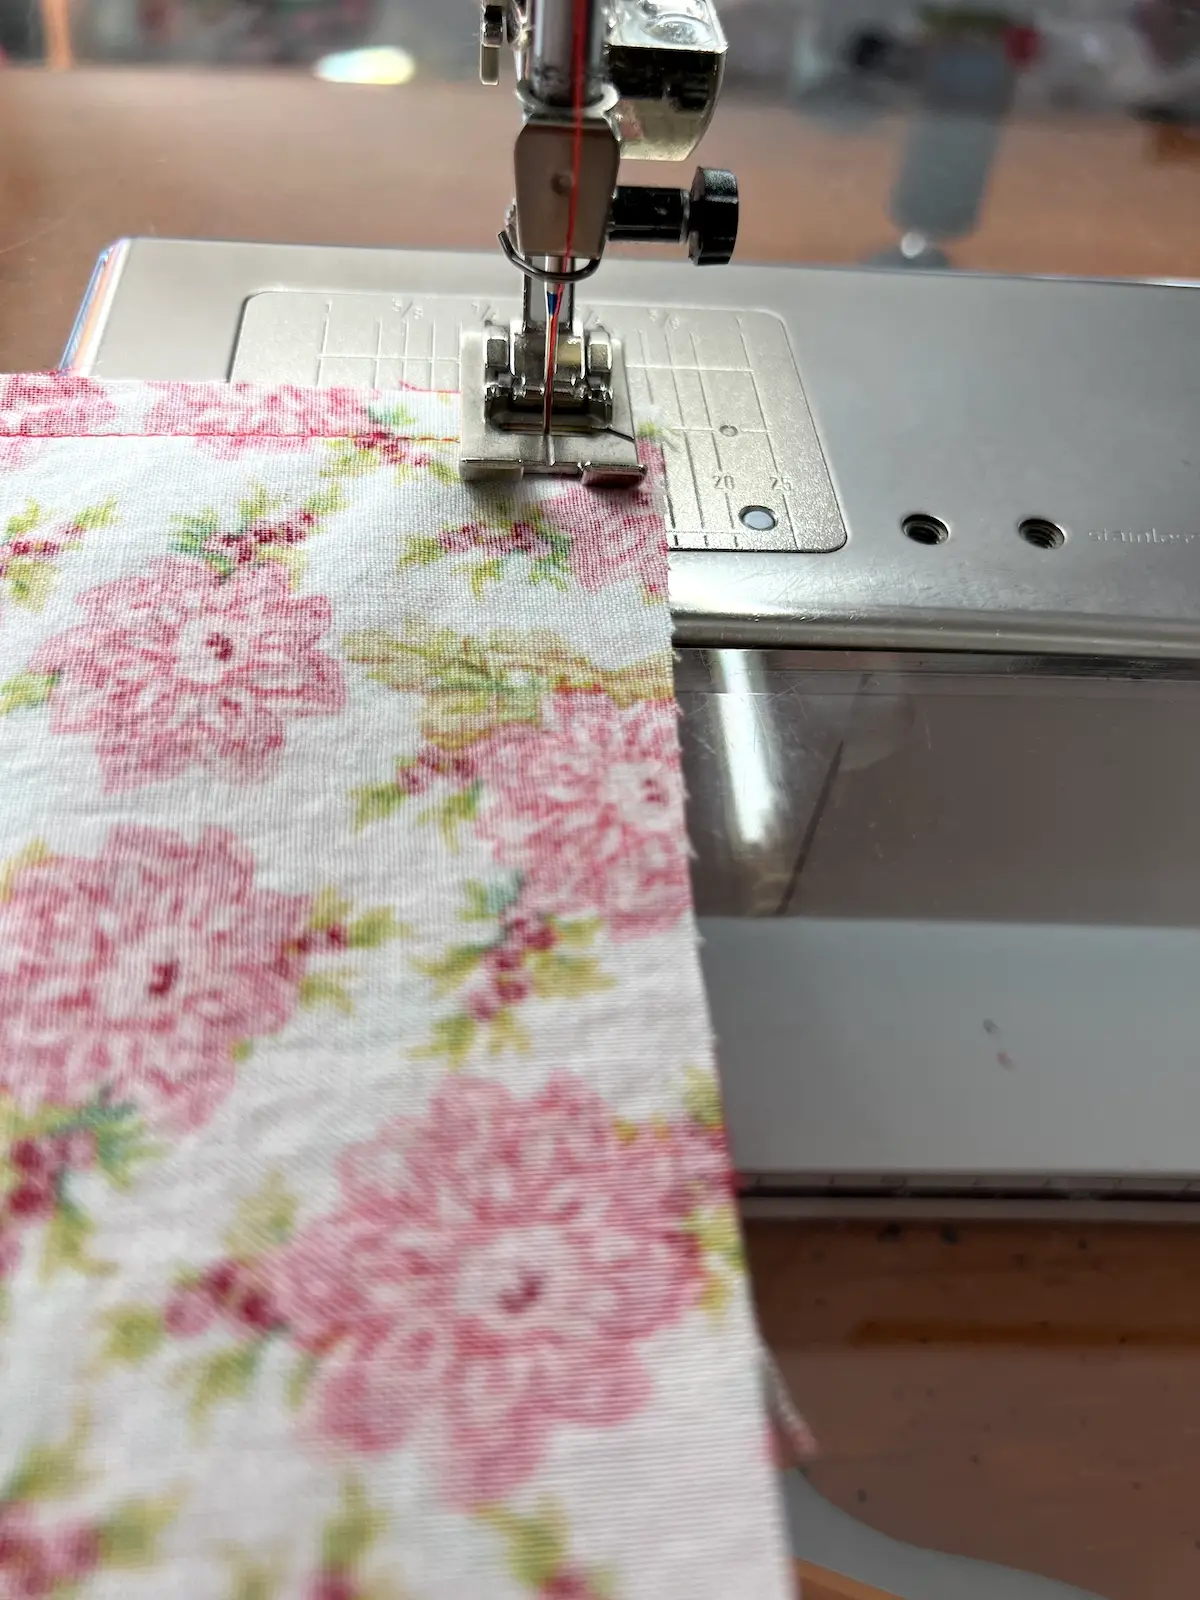
When you get to the side where you started, stop sewing, leaving a 3-4/ inch gap. This is the opening we'll use to turn the napkin right side out.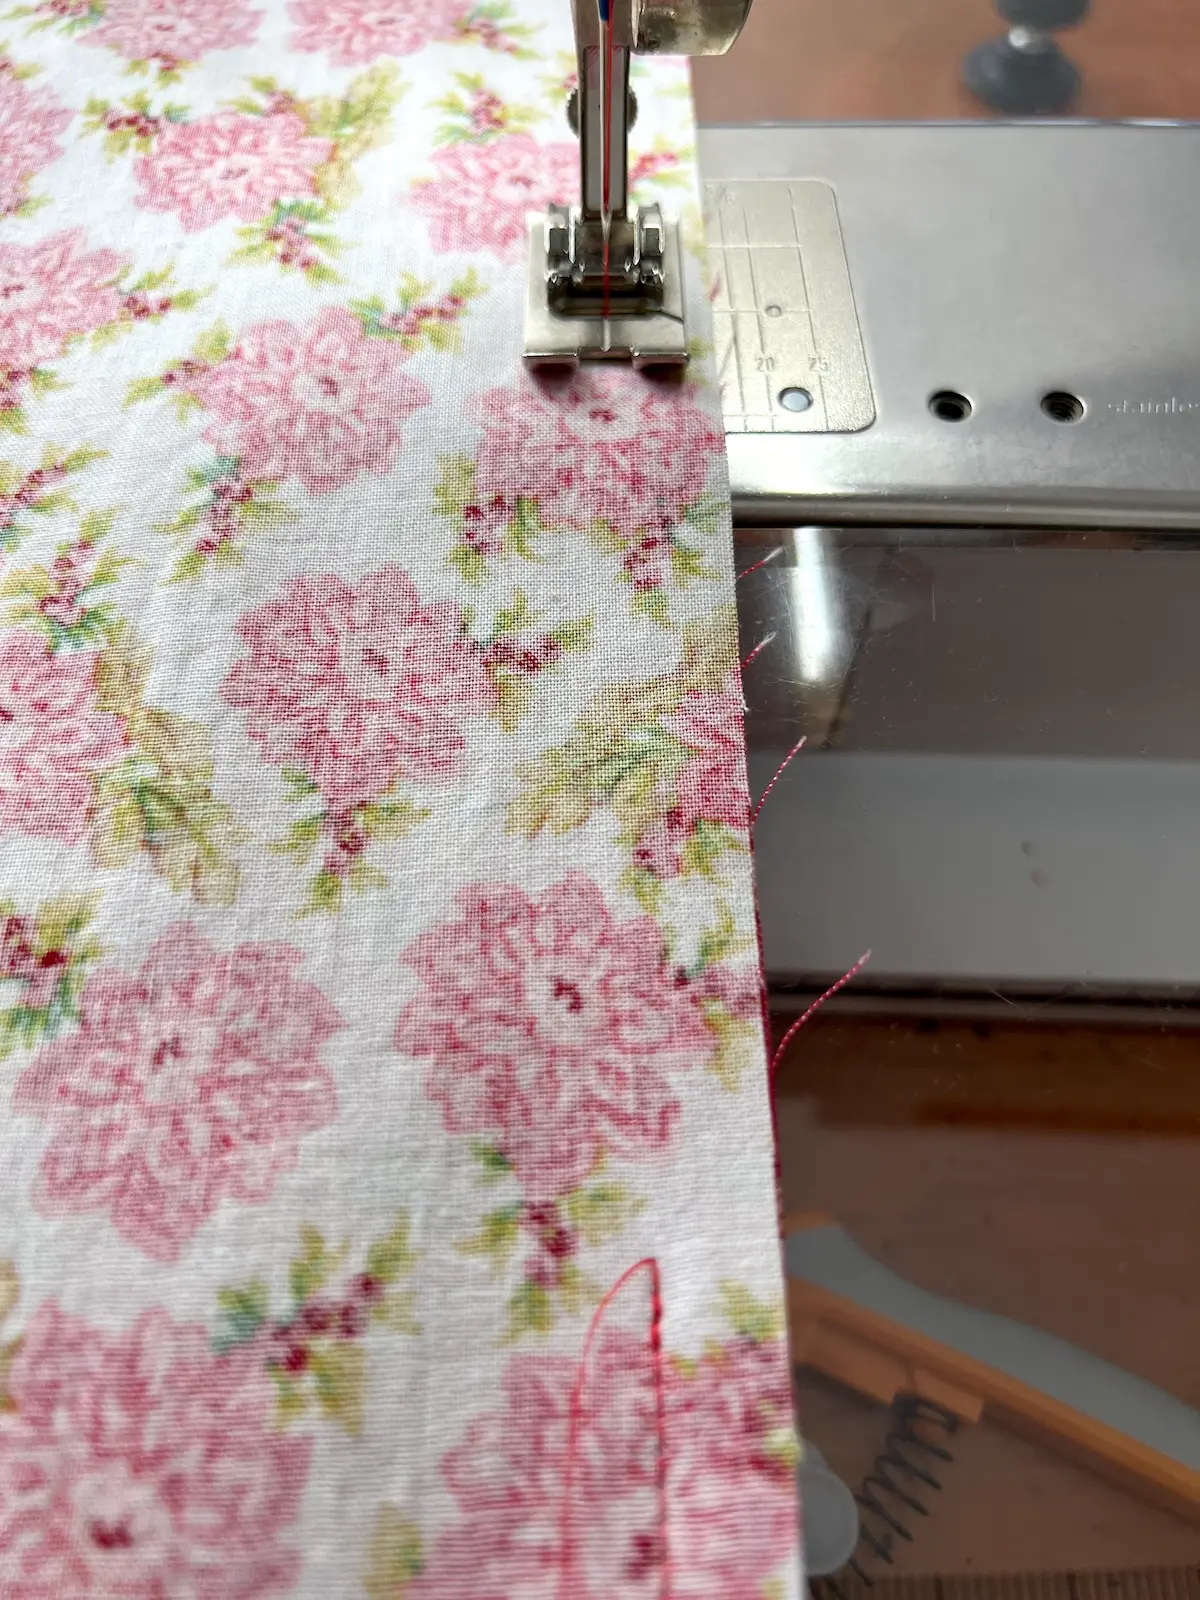
Step 3: Trim
Now, trim the excess fabric from the corners.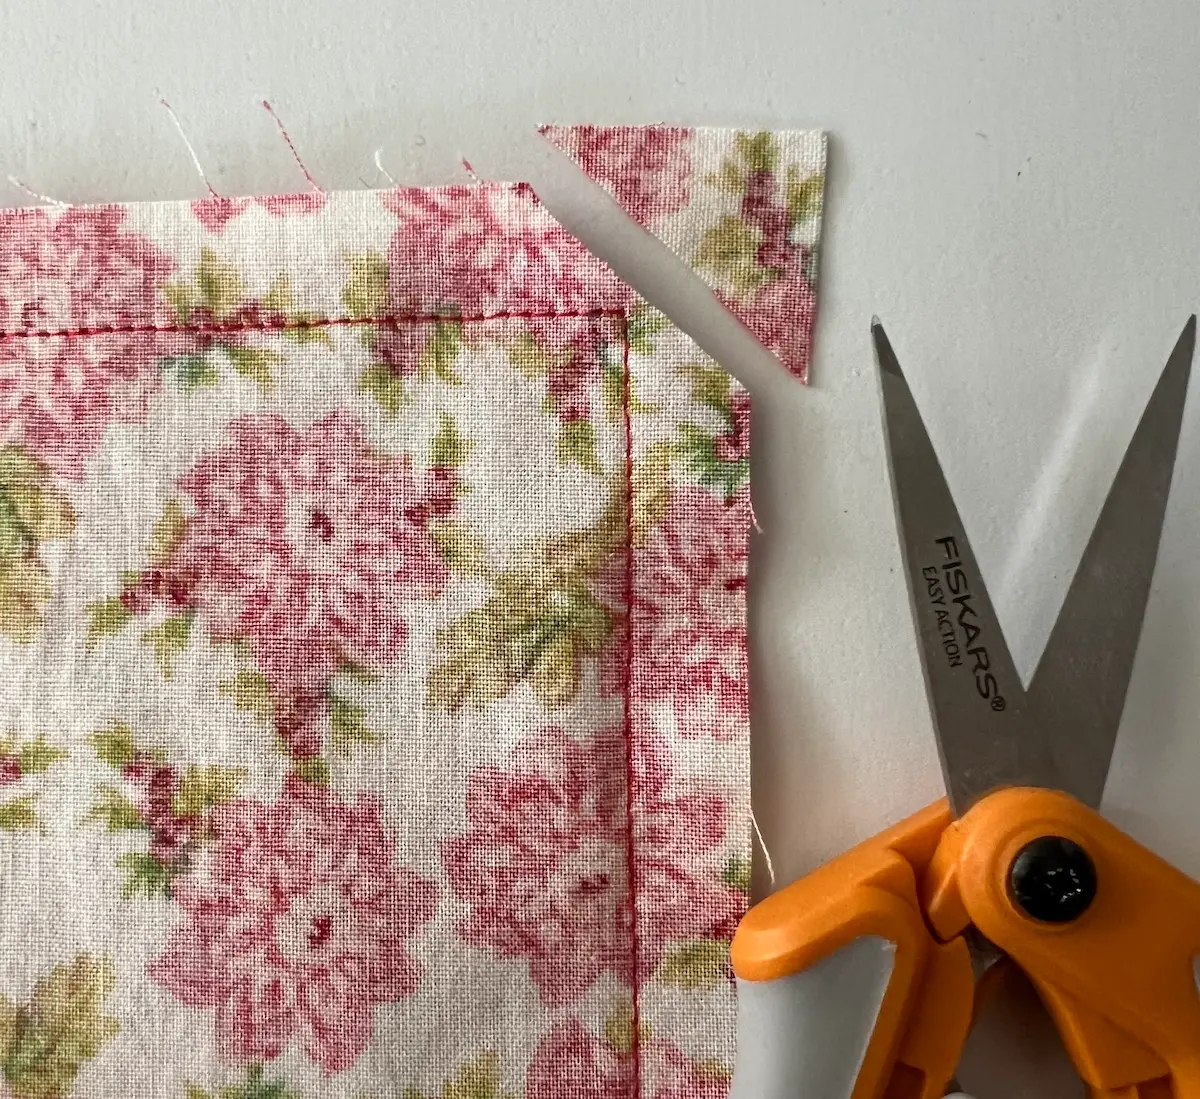
Step 4: Turn right side out
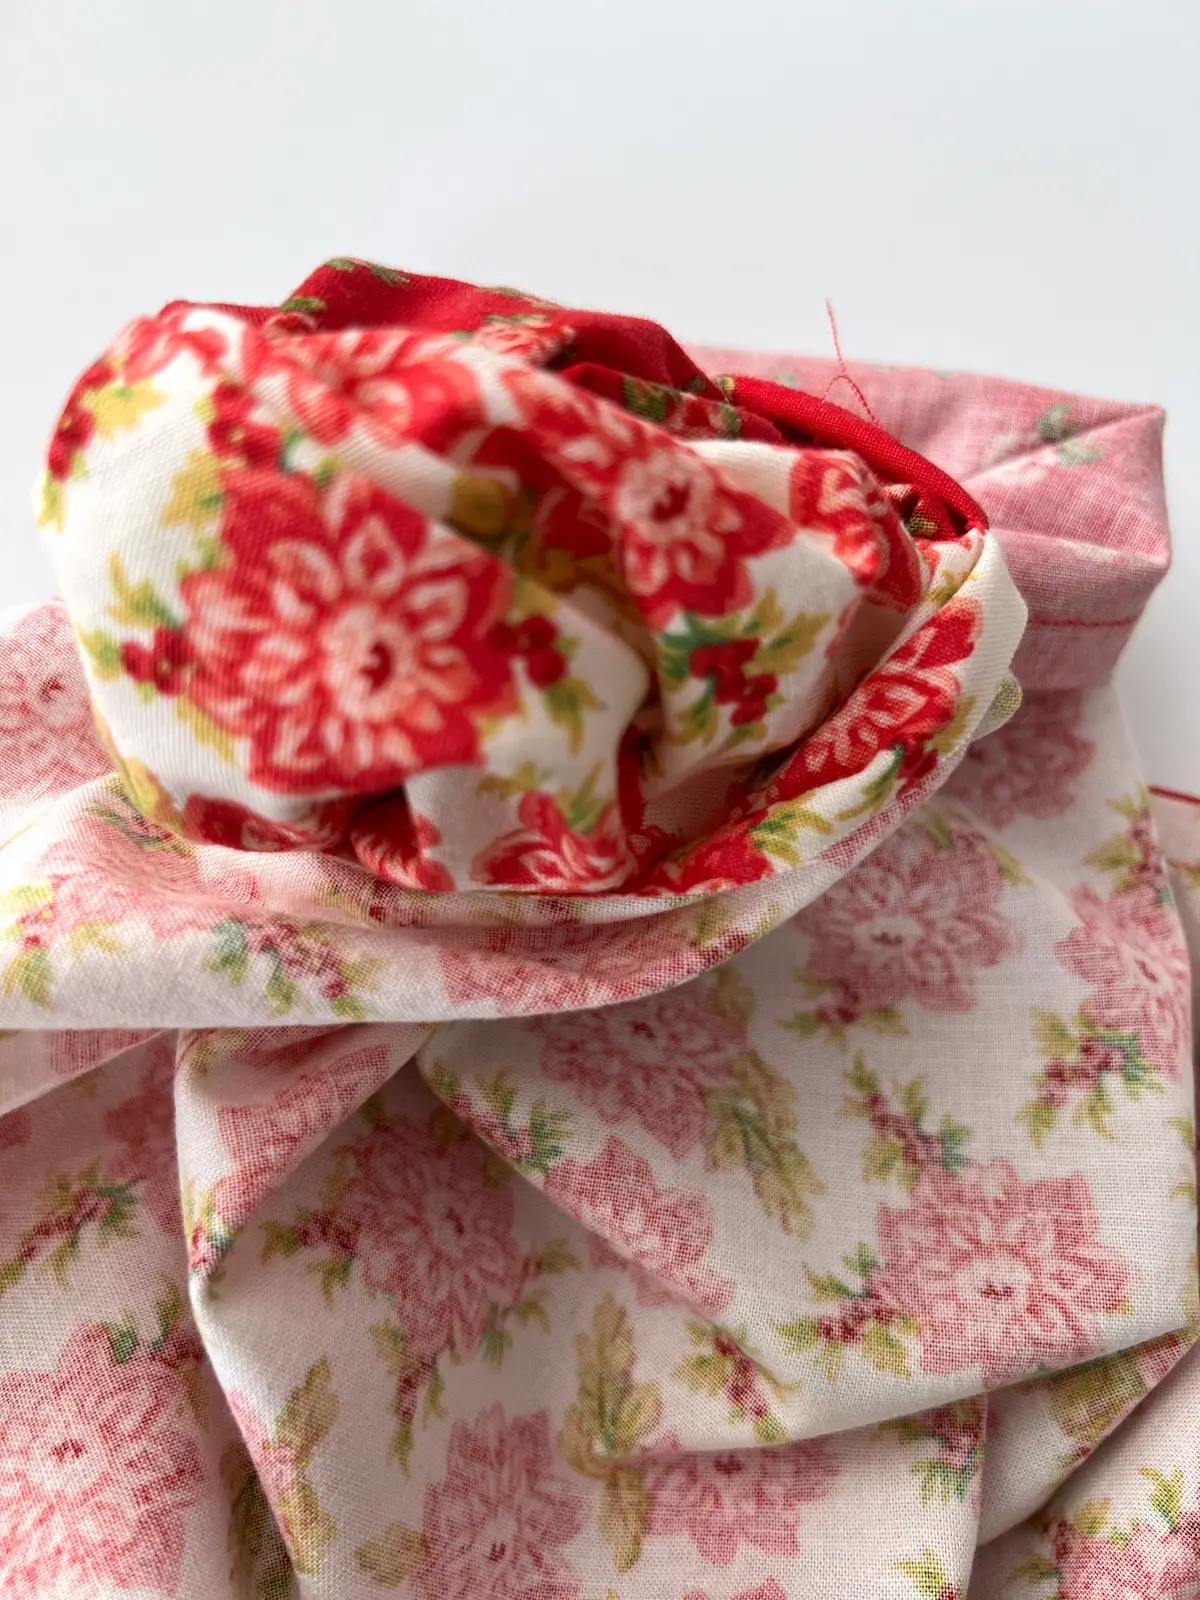
Use a corner turner to gently poke out your corner. I like this bamboo corner-turner by Clover.
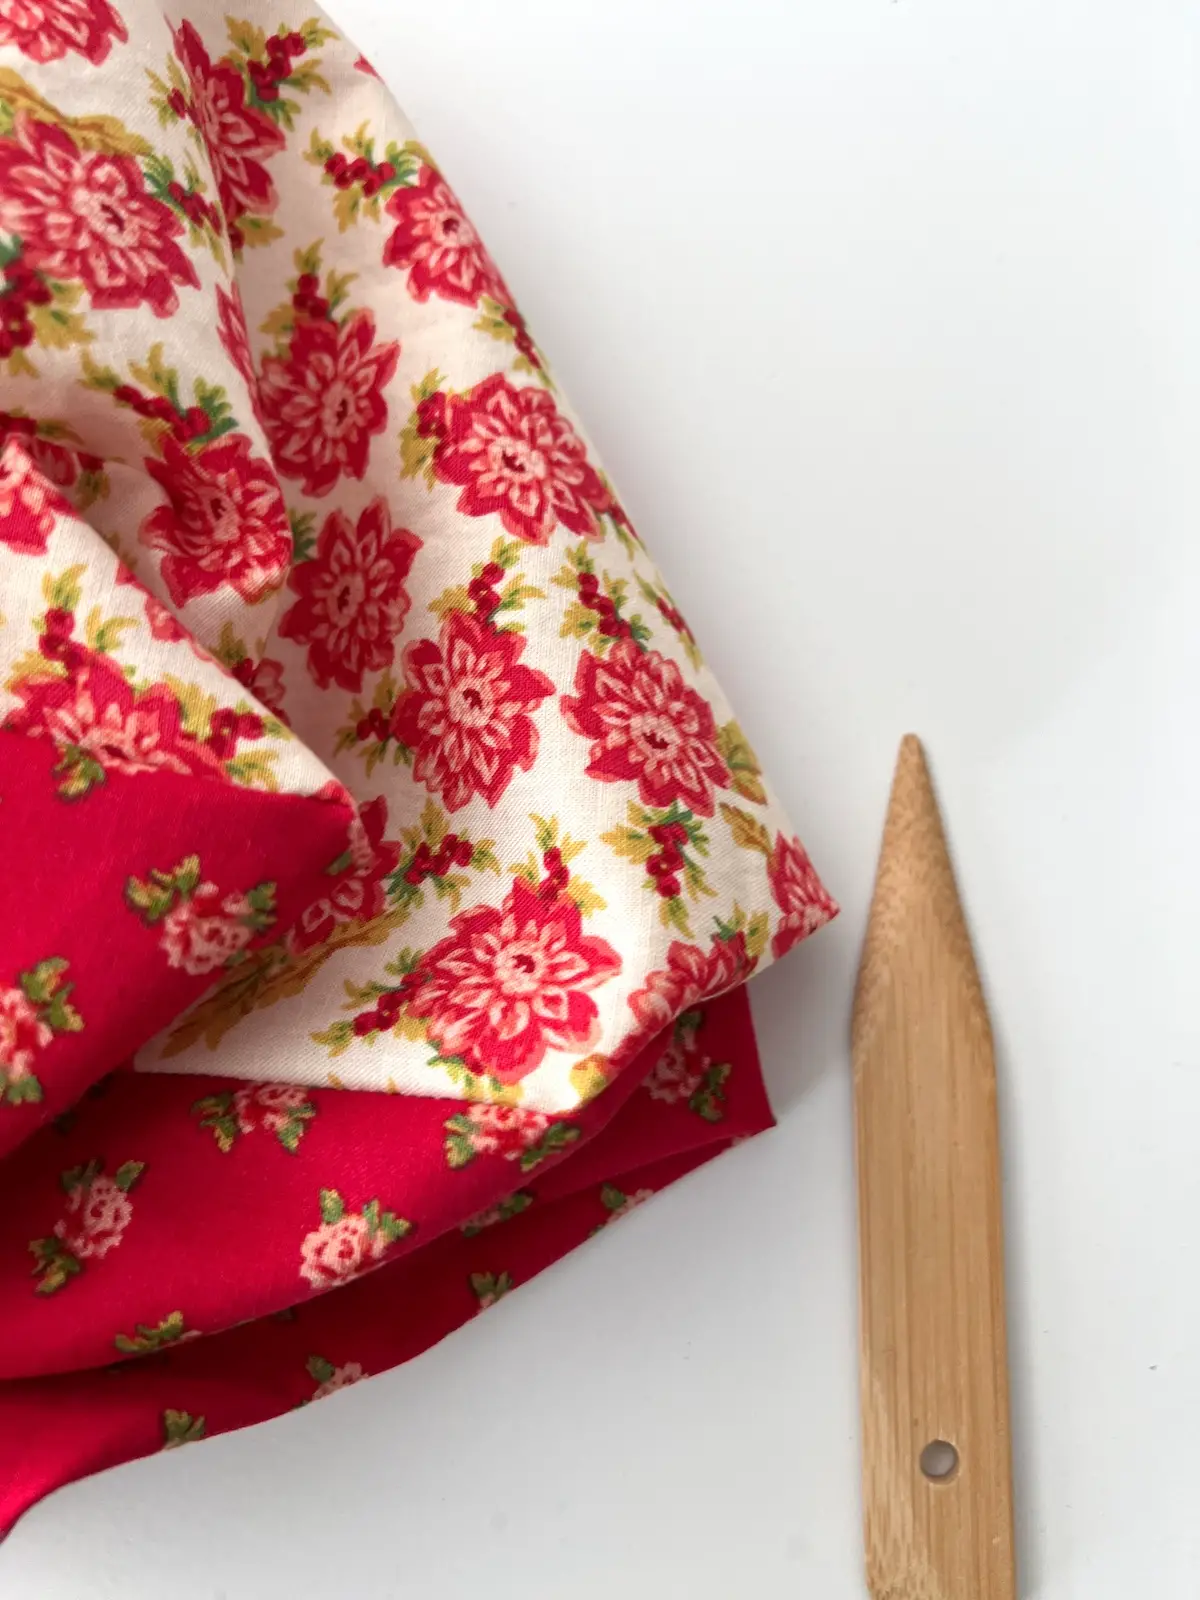 Here is one of the corners all nice and square. It's important to be gentle so that you don't poke a hole in the corner of your napkin! If you don't have a corner-turner, you can use a chop stick or knitting needle.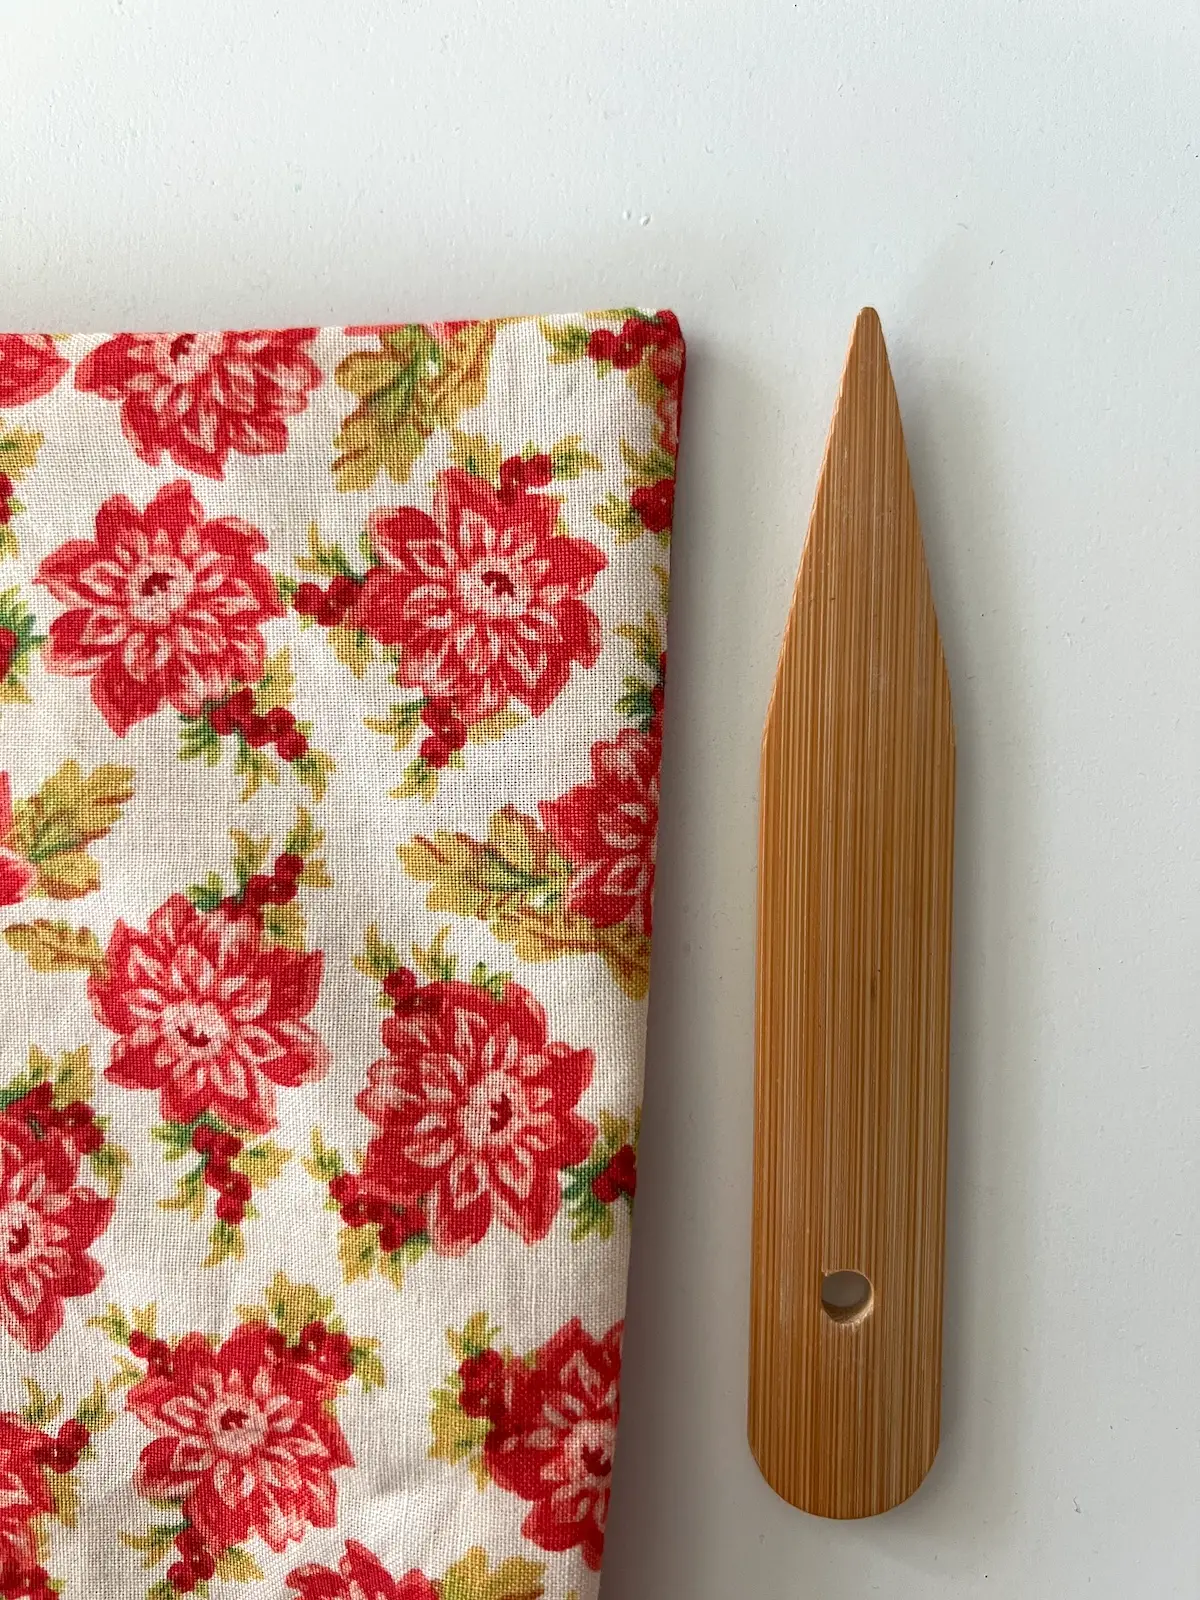
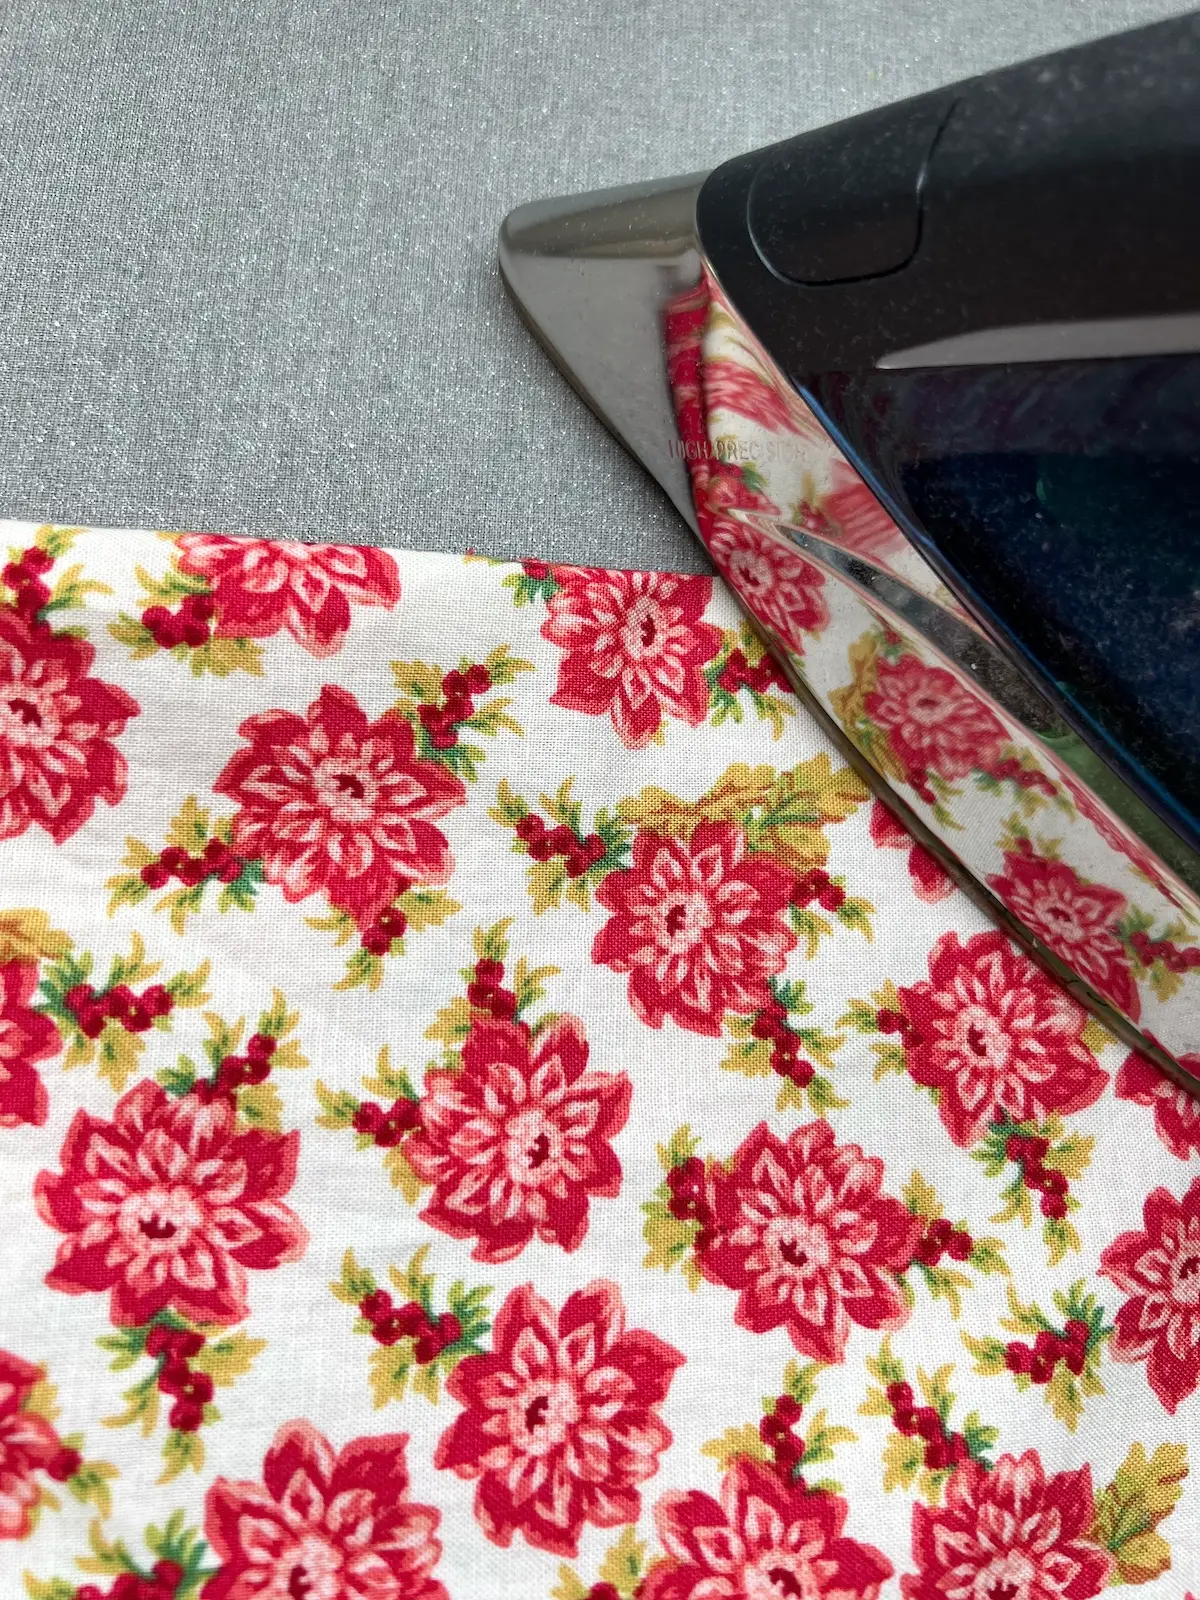
Step 5: Press
Make sure to fold in the opening when you are pressing.
Step 6: Topstitch
To finish your napkin and close the opening, topstitch around the edge of the napkin.
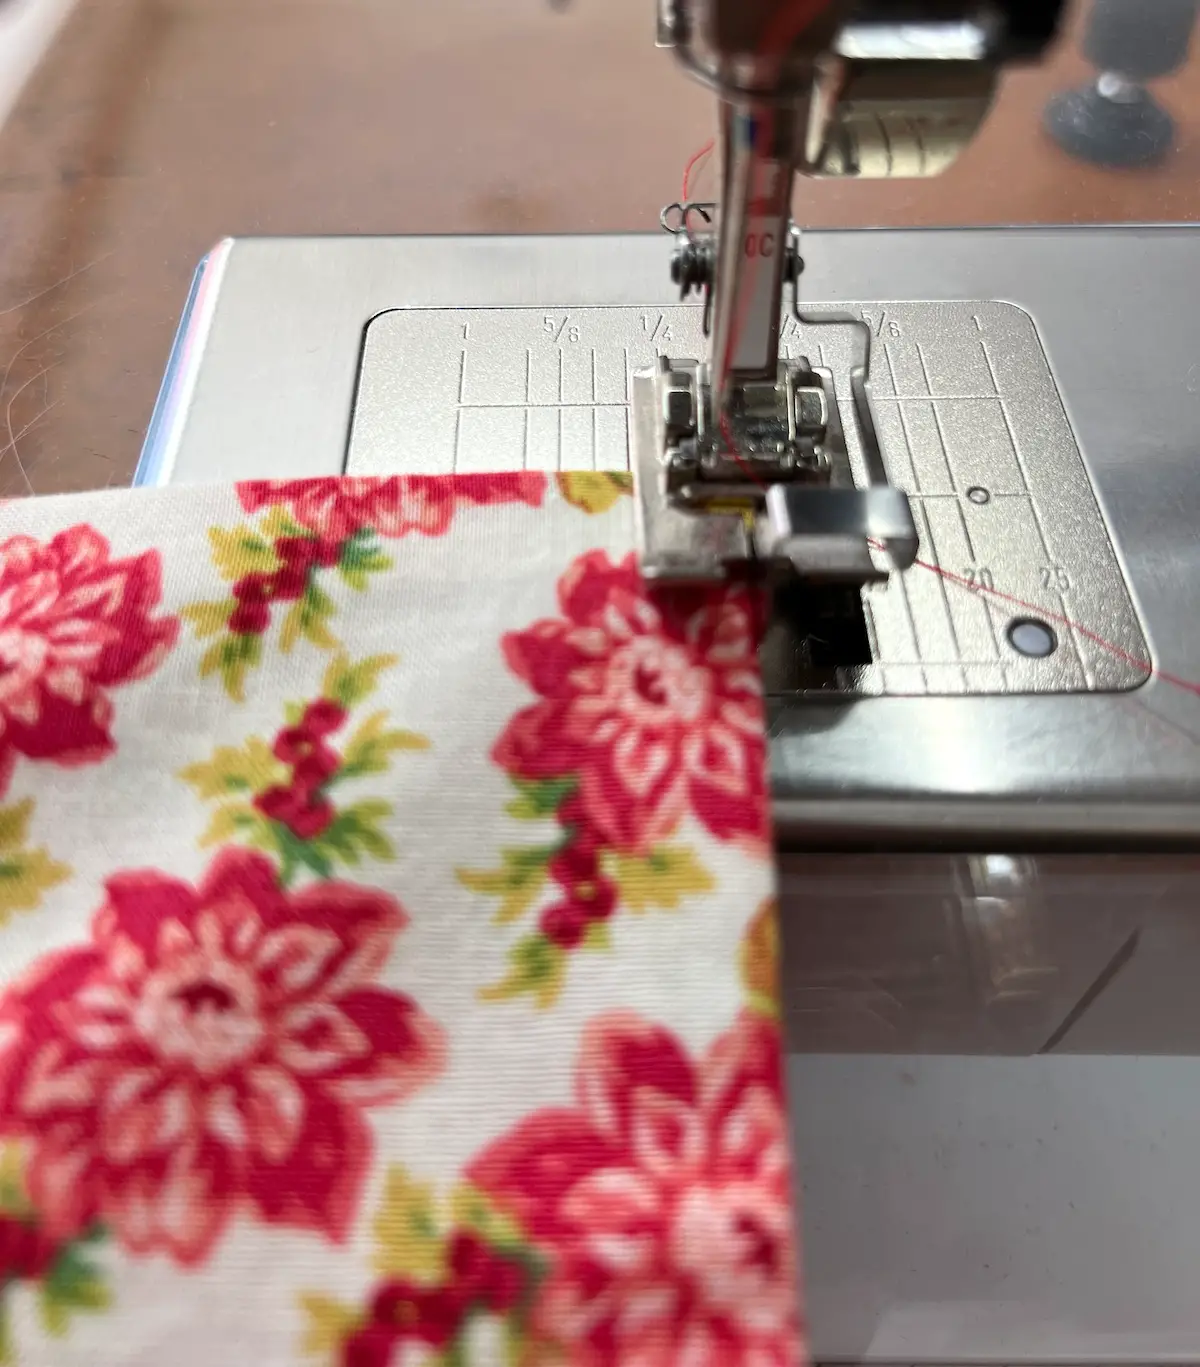
TIP: I like to use the topstitch foot for evening top stitches.
RELATED: Make your own fabric napkin rings
RELATED: How to make a table runner
RELATED: How to make reversible placemats

Frequently Asked Questions
Quilting cotton is the easiest choice because it’s stable, easy to sew, and available in endless prints. Linen or cotton-linen blends also work well for a more relaxed look.
No. The seams are enclosed inside the napkin, so a regular sewing machine is all you need.
A finished size of 18 to 20 inches square works well for dinner napkins, but you can make them larger or smaller to suit your table.
Yes. Prewashing helps prevent shrinkage and removes excess dye before the napkins are sewn.
Trim the seam allowance diagonally across each corner before turning the napkin right side out, then gently push the corners out with a point turner or chopstick.
Absolutely. This is a beginner-friendly project that uses only straight stitches and simple pressing.
For 18-inch finished napkins, you can usually make four napkins from one yard of 44 to 45-inch wide fabric when paired with a second coordinating fabric.
TIP: You’ll have a strip of fabric left – make coordinating fabric napkin rings!
Yes. The enclosed seams and topstitched edge make them sturdy enough for regular use and repeated washing.

Reversible napkins are one of those projects that are easy to sew but look surprisingly polished on the table.
Make a stack for everyday meals, create seasonal combinations, or sew a set as a thoughtful handmade gift.
Since each napkin has two usable sides, they’re practical, washable, and a great way to enjoy more of the fabrics you love.


Browse through more DIY Home Decor projects and inspiration on Create Whimsy.