
There are so many choices for marking for your fabric for sewing projects and/or quilting. Which fabric marking tools should you use for which job? Do you need to buy all of them? We’ve got you covered with this article that shares a variety of tools for marking your fabric. Which are your favorites?
Marking tools can be divided into two major segments: ones that are permanent and ones that are temporary and their markings come off of the fabric. NOTE: All marking tools should be tested on a scrap piece of fabric before using on your project to make sure they either come out as you expect or don’t show if they are permanent.

Marking tools are essential tools for your sewing and quilting projects. You don’t need them all, you need the ones that work for the types of projects you do.
Using chalk to mark your fabric
Chalk has been around for centuries. Originally, it was a piece of chalk that was used to mark the fabric and then a brush used to remove the markings.

In today’s world, we have choices! Chalk can be tailor’s chalk in a solid format, as a pencil or as a mechanical pencil. All of the options come in different colors.
As an Amazon Associate I earn from qualifying purchases. Read more about our affiliate linking policy.
Tailors chalk in a solid format is used often in garment making. It makes it easy to mark alterations and comes in a variety of colors, good for all types of fabric.
Chalk pencils are used in both quilting and garment making to draw lines and make registration marks to line up seams. Chalk pencils may not work on all types of fabric. Chalk pencil marks come out with a stiff brush on your fabric. They need to be sharpened to keep a nice fine point. Keep a pencil sharpener close at hand!
The mechanical pencil chalk pencil draws a fine line and is great for drawing embroidery designs or other fine marks you would like to mark on your fabric. My favorite is the Bohin Extra-Fine Chalk pencil.

The Chaco liner is a chalk wheel that lays down chalk powder onto your fabric. It works on all types of fabric. The benefit of this is powered chalk is laid onto your fabric in a nice detailed line. It is easy to use and comes in a variety of colors.
Time sensitive marks on your fabric
If you have a project that you are marking today and you want the marks to be gone tomorrow, use a special marking pen you’ll find in the notions section of a fabric shop. The disappearing ink pens are usually purple when drawn, and the mark goes away all by itself within a day. A popular brand is the Dritz Mark-B-Gone pens.
Caution: Make sure that you will get to your project quickly – it disappears!
Heat sensitive marking your fabric
There are a few ways to mark your fabric where the marks disappear when exposed to heat. Usually, a quick press with your iron will remove the marks.

Frixion pens are popular for this. They draw a nice fine line and a zap of the iron the marks (usually) disappear. You may find a ‘ghost’ line after ‘removing’ with heat. Again, always test on a scrap of fabric first!

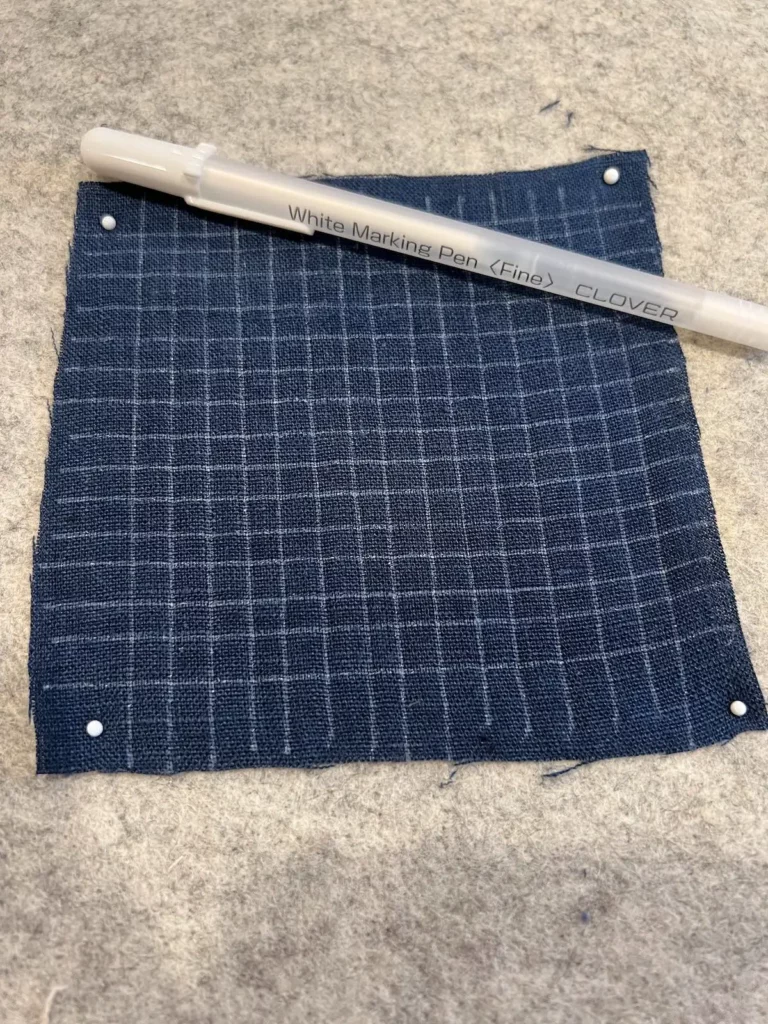
If you need to mark on dark fabric, Clover makes a white gel pen that is also removed with heat and draws a fine line. The Clover white marking pen works well for marking Sashiko designs before stitching on dark fabrics. See our article on Sashiko stitching.
Water removable marks on your fabric
Special pens are made that come out with a spray of water. You’ll find water soluble pencils and pens on the notion wall at your local fabric shop.
Caution: Always test on a scrap of fabric to make sure that there are no ‘ghost’ images left. Also, soluble markers have been known to become permanent when pressed with a hot iron. Test. Test. Test.
A popular pen is the Sewline Water-Erasable Fabric marker.
Downside of using a marker is that they tend to dry out fairly quickly.

You might just have this other option already in your home! Ultra-Clean Washable Crayola markers made for kids work really well. They have a wide tip and a fine tip, and come in a bundle of colors! Take a damp cloth or rag and wipe, and the markings come off.
“Mark free” ways to mark your fabric
If you need to mark a straight line on a quilt or for embroidery, turn to your sewing room buddy, painters tape! Take a piece of tape and line it up on the quilt top and stitch along the edge! This works great for straight line quilting. Invest in painters tape in different widths. This makes it super easy to sew exactly 1-inch or 2-inch widths!
Another ‘mark-free’ way to mark your fabric is to use a hera marker. This is great for quilting. After you have layered your quilt, draw lines with the hera marker. It puts creases on your piece. Follow the creases to stitch. These creases generally last a few days, giving you time to complete your project.
Draw or print your design on tissue paper or vellum paper. Pin the paper to your fabric. Stitch through the paper. Remove the paper from your fabric. You may need a pair of needle-nose tweezers to get the little piece of paper out from the stitches. See our article on transferring letters for embroidery using tissue paper.

Permanent marks on fabric
Sometimes you want a permanent mark that won’t come out. Maybe to add some details to a design, or color part of a fabric.
Regular Sharpies, although they are permanent on paper, are not always permanent on fabric.
The Pentel Arts Gel Roller for Fabric is permanent and works well for writing on fabric, like quilt labels.
Other acrylic paint pens are generally permanent on fabric. My favorite brand are Posca acrylic paint pens.
Best ways to mark on dark fabrics
Darker fabrics can be a challenge and limits your marking options. If you are garment making on dark and heavy weight fabrics, your best choice is tailors chalk, which comes in both yellow and white. For embroidery or fine lines on dark fabric, the Clover white marker works great.
Tips for marking your fabric
- Always start with pressed and flat fabric. Make sure there are no wrinkles or fold in your fabric.
- Make sure your fabric is flat on a table for marking.
- Try a few of the methods of marking fabric outlined above on scraps of fabric. See which one you prefer before jumping into your project. And, test that it removes easily, too.
- Stock up on a few solutions, and in different colors so that you have the right tool for your next project.
See also our article on Best Ways to Transfer your Embroidery Design.


