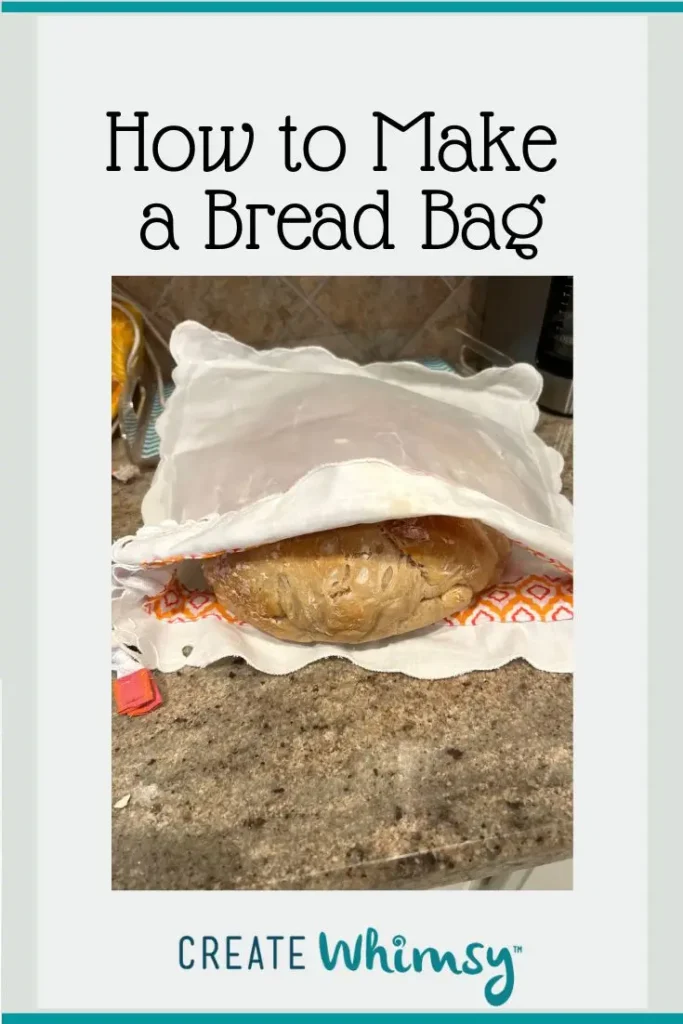
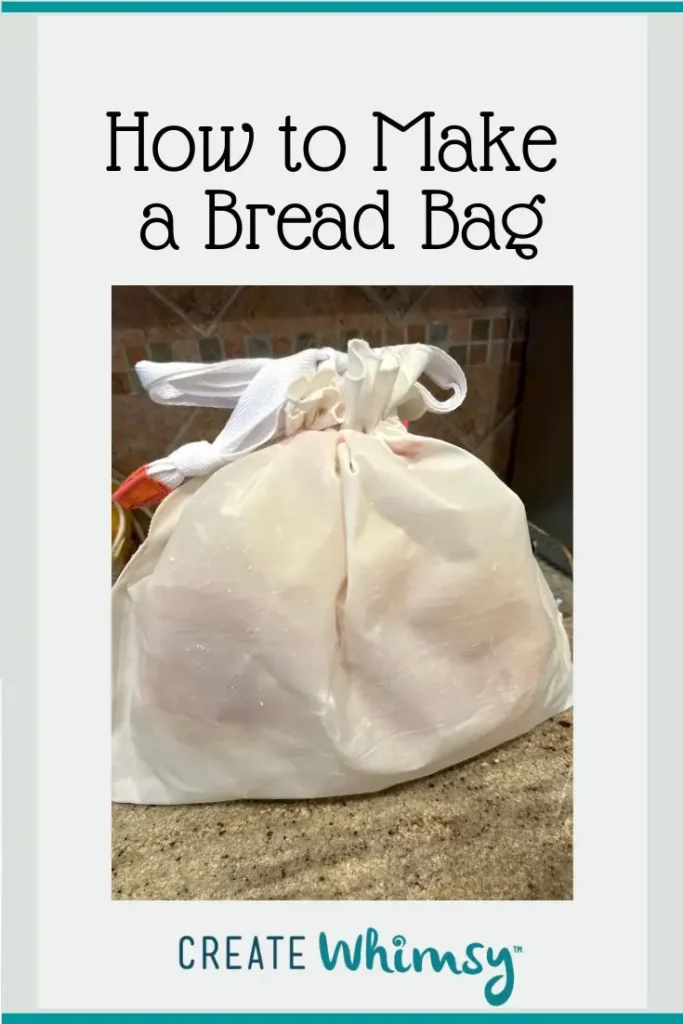
If you’re tired of plastic bags taking over your kitchen, a waxed bread bag is a simple, satisfying upgrade. It keeps bread fresh, looks beautiful on the counter, and can be reused again and again.
In this tutorial, you’ll learn how to sew a fabric bread bag and add a wax coating to make it water-resistant and food-friendly. It’s beginner-friendly, quick to make, and a great step toward a more sustainable kitchen.
What you’ll learn
- How to sew a simple drawstring bread bag
- How to apply wax for a reusable, food-safe finish
- Which fabrics and waxes work best
- How to care for your waxed bag
Why would I want a waxed bread bag?
If you love artisan breads, you need a waxed bread bag!
Have you bought an expensive loaf of yummy bread, or made a delicious homemade sourdough loaf, only to find it hard or moldy in a day or two? Your answer is a waxed bread bag!
The beeswax is antimicrobial and keeps your bread from molding.
As an Amazon Associate I earn from qualifying purchases. Read more about our affiliate linking policy.
A waxed bread bag helps:
- Reduce plastic waste
- Keep bread fresh longer
- Protect baked goods without trapping moisture
Unlike plastic, waxed fabric breathes slightly, which helps prevent soggy crusts and mold.
RECOMMENDED: Beeswax for coating your bread bag
Choosing the fabric for a DIY beeswax bread bag
You can start with any fabric with natural fibers – a cotton or linen fabric works well.
I started with two vintage linen napkins. You can find them in resale shops, garage sales, or at your grandmother’s house! Be sure to wash the napkins to remove all sizing and start with a clean canvas.
If you don’t have napkins, you can use quilting 100% cotton or linen and cut to the size you want. Also, linen tea towels can easily be sewn into your own reusable bread bag. Avoid anything with polyester.
Quick start
Skill level: Beginner
Time: 30–60 minutes
Sewing required: Yes (basic seams)
Materials: Cotton fabric, beeswax, thread, drawstring

How to Make a Waxed Bread Bag
Learn how to make a waxed bread bag with our step-by-step instructions.
If you love artisan bread or making homemade sourdough bread, you'll want a waxed linen bag to store your homemade bread.
Materials
- Two linen napkins or fabric of your choice in linen or 100% cotton
- Twill tape or something similar for drawstring- cord, robe, ribbon, self-made cords
- Matching or coordinating fabric for the Drawstring channel
- Thread
- Parchment paper
- Beeswax pellets – I used these: https://amzn.to/3Gmzgb9
Tools
- Scissors
- Sewing machine
- Iron and ironing board
- Oven
- Rimmed baking sheet
- Large safety pin
Instructions
Step 1: Prepare the fabric for the bag
I started with two 100% linen napkins. If you want to start with fabric, start with two rectangles of cotton fabric about 12" x 16"
Step 2: Create the drawstring channel
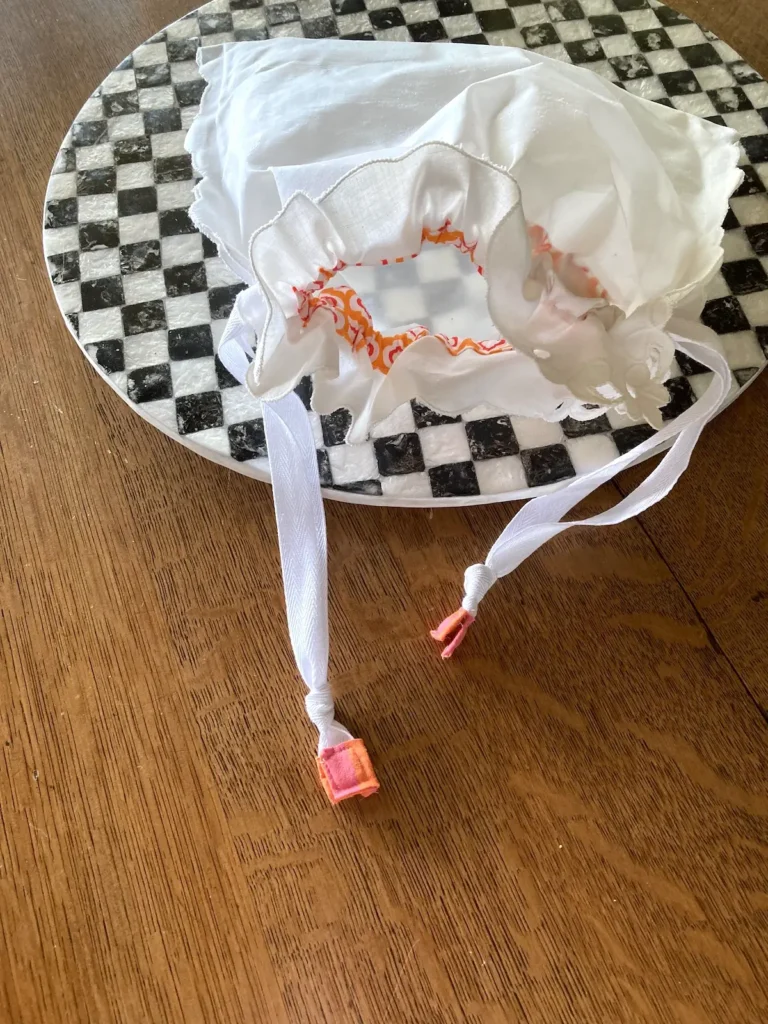
Let's start by making the channel or casing for the drawstring closure. I chose a coordinating fabric.
You can use matching fabric or just turn the top over and stitch to make a self-channel. I’m using 5/8 inch twill tape to make the drawstring, so I cut two strips 2-inches wide and the width of my napkin. 
Turn under ¼ inch along all four sides of the channel fabric and press. Stitch along the short edges to form a hem and clean finish.
Determine the top of the bag. My napkin has a floral cut out so I placed it at the top.
Determine how far down you want the channel. Pin the channel fabric with the hem down on what will be the inside of the bag and sew in place. Repeat with the second napkin. If your linen has a front and back be sure to place the channel on the back (or inside) of each side of the bag.
Step 3: Sew the bag
- Join front and back along each side and across the bottom. I wanted the scalloped edges of the napkin to show, so I top-stitched with a straight stitch. Stop right below the channels for the drawstring. Backstitch to secure. You could also sew right sides together and turn for a finished outside edge.

- Cut two pieces of twill tape 4 to 6 inches longer than the width of the bag. I wrapped the ends with a coordinating fabric, or you can just tie the ends in a knot after threading through the channel on each side.

If you just want a cloth bag insert the drawstring now (see below) and you are finished!
Step 4: Apply the wax
Waxing: Oven method
Preheat the oven to 350° F. Be sure your bag is well pressed, or you will wax the wrinkles in! 
Place the bag with one side down on a parchment-lined cookie sheet. 
Spread wax pellets or grated beeswax evenly over the cloth. I suggest erring on the side of fewer wax pellets than too many. You can always add more and reheat if they don’t completely cover the fabric when melted.
Place in the oven for 1-2 minutes….watch carefully. You only want the pellets melted. Use a stiff brush to spread the wax evenly. 
You will want to dedicate a brush for this purpose as it will not be good to paint with after spreading the wax. You may wish to smooth the wax with a straight edge like the side of a credit card or offset spreader. Turn the bag over and repeat. Since there is already wax on the parchment, you will not need as many pellets. You may wish to take it in and out of the oven a few times to get it evenly covered.
Alternative: Ironing method
Lay an old towel over the ironing board, cover it with parchment paper. Place the fabric square on the parchment covered towel, then sprinkle it with beeswax pellets. Next, place a large piece of parchment paper on top of the fabric and pellets. Carefully use a hot, dry iron to melt the pellets into the fabric evenly.
Drying: Allow bag to cool slightly. Open it and hang with clothes pins or a skirt hanger from one side to dry. Be sure the bag is open; you may want to put crumpled aluminium foil or plastic inside to keep it open and shaped as desired. I was able to shape it within 2 to 3 minutes and did not fill. If you waxed the channel for the drawstring, be sure to open it with a dowel or something similar. Allow to cure 1 to 2 hours. 
Step 5: Insert the drawstring
Assembly: After your waxed bag has cured you are ready to insert the drawstring. Use a large safety pin on one end of one of the twill tape pieces. Insert the twill tape using the safety pin to push it through the channel. Start on one side, go all the way through, loop across the opening between the two sides of the bag and come back through the other side of the bag. Join the two ends of the twill tape. You can just tie them in a knot or sew the ties together. 
Repeat on the other side- starting on the side that you looped through. When finished, you will draw the bag closed from each side. 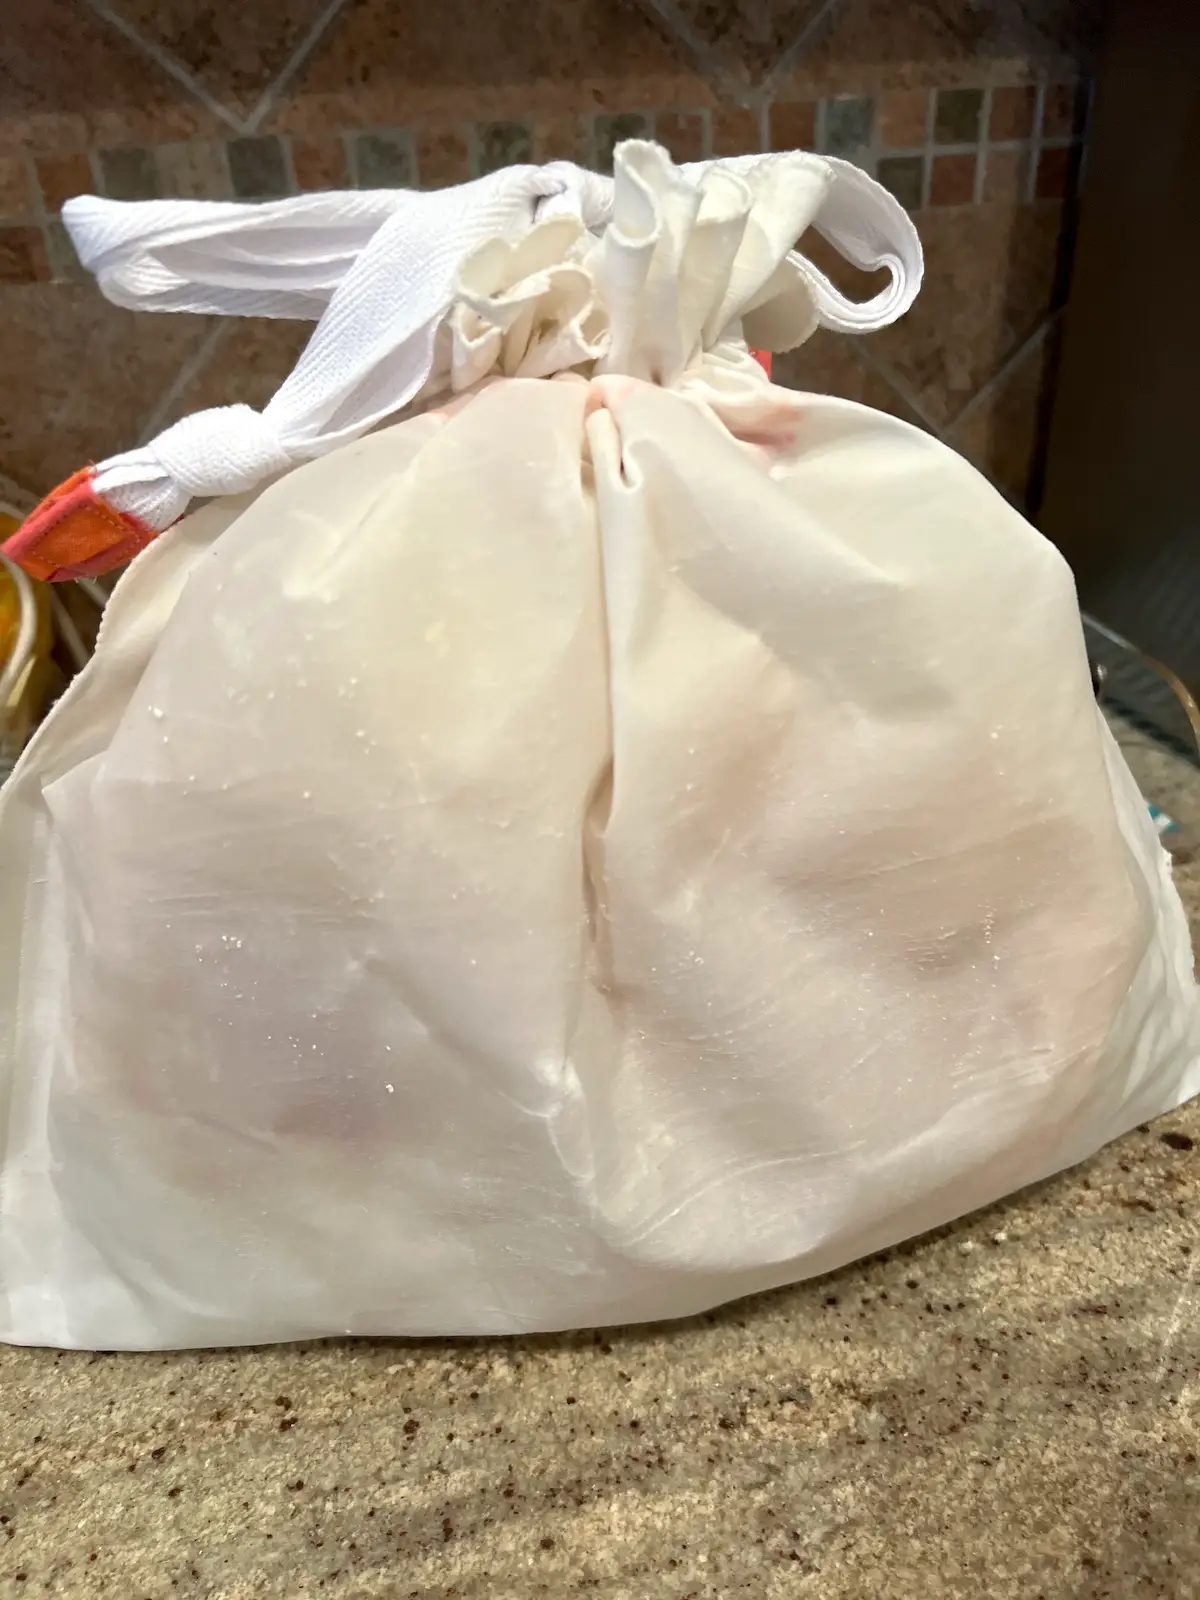
Ready to use!
Find or make some yummy fresh bread and enjoy!
Care:
Wipe out after each use. If needed, wash by hand in cool water and hang to dry.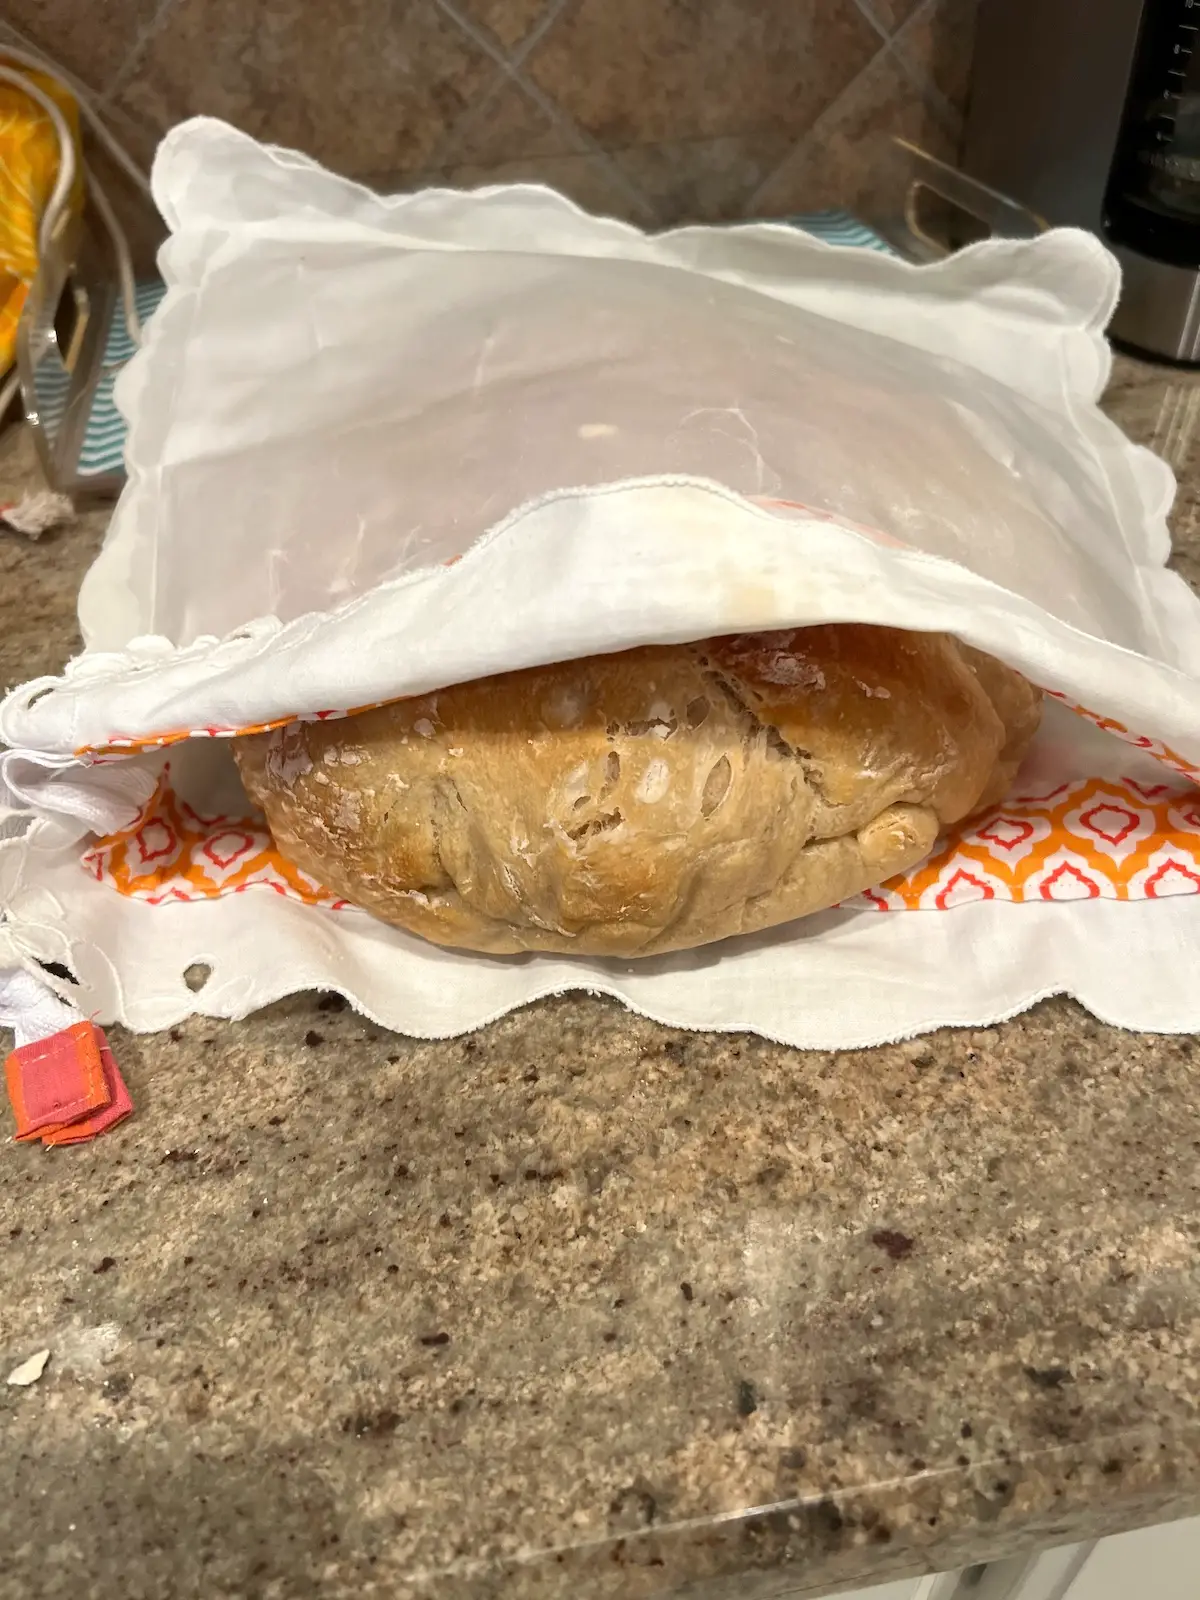
Recommended Products
As an Amazon Associate and member of other affiliate programs, I earn from qualifying purchases.

Common mistakes to avoid
- Using synthetic fabric: Wax won’t absorb properly. Always use 100% cotton.
- Too much wax: Leads to sticky buildup. Use a light, even layer.
- Skipping parchment paper: Wax can transfer to your iron.
- Uneven melting: Move the iron slowly to distribute wax evenly.
Frequently asked questions:
Yes, when using natural beeswax and clean cotton fabric.
No machine washing. Wipe clean with a damp cloth.
Just take a clean, damp cloth and wipe your bag clean. Easy!
Yes, it helps balance moisture better than plastic.
Yes! Waxed canvas is breathable, like waxing your own fabric. Some waxed canvas is very thick and difficult to sew with your machine – you may need to hand stitch it with a heavy duty needle.
Waxed bags are very durable and can last a lifetime. They are durable and water-resistant, while being breathable to help keep your bread fresh.
When you start to see spots with no wax on your bag, reapply beeswax. Generally, you’ll need to touch up your bag every 2-3 years.
Tips for best results
- Use tightly woven cotton for better durability
- Start with less wax and add more if needed
- Hang to air out between uses
Basics for making a bread bag with linen fabric:
Determine the size of your bread bag. For a large round of sourdough, start with 15 inches wide by 34 inches long. You can make them any size you would like!

Fold the fabric in half lengthwise with the wrong sides together. Most linens don’t have a right or wrong side, which makes it easy. You should now have doubled fabric that is 15 inches wide by 17 inches long.

On the open sides, mark 2 inches down from the top of the bag, where the opening is.

Sew the sides with a 1/2-inch seam allowance from the bottom fold up to the mark that is 2 inches from the top of the bag. You can make this seam a French Seam so it is finished on the inside. Or, I suggest using a zig-zag stitch or serged finish to the raw edges. Linen tends to ravel quite easily. (I serged the edges.)

Turn the bread bag right side out and gently poke out the corners so they are nice and sharp. Be gentle! Use a bodkin or corner turner. You don’t want to poke a hole in the corner of your bag!

Now it is time to finish the top of your bread bag. Fold under about 1/2-inch from the top and press.

Then, fold over again lining up the folded edge with the marked line where you stopped sewing the side seams. This will form a self-casing on the linen bread bag.

Top stitching along the lower edge to secure the casing or channel in place.

Use ribbon, twill tape, or self made ties for the bread bag ties. We’ve got a great article on how to make ties.
You want to make or cut ties that are at least 6 inches wider than the full circumference of your bag. Since our bag is 30 inches in diameter, you’ll want to cut or make two (2) ties that are 36 inches long. I used this lovely striped canvas ribbon I had in my stash.

Take a safety pin that fits through your channel easily. Pin it to one end of your tie.

Gently thread the safety pin with your tie through one casing and then back through the other side.

Tie or secure the ends.

Then, take the other tie and thread through, starting from the other side. Here is the finished bag ready to be treated with beeswax and then some fresh bread!

Ta-da – time to bake some bread and enjoy your new linen bread bag!


Ideas and tips for making your own reusable bread bag:
You can wax your finished bags as outlined above, or use reusable beeswax food wrap. A beeswax wrap helps keep the bread fresh and moist. It can either be a food wrap, or treat your finished bags with beeswax as I showed you above.
Fabric bread bags are more eco-friendly than using plastic bags, ziplock bag or paper bags to store your bread. And, they allow the bread to breathe a bit and discourage mold growth.
This is an easy project, perfect for beginners! And, make great gifts!
Creative variations:
- Make a long skinny waxed bread bag to keep your baguette bread fresh longer.
- Personalize bread bags with hand or machine embroidery. Do the embroidery before waxing your cloth – it will be easier.
- Add appliqués to the fabric before sewing your bag together, and before waxing.
Ready to try more?
Once you’ve made one, you’ll want a few more for different uses—bread, snacks, even produce.
This is a simple project that makes a real difference in your daily routine—and looks beautiful doing it.
A waxed bread bag is one of those small projects that quietly improves your everyday life. It’s practical, reusable, and just a little bit magical the first time you use it.
Make one for yourself—and then make a few more to give away.
Browse through more sewing project ideas on Create Whimsy.
RELATED: More bag tutorials