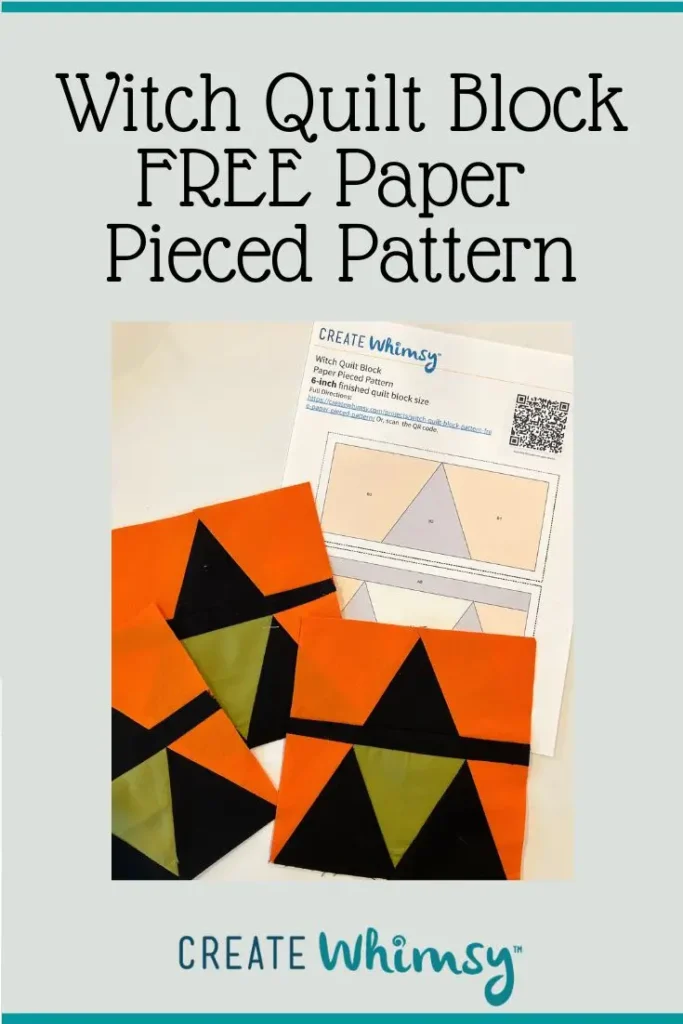
Make a little quilting magic this Halloween with this beginner-friendly witch quilt block pattern! Whether you’re brand new to paper piecing or just looking for a quick seasonal project, this design comes together fast and uses simple shapes—perfect for using up your favorite fabric scraps.
What makes this tutorial extra special? You’ll learn a clever twist on traditional foundation paper piecing that lets you avoid sewing through the paper. That means no tedious tearing later—just smooth stitching and a quicker finish.
In under an hour, you’ll have a playful witch block ready to turn into a mini quilt, tote bag, or festive home decor.
What is paper piecing?
Paper piecing (also called foundation piecing) is a quilting technique where you sew fabric directly onto a printed template. It helps you achieve crisp lines and precise shapes—even for detailed designs.
In this tutorial, you’ll use a simplified method:
As an Amazon Associate I earn from qualifying purchases. Read more about our affiliate linking policy.
- Fold along stitching lines
- Sew next to the paper (not through it!)
- Peel the paper away easily when finished
It’s beginner-friendly and a great introduction to the technique.
Quick start:
- Skill level: Beginner
- Time: 35 minutes per quilt block
- Technique: Paper piecing – no sewing through paper
- Finished size: 6-inches
- Best for: Scrap fabrics and Halloween projects
Fabric tips before you start
- Scraps work great! You don’t need full fat quarters
- Choose high contrast fabrics so the witch shape stands out
- Cut pieces slightly larger than needed to ensure full coverage
- For beginners: avoid directional prints (they can flip unexpectedly)
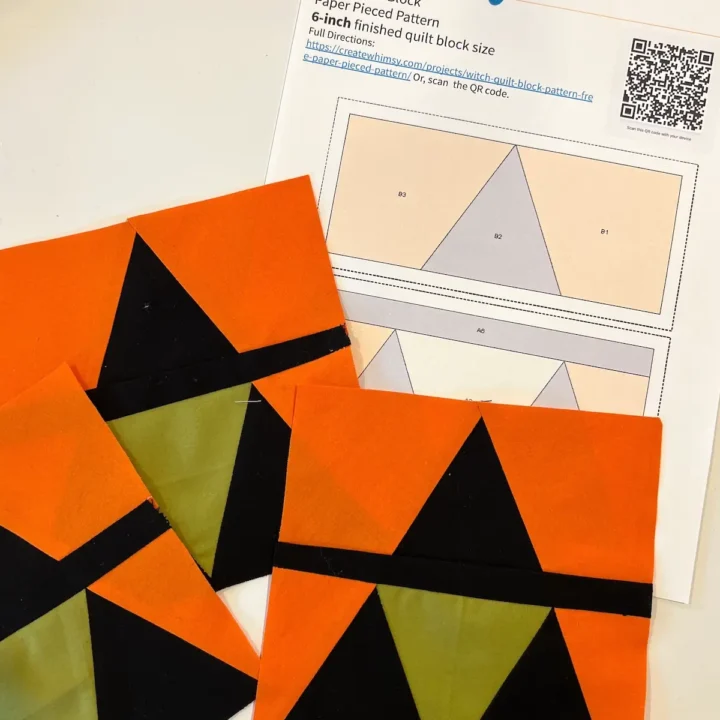
How to Make a Paper Pieced Witch Quilt Block
Super fun and easy to make this witch quilt block with our paper piecing pattern.
Materials
- Fat quarters for the face, hat, and background. I used green, black, and orange
- Printed pattern
- Thread for sewing
Tools
- Sewing machine
- Iron
- Pressing surface
- Quilter's ruler, an Add-a -Quarter ruler is really helpful
- Rotary cutter
- Paper scissors to cut out pattern
Instructions
Step 1: Prepare your pattern
- Print the free downloadable pattern and gather your fabrics. I used scraps, or you can purchase fat quarters.
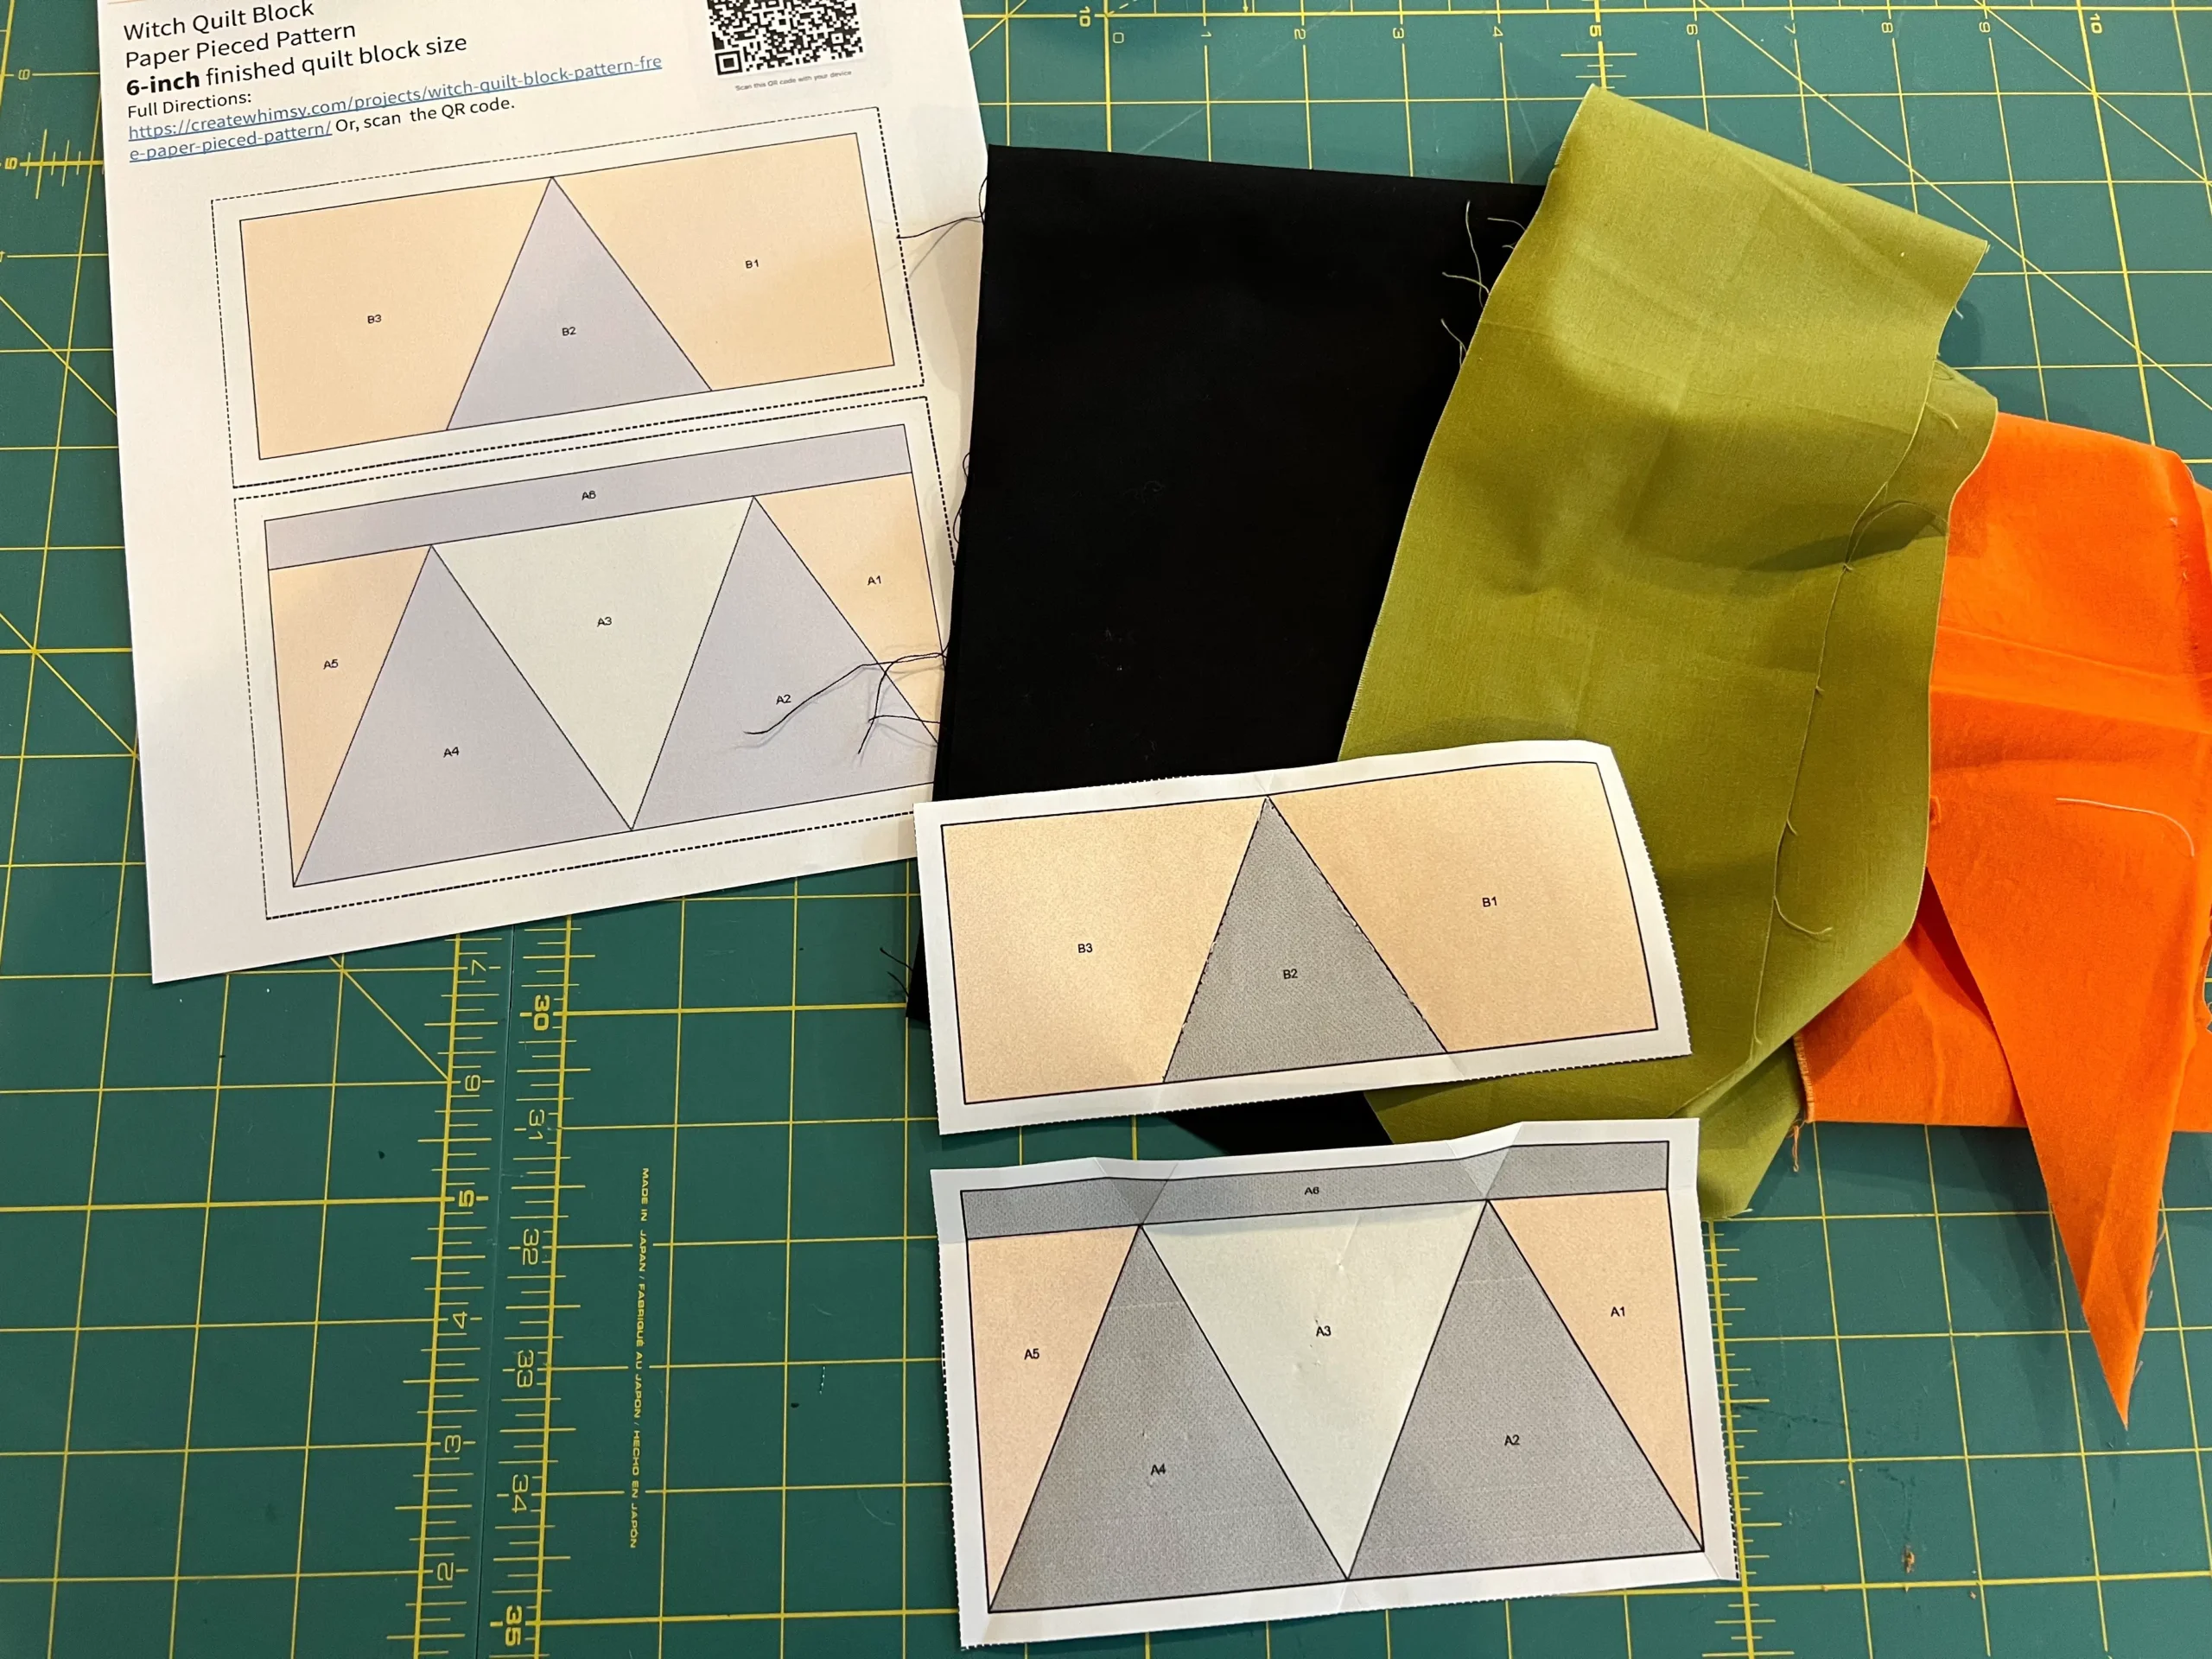
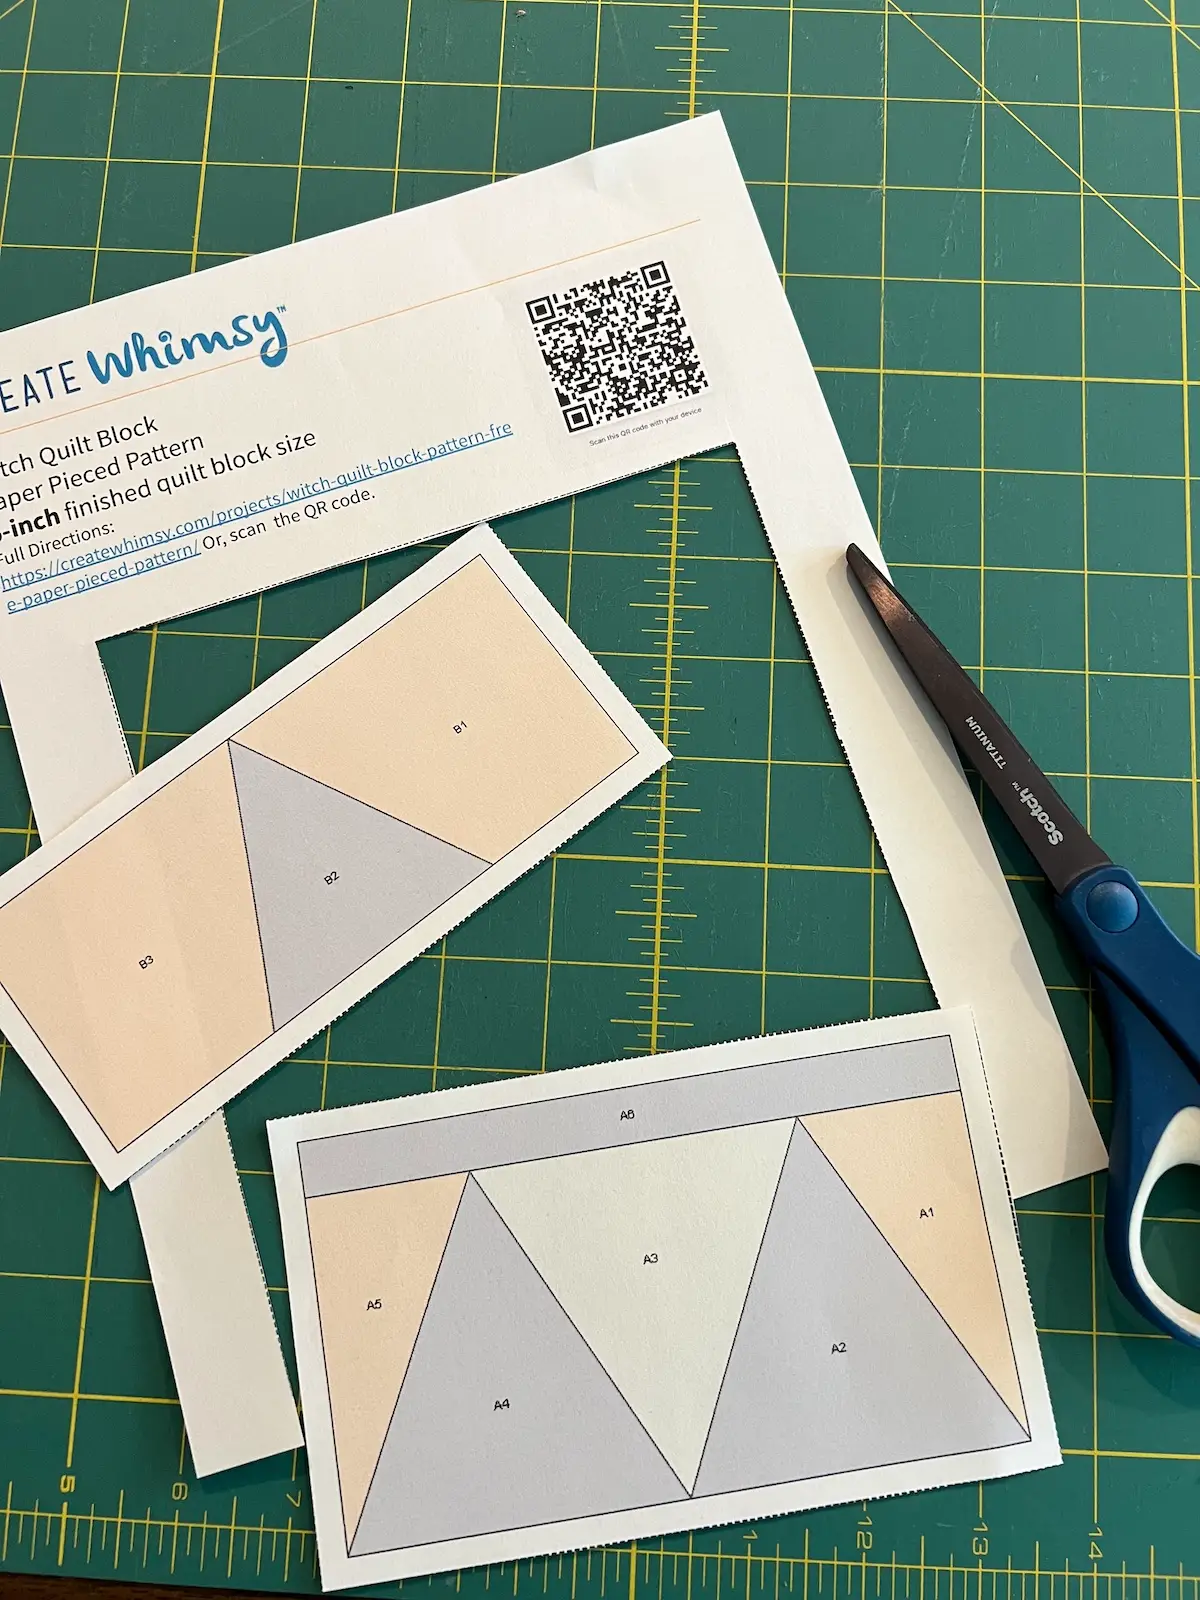
- Cut out the two pattern pieces for the witch quilt block.
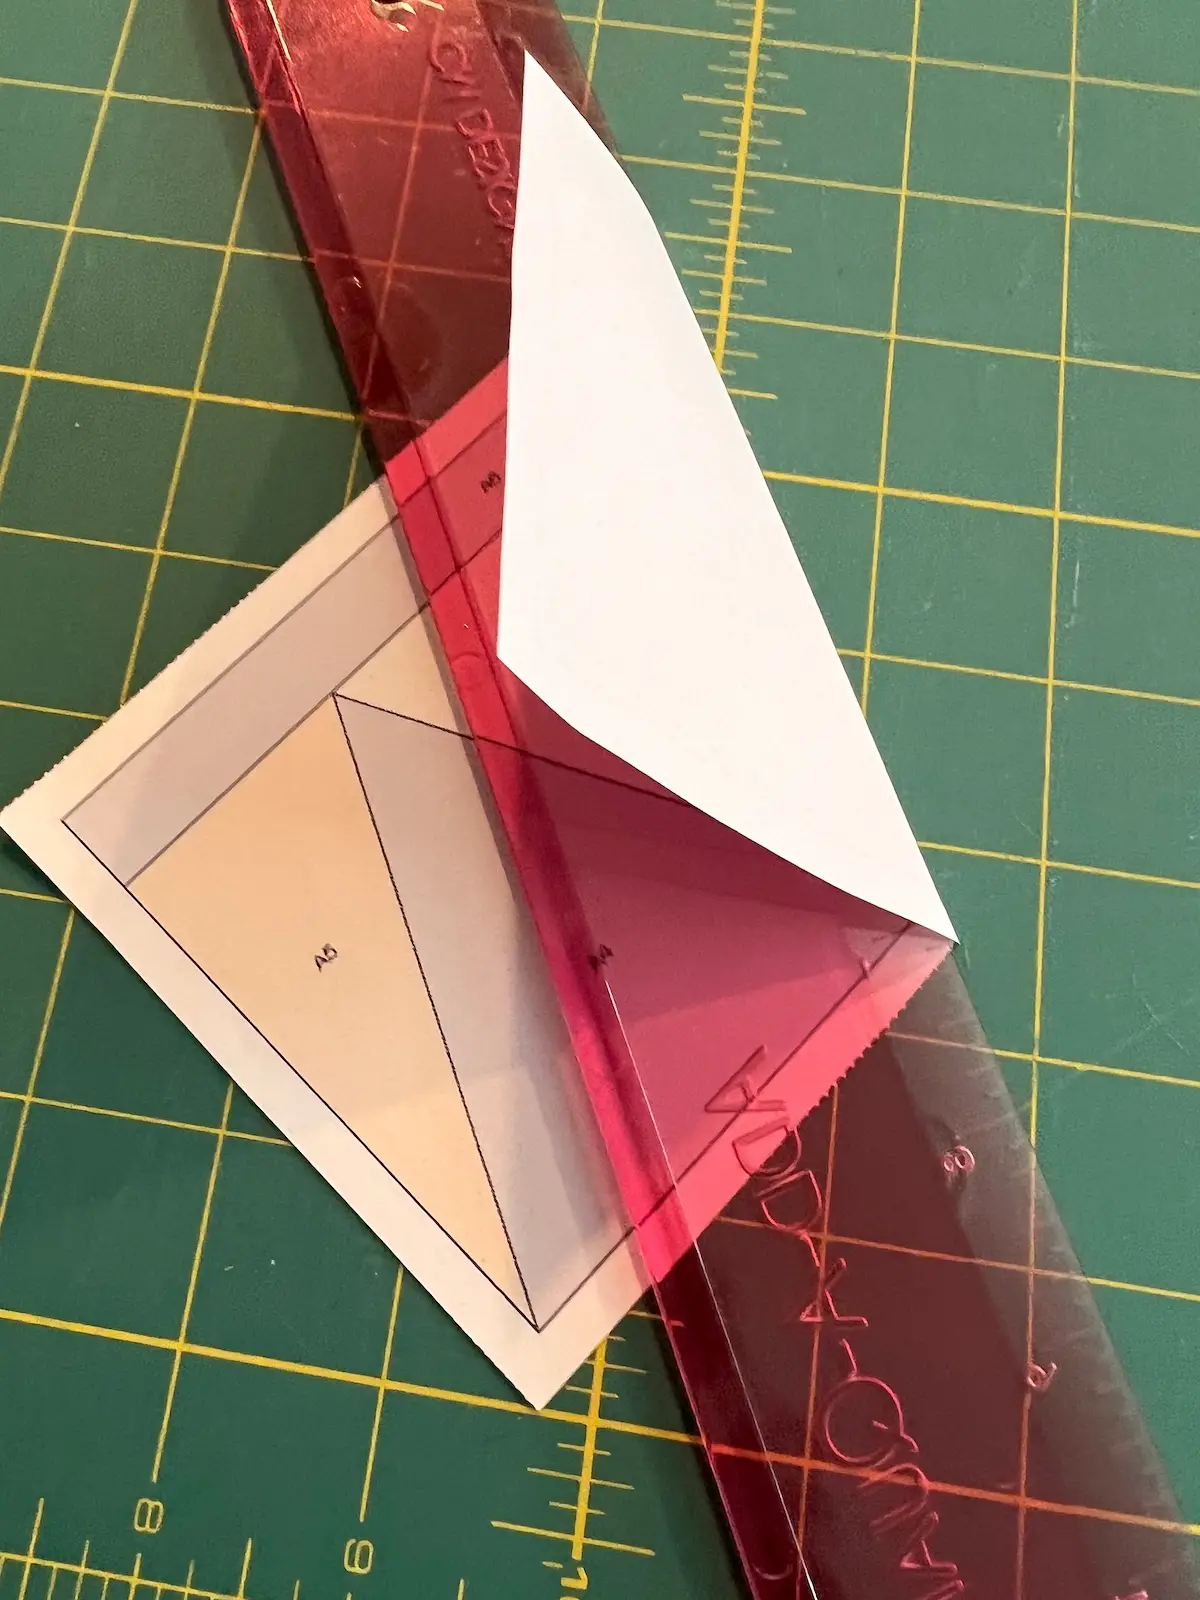
- If you have an Add-a-Quarter ruler, one side is graded for folding paper for paper piecing. Using that side, fold along each of the stitching lines. If you don't have an Add-a-Quarter rule, an index card or thin cardboard works, too.
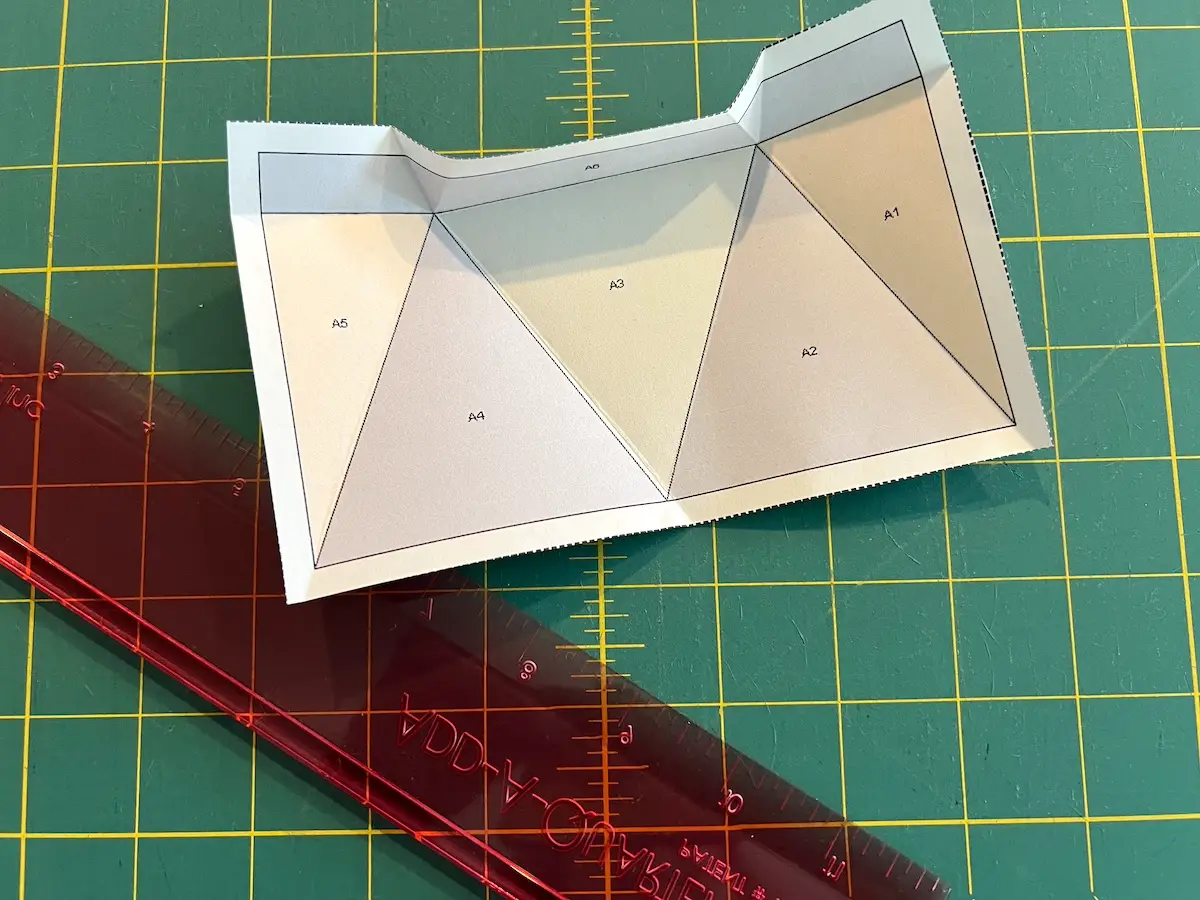
- Here is one of the pattern pieces with all of its folds.
Step 2: Build the center section
- Start at the center. Pin a piece of your witch face fabric WRONG SIDE TO THE PAPER to the center triangle. Secure with two pins so it doesn't shift as you are sewing.
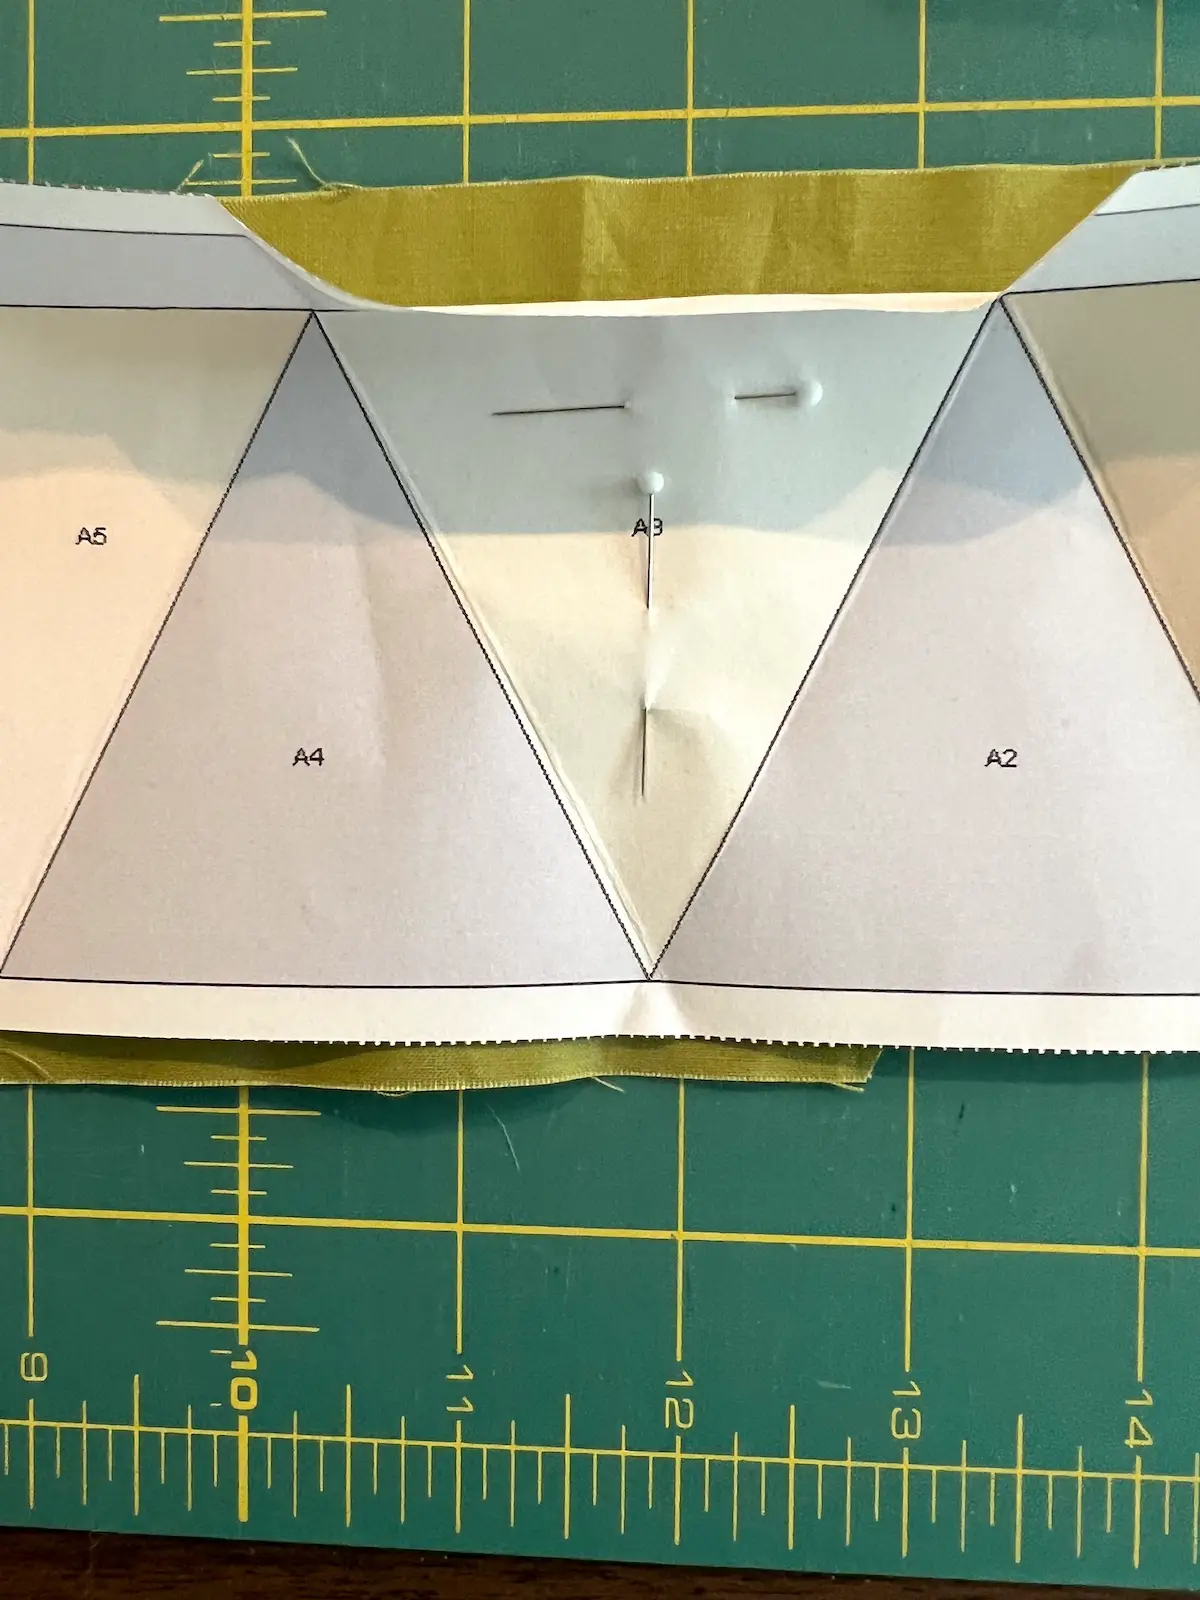
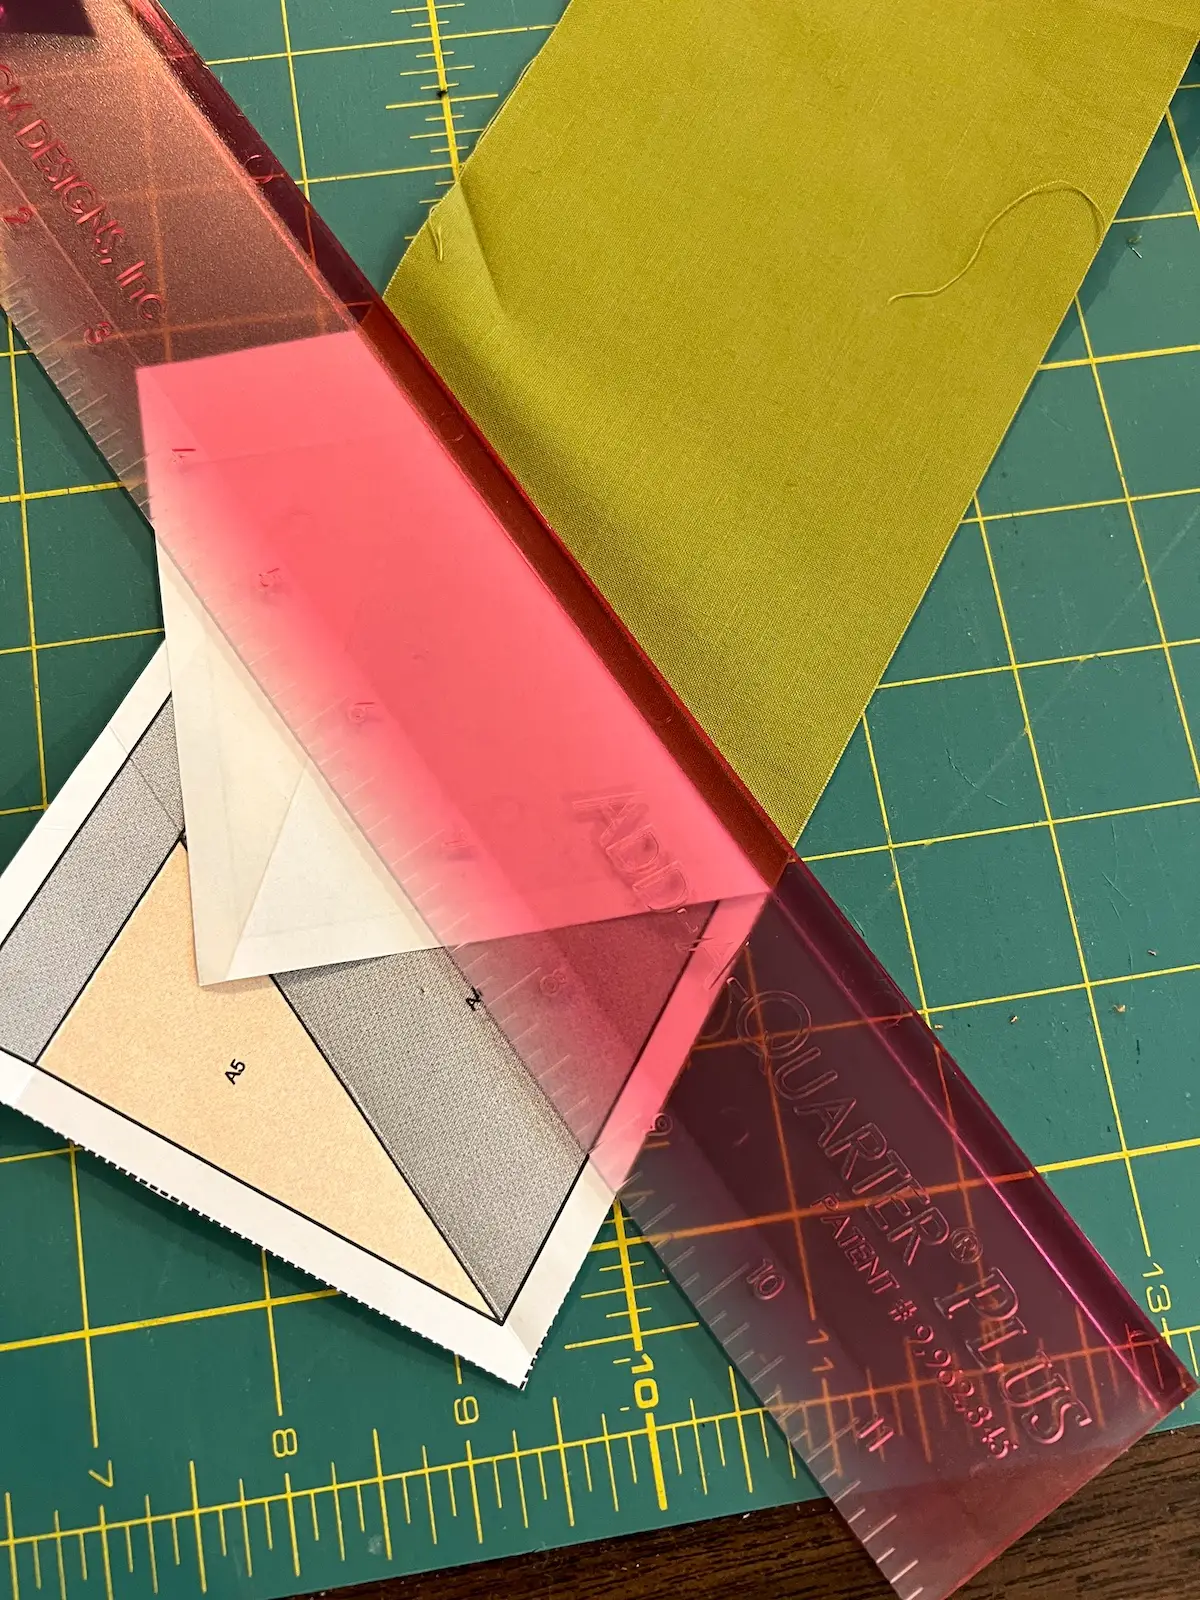
- Fold the paper back on the first stitching line from the center. Using a ruler and rotary cutter, trim the excess fabric to 1/4-inch from the folded paper.
- Grab your next fabric and line up a raw edge with right sides together with the paper folded back along the stitching line. IMPORTANT: Eyeball the size of this patch and the fabric underneath. Make sure that the fabric covers the entire shape of this patch. I'm making the witch in black. So I've made sure the black fabric covers the entire triangle.
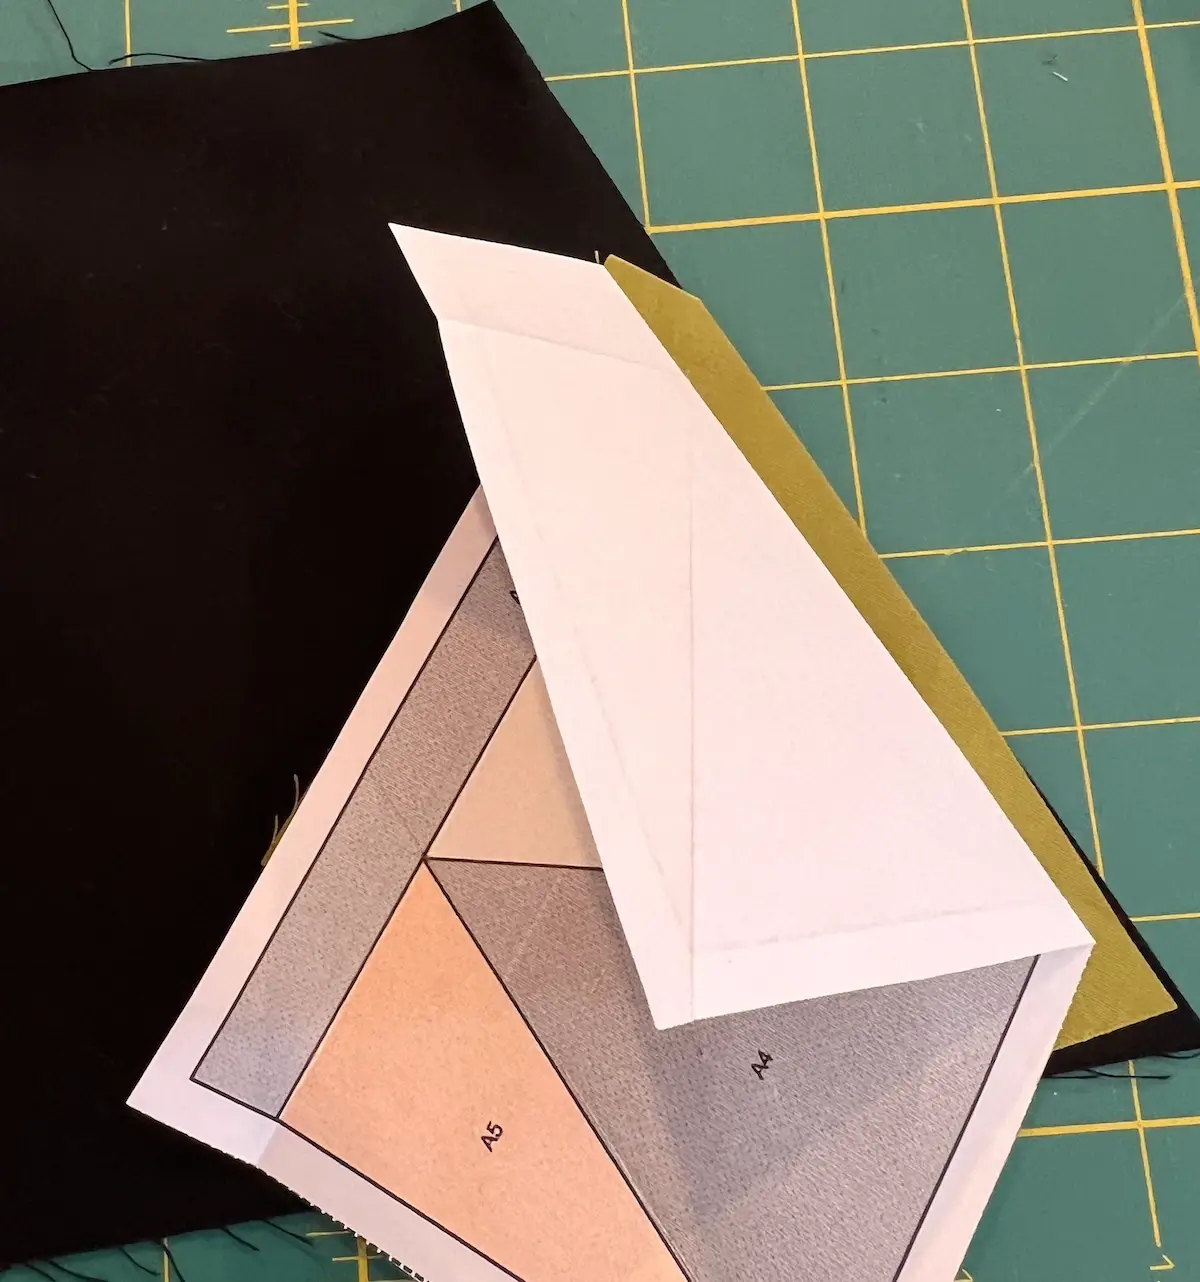
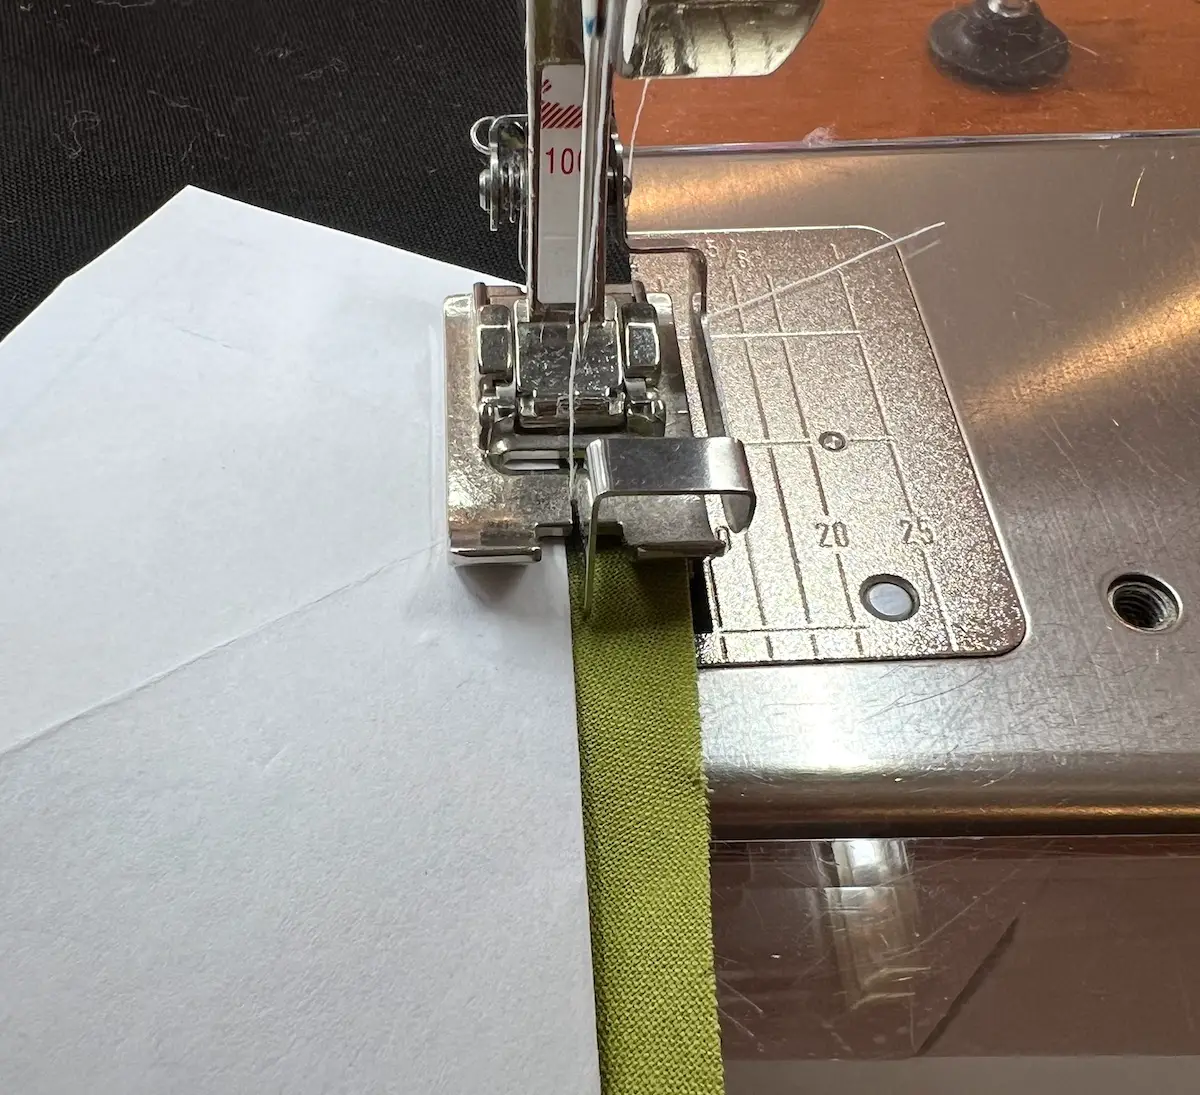
TIP: When placing fabric, hold your pattern up to a light source before sewing. This helps you see if the fabric fully covers the section—saving you from unpicking later. - Go to your sewing machine and sew along the folded paper, trying not to catch the paper in your stitches. TIP: Use your topstitch foot, with your needle centered. Guide the bar along the paper, and it's easy to stitch.
- Here is the first sewn line for our witch.
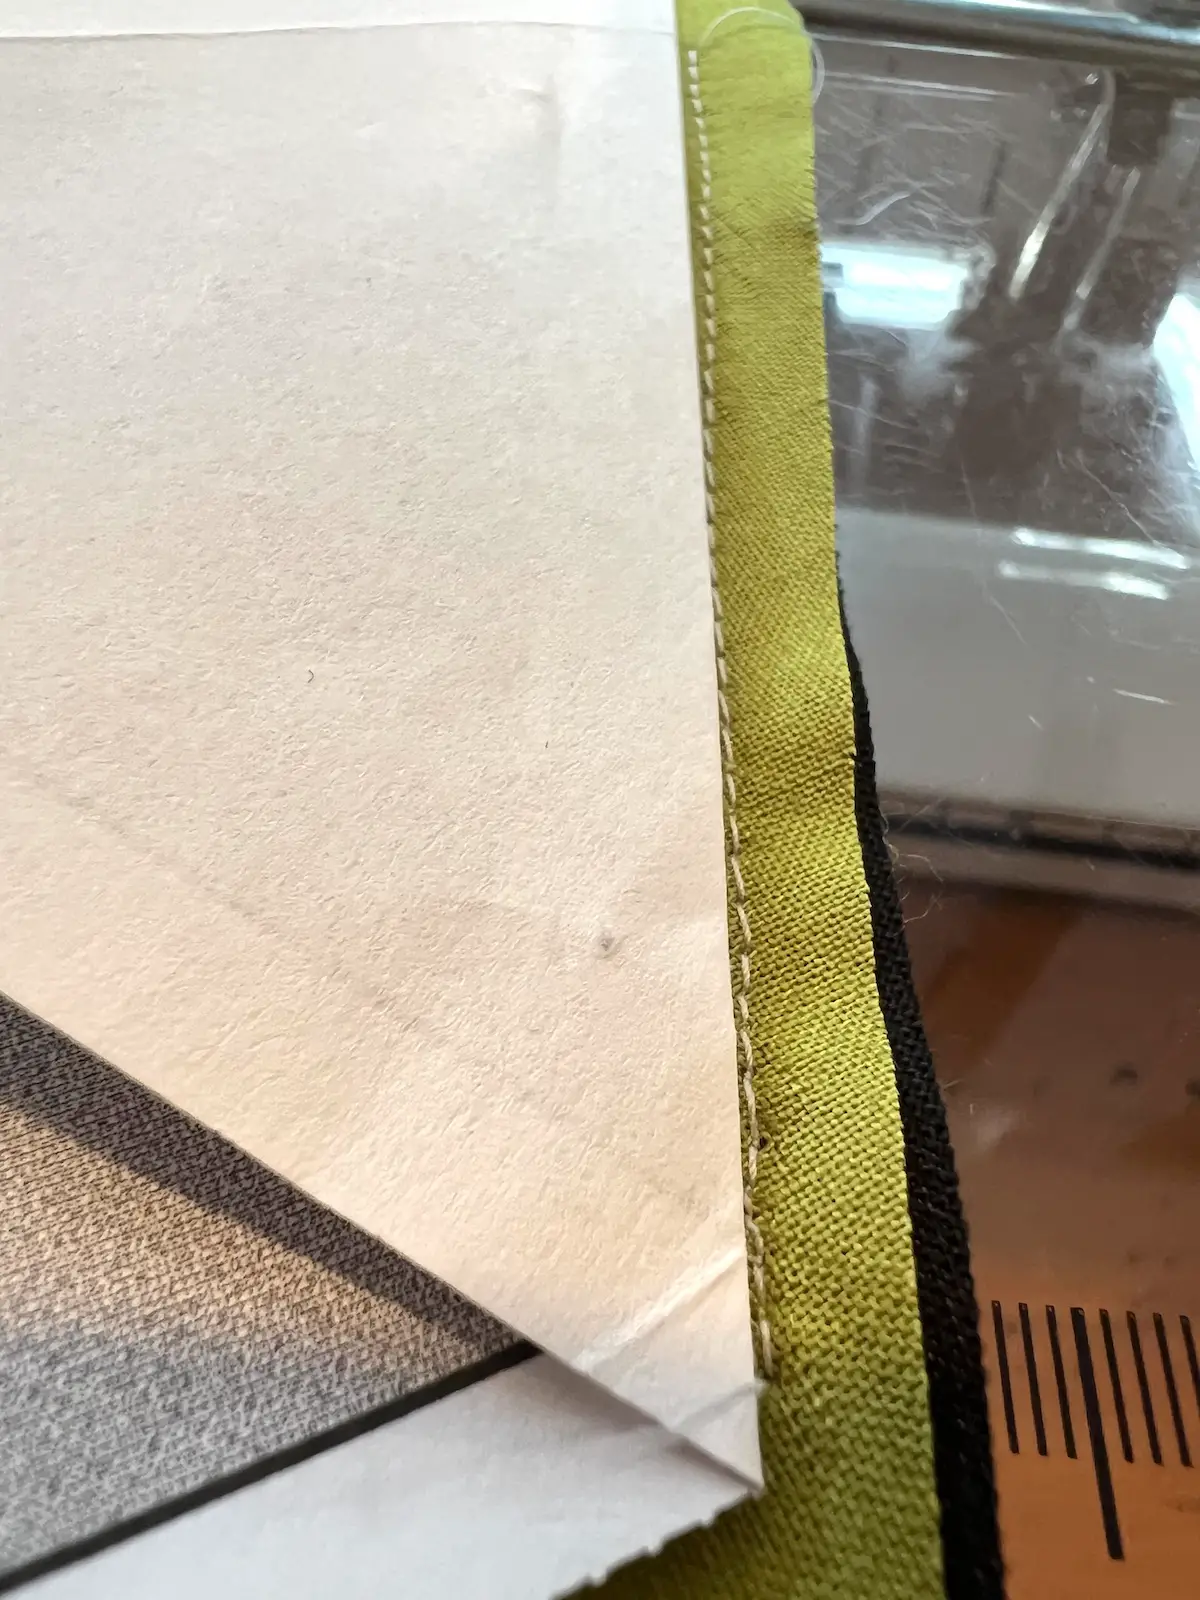
- Finger-press the seam.
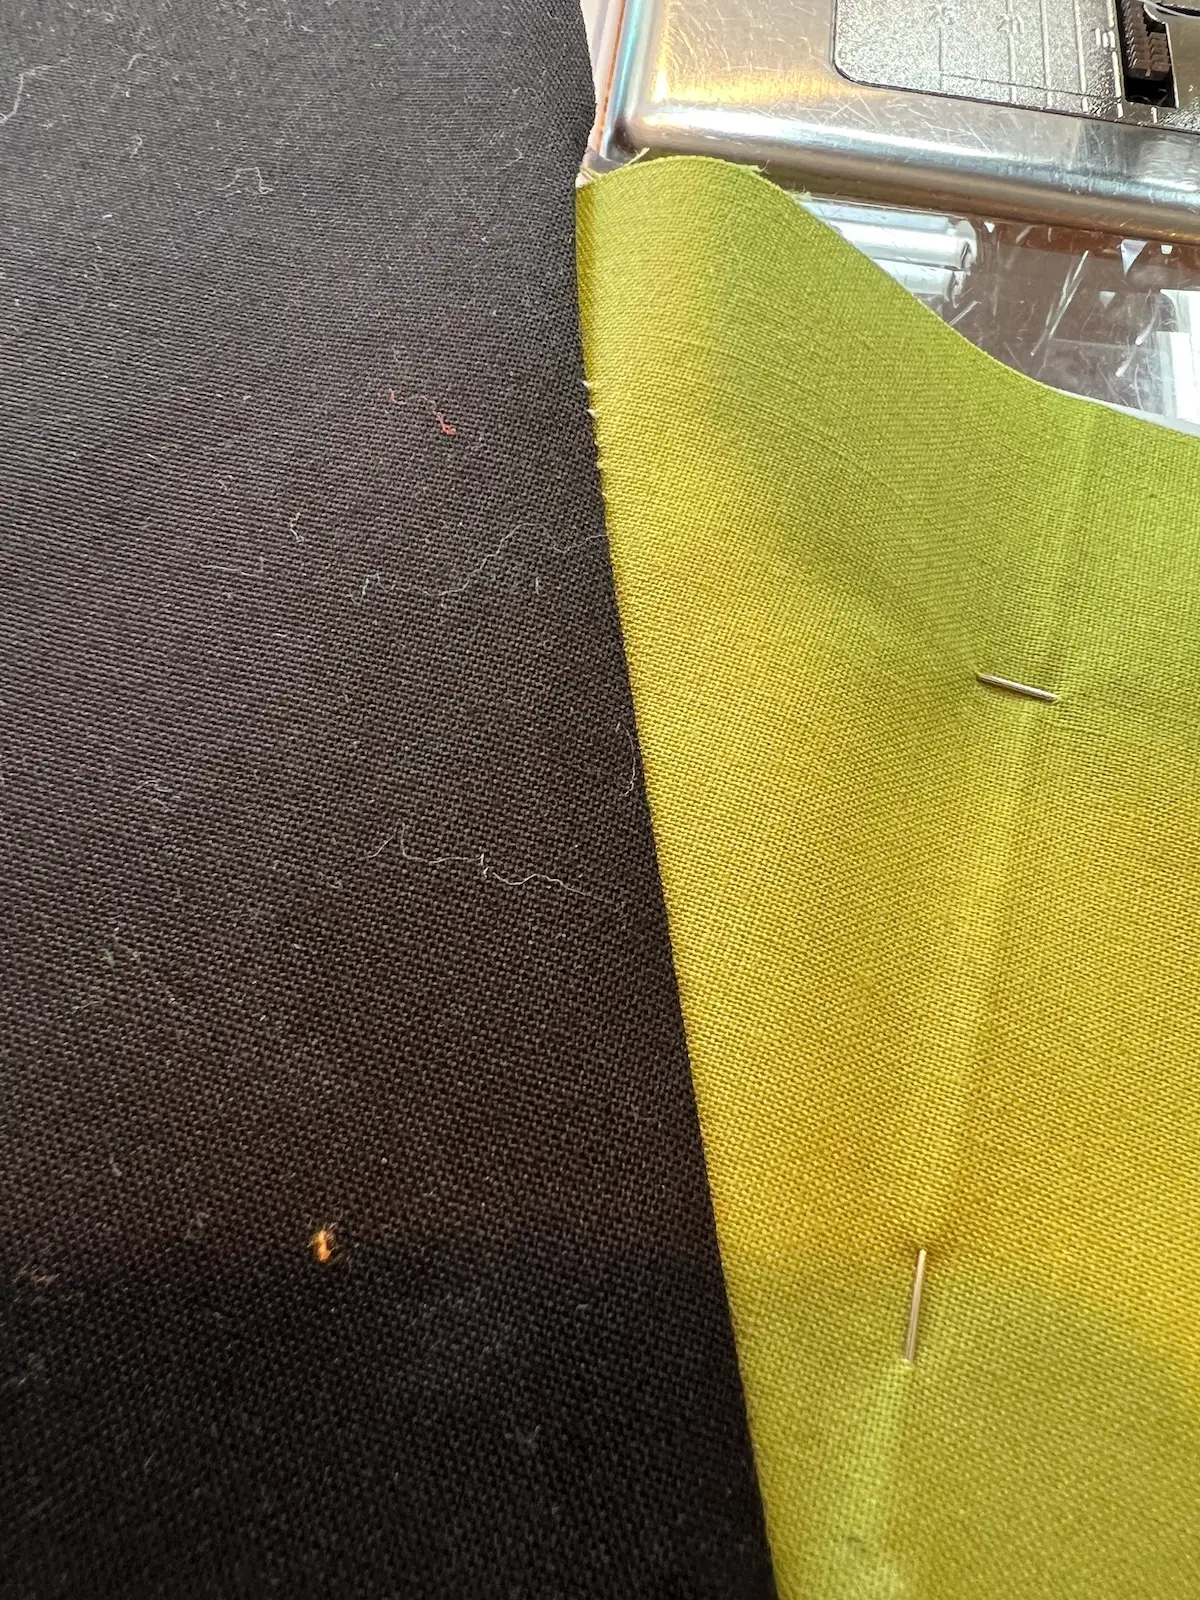
- On your cutting mat, fold along the next stitching line, and trim the witch fabric.
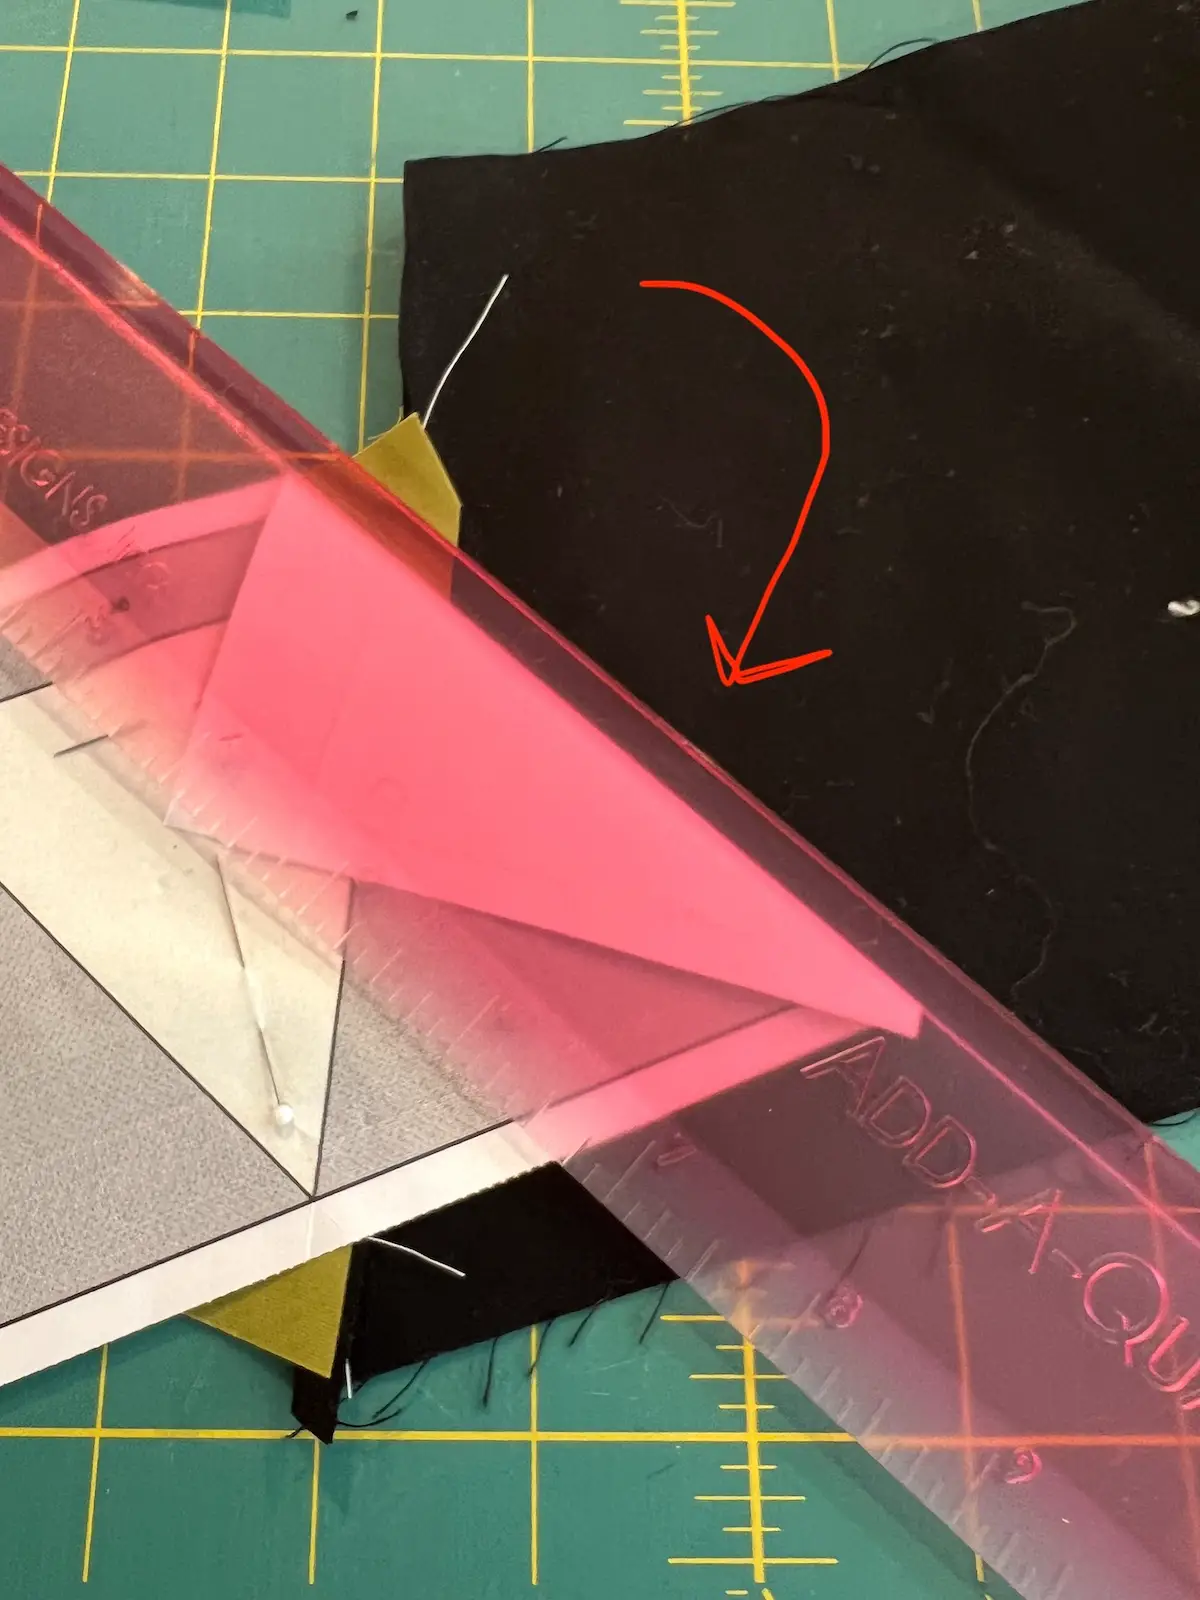
- Line up your background fabric, right sides together, and stitch along the folded paper. Finger-press.
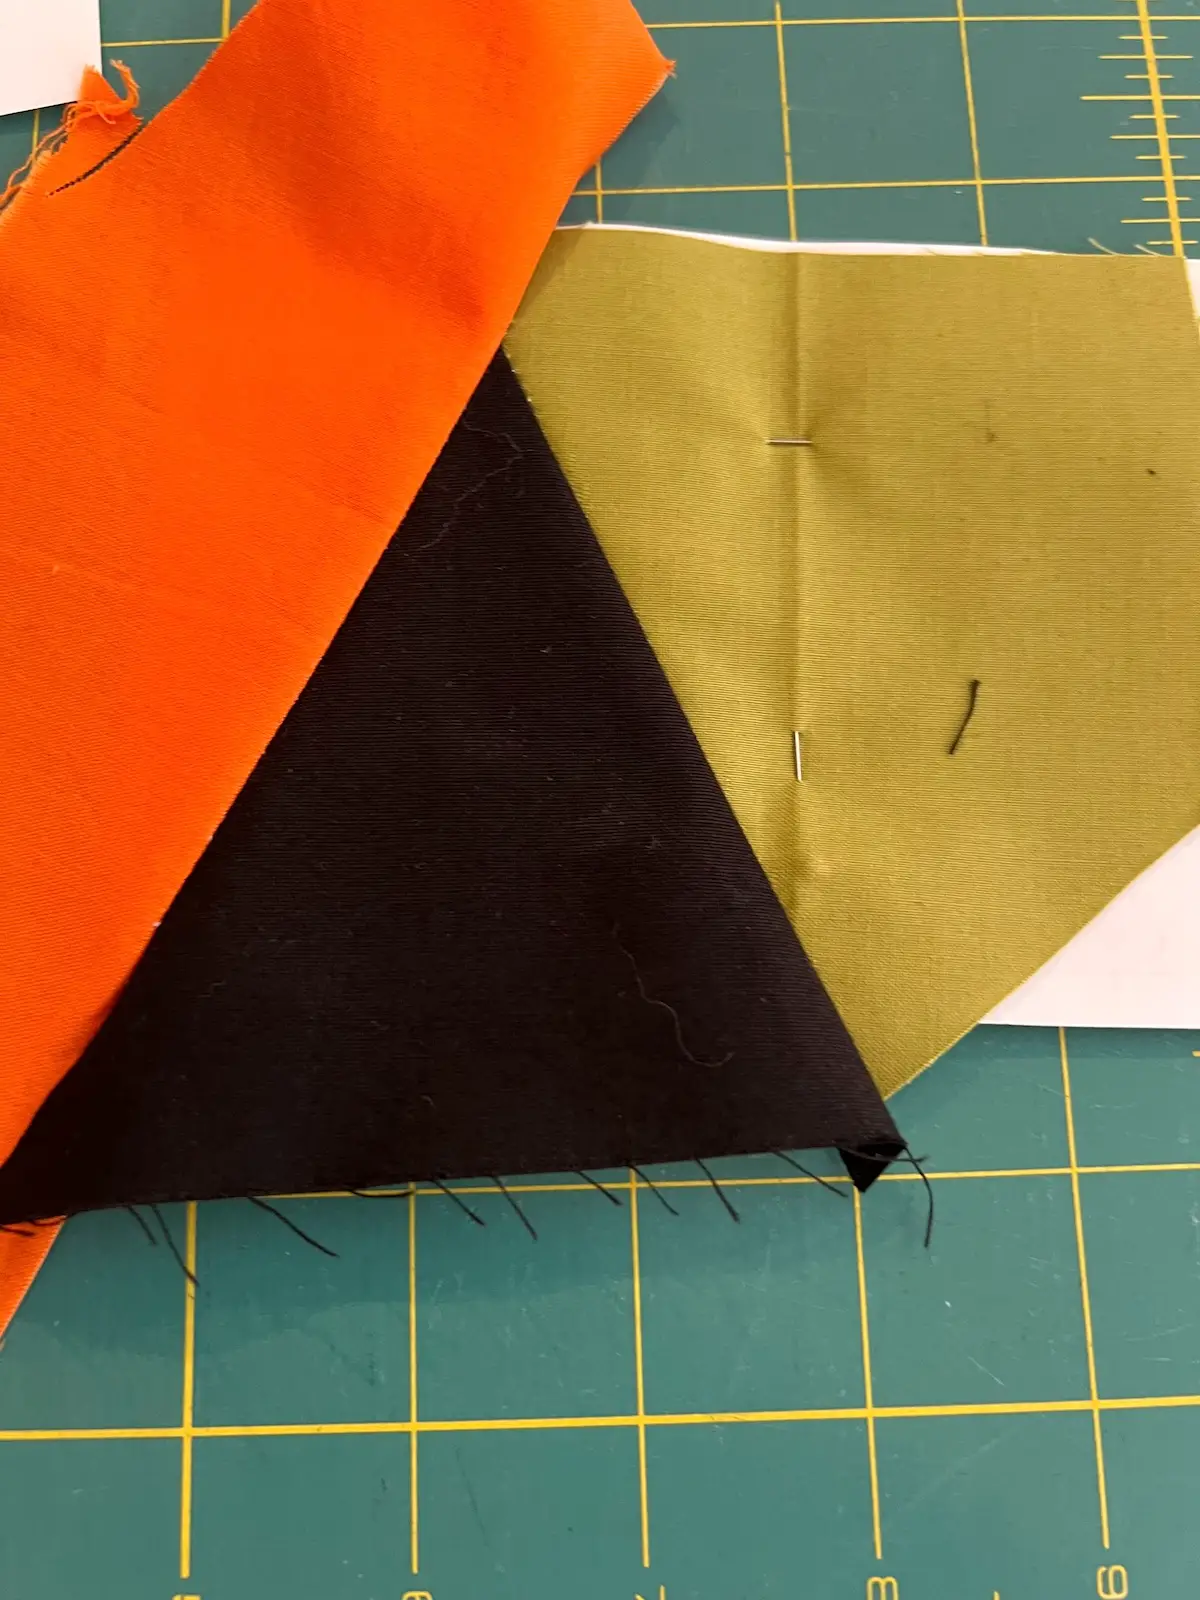
- Do these steps for the other side of the witch face. Now it's time to add the hat band. Fold along the long stitching line and trim to 1/4-inch.
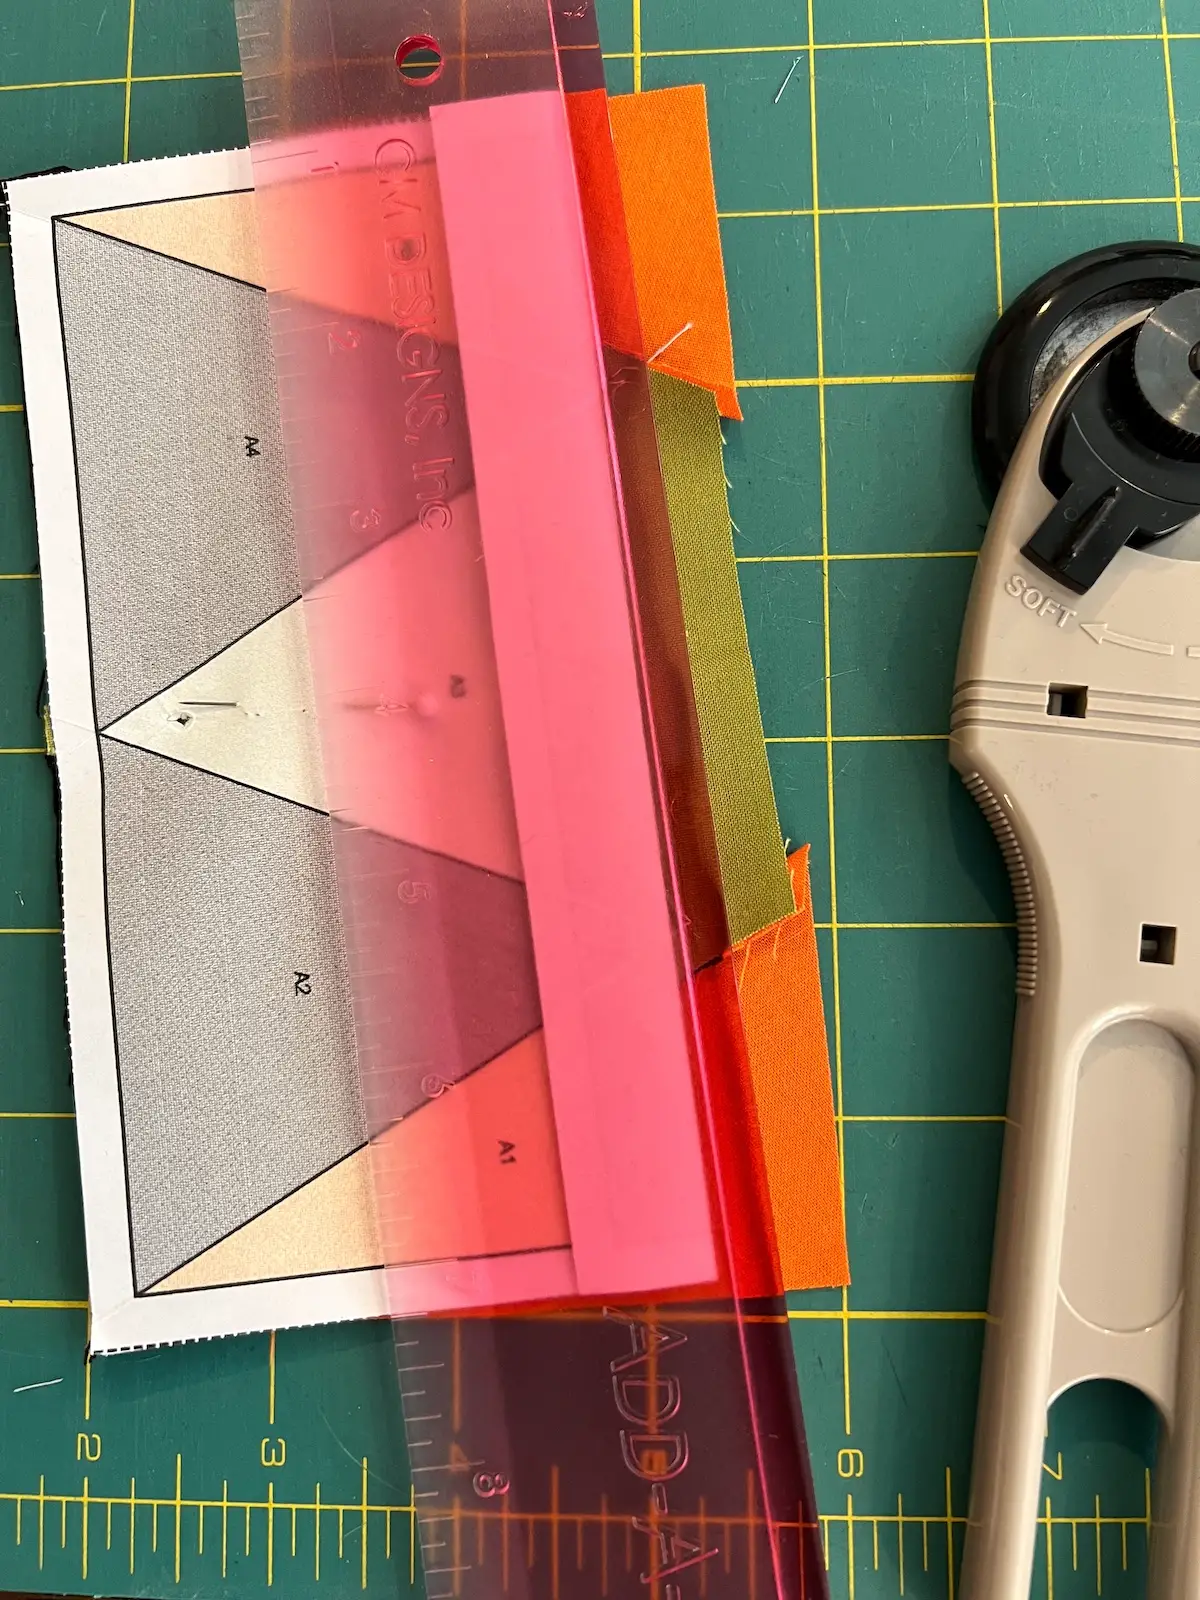
Step 3: Add the hat and background:
- Place the hat band fabric right sides together and stitch. Trim all around the outside edge of this section, and it's done!
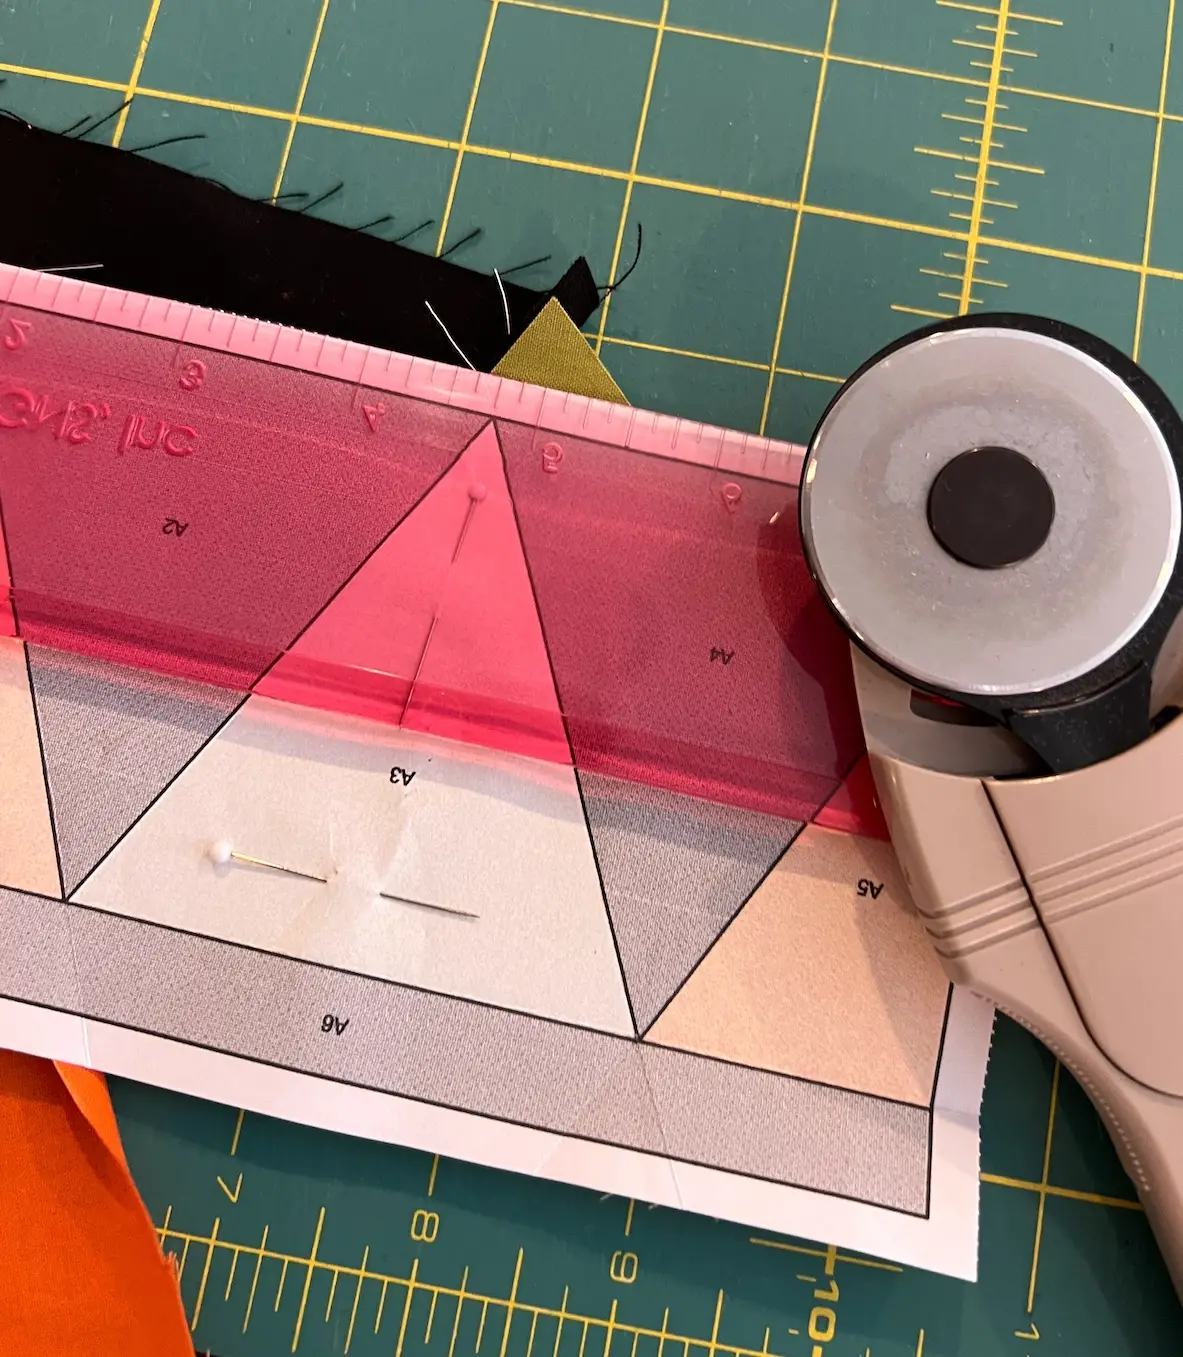
- Remove the pins, and the paper comes right off! No removing the paper!
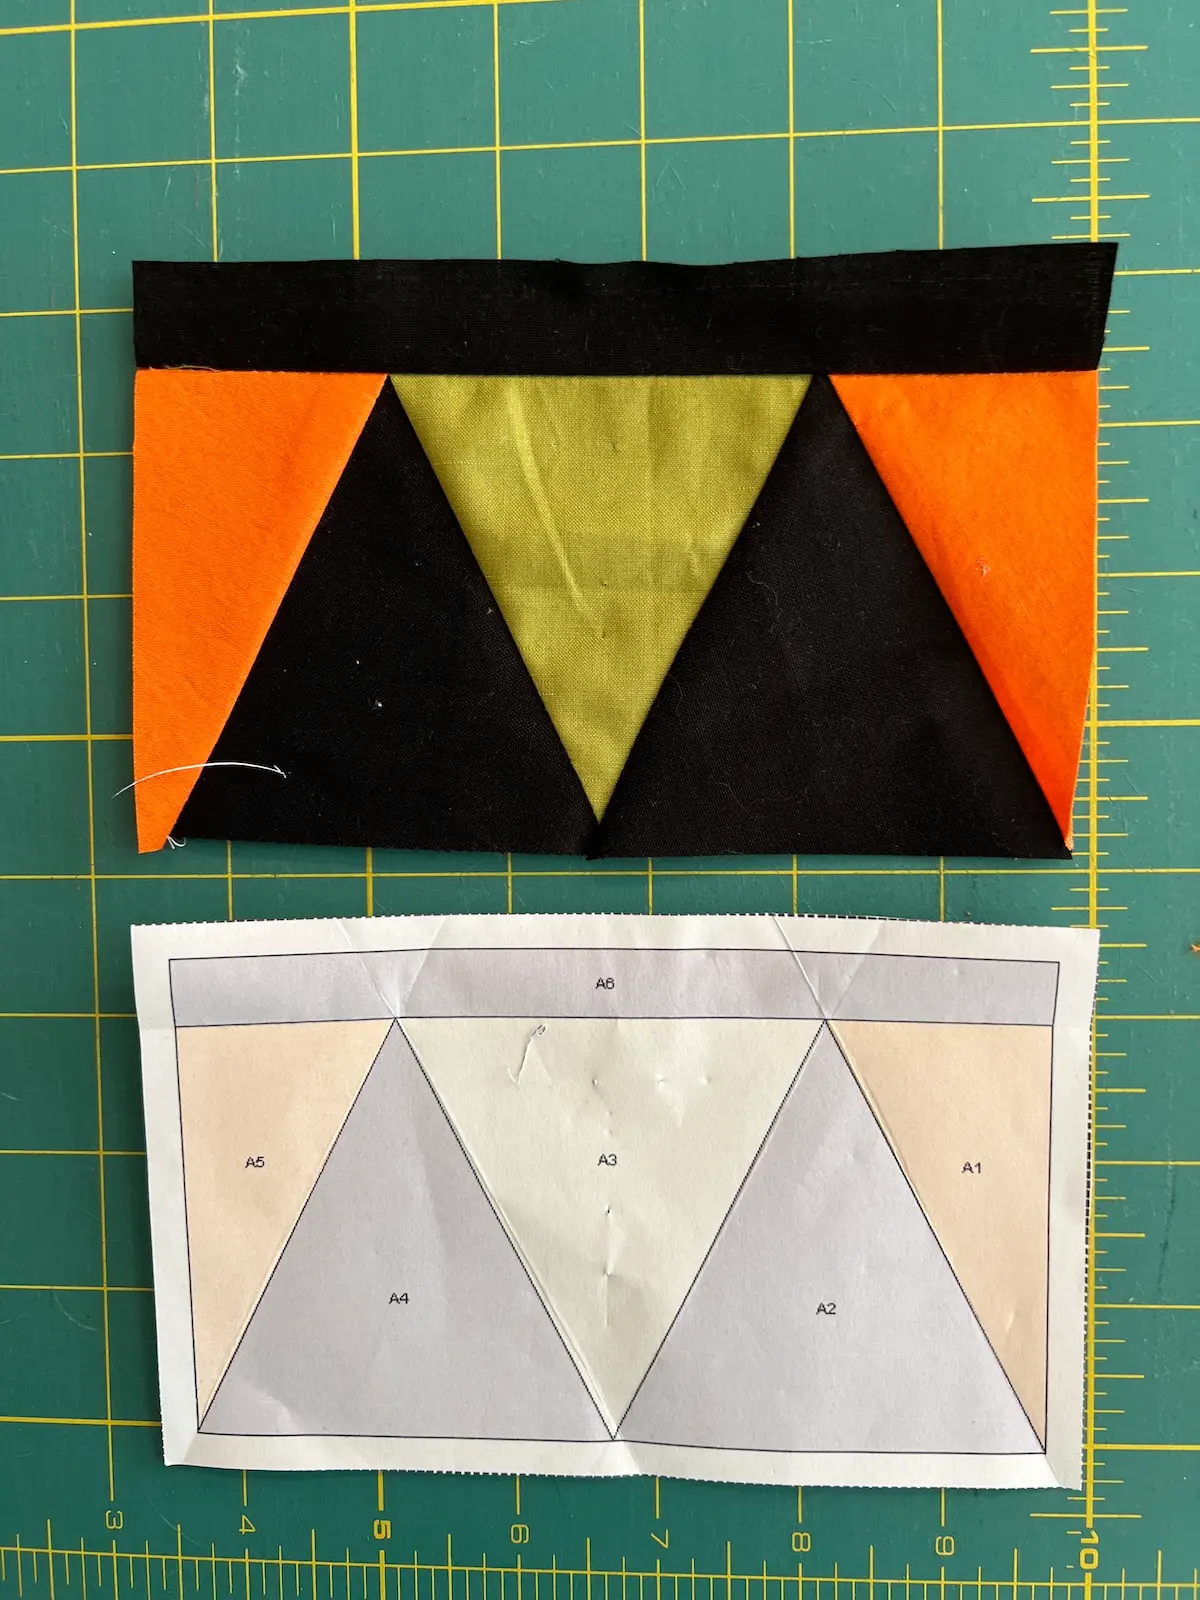
Step 4: Repeat for second section
- Go through the same steps for the other section of the block, starting with the center, the witch hat fabric, and then adding the background fabrics.
Once you have both sections sewn together and trimmed, press both sections.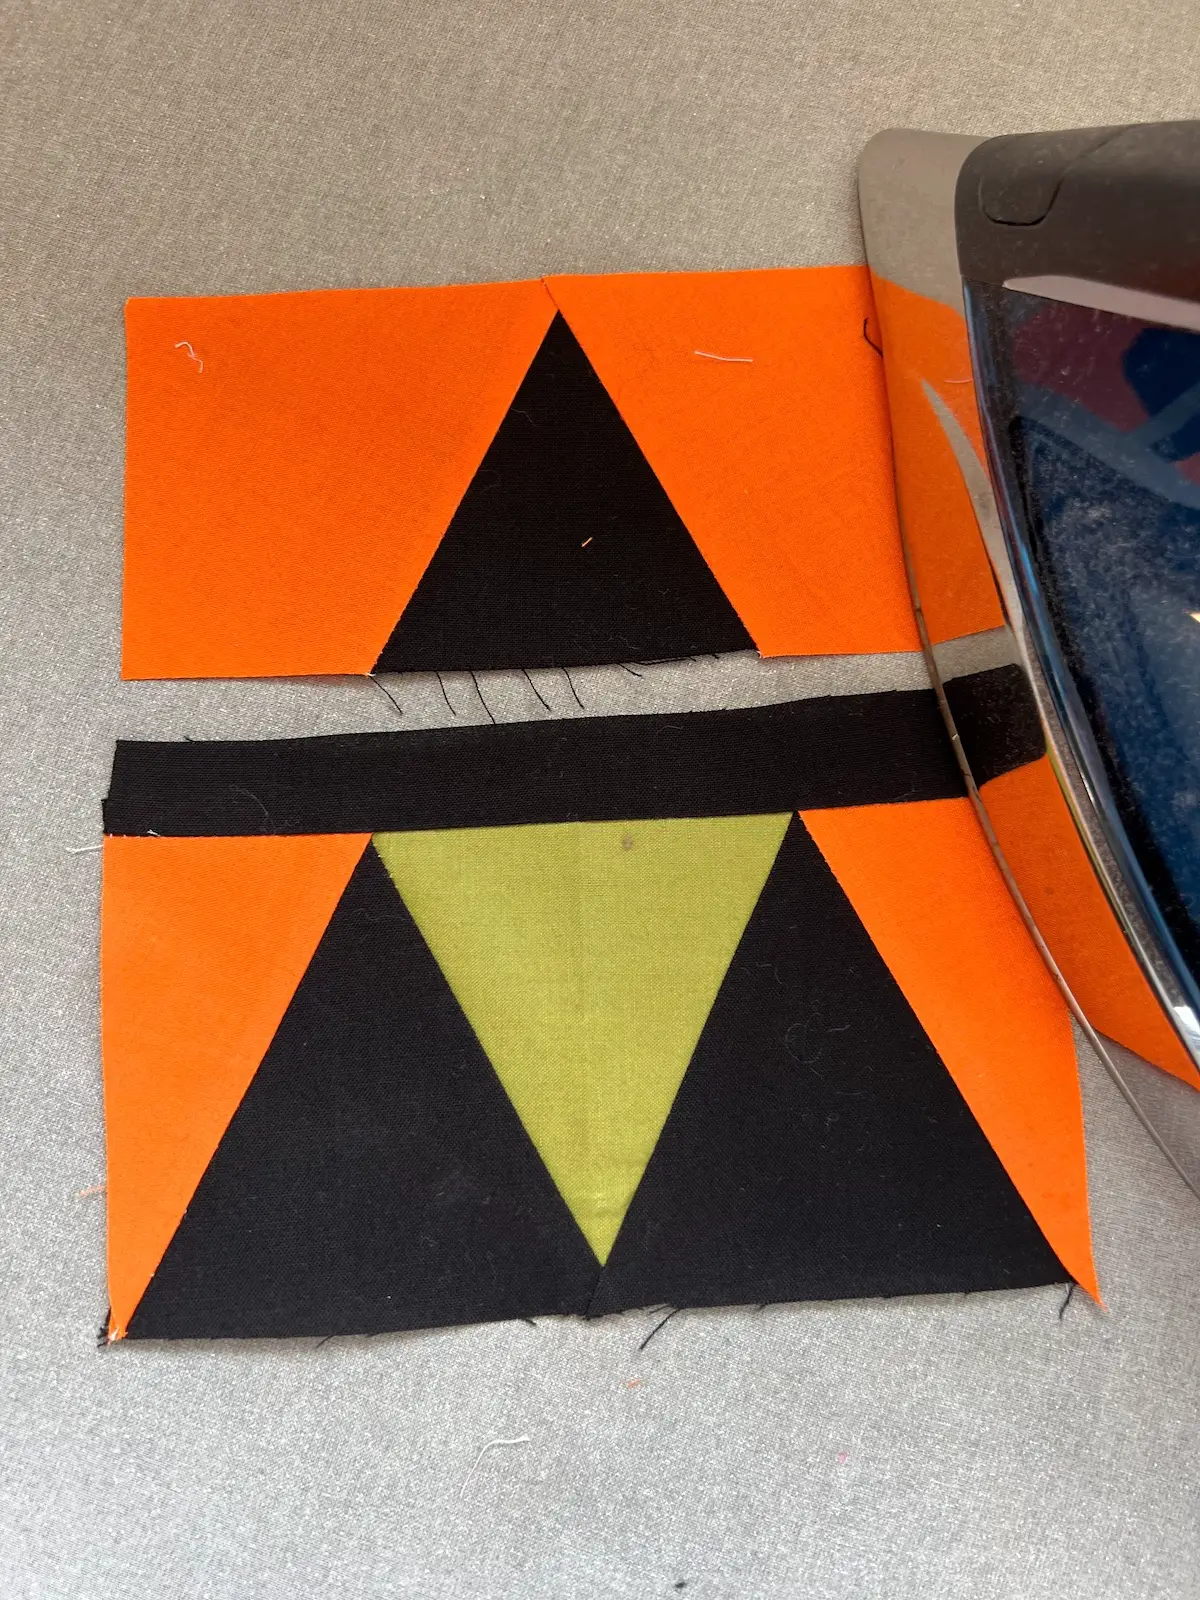
Step 5: Finish the quilt block
- Sew both sections together with a 1/4-inch seam allowance.
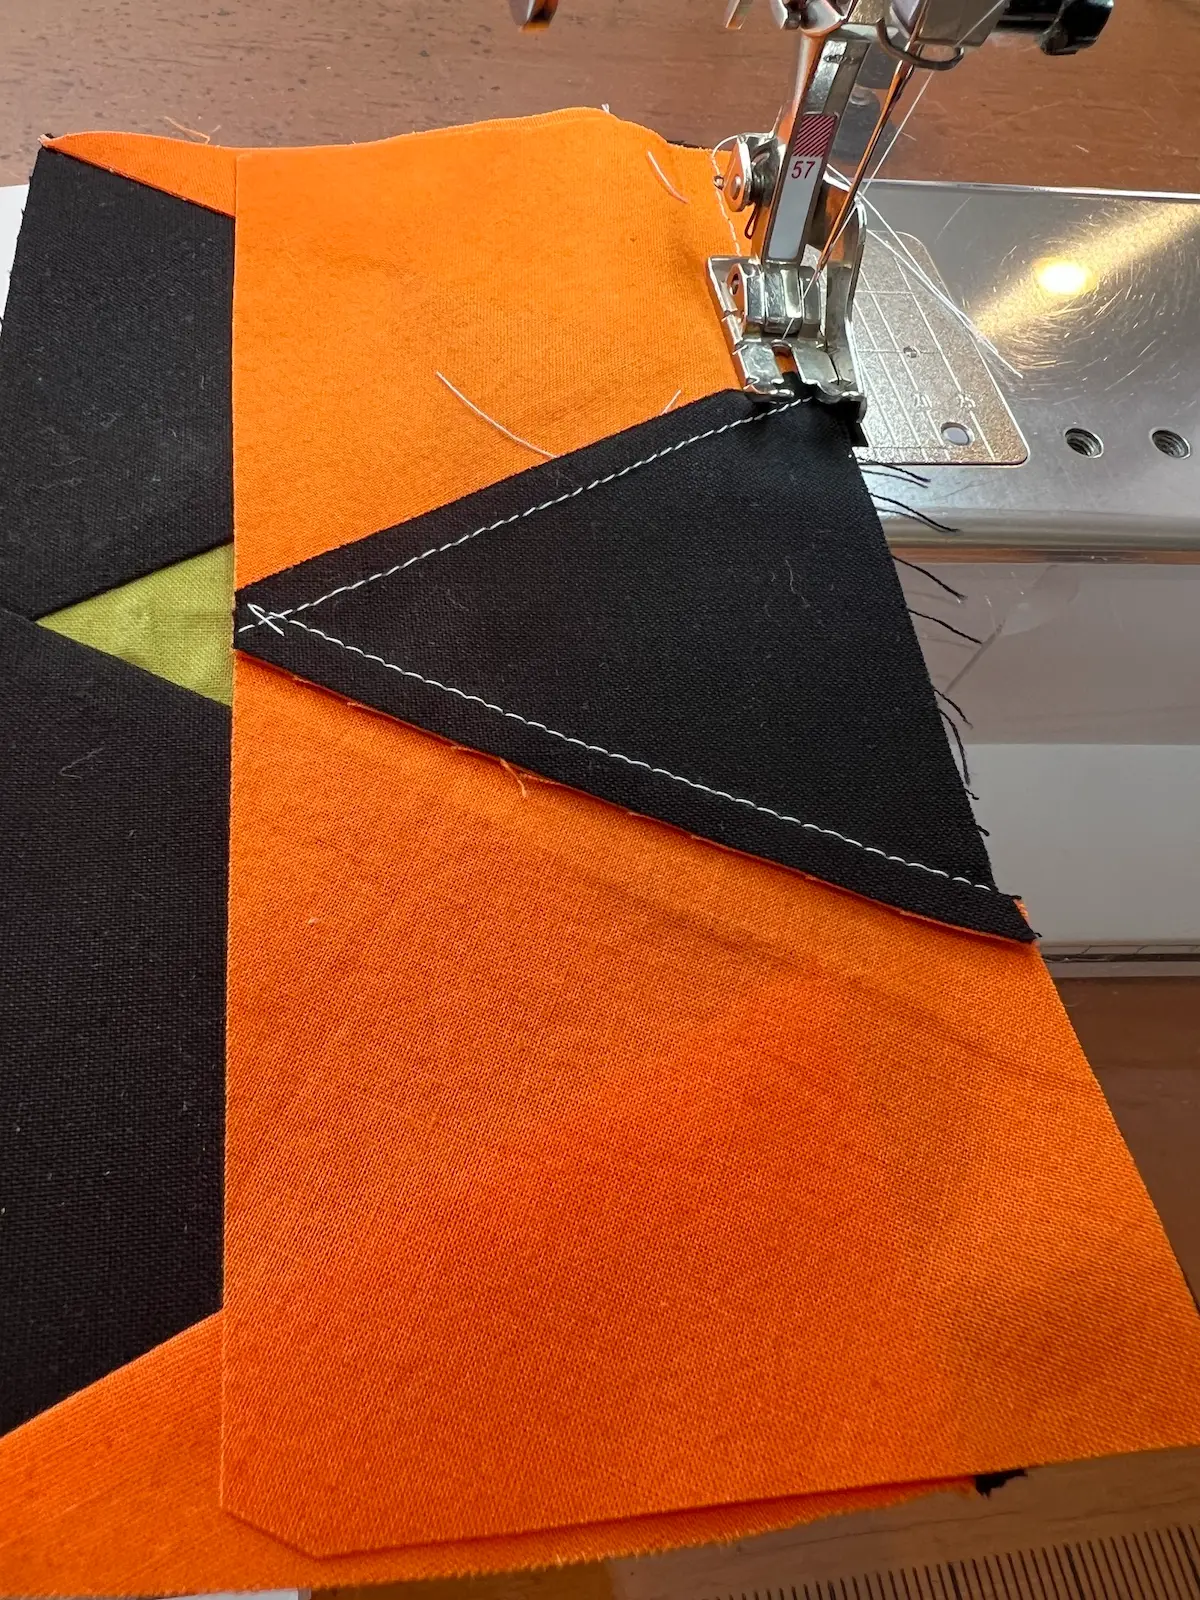
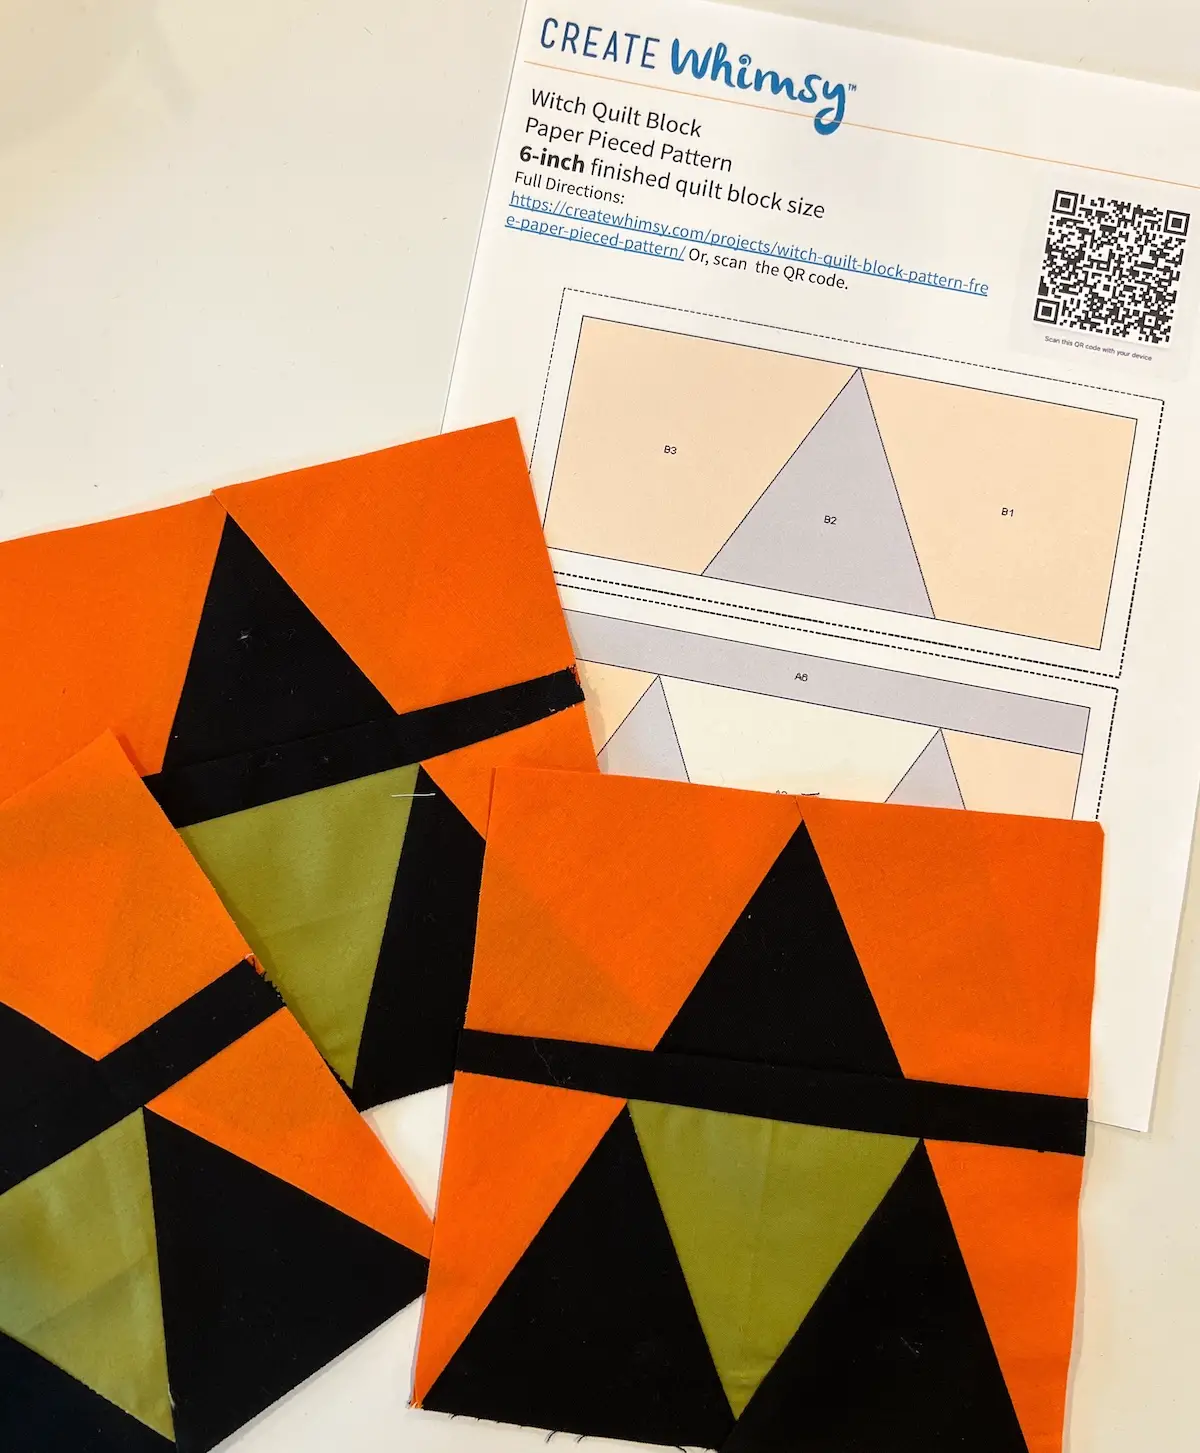
- And, you have a finished witch quilt block!
Recommended Products
As an Amazon Associate and member of other affiliate programs, I earn from qualifying purchases.

Ideas for the witch quilt block
Use one on a tote bag to make a trick-or-treat bag! Use our basic instructions for a tote bag and place the witch block on the front instead of making the monster face – or make it reversible!
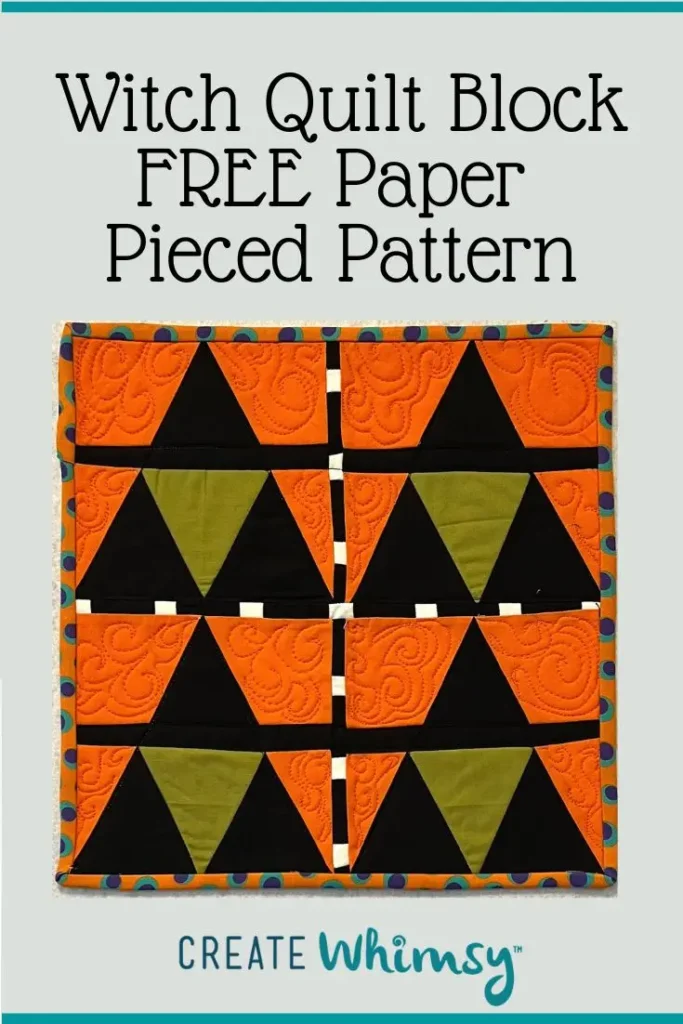
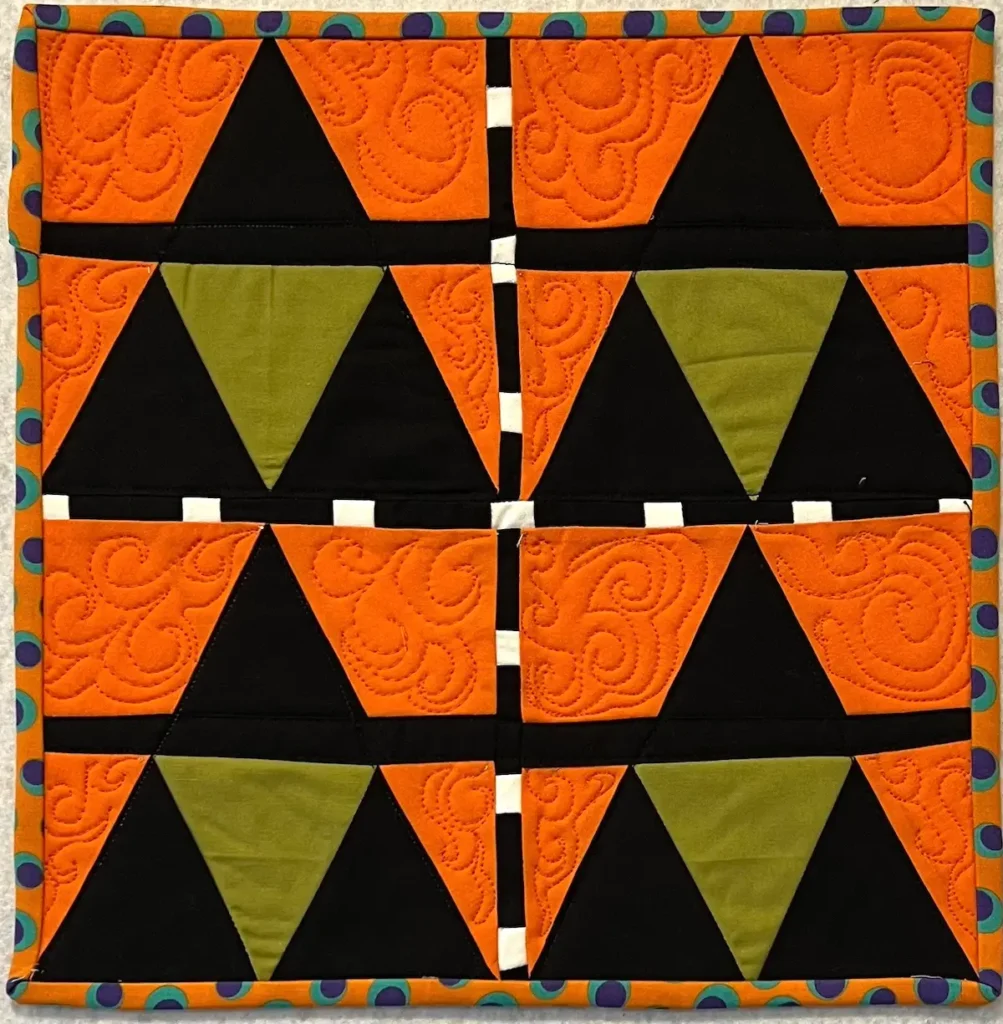
Make four (4) blocks into a mini wall quilt, like I did. The witch blocks side-by-side needed a small sashing for the witches to show. I used a black and white piece, and then bound the edges with the fun polka dots.
Common mistakes (and how to avoid them)
Fabric doesn’t cover the area
Hold you piece up to the light before sewing to check coverage
Seams feel bulky
Trim consistently to 1/4″ after each step
Pieces don’t line up
Make sure folds are crisp and accurate before trimming
Paper shifts while sewing
Use pins or a dab of glue stick to hold layers in place
Creative ways to use your witch block
Don’t stop at just one block! This little witch loves to travel!
- Make a halloween tote bag for trick or treating
- Create a mini wall quilt with four (4) blocks
- Turn one into a potholder or mug rug
- Add it to a seasonal quilt sampler
- Give the witches faces with some hand embroidery
Mix and match fabrics for a whole coven or witches, each with their own personality!
Frequently asked questions
Is this pattern good for beginners?
Yes! This is a great introduction to paper piecing because the shapes are simple and the method is forgiving.
Do I have to sew through the paper?
No. This tutorial shows a method where you sew alongside the folded lines, making removal quick and easy.
What size is the finished block?
The finished block is 6″
Can I reuse the pattern?
Yes! Since you aren’t stitching through it, the paper template can be reused several times.
What fabrics work best?
Cotton quilting fabrics are ideal. Use contrasting colors to highlight the design.
This witch quilt block is proof that paper piecing doesn’t have to feel complicated or intimidating. With a few folds, some strategic stitching, and a dash of creativity, you can conjure up a charming block in no time.
Once you’ve made one, it’s hard to stop—so don’t be surprised if your sewing table suddenly fills with a whole parade of little witches.
And if you’re feeling inspired, explore more beginner-friendly quilt blocks and seasonal projects here on Create Whimsy—there’s always another idea waiting to take shape.