There are many ways to make cute pillowcases to dress up your bed. This method of making an envelope pillowcase protects both ends of your pillow with an inner flap at the open end. It is sometimes referred to as a pillowcase with a flap.
I’ve seen these types of pillowcases used at hotels and like the extra coverage of the pillow insert. This is a perfect method for making special pillow covers for your guest rooms.
This simple pillowcase is an easy sewing project and is a great beginner project.
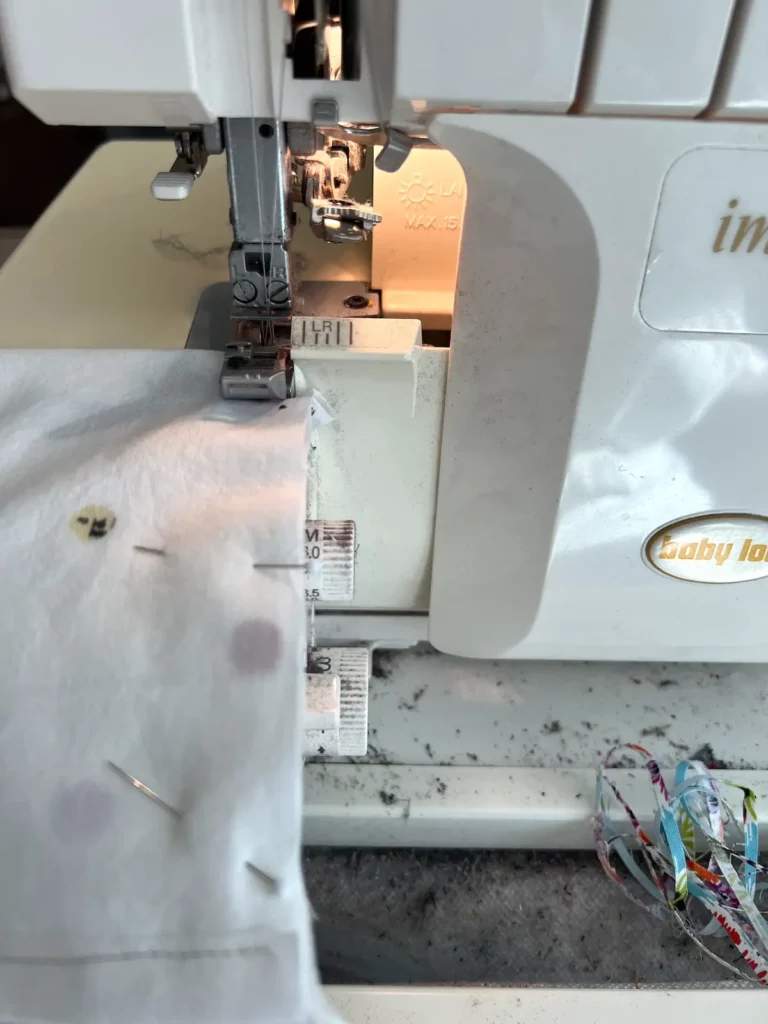
With this method, there are no exposed seams to the outside of the pillowcase. I’ve used a serger to finish the inside seams, but you could use a French seam to make all of the seams (even the inside) all finished.
Here is a fabric calculator that shares how much fabric you’ll need for the standard sizes of pillows using one fabric for the pillowcase. The size of the pillowcase varies on the size of the pillow.
As an Amazon Associate I earn from qualifying purchases. Read more about our affiliate linking policy.

Step 1: Cut out your fabric
Start by cutting your pieces of fabric for a pillowcase with an envelope closure using the fabric calculator above. Press down 1/2-inch on the short edge of both fabrics. These will be the open ends for the envelope flap.
I used a rotary cutter to cut the fabric pieces.

Step 2: Finish the pillowcase front cuff
Let’s finish the cuff on the front of the pillowcase first. Fold down 4 inches from the edge, making a cuff with the right side of the fabric on the inside of the pillowcase. Pin in place.

Topstitch along the pinned edge about 1/8-inch from the fold on the wrong side of the fabric using your topstitch foot making this a finished edge.

Step 3: Prepare the pillowcase back edge
On the pillowcase back fabric piece, tuck 1/4-inch of the 1/2-inch pressed edge under and press. Topstitch the pressed edge.

Step 4: Sew the front and back pillowcases together
Next, with right sides together, line up the pillowcase front and back with the back down first and the pillowcase front on top, lining up the bottom raw edges. Fold both hemmed edges from back to front. The longer flap should be about 6-inches, with both front and back meeting along the same fold line. Pin the side seams. This makes the back flap or envelope.

Sew down one side, across the bottom and back up the other side with a 1/2 inch seam allowance. I used a serger that finishes the seams nicely. You can use a straight stitch and finish with a zigzag stitch to finish the seams. Make sure to remove your pins and don’t sew over them!
Turn your pillowcase right side out and insert your pillow! It’s all done! Here is a picture of the inside of the pillowcase before turning it right side out.

Step 5: Press and enjoy your new pillowcase
Turn right side out and give the seams a nice press.

Here is the finished pillowcase.

And, you can see the envelope flap that covers the pillow on the open end of the pillowcase.

What fabrics should I use to make envelope pillow cases?
I prefer 100% cotton fabrics. Quilting fabrics give you a large choice of designs and colors. There are so many different fabric choices! You can use bright colors, or subtle prints for decorative pillows.
You can have some fun with black and white prints and use fabric markers to color a design! There are some fabrics that are printed just for coloring!
If you like, you can make a satin pillowcase, too! I don’t recommend using satin if you are a beginner sewist.
Here is our step-by-step tutorial:

How to Make an Envelope Pillowcase
Learn how to make an envelope pillowcase with these step-by-step directions. This is an easy project - perfect for beginners.
You can make pillowcases with pretty much any type of fabric. A lightweight cotton is perfect for pillows that will be used for sleeping. Use decorator fabrics to make pillow shams. Quilting fabric is perfect for sleeping pillows. Have fun with different prints to match your decor or select fabric patterns perfect for the person using the pillow! It's easy to know which pillow belongs to who!
Materials
- Fabric for pillowcase; see fabric calculator above to determine the amount based on the pillow size you'll be using
- Thread for sewing
Tools
- Sewing machine
- Optional: Serger machine
- Fabric scissors or rotary cutter, cutting mat and ruler
- Iron
- Pressing surface
Instructions
- Cut out your fabrics for the pillowcase size you are making using the fabric calculator above.
- Turn under the right side of the fabric to the wrong side 1/2-inch on one of the shorter edges of both fabrics. These will be the envelope opening to the pillowcase.
- For the front of the pillowcase (the shorter piece of fabric), turn an additional 4-inches to the inside. The edge will have the 1/2-inch turn under so there are no raw edges. I like to pin this in place and then topstitch with an edge stitch about 1/16-inch from the folded edge. On the pillowcase back fabric piece, tuck 1/4-inch of the 1/2-inch pressed edge under and press. Topstitch the pressed edge.
- Layer the back piece on your working surface with the right side up. Layer the front piece on top with right sides together, matching the unfinished edges of the fabric. The tops will not be aligned.
- Fold the back of the pillowcase over the top of the pillowcase. This should be about a 6-inch fold. Pin in place and along the edges.
- Sew both sides and the bottom of the pillowcase. I like to start at one side, sew down, then along the bottom and back up the other side. Remove your pins as you go and don't sew over them.
- The pillowcase is now all done! Turn it right side out and give it a good press.
- Insert your pillow and enjoy your new pillowcase!
Recommended Products
As an Amazon Associate and member of other affiliate programs, I earn from qualifying purchases.


DIY pillowcases are fun projects! Check out our comprehensive article on how to make pillowcases and how to make a pillowcase with the burrito method.

