The four patch quilt block is one of the basic quilt blocks, along with the nine patch quilt block. These are the best blocks for beginners and the good news is there are a ton of variations with just breaking units into different designs and then moving them around to make interesting quilt patterns.
This classic block is perfect for quilters of all skill levels.

How to Make a Four-Patch Quilt Block
Learn how to make a four-patch quilt square with our step-by-step tutorial.
Materials
- Four (4) 4-1/2 inch squares of fabric, two each of two colors
- Coordinating thread
Tools
- Sewing machine
- Iron
- Pressing surface
- Rotary cutter
- Cutting mat
- Quilter's ruler
Instructions
- Start by cutting out your squares. It is easies to use a rotary cutter, cutting mat and quilter's ruler. Since this is a beginners quilt block, if you don't have those tools in your toolbox (yet), you can cut the squares with scissors. Here are the squares cut out and laid out ready to be sewn!

- Take two of the squares that are adjacent to each other and lay the fabrics right sides together. Take to your sewing machine and sew them together with a 1/4-inch seam allowance. If you sewing machine has a 1/4-inch foot, that makes it easy to have accurate seam allowances. It's really important when making traditional quilts to be super accurate with your stitching so that your blocks all come together accurately for your quilt.

- At the same time you are at your machine, you can sew the other two blocks together. You can just feed the next two under your presser foot just after you finish stitching the first block. This is called chain stitching. Chain stitching makes it faster to sew your quilt blocks.

- Next, press the seams you just sewed. The rule of thumb for quilting is generally press to the dark fabric, but there are various opinions about pressing. you can read our article on pressing seams in quilting.

- Layer the two units you've made, with right sides together, nesting the seams in the middle so that the corners match. I like to put a pin in that section to hold the center firm to take to the sewing machine and sew. Always take the pin out before you sew over the seam area.

- You have a sewn together quilt block! Take it to the ironing station and press. This time I prefer to press this final seam open, but read the article and see what you'd rather do! There are no rules!

- Here is the final four patch quilt block!
Recommended Products
As an Amazon Associate and member of other affiliate programs, I earn from qualifying purchases.


If you need to make a lot of the same four patch quilt blocks, an easier method is to make four patch blocks from strips of fabric. Here is how to make 4-patch blocks using strip sets.

Begin by cutting two strips of fabric the unfinished width of one of the units and full width-of-fabric (referred to as WOF). These need to be the same width.
My pieces are cut 2-1/2 inches by 40-inches. Line up the raw edges for the long side.

Sew your strips together on one long edge.

Press seam to the darker fabric.
Cut the sewn strip into blocks that are the same measurement that you cut the original strips. I started with 2-1/2 inch strips, so I cut 2-1/2 inch pieces from the strips. These will make 4-inch finished quilt blocks.

Here is my bundle of pieces ready to be sewn into four patch blocks!

Layer the blocks nesting the center seams, with right sides together and opposite fabrics facing each other. Nesting the seams means that seam allowances will go opposite directions.

Align the edges and sew with a 1/4-inch seam allowance.

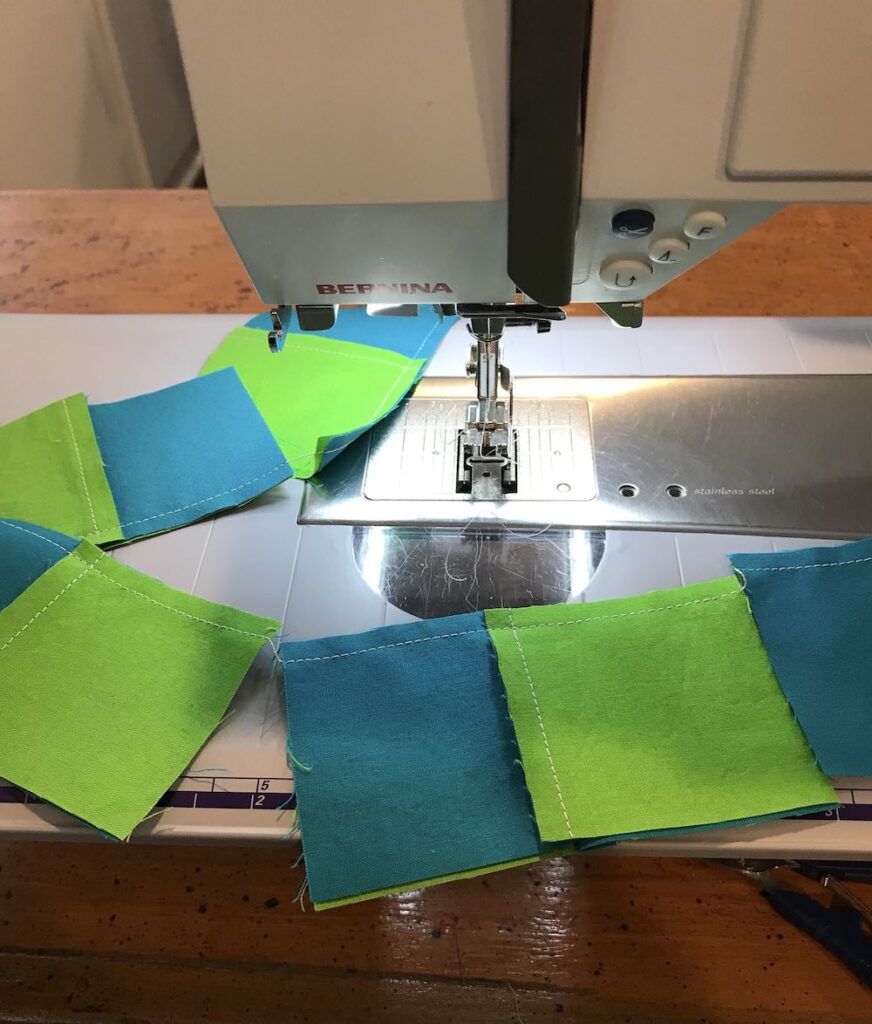
This is where chain stitching really makes it faster to make a lot of quilt blocks at once. Just keep laying and feeding those blocks into your sewing machine!

Here are my finished blocks all sewn.
Clip the threads between the blocks and press the final seam. Here is the bundle of four patch quilt blocks that I made, ready for my project.

Tips and ideas for four-patch blocks
Once you master the four-patch, try the disappearing four-patch. It’s a super fun block to make – that looks difficult!
For a quilt and easy quilt, start with a charm pack and sew the 5-1/2 inch precut squares together in 4-patch units to make finished 5-inch squares.
This is a perfect project for using up your scraps! Cut squares from your scraps all the same size. When you are finishing sewing at the end of the day, sew a few of the squares together, forming four-patch units. In no time, you’ll have enough to make a scrappy table runner!
Ready to take it to the next level? Make four half-square triangle blocks and put them together in a four patch unit to make a pinwheel baby quilt!
Four-block quilts can be quickly put together using a fabric layer cake collection – the 10-1/2 inch square packs of coordinating fabrics. This is a great beginner project to get used to your sewing machine.
Think of a color scheme and pull out fat quarters you just had to buy that work together. Cut fabric strips fat quarter widths and sew them together in the strip method described above. Sew them together as a 4-patch quilt block. Have fun with this basic block and let the fabrics do the work!
Check out all of our Free Quilt Patterns on Create Whimsy. Also, check out our article that covers popular quilt patterns.
New to quilting? We’ve got our how to quilt series that includes this simple block, as well as other popular beginner blocks like log cabin blocks.

