It’s so easy to make a wine bag to take a bottle of wine to your next event! All you need are two fat-quarters of fabric to make wine bottle bags.
This wine bottle gift bag is a super easy project and seriously takes 10 minutes or less. Your first bag might take 15 minutes, but once you’ve got it down, it’s a quick (and fun) project.
We’ve got two ways to make a wine bottle gift bag – one is a simple gift bag made with fabric, and the other is a bottle wine tote with a handle, making it easy to carry bottles of wine.
This is a great stash buster project, using less than 1/4-yard each of two pieces of fabric. You can use two (2) fat quarters. Have fun picking festive fabrics or select fabrics that resonate with the recipient – their favorite team, hobby or colors! I like using a coordinating fabric for the lining that adds a little pop when I fold it back at the top.
Reusable and environmentally friendly, give a bottle of wine in a handmade bag and hope that the recipient will regift it back to you with your favorite wine! Giving wine is so easy with these super easy wine gift bags you can make from fabric.
As an Amazon Associate I earn from qualifying purchases. Read more about our affiliate linking policy.

How to Make a Fabric Wine Bag
Super simple and easy sewing project.
Make a wine bottle bag bag to take that next bottle of wine as a hostess gift!
Materials
- 1/4 yard of two (2) fabrics, or two (2) fat quarters. One fabric will be used for the outside of the wine bag and one for the lining. You'll need a total of four (4) pieces of fabric that are 7-inches wide by 18-inches tall.
- 18-inches or more of ribbon to tie the wine bag
- Thread
Tools
- Sewing machine
- Iron
- Ironing board
- Rotary cutter
- Quilters ruler
- Rotary cutting mat
- OPTIONAL: Corner turner or bodkin
Instructions
- Cut two (2) pieces of fabric 7-inches by 18-inches from EACH of the fabrics. You'll need two (2) pieces for the outside of the wine bag and two (2) pieces for the wine bag lining.

- Take one (1) outside piece of fabric and one (1) lining and line up the short edge of the fabric right sides together. Do the same with the other set of fabrics. This will be the top of your bag. If you are using directional fabric, make sure that you have the print going the right direction. 🙂

- Sew a 1/2-inch seam across with a straight stitch, right sides together, sewing the outside and lining fabrics together.

- Press the seam open on both pieces.

- Now we are going to sew all around the bag, leaving about a 3-inch gap to turn it right side out. Line up the seams and pin so they stay aligned. The two lining fabrics should be layered right sides together, and the two outside fabrics layers right sides together.

- Starting mid-way on one side of the lining fabric, sew with a 1/2-inch seam allowance. You'll be sewing all around, all four sides, leaving about a 3-inch gap from where you started for us to turn the wine bag right side out.

- I like to run off the edge at a corner for making a wine bag, and then start a new seam. It's easier than trying to turn a nice corner, and I think makes these corners more secure. Here I ran off the first corner, started again. Continue sewing until you are about 3-inches from where you started sewing. Backstitch to secure.

- OPTIONAL for the bottom of the bag: You can 'box' the bottom to take out some of the excess fabric. Here is how to 'box a bottom'. Place pins about 1-1/2" from each corner.

- Sew diagonally from one pin to the other across each of the four corners.

- Trim to about 1/4-inch seam allowance.

- Now we are ready to turn the wine bag right side out! Gently pull the fabric through the gap you've left open on the one side.

- Keep pulling until you have both the lining and the outer fabric all with the right sides out.

- I like to use a corner turner or bodkin to "poke out" the fabric in the corners. Be gentle, as you don't want to break through any of the stitches, you only want to make sure that the fabric is not folded to the inside.

- Press the entire long strip of fabric flat. Turn in the seam allowance in the gap.

- Top stitch along the gap, closing the hole. Some people like to use a zig zag stitch. Now the bag is almost done!

- Turn the lining inside the outer fabric.

- Press the top edge.

- Using your edge stitch foot, top stitch along the top edge of the bag.

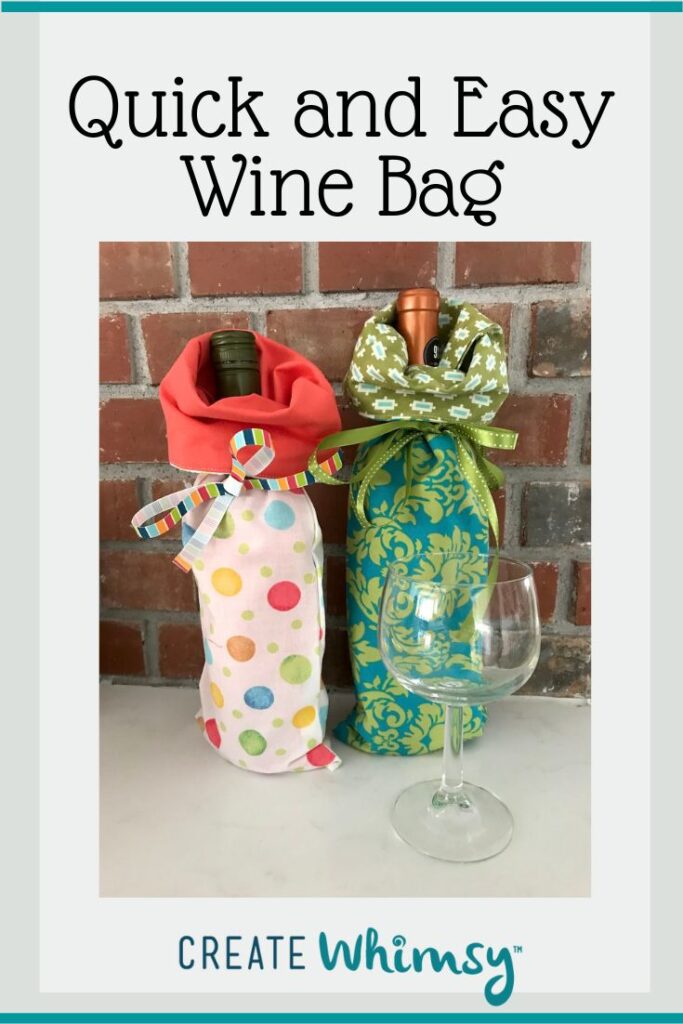
- Cut a piece of ribbon, place your wine bottle in your bag and tie a pretty bow around the neck of the wine bottle! Your fabric bottle bag is ready for a bottle of wine! And to be given away! I like to turn down the top edge a bit to add some fun and interest.

Recommended Products
As an Amazon Associate and member of other affiliate programs, I earn from qualifying purchases.


Here are two wine gift bags that I made with fabric. I did box the corners on the turquoise and green bag, I did not box the corners on the polka dot bag. It’s totally optional, and as you can see, probably not necessary. Some people like the look of a boxed corner, so I wanted to include that option.

Dress up your wine gifts with a special fabric wine bag.

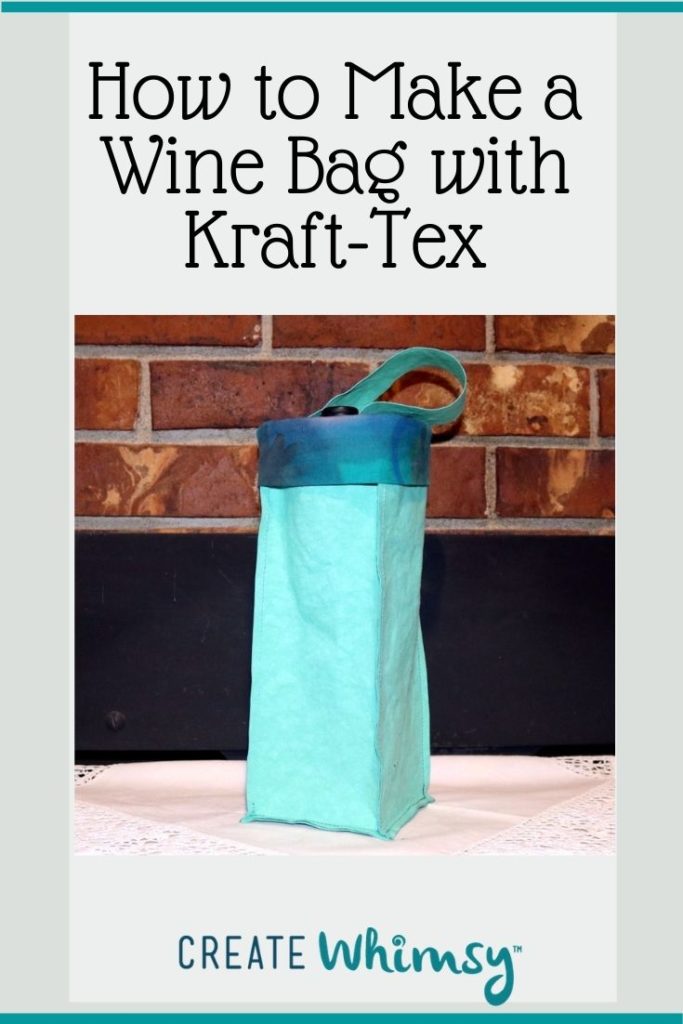
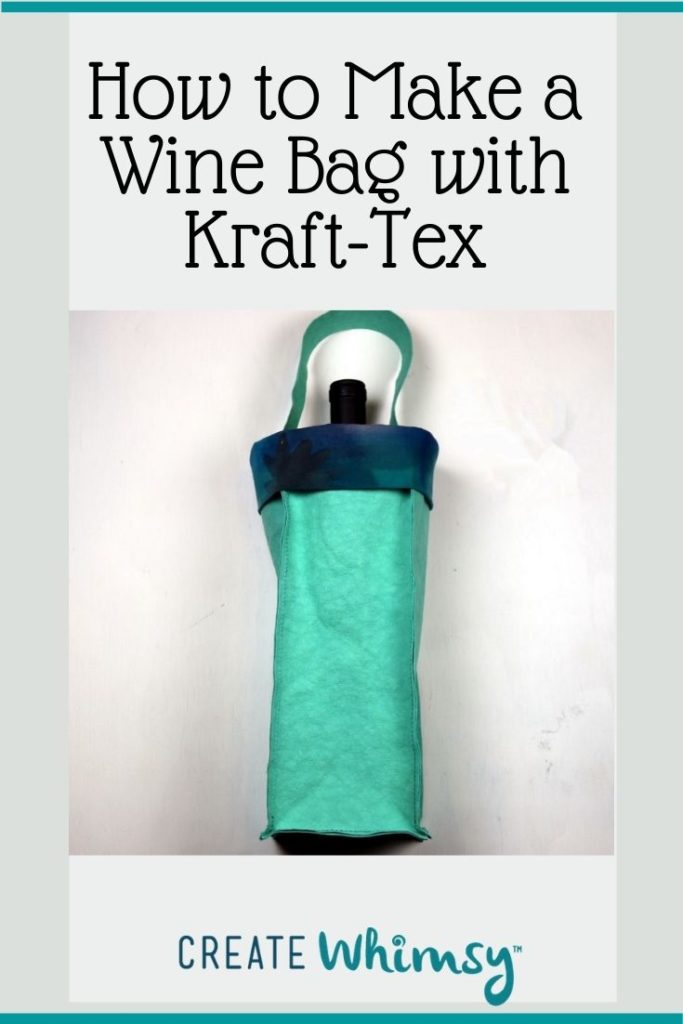
How to make a wine bag with Kraft-Tex

Taking a bottle of wine to a party or picnic? Are you looking for a creative way to present a bottle as a gift? If you know how to make a Kraft-Tex wine bottle tote, you’ll always be ready.
Kraft-Tex is a sturdy, stitchable, leather-like paper product with a lot of versatility. No need to finish the edges – it doesn’t ravel. So that saves a lot of steps when you construct your project. Just be sure you know where you want to stitch; Kraft-Tex does not have a forgiving weave, so needle holes are permanent, like stitching on leather or vinyl.
All of the materials and instructions you need to make a Kraft-Tex wine carrier are right here, so it’s easy to get started!
Need a handy, durable carrier for a special bottle of vino to take to your next picnic? Or give as a gift? Making a Kraft-Tex Wine Bag is easy – just measure, cut and sew!
Materials:
- 1 roll Kraft-Tex (I used blue-turquoise)
- 5 x 16 1/2-inch piece of fabric for cuff (I used a piece of hand-painted cotton)
- Coordinating thread (thread will show on outside seams)
Tools:
- Sewing machine
- 1/4-inch foot (very helpful)
- Thread snips
- Quilt clips, such as Wonder Clips
- Stiletto
- Quilting Ruler(s)
- Sturdy paper scissors or Rotary cutter and mat
- Removable marker (test on scrap first!)
- Iron and pressing surface
Instructions:
If using scissors, mark and cut pieces. If using a rotary cutter, use cutter and mat to cut.
Cut cuff fabric 5 x 16 1/2-inches. Cut Kraft-Tex: 4 sides 4 1/2 x 11 1/2-inches each; 1 bag bottom 4 1/2 x 4 1/2-inches; one handle 1 1/2 x 14-inches. (This is a generous size handle to accommodate larger bottles and is the size used here. You can trim to 11 inches long if you prefer.)

Set the stitch length on your machine to 3.0 mm. Wrong sides together (if your Kraft-Tex has a side you prefer), stitch 2 side pieces together on the long edge using a 1/4-inch seam. Backstitch to secure seam at the beginning and stop stitching 1/4-inch from end.

When you reach 1/4-inch from the end of the seam, stop and backstitch to secure. This is where you will attach the bag bottom.

Repeat until all 4 sides are joined.

Finger press bottom edges 1/4-inch to the outside of the bag. Give an extra press with the iron to help hold the crease.

Now it’s time to attach the bag bottom. You will do this one side at a time. Clip one side of the bottom piece to the creased end of one side of the bag, matching raw edges.

Join with a 1/4-inch seam, starting and stopping at seam lines. Backstitch starting and stopping points to secure. The clips may try to shift at this step, and I found my stiletto helped me hold the Kraft-Tex edges together as I sewed along. Take your time and adjust as needed.

Here’s a close-up showing the stopping point at the side seam line.

Sew the opposite side next, then the other two sides. Your Kraft-Tex wine bag is taking shape!

To prepare the cuff, sew the short sides (right sides together) with a 1/4-inch seam.

Press seam open.

Wrong sides together, line up the raw edges of the cuff, and press.

On opposite sides of the bag, center the handle inside the bag, matching raw edges, and clip.

Stitch with 1/8-inch seam. These stitches will not show when the bag is finished, but will help reinforce the handle. (You don’t want to lose your wine!)

Clip the cuff to the inside of the bag, matching raw edges. The handle will be between the bag and the cuff. At the corners, hold the bag’s seam allowances to one side with clips.

Attach cuff to bag with 1/4-inch seam allowance.

Stitch around one more time to secure.

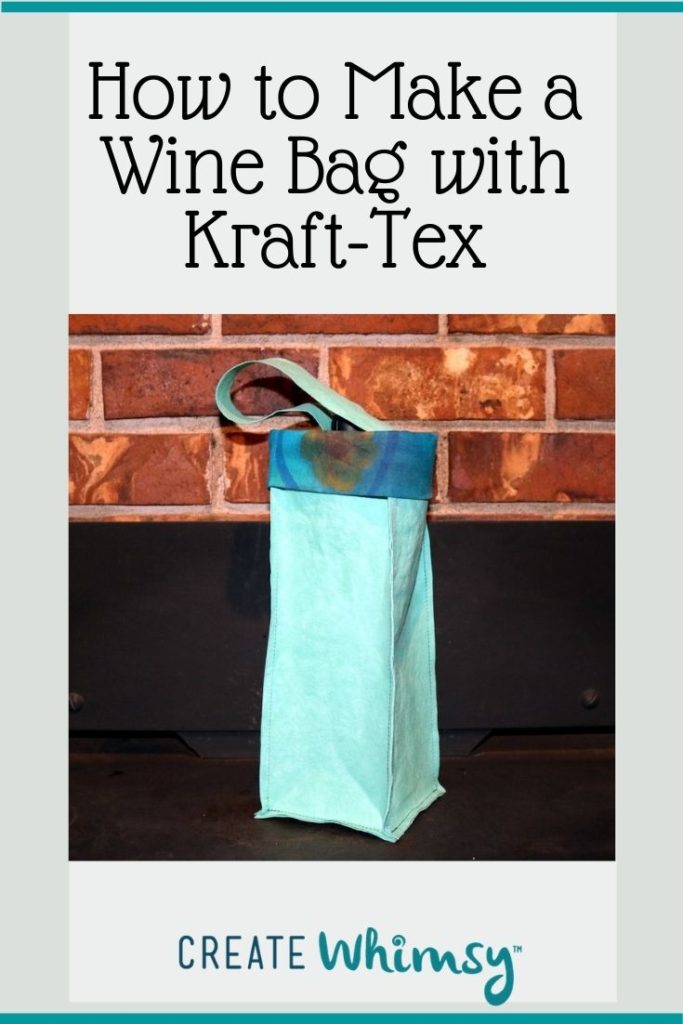
Turn the cuff to the outside and your Kraft-Tex Wine Bag is finished!

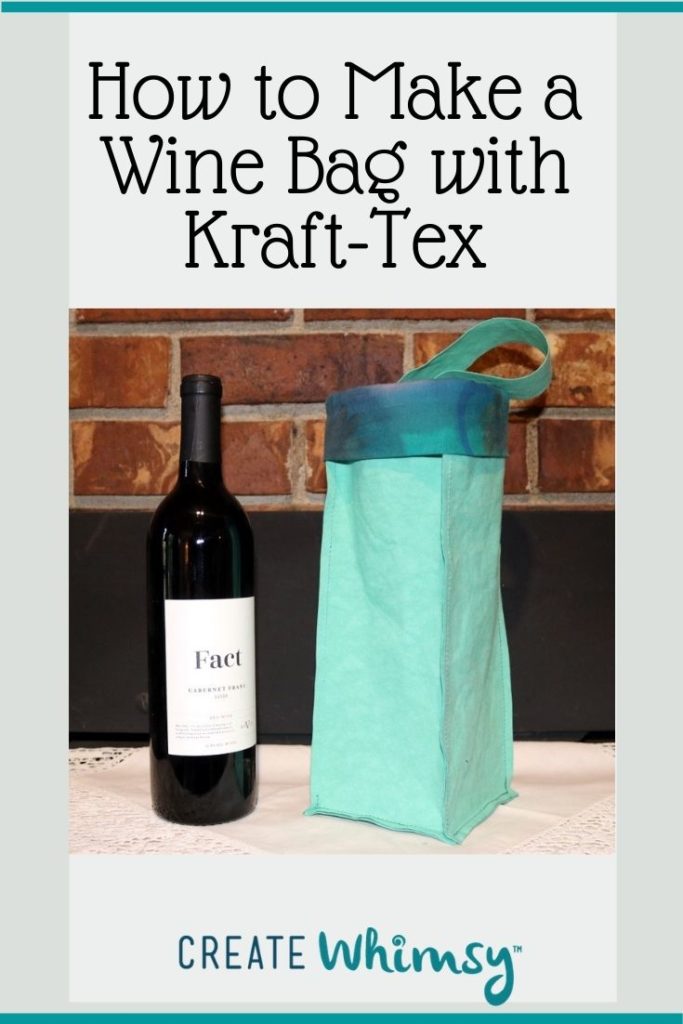
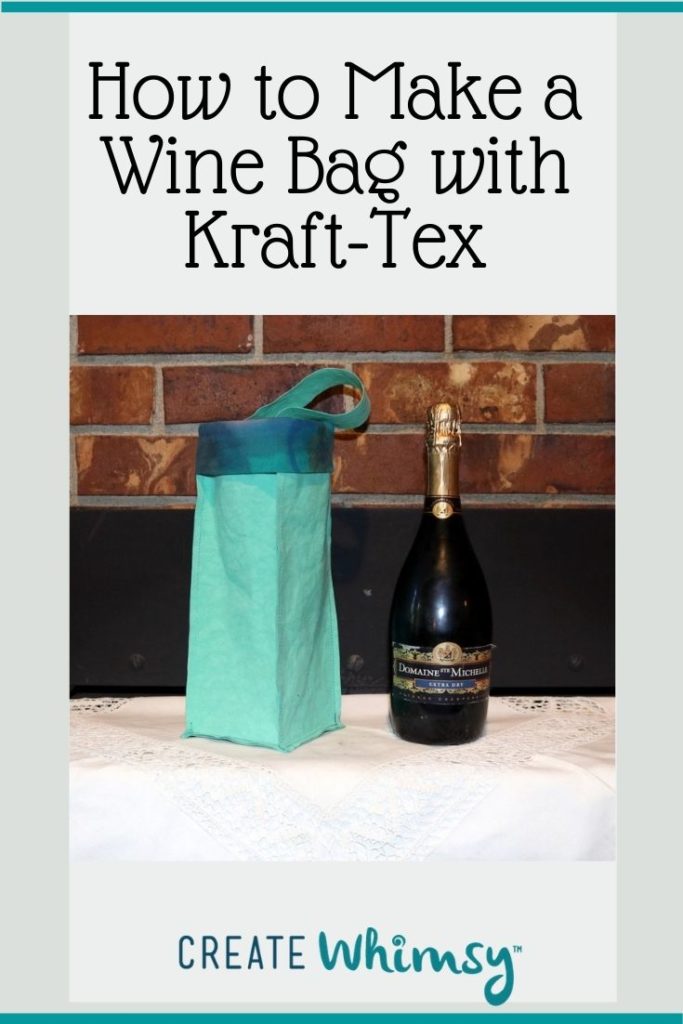
My bottle of cabernet fits nicely. This is a 14-inch handle.

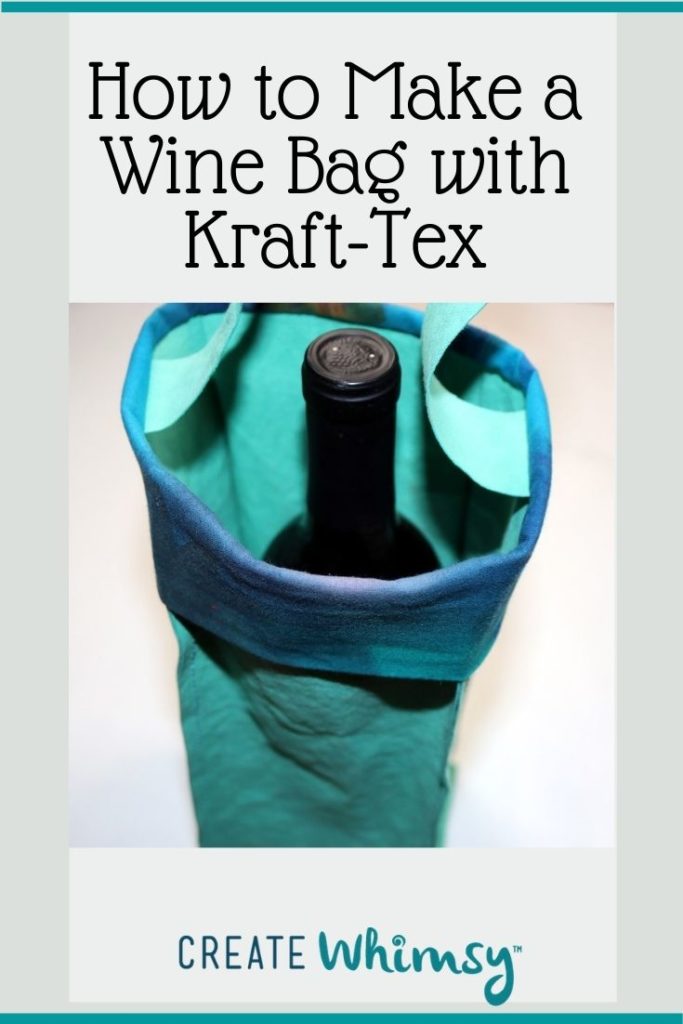
Turning the cuff leaves a neat finish on the inside of the bag.

The 14-inch handle is roomy enough to slip the bag over your wrist if you have extra goodies to carry.

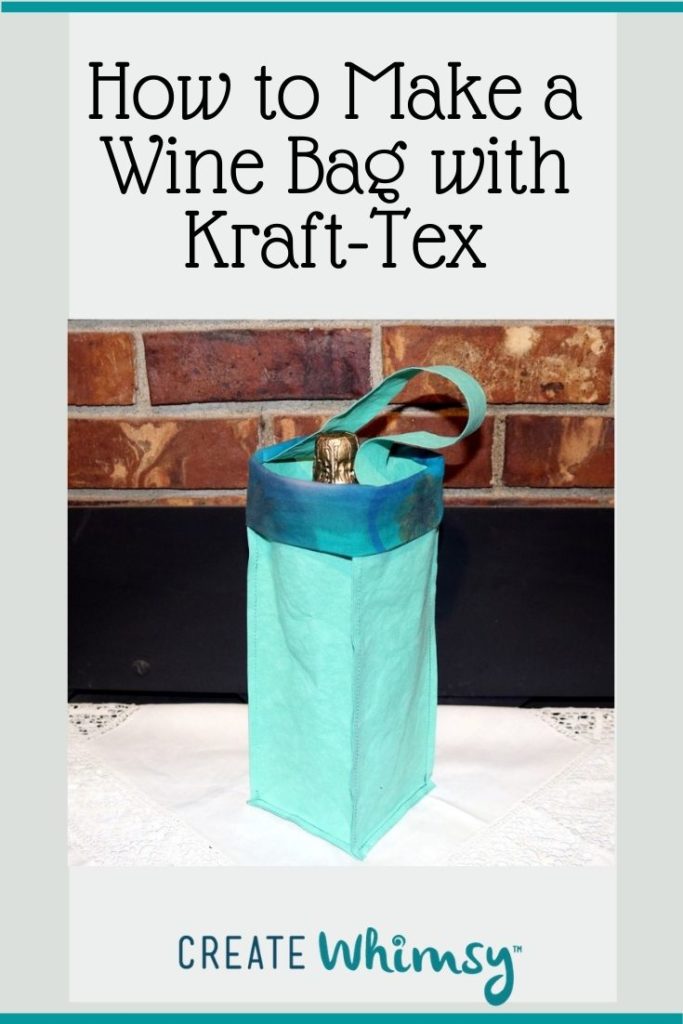
The wine bottle peeks out from the Kraft-Tex Wine Bag.

It’s a fact. The Kraft-Tex Wine Bag makes a nice outfit for a party.

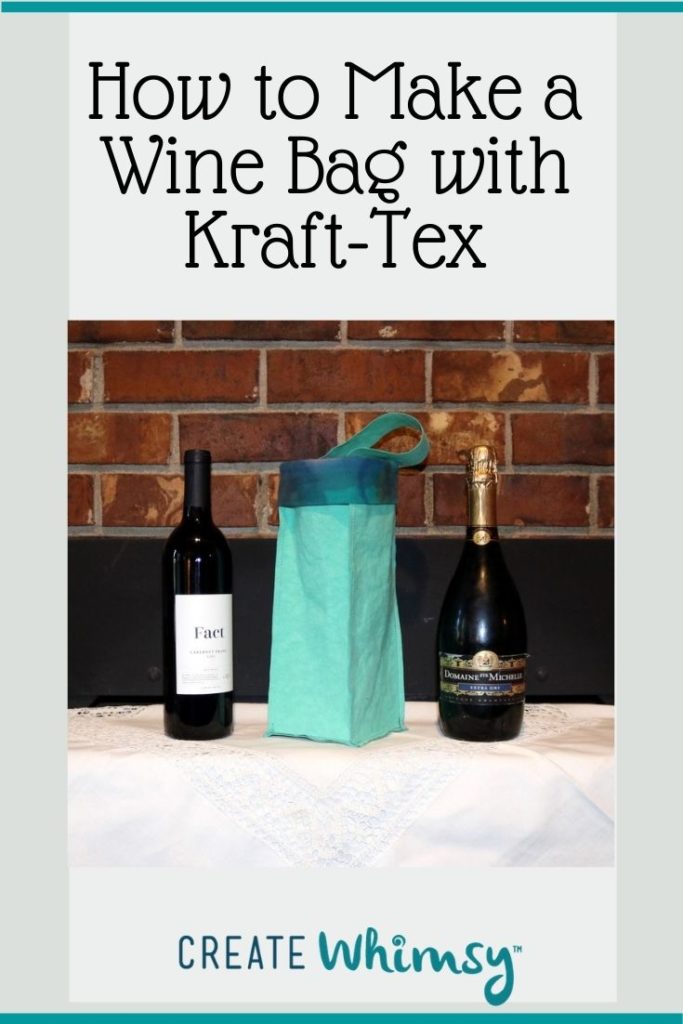
Champagne bottles are larger, but they fit, too!

Pick your bubbly and celebrate with friends!

Wine or champagne? Either size bottle fits.
Why is Kraft-Tex perfect for making a reusable wine bag?
Not only is Kraft-Tex durable, it is washable. No one will know that is the wine bag that has been used and used and used, again and again. Get a little dirty? Pop it in the washer and dryer and it comes out like new again! Ready to be regifted!
The edges of the Kraft-Tex don’t ravel – at all – which makes it so easy to sew this together quickly. No edges to finish!
Browse through more sewing projects on Create Whimsy. And check out our easy bags to sew – lots of great ideas for bags that can be used as gift containers or to organize your life!