Golf club head covers don’t have to be plain or store-bought. With a few pieces of quilted fabric and some basic sewing, you can create custom covers that protect your clubs and show off your style on the course.
This easy sewing project is perfect for using vintage quilt scraps, favorite fabrics, or even pieces of an old quilt with a story to tell. Follow our step-by-step tutorial to make a quilted golf club head cover that’s both practical and personal, and a great handmade gift for the golfers in your life.
RELATED: Father’s Day Gift Ideas
RELATED: Mother’s Day Gift Ideas
RELATED: DIY Gift Ideas
Why make your own golf club head cover?
- Protects clubs
- Personlizes your golf bag
- Great scrap project
- Unique handmade gift
How to make quilted golf club head covers – Quick Overview
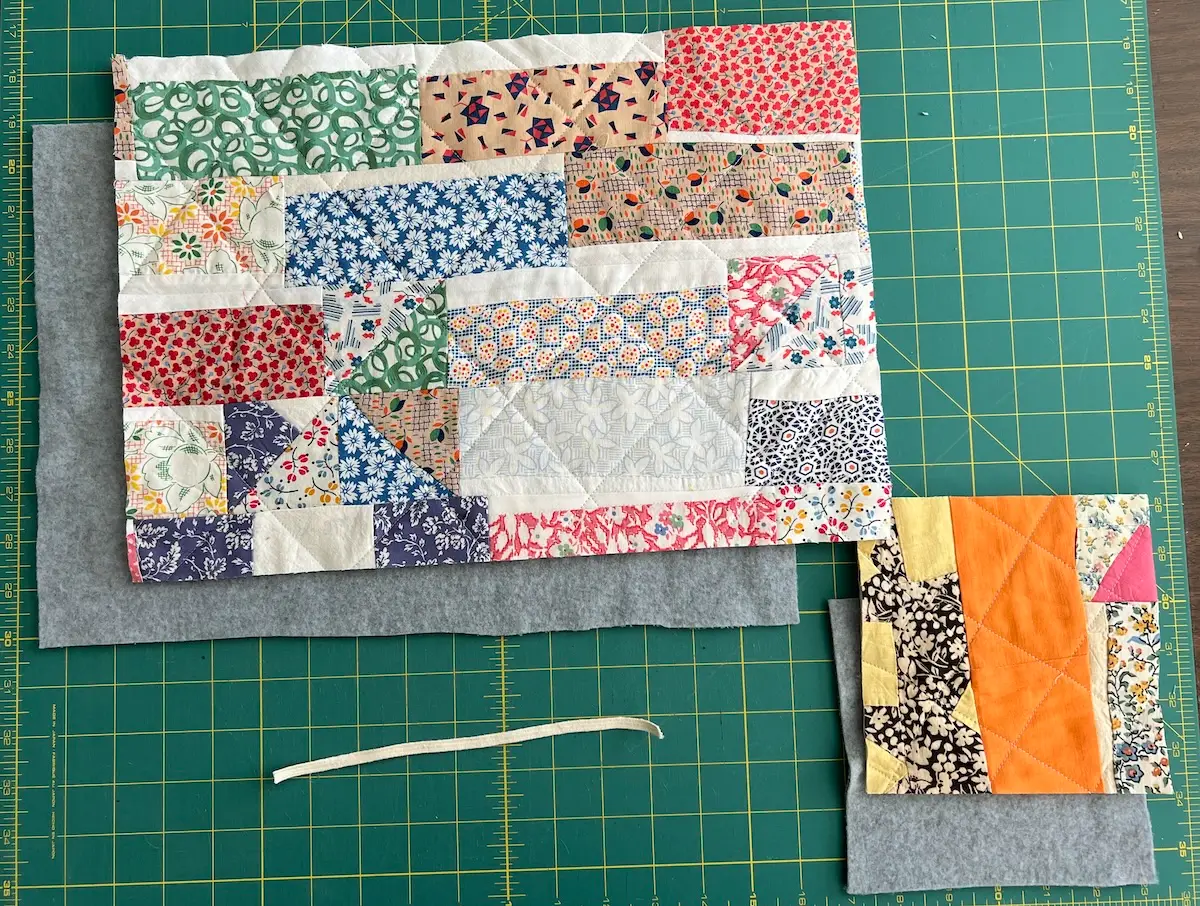
1. Prepare a piece of quilted fabric for the outside of the head cover, 16″ x 11″ and a 6″ square. You can cut these from cutter quilts or piece together fabrics to these sizes.
2. Cut lining pieces from fleece, and cut elastic.
3. Trim the main body outer and lining fabrics so they are tapered.
4. Round edges of the top of the cover for both the lining and outer fabrics.
5. Sew elastic to the wrong side of the lining.
6. Sew side seams in both outer and lining fabrics
7. Place the lining inside the outer fabric and sew the lower edge. Topstitch.
8. Sew the top to the body of the cover and finish.
Golf club head cover size chart
| Club size | Cut lining and outer fabric | Cut elastic |
|---|---|---|
| Driver | 16″ x 11″ | 5-1/2″ |
| Fairway | 14″ x 9″ | 4″ |

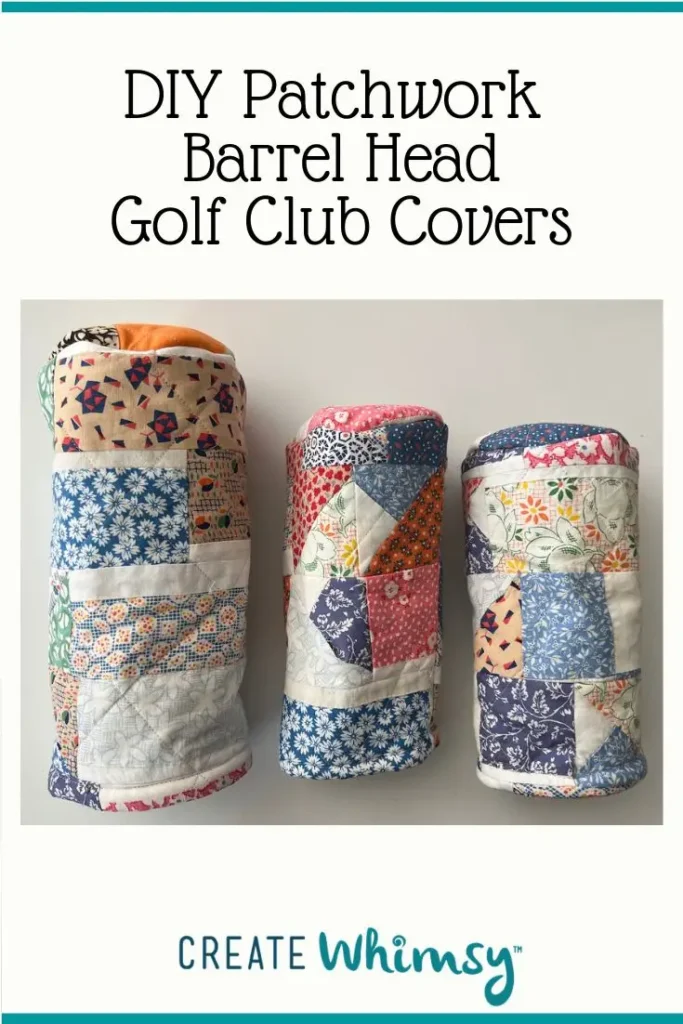
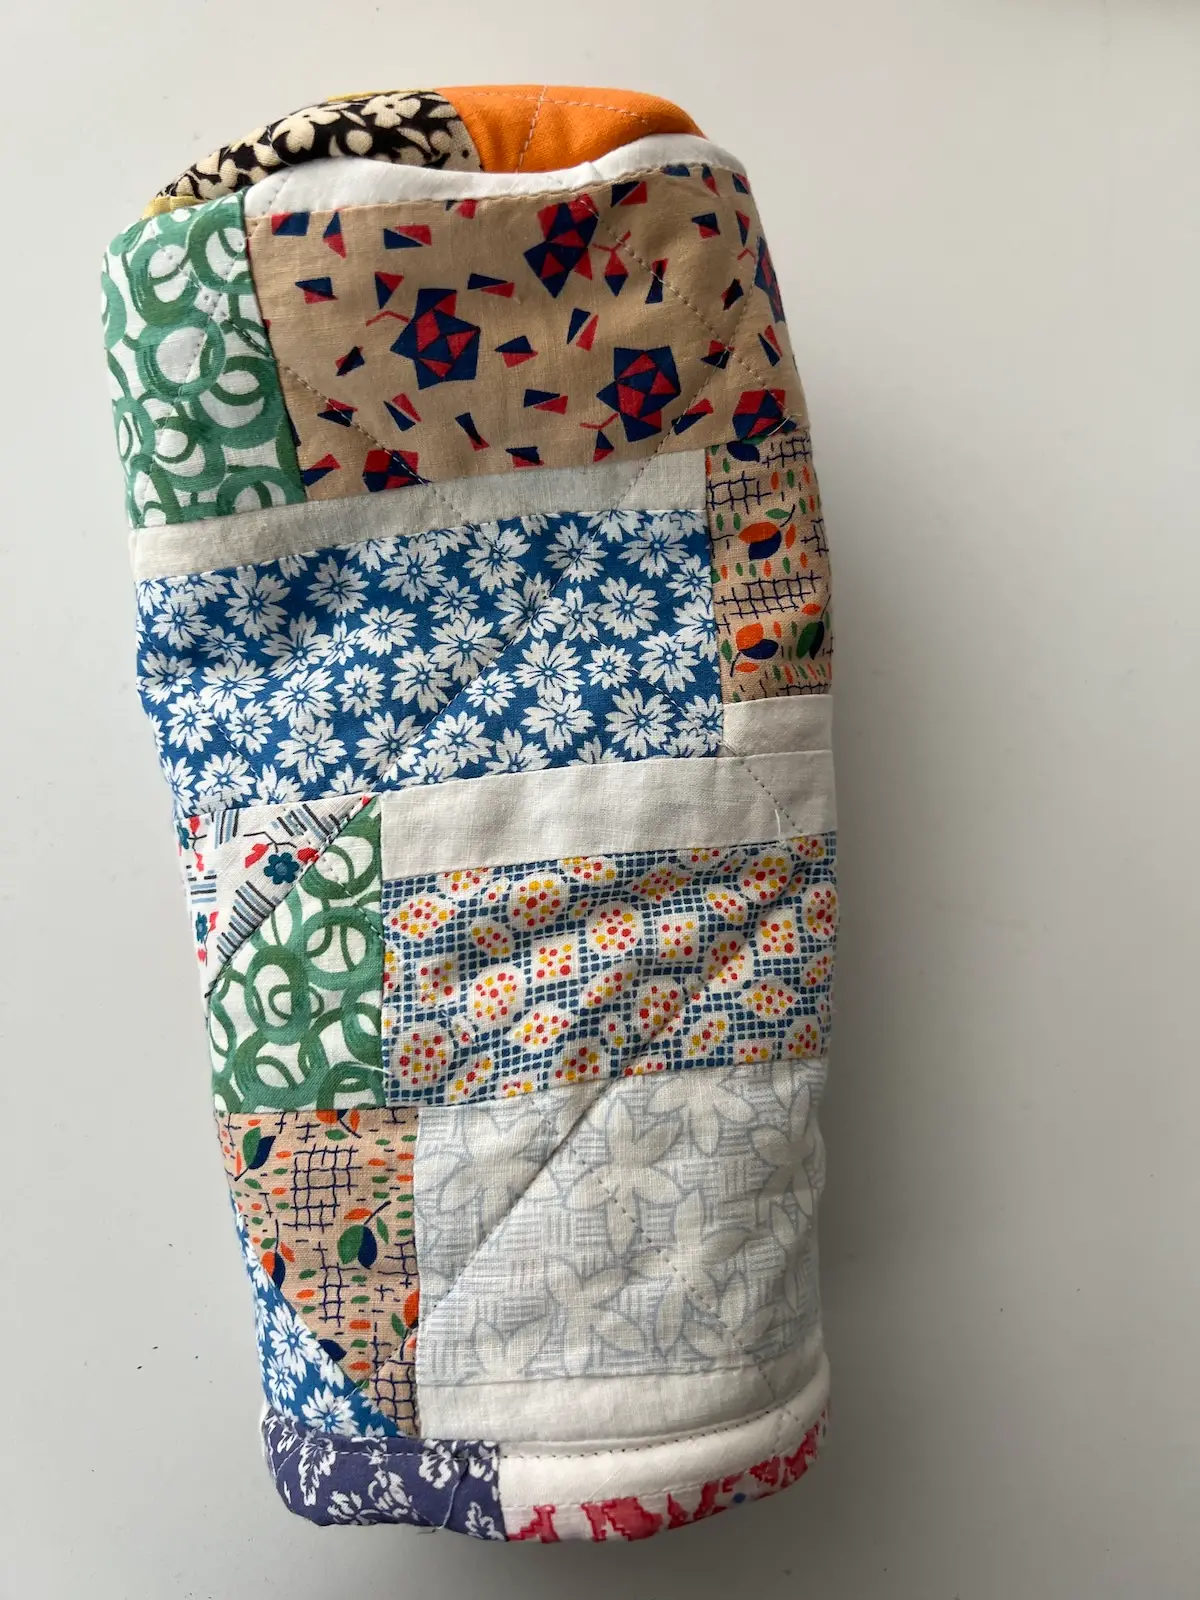
How to make your own barrel head golf club covers
Learn how to make your own barrel head golf club covers with our step-by-step instructions.
As an Amazon Associate I earn from qualifying purchases. Read more about our affiliate linking policy.
Materials
- Outer fabric: 16" x 11" rectangle, 6" square, I'm using vintage scraps quilted
- Lining fabric: 16" x 11" rectangle, 6" square. I prefer to use fleece
- 5-1/2" of 1/4" or 1/2" elastic
Tools
- Sewing machine
- Rotary cutter
- Cutting mat
- Quilter's ruler
- Pressing surface
- Iron
- Fabric marking tool, I used a Frixion pen
- WonderClips
Instructions
Prepare your materials:
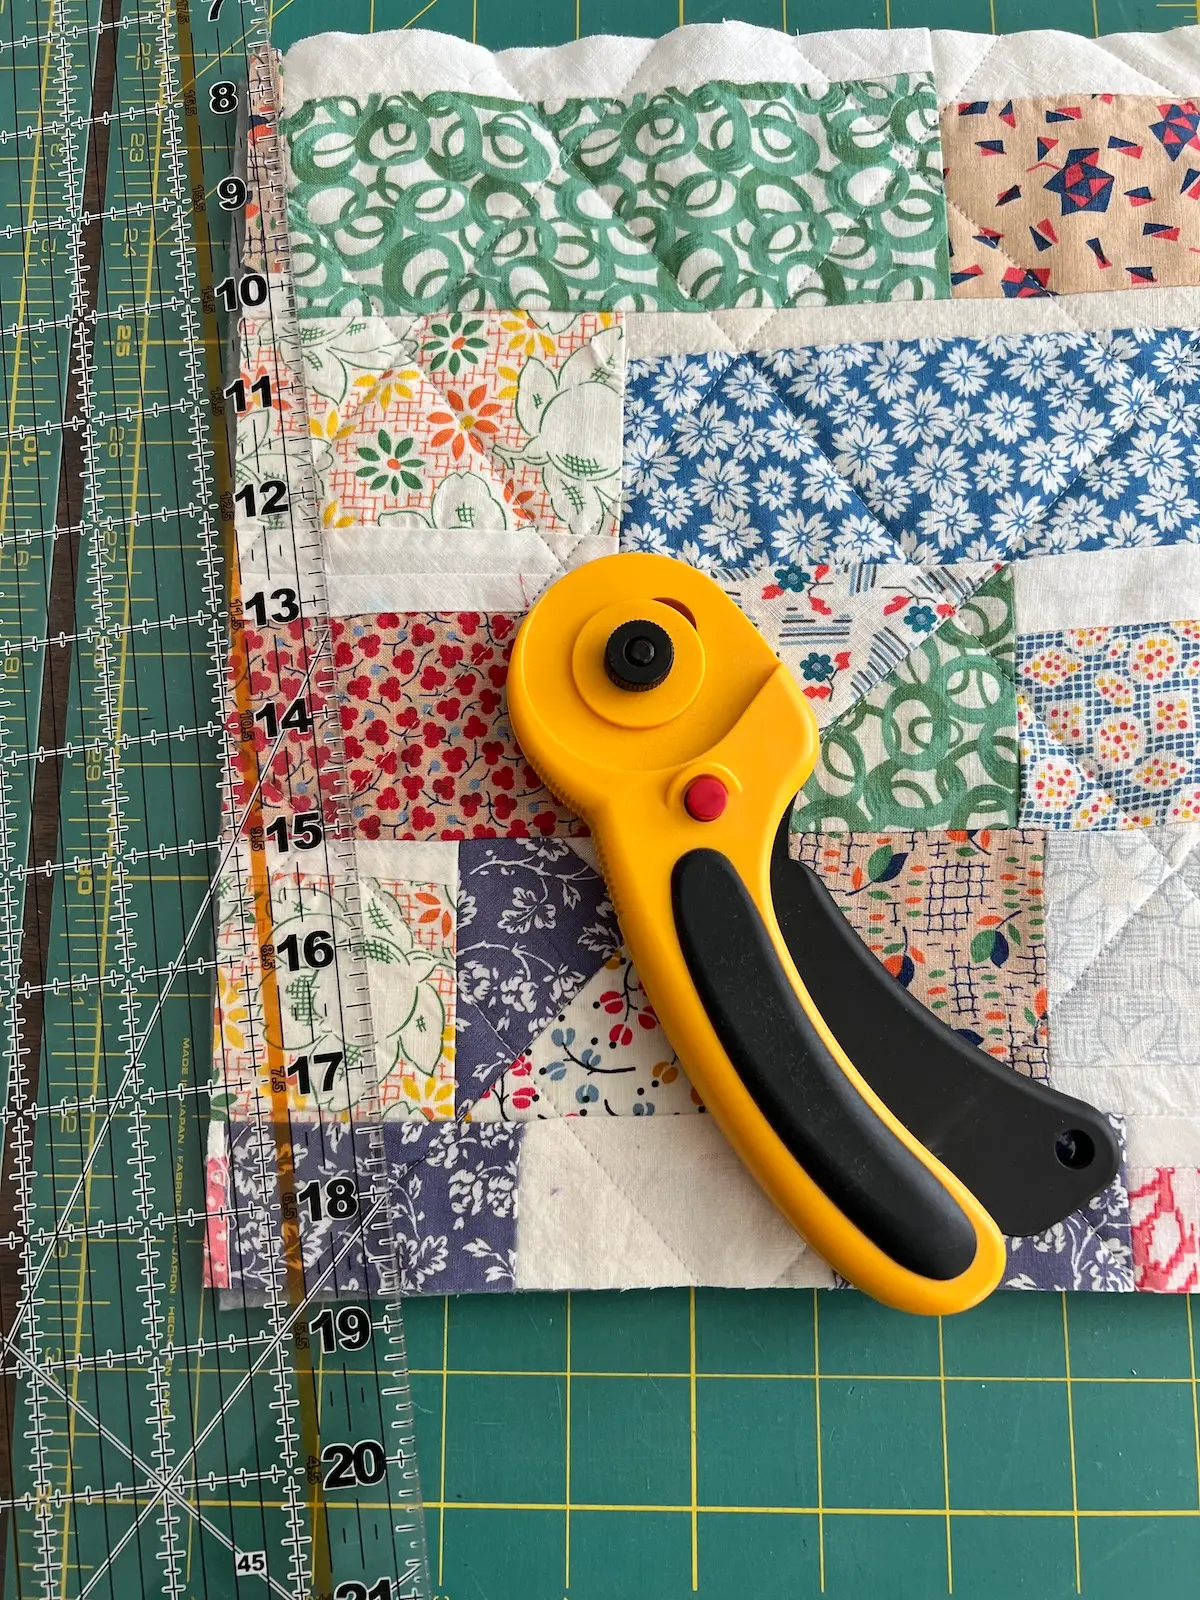
- Cut out your fabrics and elastic. For both the lining and the outer fabric, cut out 16-inch by 11-inch rectangles. For the tops of the golf club covers, cut 6-inch squares from both the lining and outer fabrics. Cut one piece 1/4" or 1/2" elastic 5-1/2 inches long.
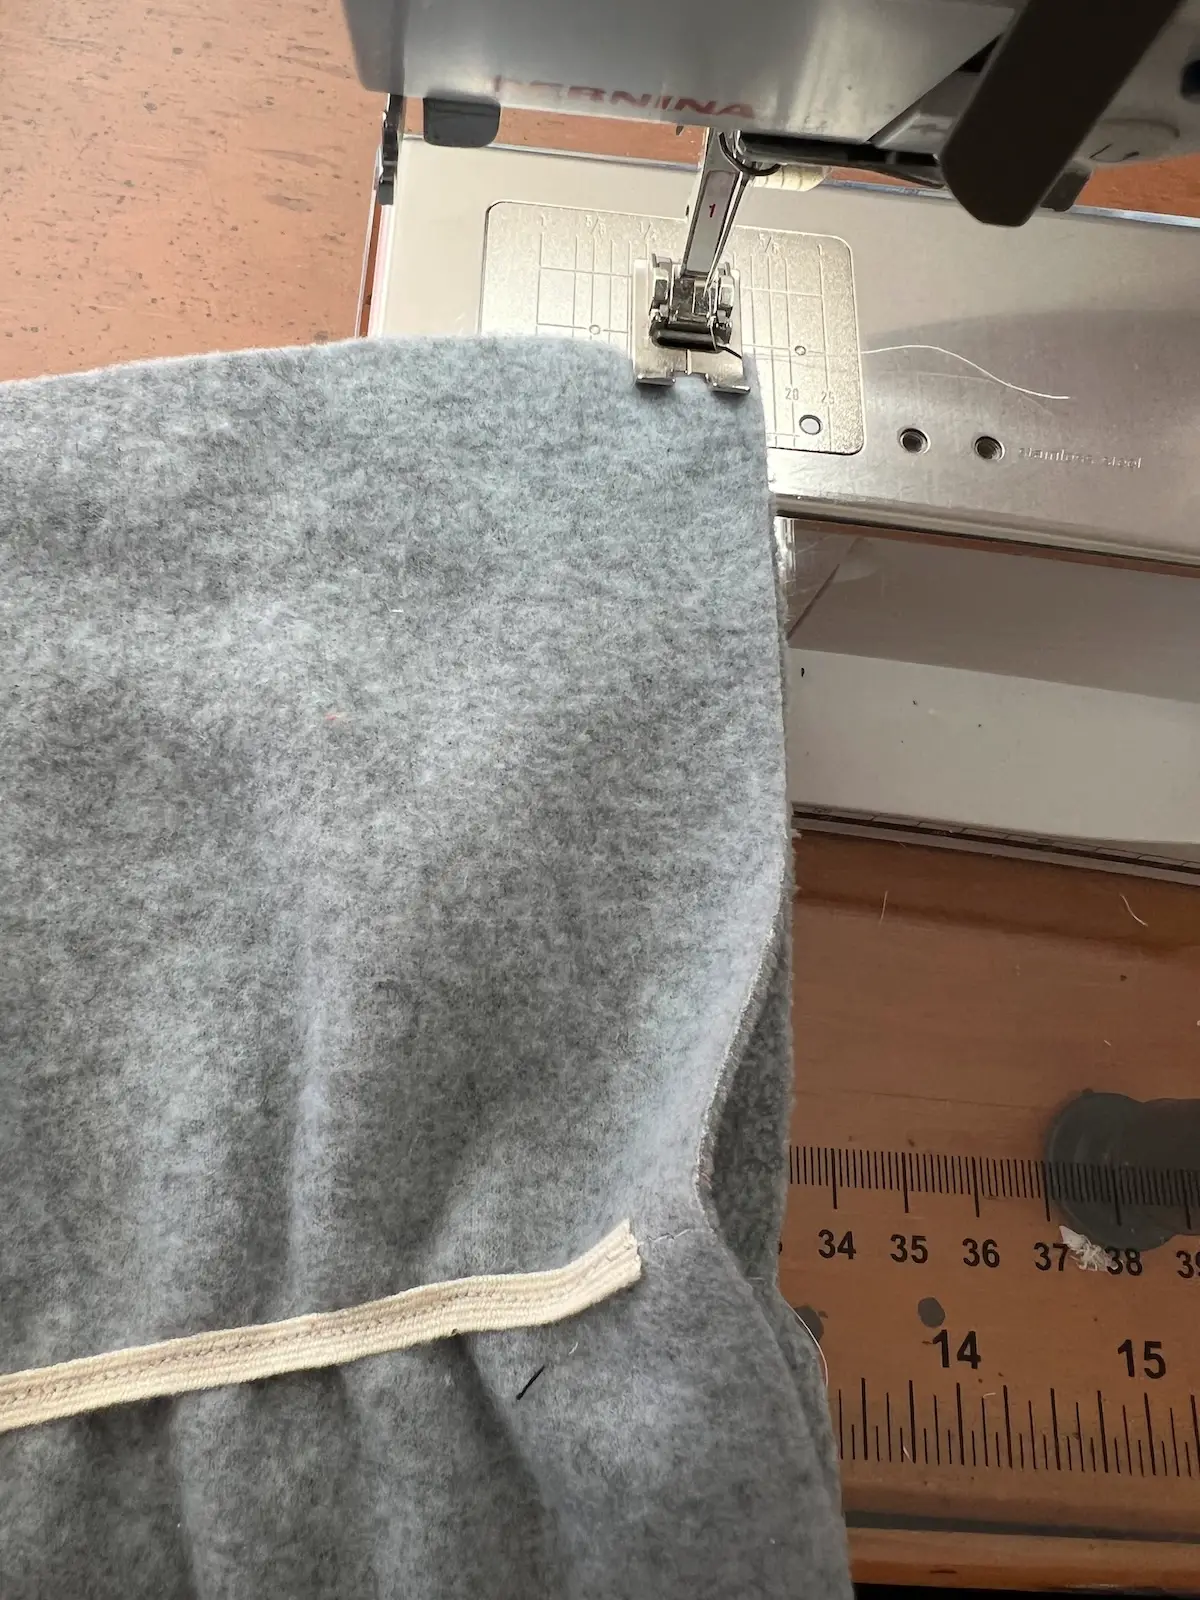
- The golf club header is tapered slightly so it stays on the club. On one long side of the rectangle, mark 1-1/2 inch on both sides.
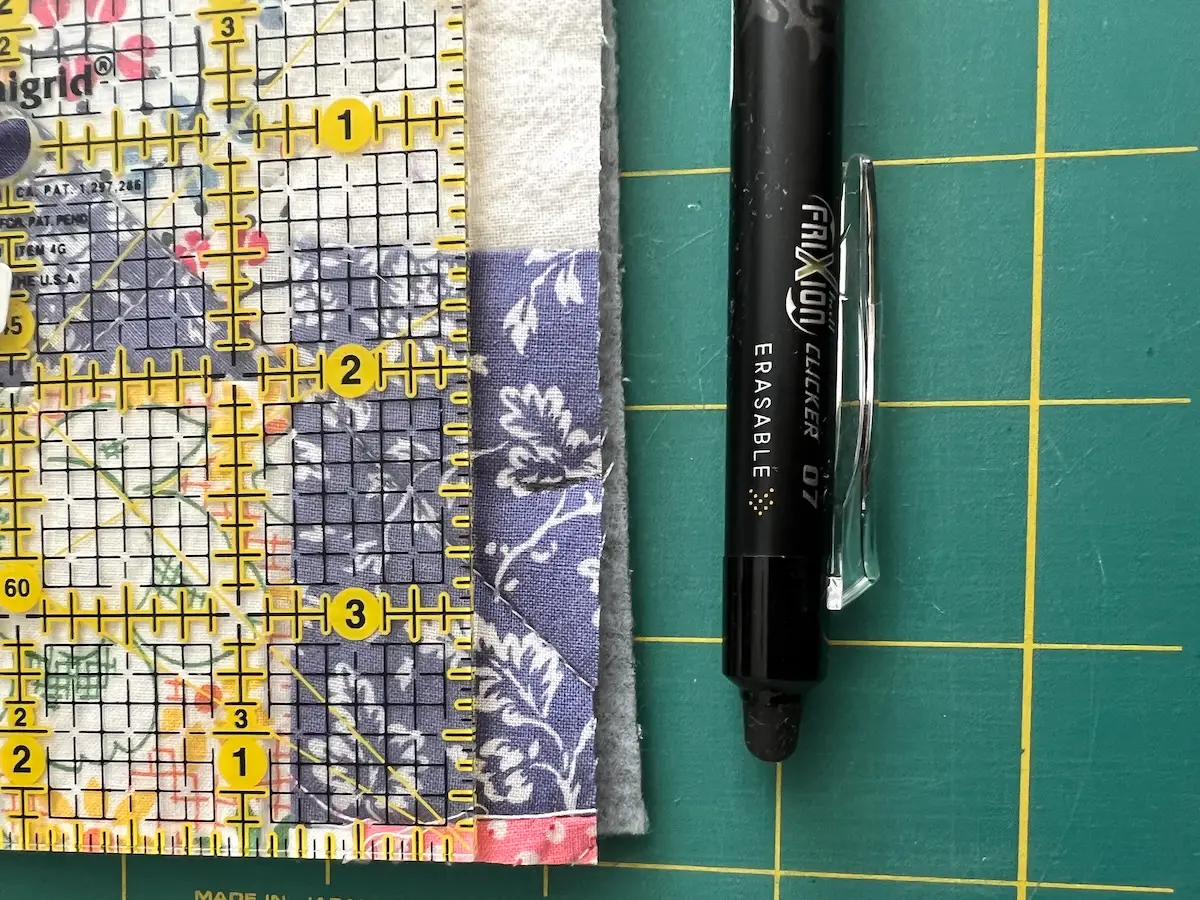
- Using your quilter's ruler and rotary cutter, line the ruler at the top of the rectangle at the top corner point. Swing the other end of the ruler to the 1-1/2" mark. Trim along this line. This makes the piece 16-inches at the top and 13-inches at the bottom. Taper the lining piece in the same way.
Assemble the main body of the golf club cover:
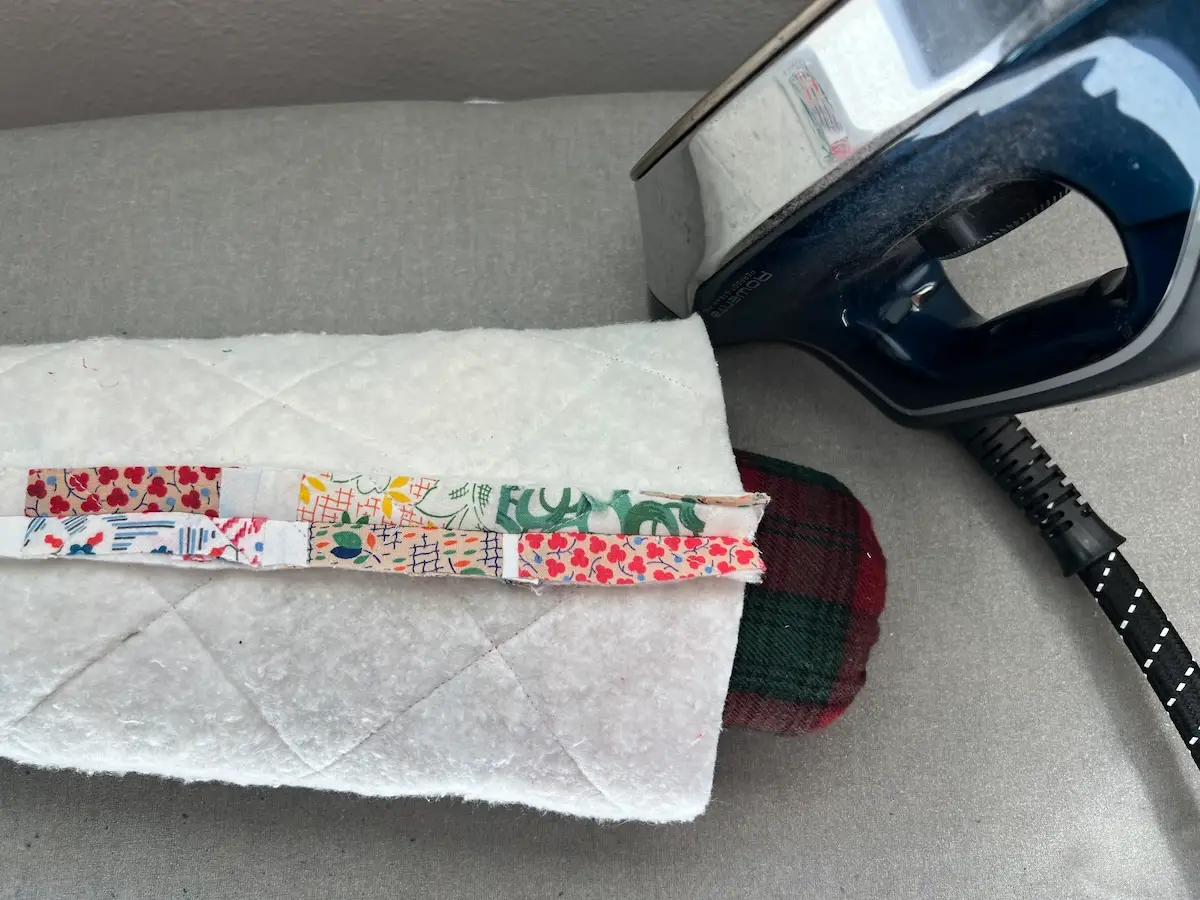
- Let's start with the outer fabric. Sew the side seams together with a 1/2-inch seam allowance and press the seam open.
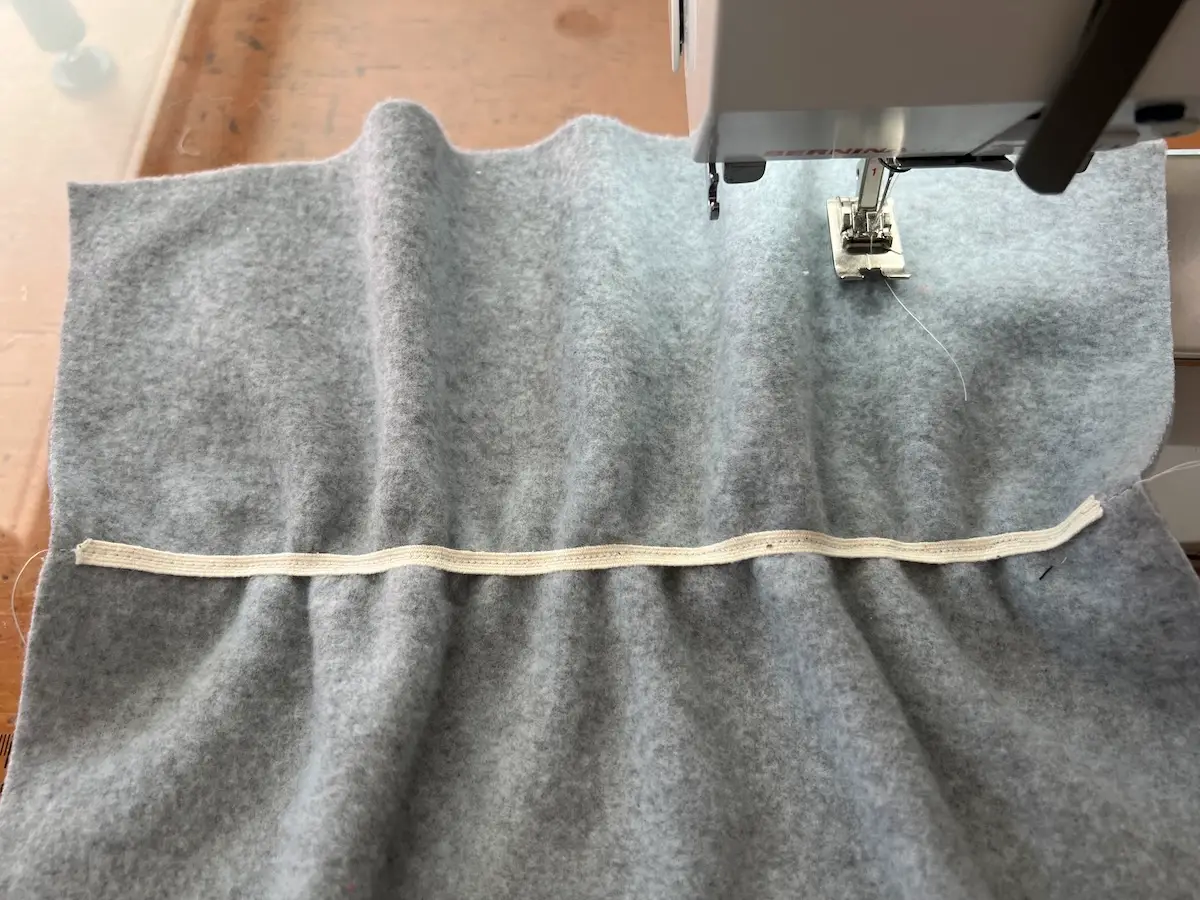
- Next, we'll add the elastic to the WRONG SIDE of the lining. Mark the half-way point on the sides of the lining. Since the lining is 11-inches tall, mark at 5-1/2 inches. Pin the elastic at this point on both sides of the lining.

- Now it's time to sew the elastic to the lining. Start by securing one end to the side of the lining by backstitching.
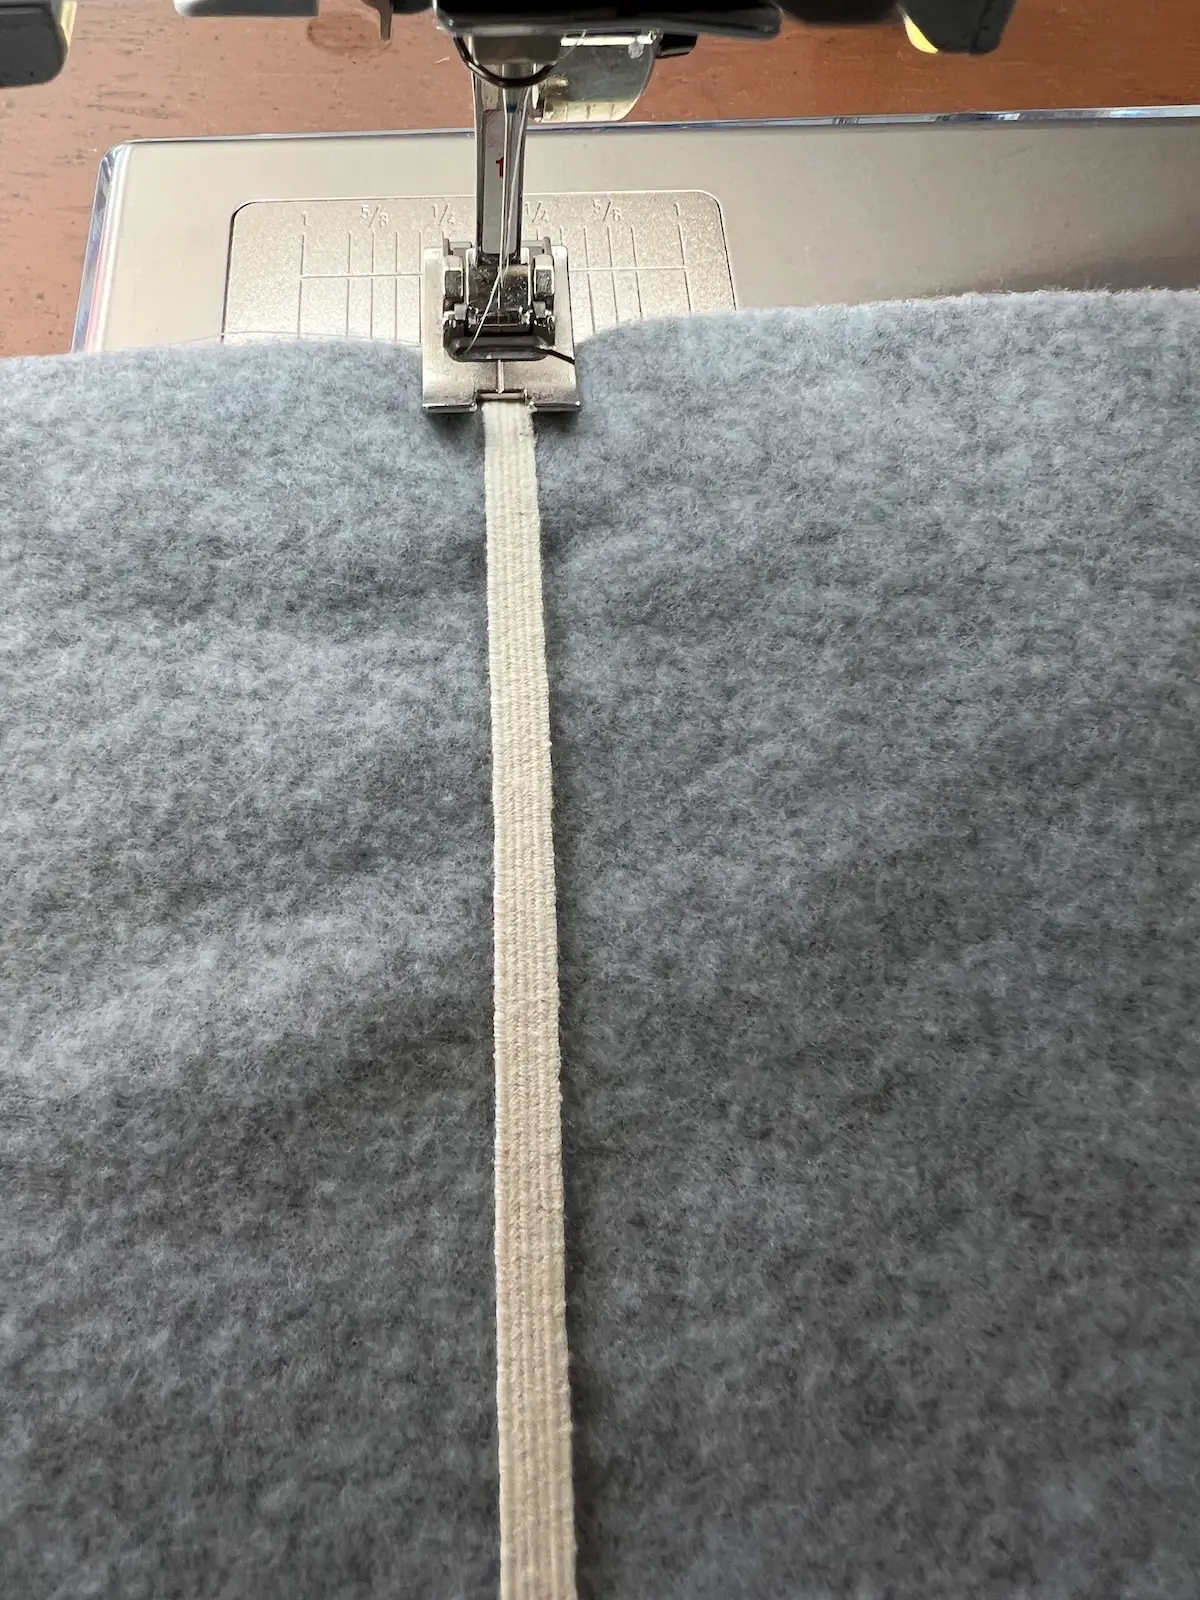
- Pull on the elastic and stitch until you get to the other side.
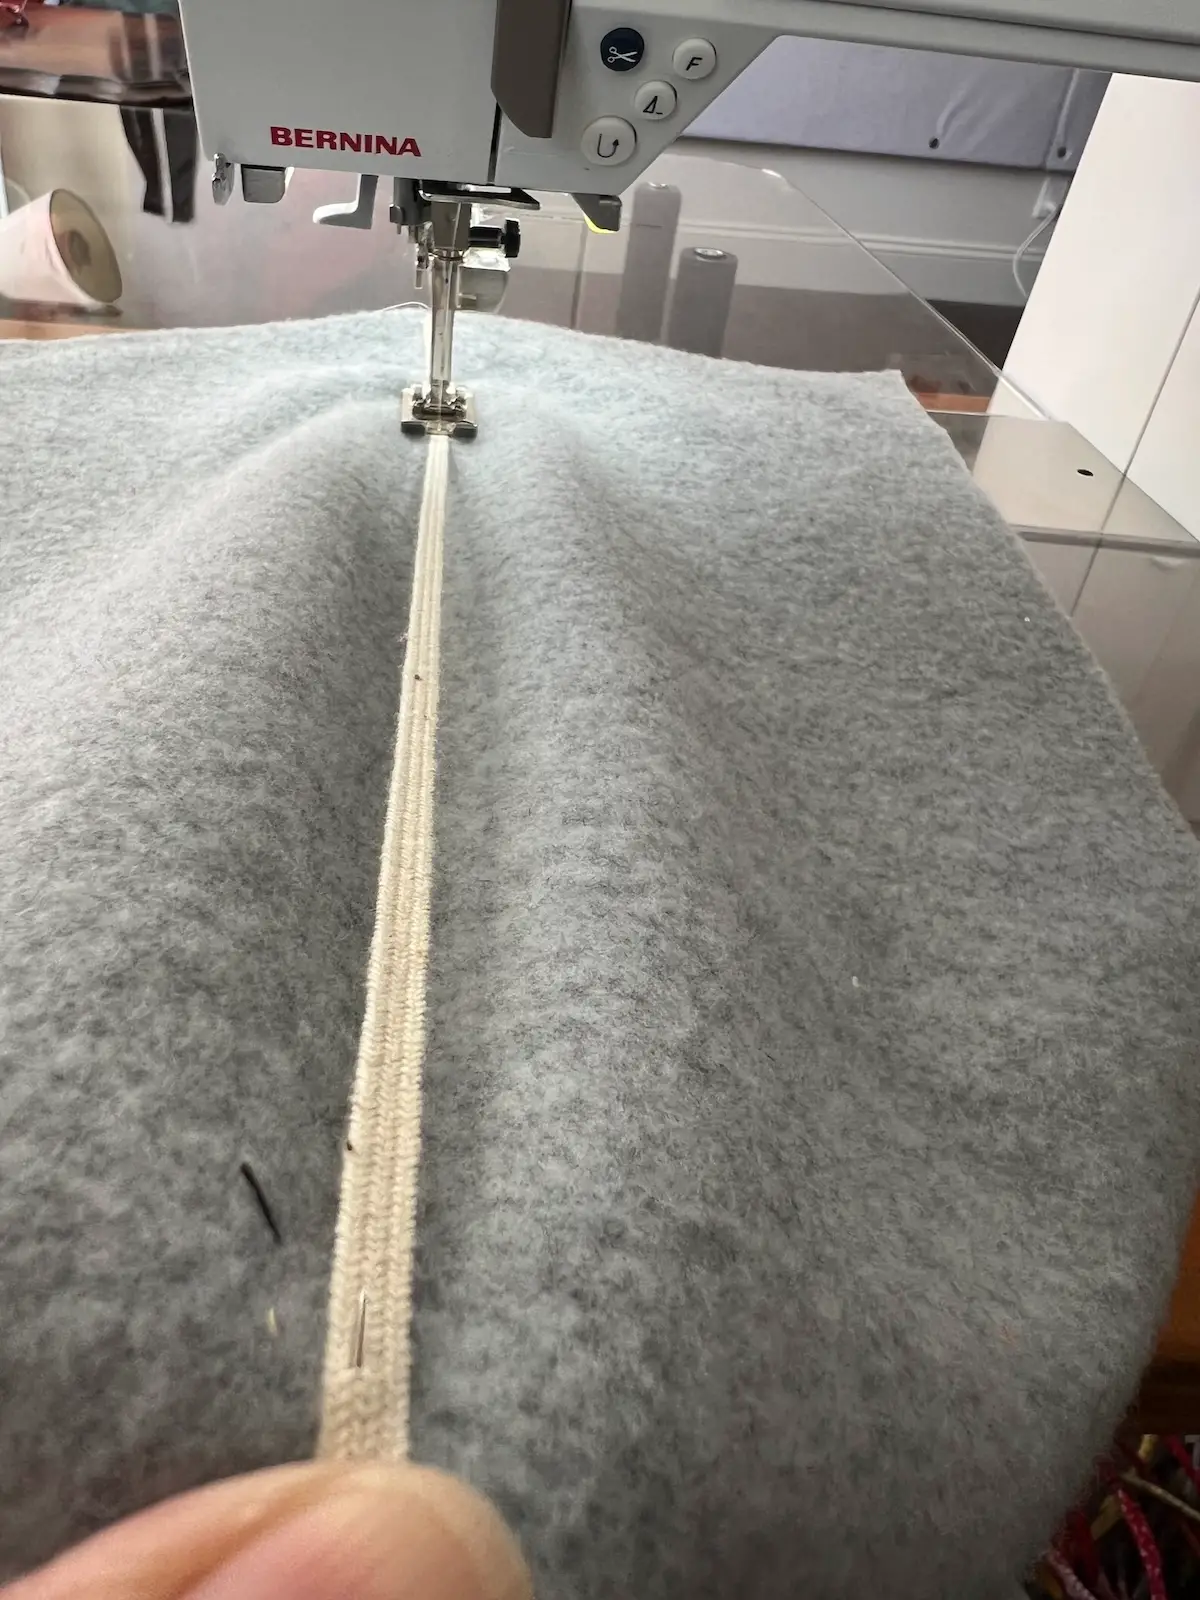
- Here is what the lining will look like.
- Now, sew the side seams of the lining, with right sides together with a 1/2-inch seam allowance..
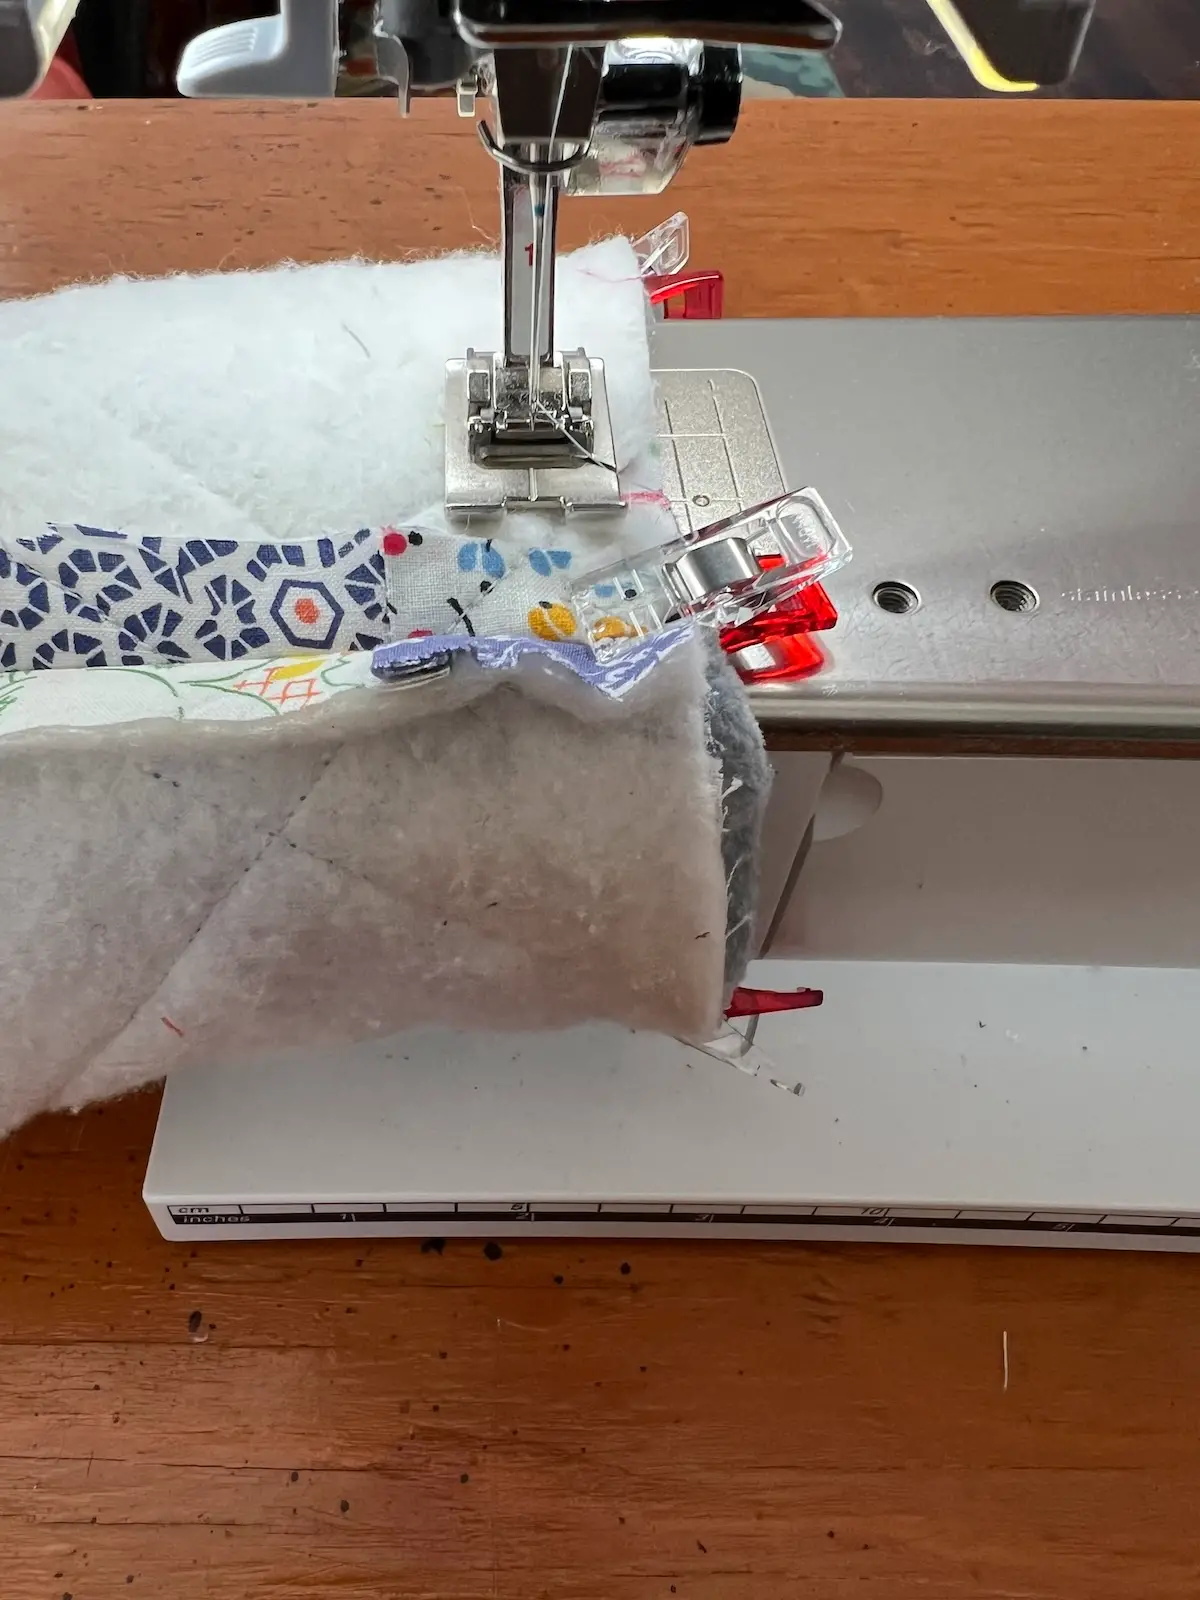
- Next, we'll sew the main body lining to the outer fabric. Lay them out so that the tapered ends are aligned.
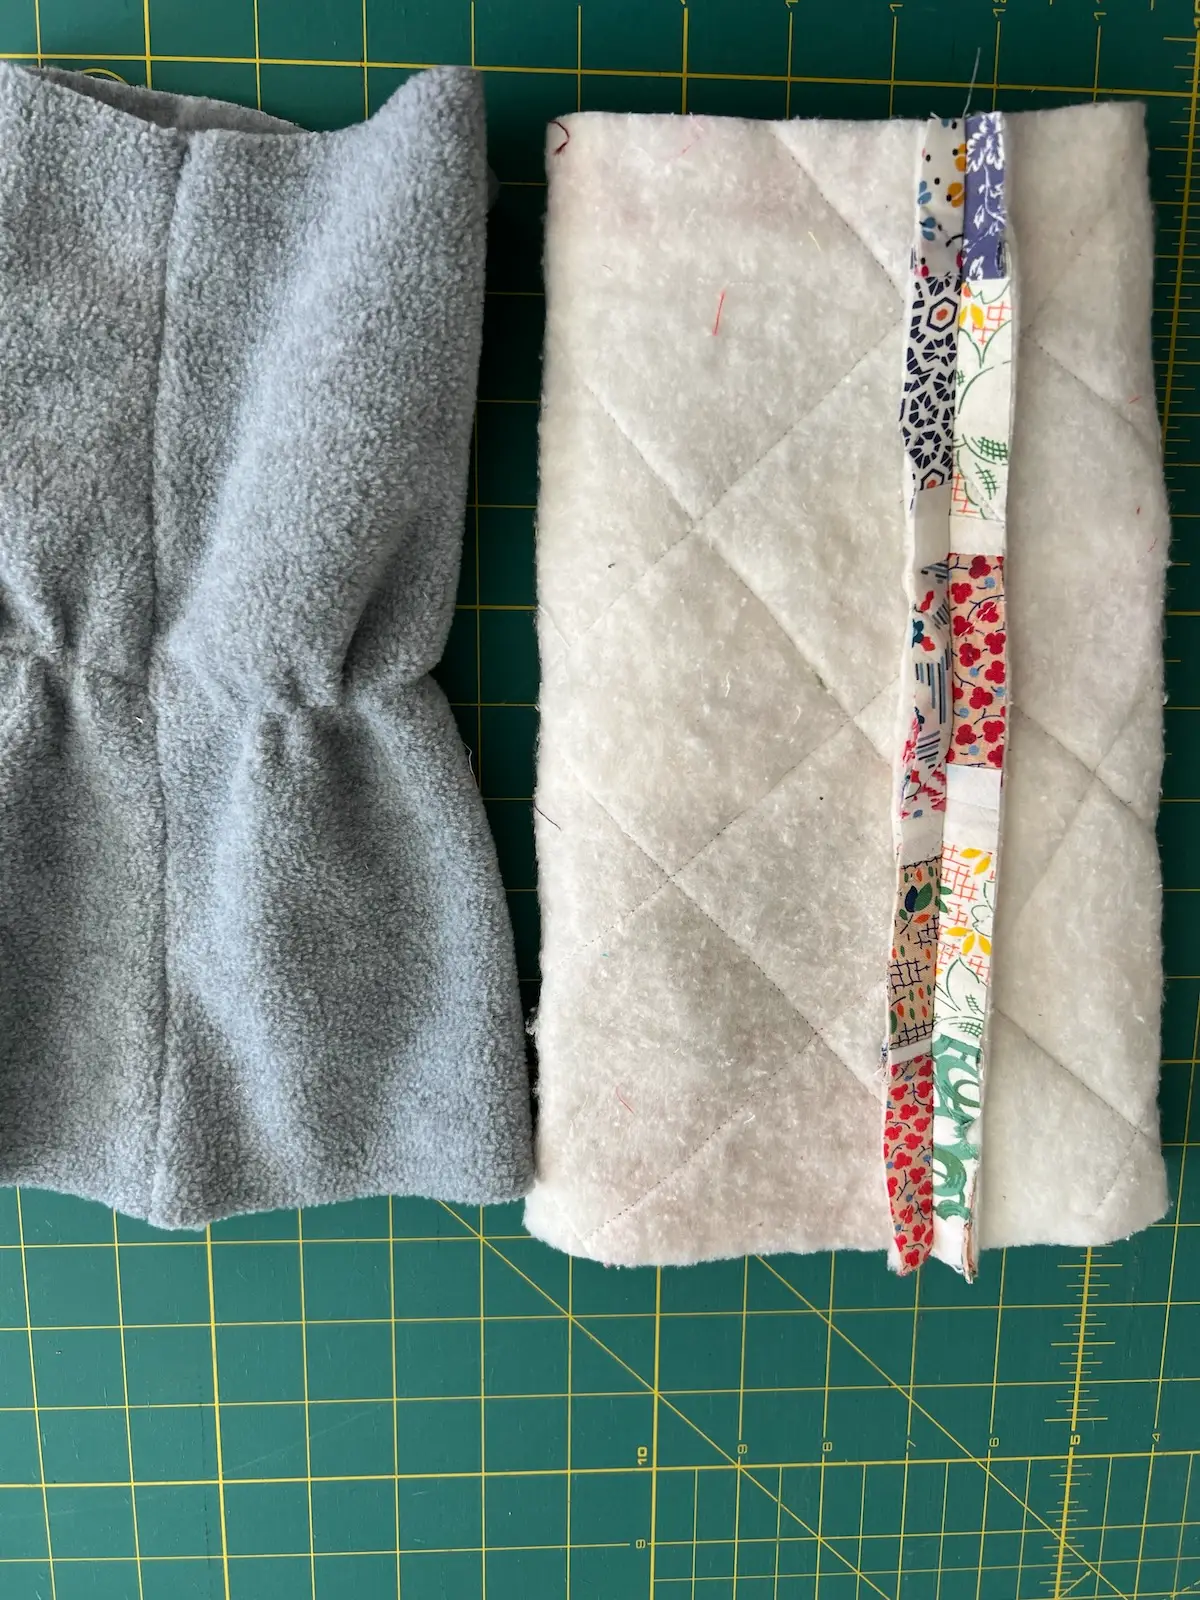
- Place the right sides together. Double-check that the tapered edges match. If one looks too small (or too big), turn it upside down.
TIP: Use WonderClips to hold the layers together. It's too thick for pins. - Sew around the tapered edge with a 1/2-inch seam allowance.
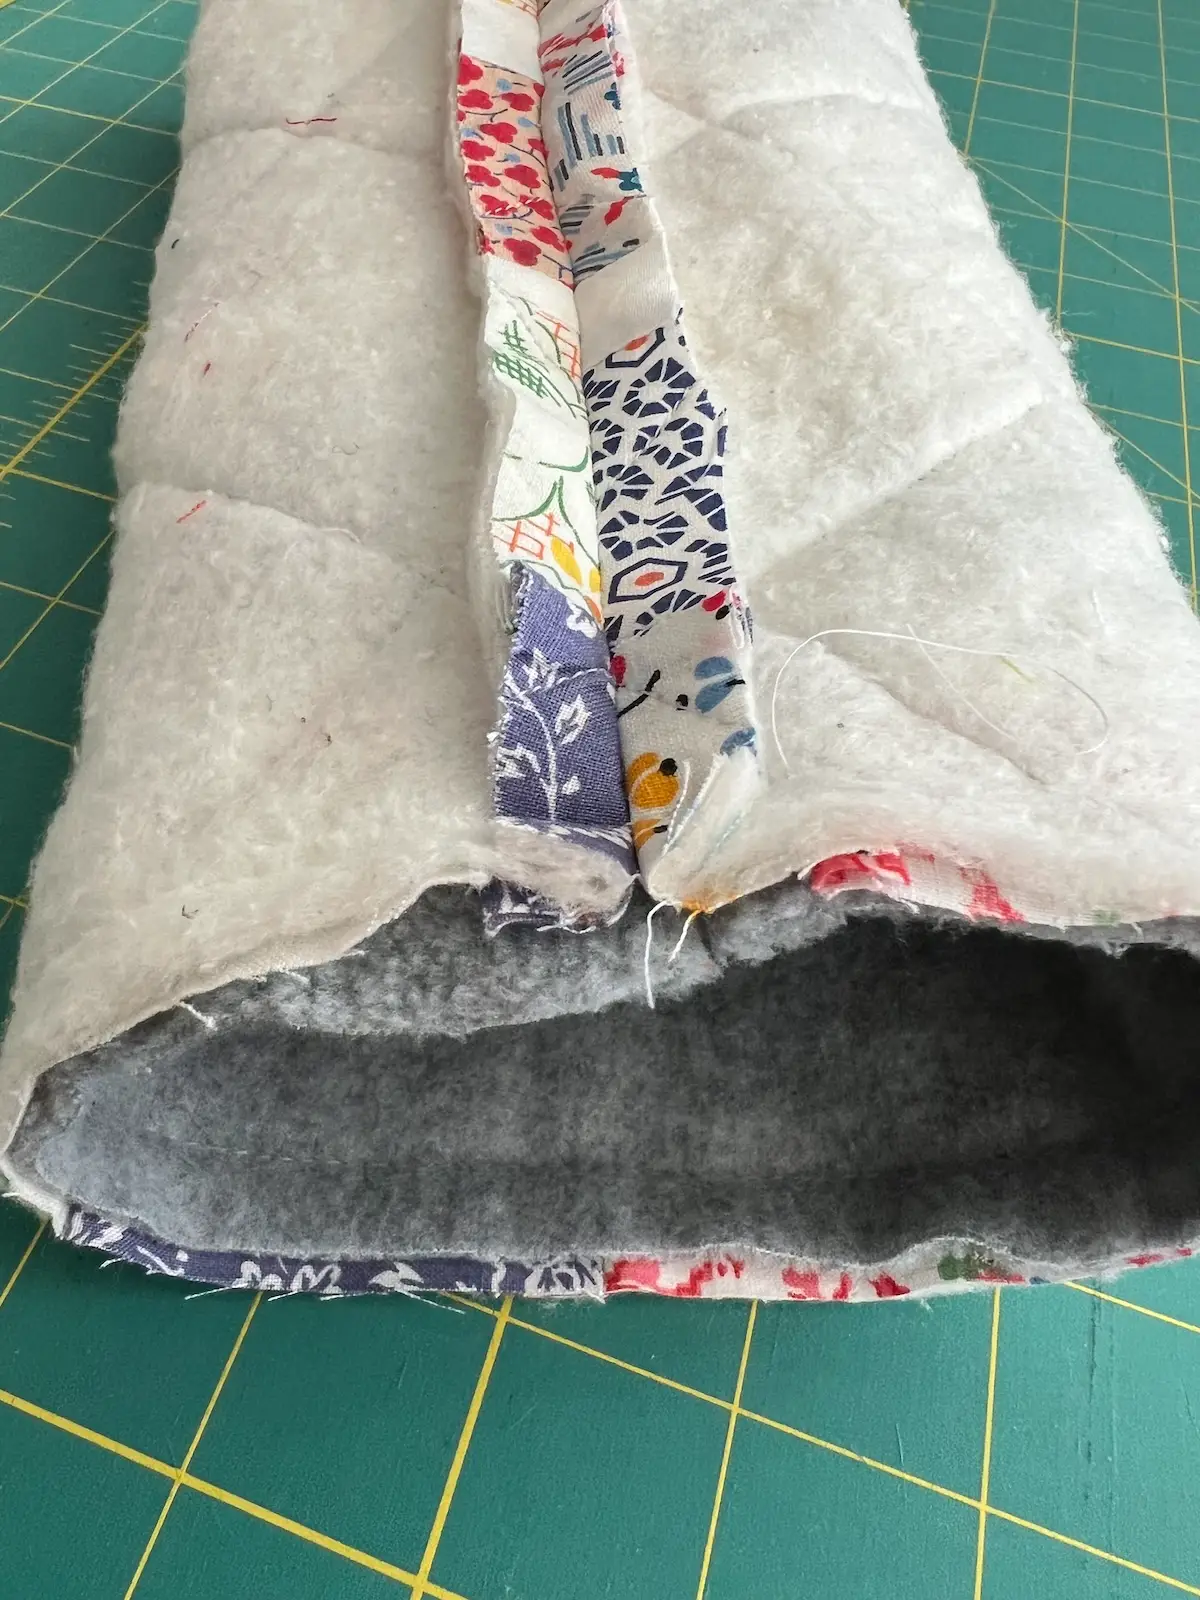
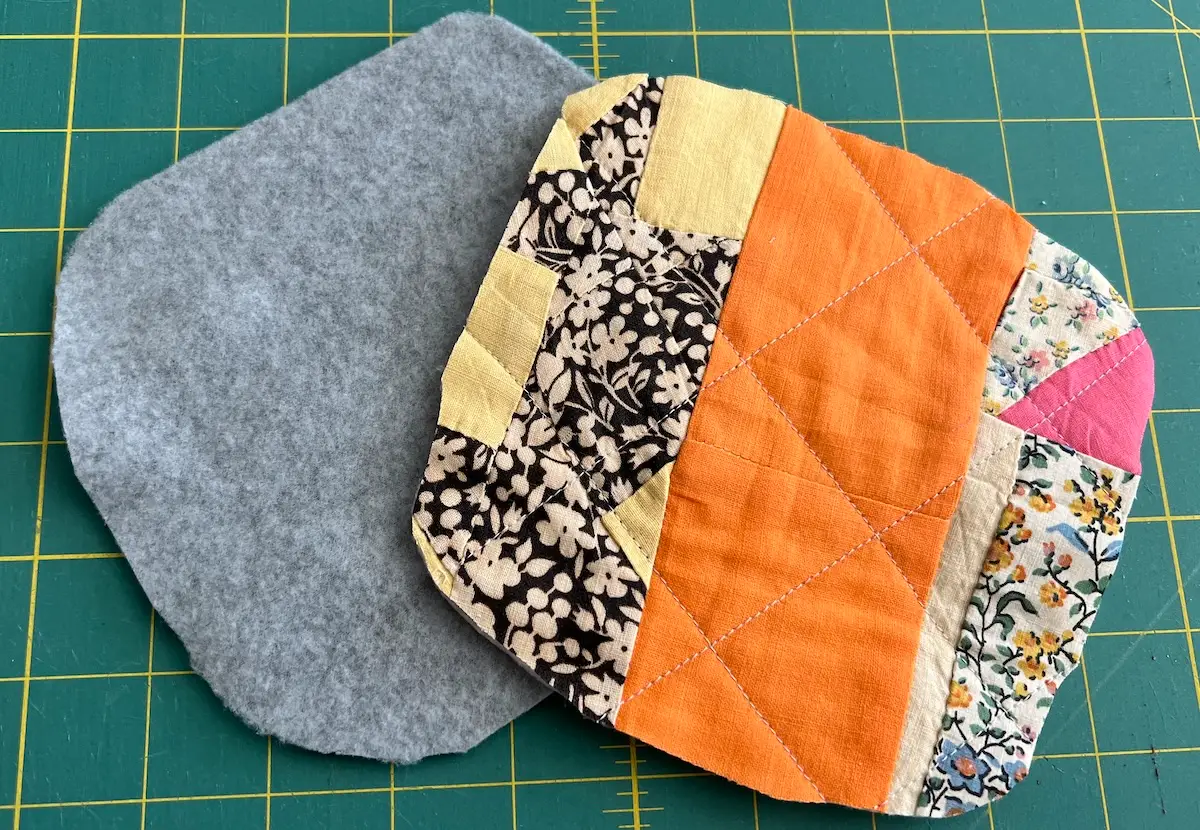
- Turn the right side out.
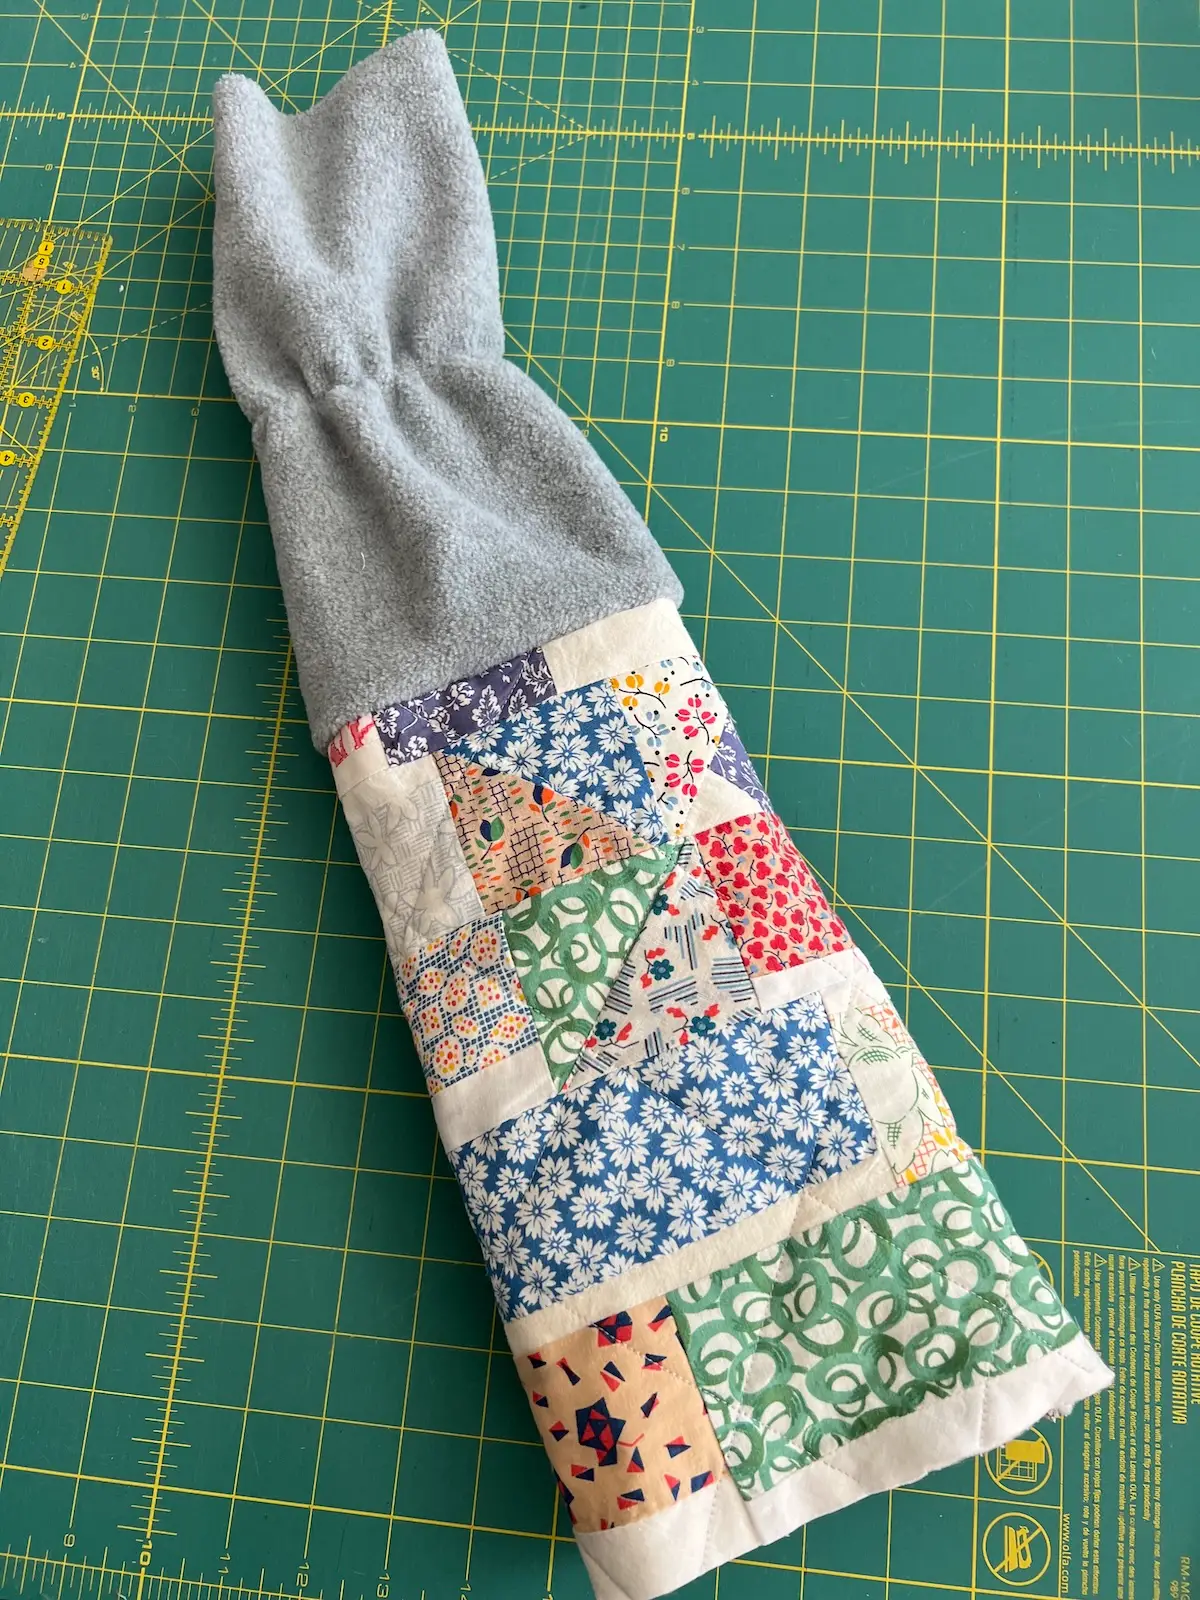
- Tuck the outer fabric inside the fleece.
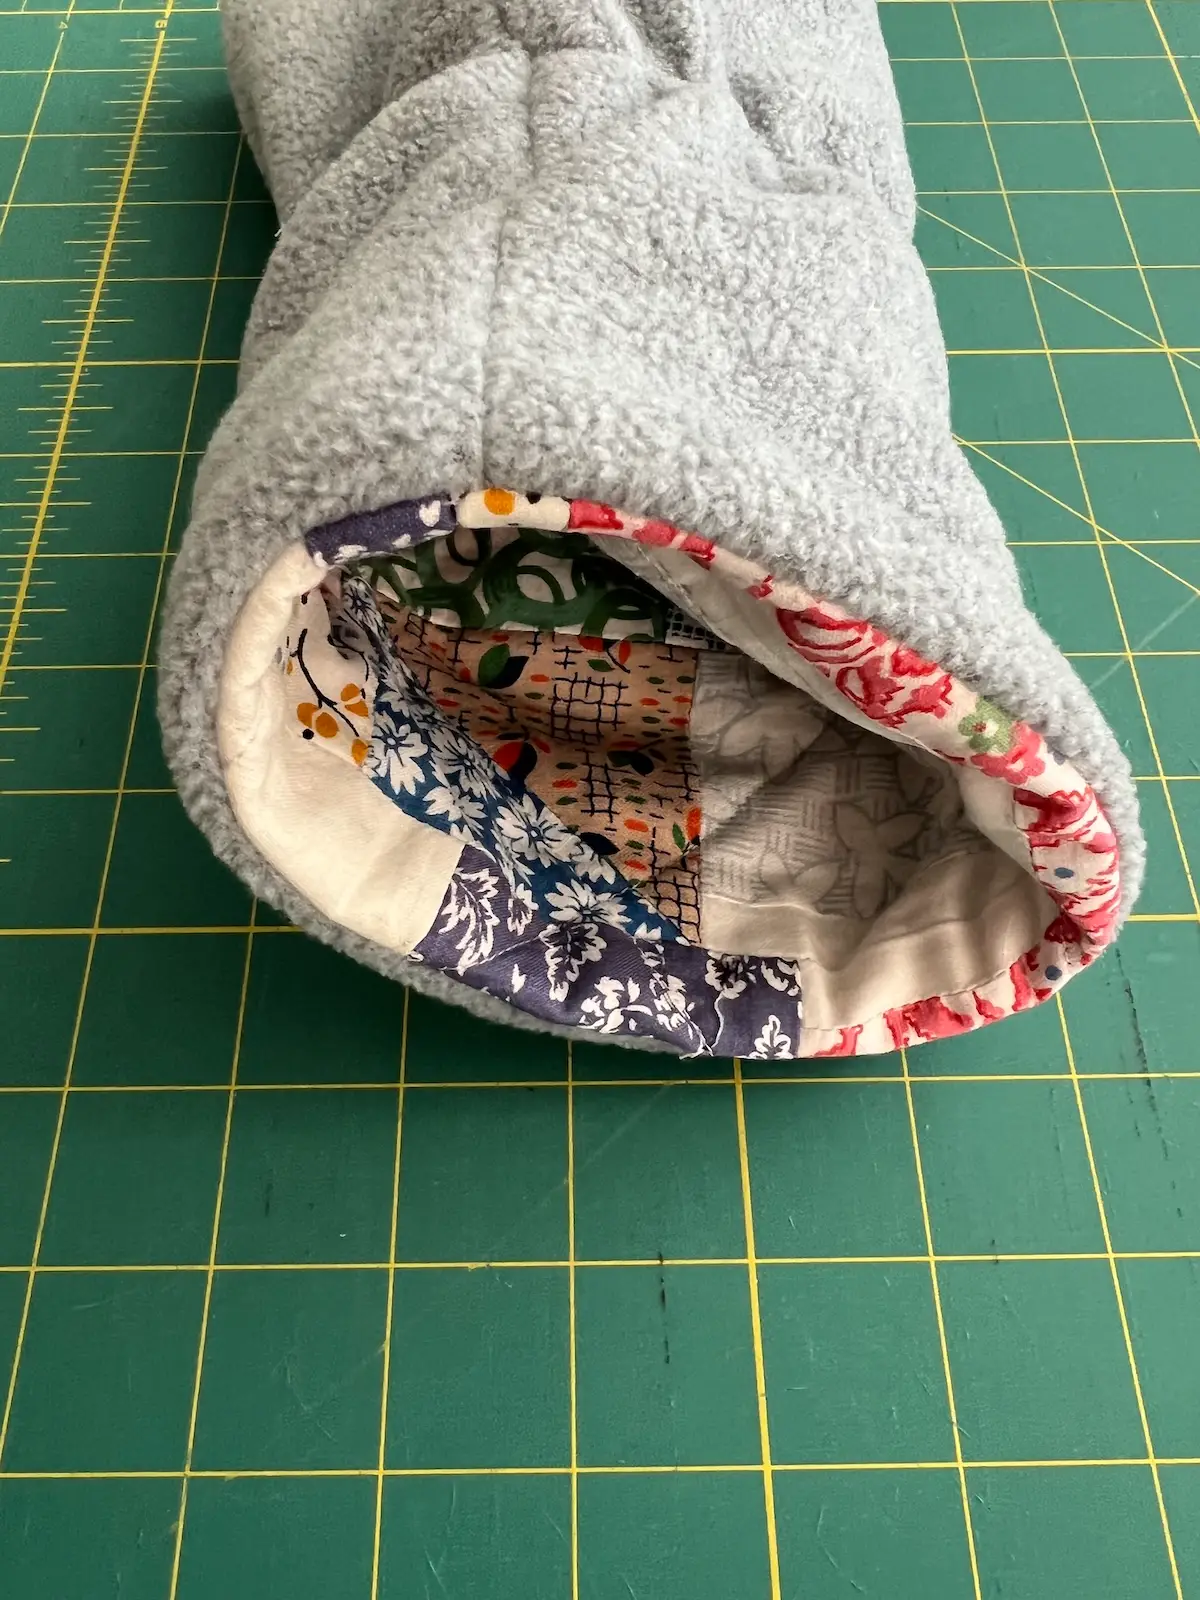
- Topstitch around the edge. This is the lower edge of the golf club cover.
Adding the top to the golf club cover:
- Take your outer fabric and fold it into quarters. Using scissors, round the corners. It doesn't need to be a perfect circle.
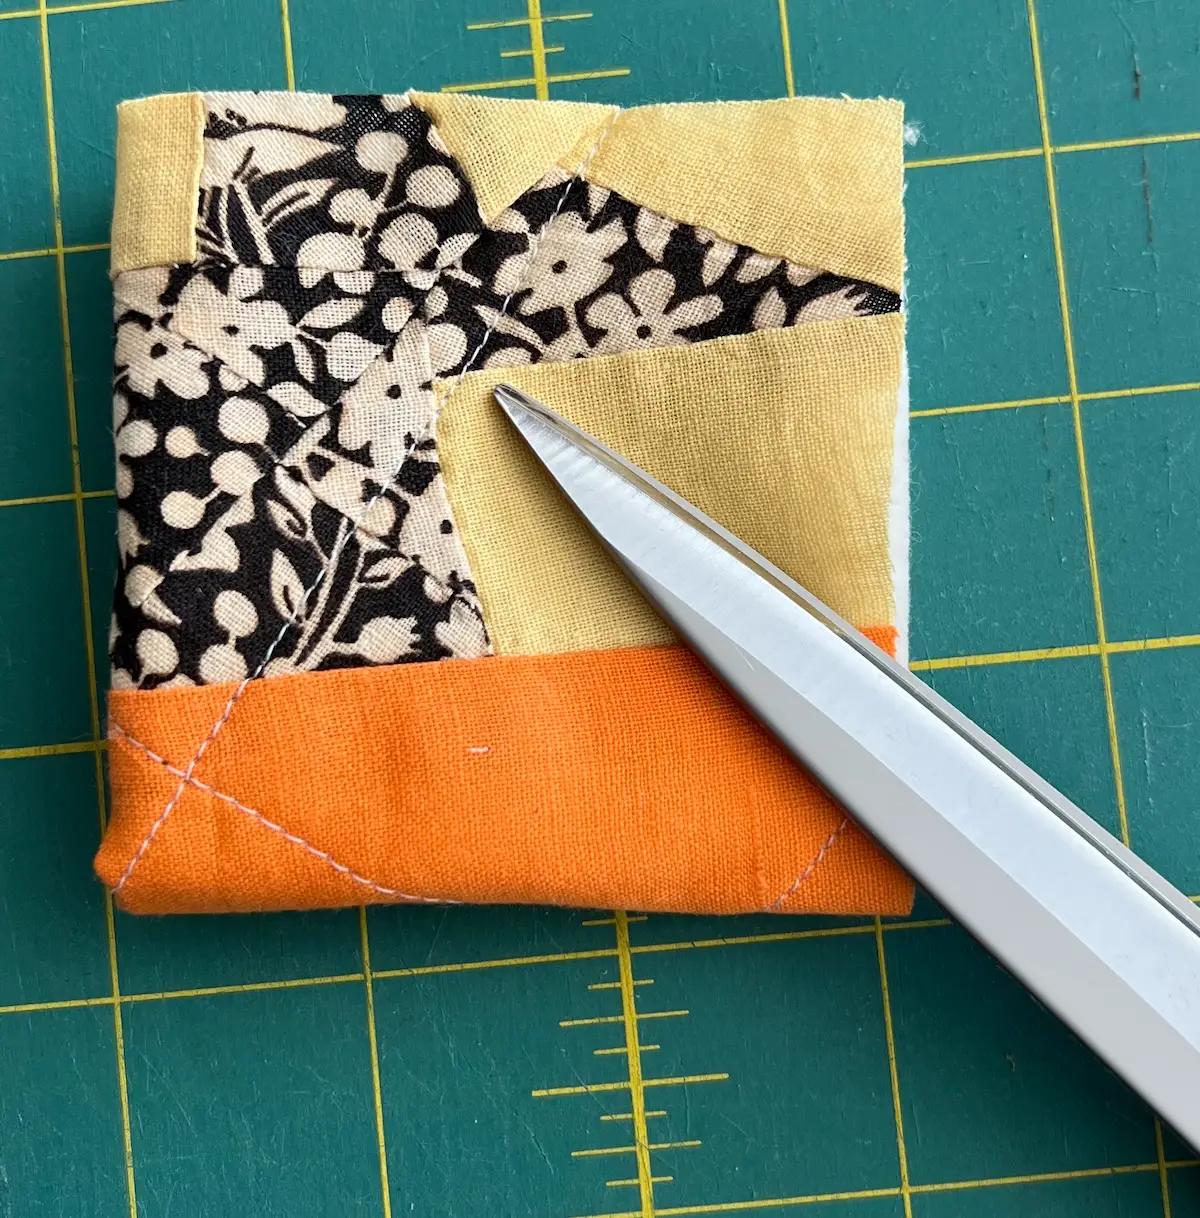
- Trim the lining to match.
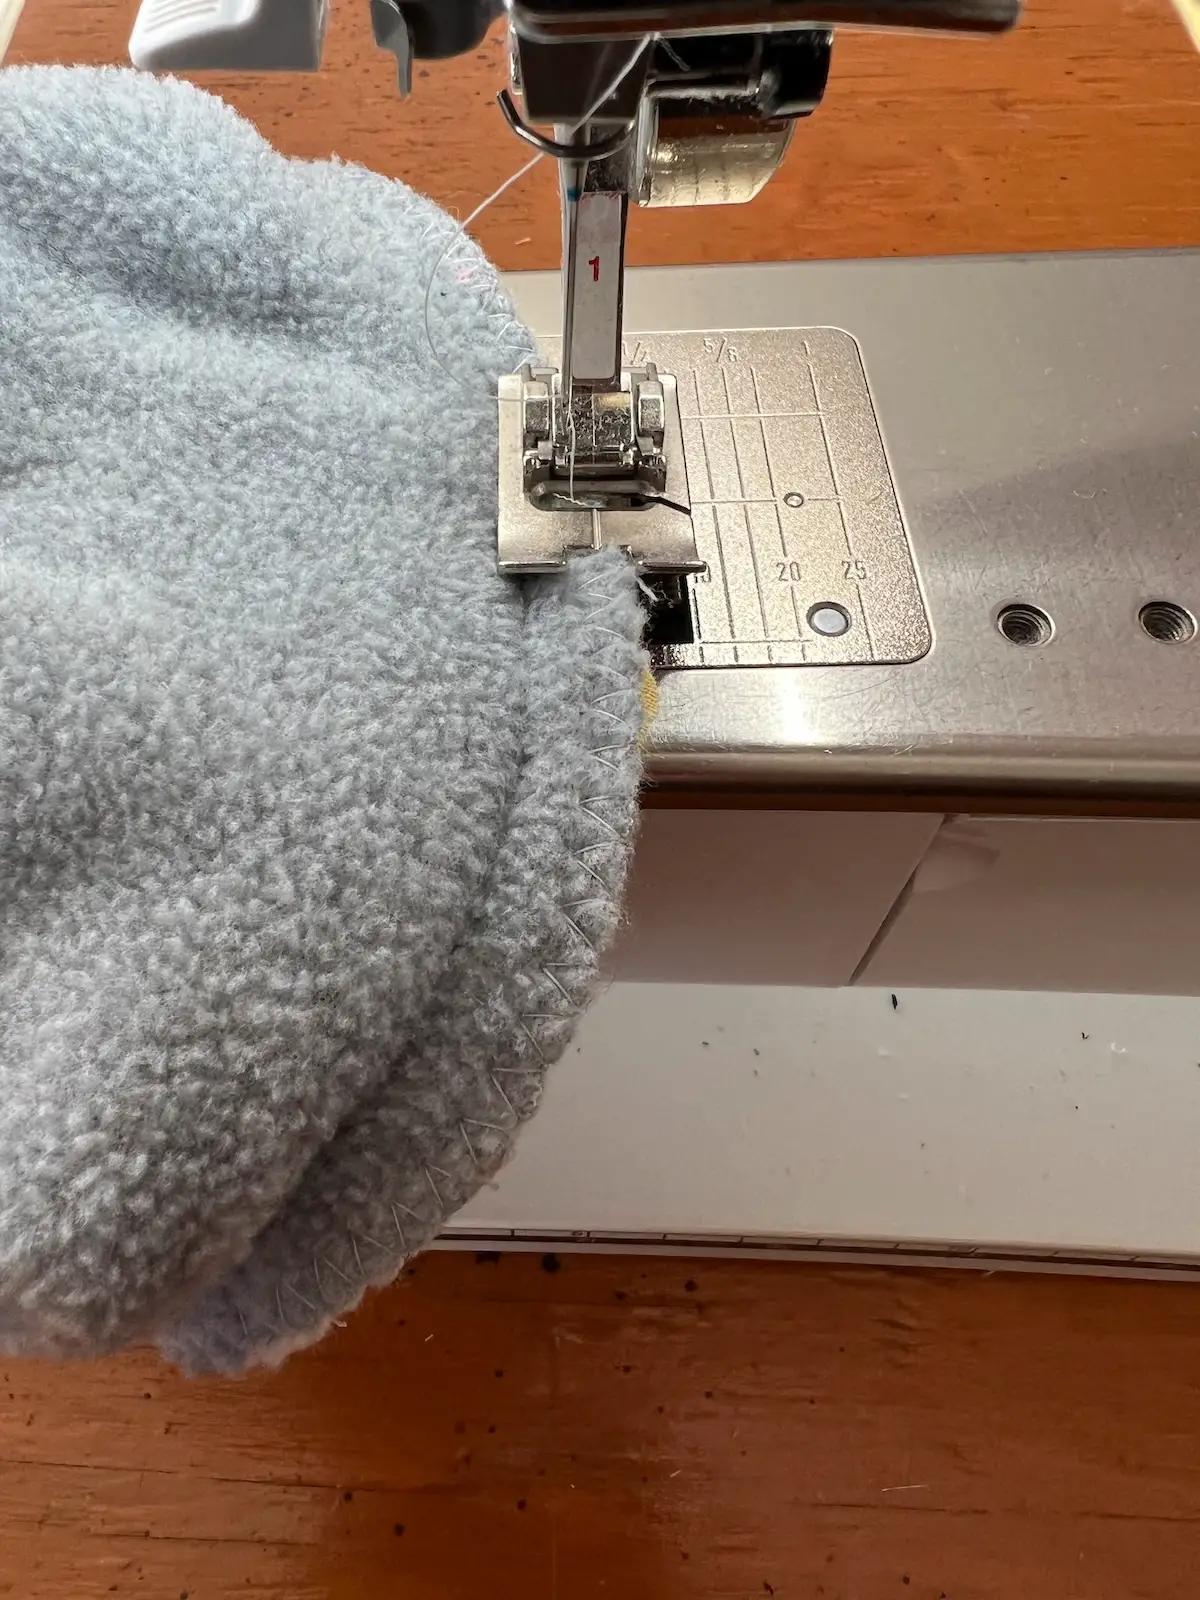
- I like to zigzag these together along the edge. This makes it easier to sew it to the main body of the golf club cover.
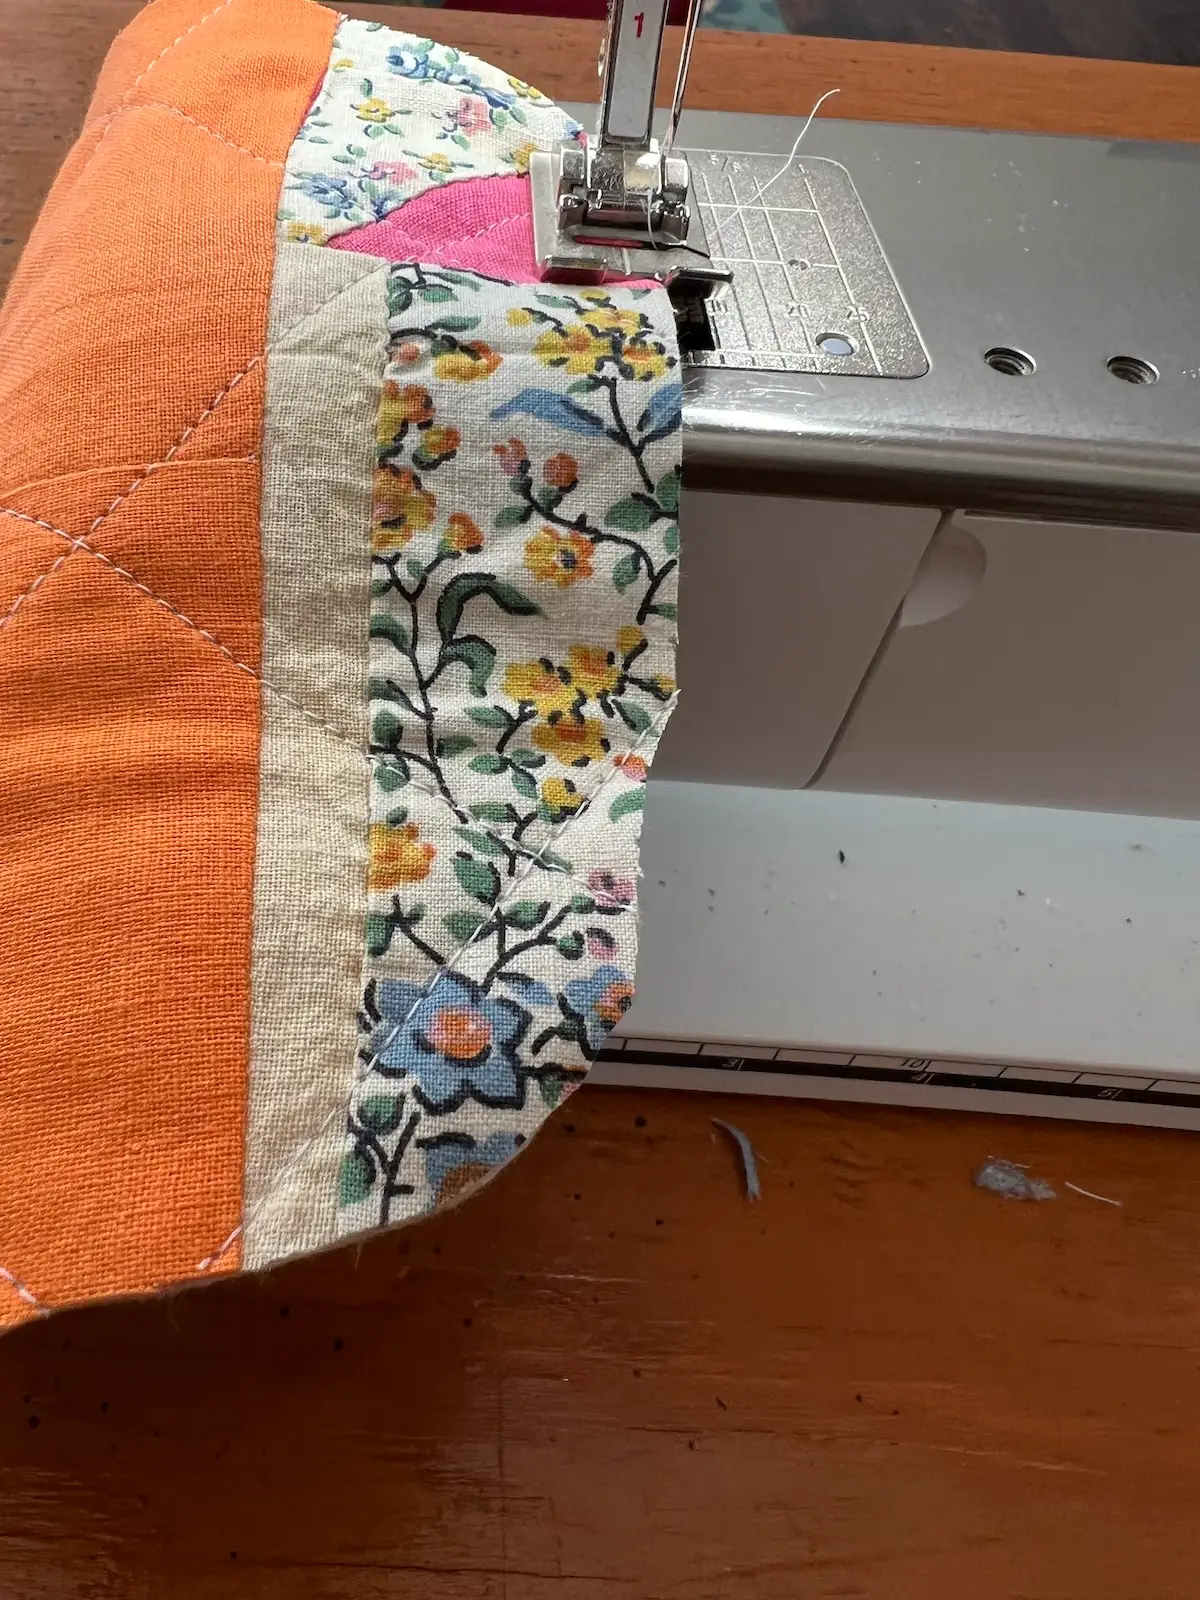
- With right sides together, using WonderClips, clip the top to the body around the edges.

- If the top is a little too large, just trim it off. This is why we didn't cut it into a full circle on step 1, it's easier to trim it down now. Sew with a 1/2" seam allowance.
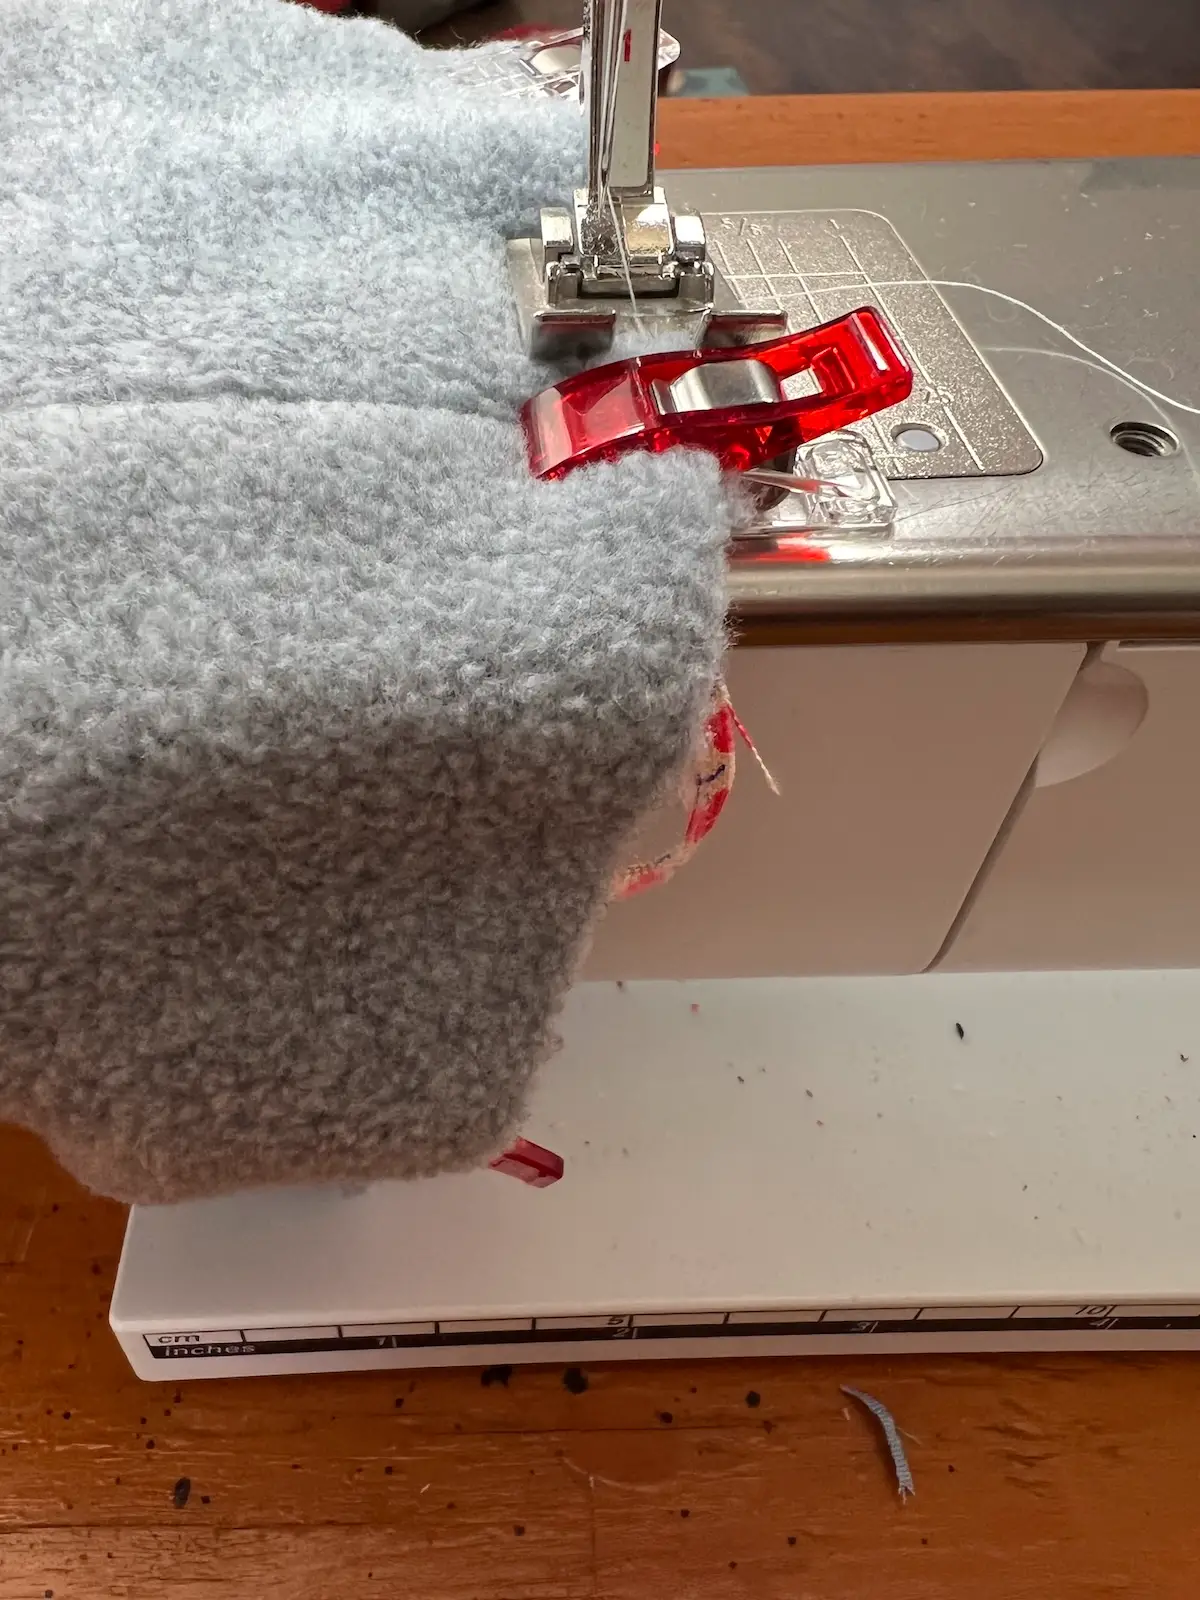
- Zigzag all around the edge to finish the inside of your golf club cover.
- Turn it right side out, and you've made a barrel head golf club cover!
Notes
To make a fairway-sized golf club head cover, follow the same directions. Cut your main body fabric and lining at 14" x 9" and taper to 14" at the top and 11" at the bottom. Cut the top fabric and lining into a 4" square, and cut 4" of elastic.
Recommended Products
As an Amazon Associate and member of other affiliate programs, I earn from qualifying purchases.


Troubleshooting:
The top is too big to sew onto the body of the cover.
Fold the top in half. Fold the body in half. Using WonderClips, clip the right sides together at these points. Then, secure them half-way between those points. Using scissors, trim the excess. The top should fit right inside the body of the cover with 1/2-inch seam allowance.
The top is too small to sew onto the body of the cover.
The easiest solution is to cut a new top. Make sure not to trim it down until you are about to sew it to the body of the cover.
The elastic won’t stretch enough to sew it down across the entire lining.
You can cut another piece slightly longer. Some elastics stretch more than others.
What types of fabrics are best for the outside of the golf club cover?
Pretty much any type of fabric will work. You can pick a novelty print.
For the outer fabric, you can use quilting cottons, canvas, denim, outdoor fabrics, and wool.
I used vintage scrap fabrics and quilted them together.
RELATED: How to sandwich a quilt
For the lining fabric, I used fleece, but you could also use sherpa or flannel. You’ll want a nice soft fabric that doesn’t scratch the club.
It’s important that the fabric can hold up under different weather conditions. Not all golfers are fair-weather golfers!
Why elastic works?
The elastic gathers the lining so the cover grips the club shaft and doesn’t fall off while walking the course.
This is a feature of the popular barrel head golf club covers. The elastic is on the inside and not apparent on the outside of the cover.
Creative ideas for custom golf club covers
- Before assembling the cover, embroider either the top or the main body of the cover with a design or initials.
- Use orphan quilt blocks left over from other projects to make the pieces.
- Sew together scraps for the main body and top for a scrappy look.
- Find novelty or sports fabrics reflecting hobbies or interests of the golfer.
- Make them out of favorite team colors.
- Use old sweaters or blankets for the cover’s outer layer.
RELATED: Scrap sewing project ideas
Browse through more sewing project ideas on Create Whimsy.