
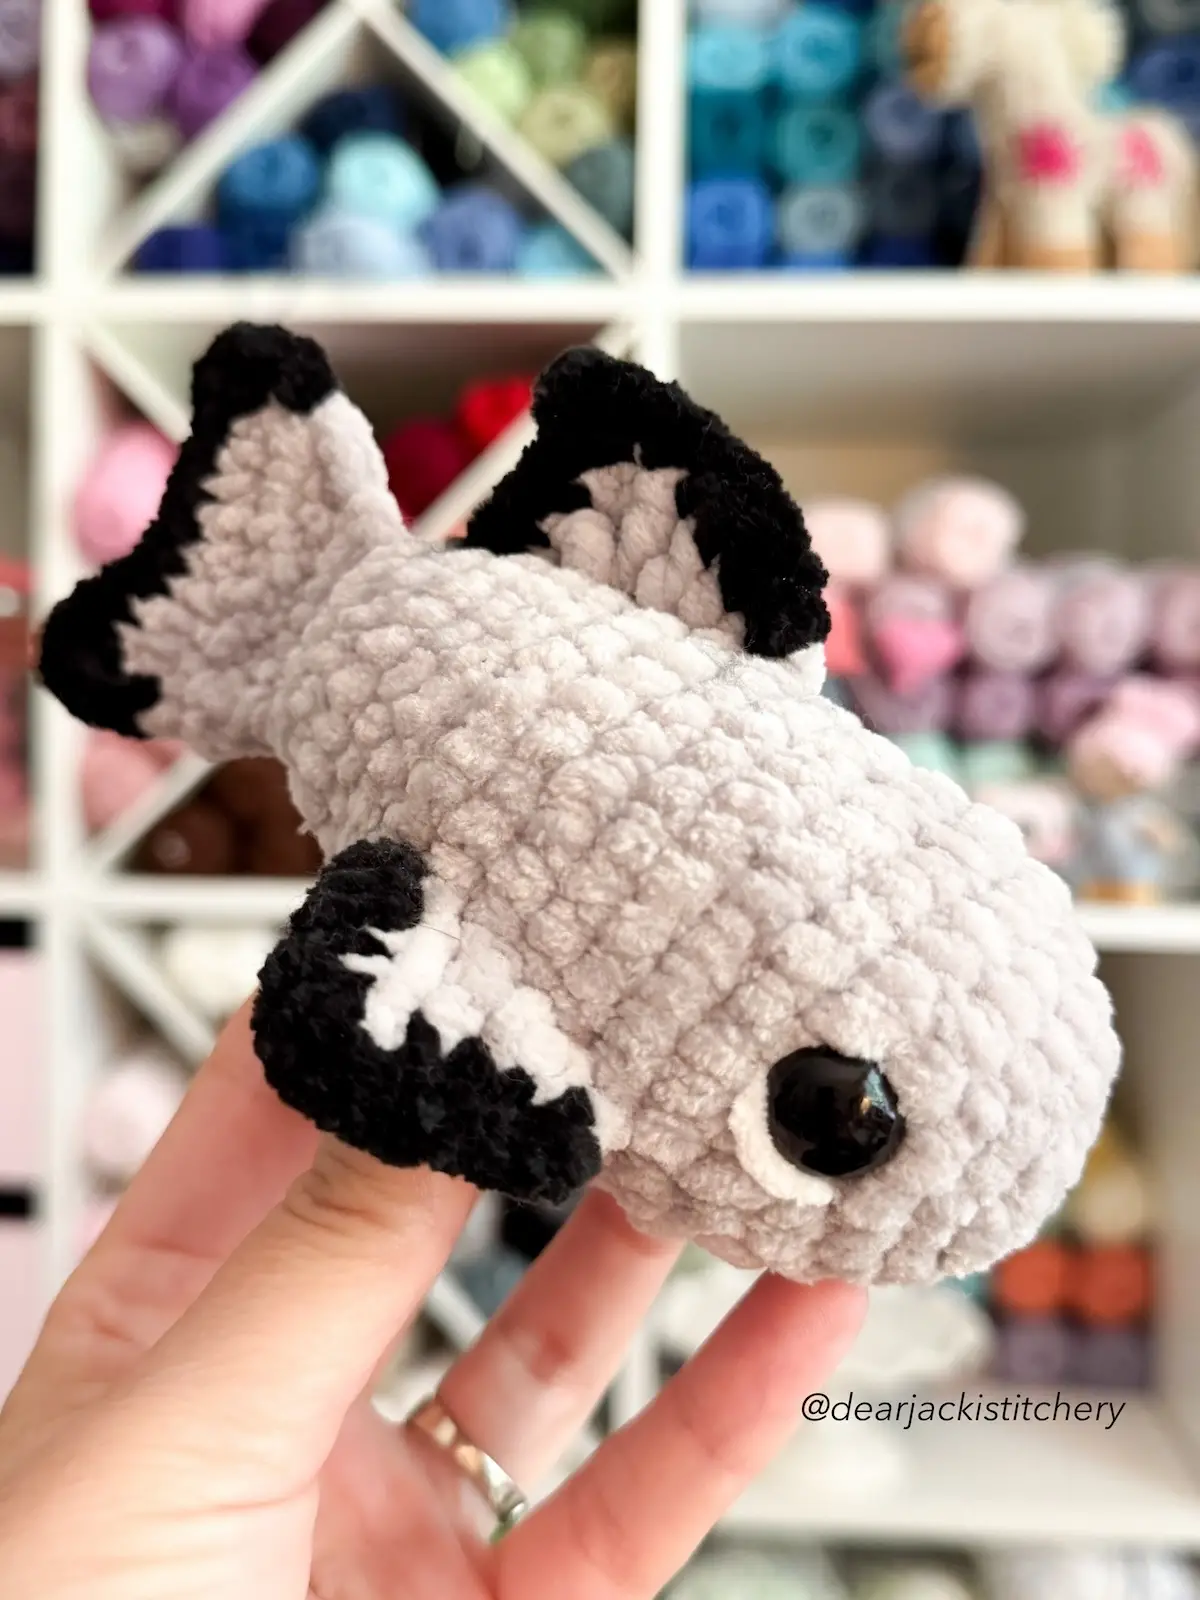
Pattern designed by Jacki Donhou from DearJackiStitchery
Some sharks look fierce, but this little Blacktip Reef Shark is all smiles! With its soft chenille yarn, sweet face, and signature black-tipped fins, it’s ready to swim right into your heart. This beginner-friendly crochet pattern works up to a cuddly 6-inch shark that’s perfect for gifting, collecting, or adding to your growing ocean of handmade amigurumi friends. Grab your hook and let’s dive in!
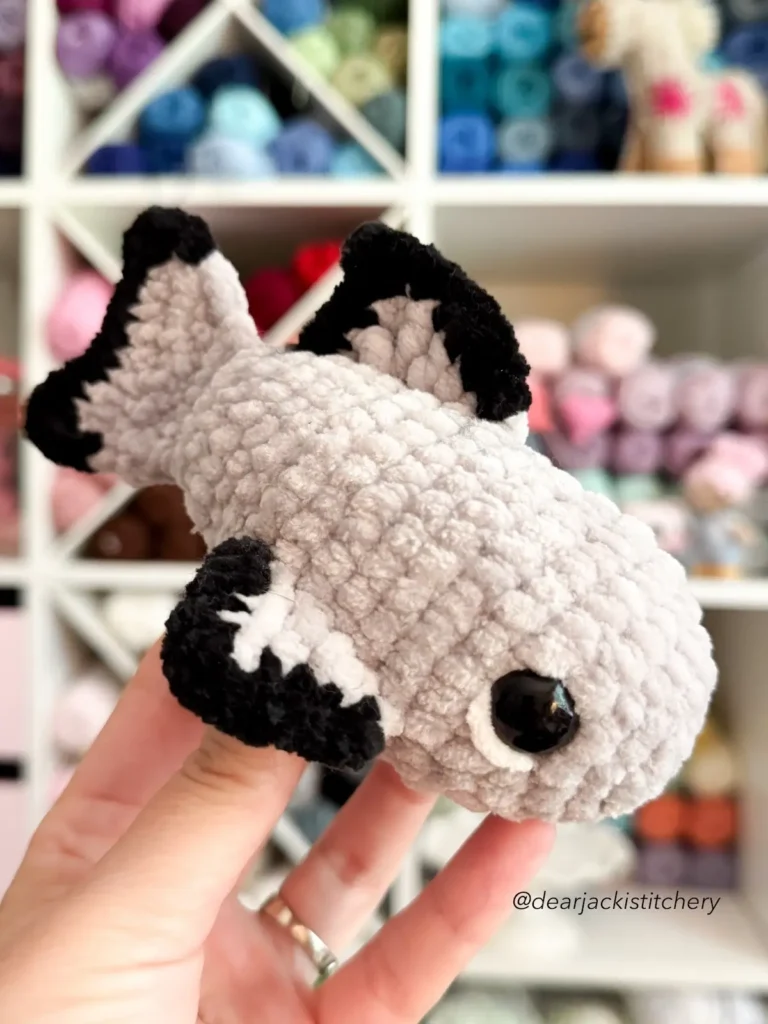
How to crochet the Blacktip Reef Shark
Skill Level:
Beginner/Easy
Finished Size:
15.24 cm / 6 in
Supplies and Materials:
- Yarn
- Universal Yarn Bella Chenille 100% Polyester
Super Bulky Weight 100 g (3.5) oz / 120 m
(131 yds)
-Misty 119
-Black 112
-Snowy 101
- Universal Yarn Bella Chenille 100% Polyester
- Hook Size: 3.25 mm
- Safety Eyes 14 mm
- Polyester Fiber Filling
- Embroidery Needle
- Scissors
- Stitch Markers
- Sewing Pins
Abbreviations
The stitches in this pattern are worked in UK Terms:
As an Amazon Associate I earn from qualifying purchases. Read more about our affiliate linking policy.
- MC = Magic Circle
- ST or STS = Stitch/es
- SLST = Slip Stitch
- CH = Chain
- DC = Double Crochet
- Htr = Half Treble Crochet
- Tr = Treble Crochet
- Dc2inc = Work 2 double crochet into the next stitch to increase
- Dc2tog = Work 2 double crochet stitches together to decrease
- ( ) = Repeated/Stitch Count
SHARK BODY
Download the free pattern here.
Using Misty colour yarn, work all stitches in a round from front to back.
Stuff as you crochet.
Row 1: Ch 5, turn dc in the 2nd ch from hook, dc 2, dc3inc in the last ch, turn, dc 3, dc3inc in the last ch (12 sts).
Round 2: Dc 3, (dc2inc) 3 times, dc 3, (dc2inc) 3 times (18 sts).
Round 3: Dc 5, (dc2inc) 3 times, dc 5, (dc2inc) 3 times, dc 2(24 sts).
Round 4: Dc 6, (dc2inc, dc) twice, dc2inc, dc 5, (dc2inc, dc) twice, dc2inc, dc 3 (30 sts).
Rounds 5-6: Dc in each st around (30 sts).
Please Note: Mark stitches 10 and 23 in round 5. These will be the 2 stitches where you place the safety eyes later in the pattern.
Rounds 7-11: Dc in each st around (30 sts).
Place safety eyes on round 5 in the marked stitches, with 10 visible stitches between them. If the safety eyes are not parallel with the starting row, adjust them up or down by 1- 2 stitches to get the correct placement.
Round 12: (Dc 3, dc2tog) 6 times (24 sts).
Rounds 13-14: Dc in each st around (24 sts).
Round 15: (Dc, dc2tog, dc) 6 times (18 sts).
Round 16: Dc in each st around (18 sts).
Round 17: (Dc, dc2tog) 6 times (12 sts).
Pinch the opening closed; if the seam is not centered with the middle of the safety eyes, add or subtract 1-2 stitches.
Dc through both sides with 6 dc and close the opening, ch, turn (6 sts).
The next instructions will be on how to crochet in the rows of the shark’s body to make the back fin.
Row 1: Dc2inc, dc 4, dc2inc, ch, turn (8 sts).
Row 2: Dc2inc, dc 6, dc2inc, ch, turn (10 sts).
Row 3: Dc2inc, dc 3, (dc2tog) twice, dc, dc2inc, ch, turn (10 sts).
Row 4: Dc 3, dc2tog, dc 5 (9 sts).
Fasten off and weave in the ends.
The next instructions will add the black around the back fin.
Add black yarn to the side of the back fin at the first stitch of row 3. Then working along row 4 of the back fin (dc, htr, dc) in the corner st, dc 8
along the next sts, (dc, htr, dc) in the corner stitch, dc down the last side of the back fin.
Fasten off and weave in the ends.
SIDE FINS
Crochet each fin onto the sides of the shark’s body using Misty colour yarn, work all stitches in a row.
Work the stitches of row 1 along rounds 8- 12 in a straight line 2 stitches below the safety eyes.
FIN 1
Row 1: Dc, htr 2, (tr, ch 2, slst in the 2nd ch from hook, htr) in the same st, dc (6 sts).
Fasten off and weave in the ends.
FIN 2
Flip the shark upside down before starting row 1. This ensures that both fins are shaped the same way.
Row 1: Dc, htr 2, (tr, ch 2, slst in the 2nd ch from hook, htr) in the same st, dc (6 sts).
Fasten off and weave in the ends.
The next instructions will add the black around the side fins.
Add black yarn to the first stitch of the side fin with a dc, dc 3, (dc, ch, dc) in the corner st, dc 3 along the back of the fin (9 sts).
Fasten off and weave in the ends.
TOP FIN
Using Misty colour yarn, work all stitches in a row. Work the stitches in row 1 along rounds 9- 13 in a straight line.
Row 1: Dc, htr 2, tr, (dtr, ch 2, slst in the 2nd ch from hook, tr) in the same st, htr, dc (8 sts).
Fasten off and weave in the ends.
The next instructions will add the black around the top fin.
Add black yarn to the first stitch of the top fin with a dc, dc 4, (dc, ch, dc) in the corner st, dc 3 along the back of the fin (10 sts).
Fasten off and weave in the ends.
EYE DETAILS
Using white coloured yarn, push the needle through the bottom of the head and out at the outside of the first eye (I tend to use the needle with a sharp tip). Then insert your needle back through the front, bottom corner of the eye. Pull the needle through the bottom of the head and out the stitch you entered. This adds a stripe to the lower portion of the eye. Tie the ends together and hide them inside
the head. Then repeat the steps for the second eye.
Your Blacktip Reef Shark is ready to make a splash!
Whether it joins an ocean-themed nursery, becomes a favorite desk companion, or swims into the hands of a child who loves sea creatures, this adorable shark is sure to bring plenty of smiles.
We hope you had fin making it.
Be sure to explore more free crochet patterns here on Create Whimsy for even more handmade adventures.
Read our interview with Jacki Donhou
Follow Jacki on Instagram: https://www.instagram.com/dearjackistitchery/
Explore Jacki’s books for more crochet projects and inspiration