Meet Forest Friends: Bert, Lucy, Chester and Ruth! Bert and Lucy are bears; Chester and Ruth are bunnies. All designed by Kathy Schmitz, and we fell in love with them when we met Kathy at Quilt Market in Portland. I had so much fun making Bears & Bunnies – Embroidered Friends Soft Toys and want to share these colorful stitching projects with you.

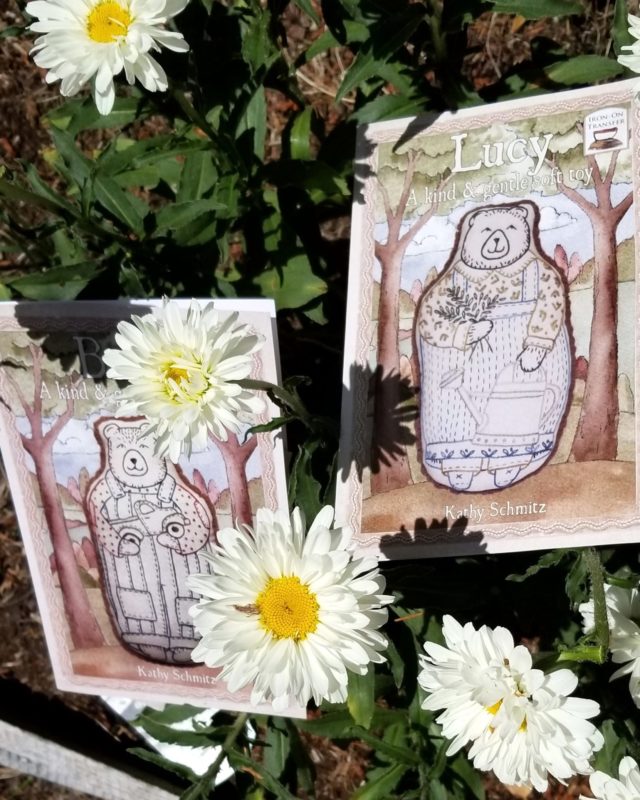
First, the patterns! Kathy provides front and back views of each toy in full color. She also lists the colors of size 12 perle cotton she used. She suggests embroidery stitches and presents a diagram of each one as a refresher. The stitches are all beginner-friendly. But if you want to use other stitches, go for it! One of the best things (for me) is that there is no tracing. The patterns include transfers that you just iron onto the right side of your fabric.
There is some pre-cutting and stitching one seam (with an important section of basting) to do before you apply the transfers.

Parts of the transfers are for testing. You’ll apply test pieces to scraps of the fabric you are using in your project to make sure that your iron is set to the correct temperature and the marks transfer clearly.
One word of caution with the transfers, however. Use a press cloth or scrap fabric between your embroidery fabric and your pressing surface if you don’t want marks on your pressing surface. This mark has begun to fade with time and doesn’t affect any other pressing tasks, so no real harm done. It was just a bit of a surprise that is easy to avoid if it will bother you.
As an Amazon Associate I earn from qualifying purchases. Read more about our affiliate linking policy.
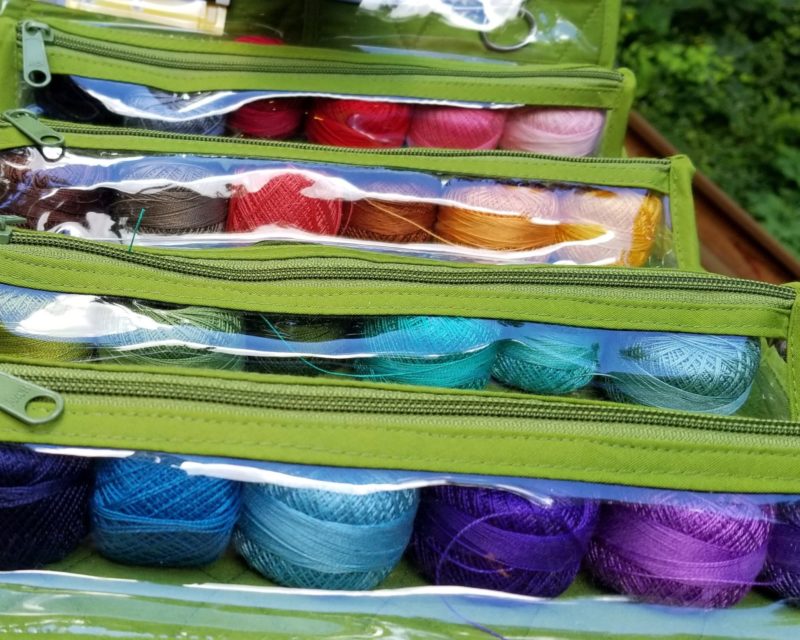
If you have a thread stash (a-hem) you may want to venture beyond the pattern colors, as I did. There are SO many luscious colors of size 12 perle cotton that you can give each of your forest friends a unique personality. I didn’t use all of the colors in this assortment, but I came close!
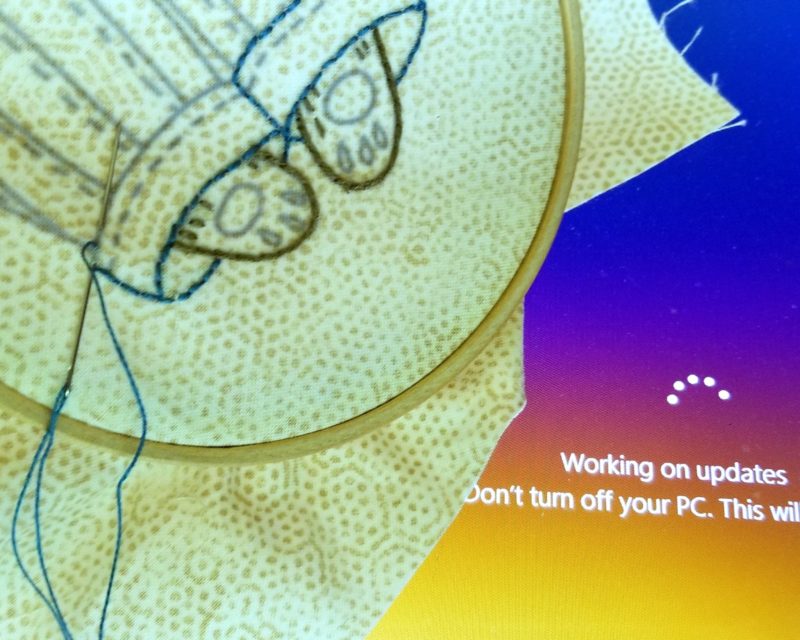
Here’s where the strength of the transfer ink is a real advantage – the pattern lines are as clear as can be on the fabric. Here I am beginning to stitch, with a computer update giving me plenty of time to get started! Be sure to read and follow all the pattern preparation instructions before you start. When it comes time to turn the pieces right side out, you’ll be very glad you did!
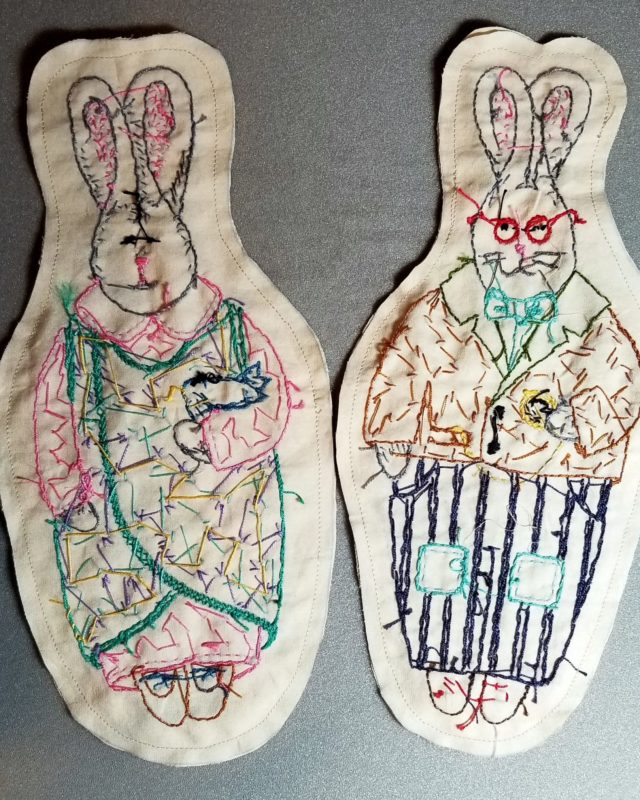
When finish the embroidery on the front and back, you will use the guide lines that Kathy provides to stitch and cut your critters, clipping curves for smooth edges. I stitched all around Ruth and Chester (yes, all the way around) and clipped the curves before turning.

Remember the bit of basting in the back seam? Here is where you use it. Un-sew the basting stitches and when you use this opening to turn the toy right side out, all of the outside seams stay smooth. You won’t have to whip stitch the stuffed opening on a curved seam. Brilliant!
Kathy carefully designed the embroidery so that (if you’re paying attention – I wasn’t always and had to back up a couple of times), you end up with an almost invisible join.


Now, it’s time to stuff! But I didn’t have any stuffing. Kathy recommends cotton, but cotton stuffing is hard to find here. So, off I went to buy what I thought would be the usual Polyfil, but I found a new poly stuffing material that I absolutely love! It’s more spendy, but I don’t think I will ever go back to the other stuff.
Pellon makes a polyester fill called Perfect Loft. Unlike spun and stranded fills, Perfect Loft is tiny tufts that nest together without clumping. It feels so soft, almost like silk, and finds its way into all the little nooks and crannies. I bought a 1-pound bag and barely made a dent in it after stuffing four toys.

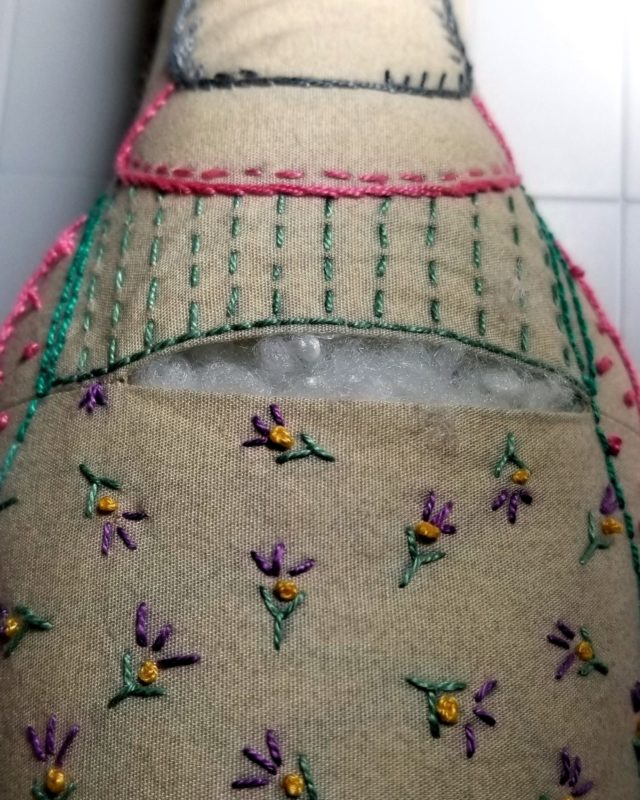
Ruth is stuffed and ready to have that last seam stitched shut. You can see here how basting the middle two inches of the back seam and lining up the transfer on the seam guides that Kathy provides results in an opening that will be easy to disguise with a basic ladder stitch.[spacer height=”20px”]
With the smooth, continuous seam that joins the front and back, you can call your forest friends finished at this point.
But I like the definition that Kathy’s trim adds. I really like the chenille yarn on Kathy’s samples, but I didn’t have any. And neither did the huge craft store I visited.
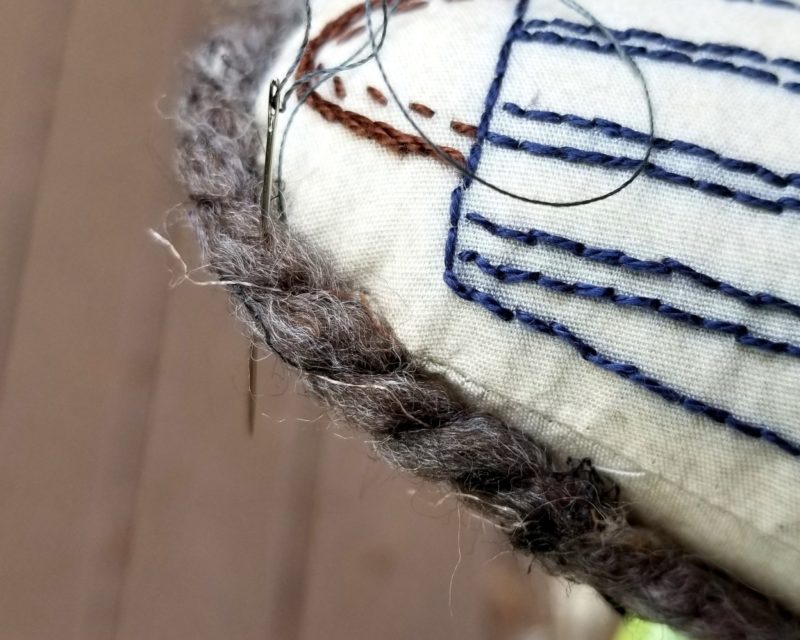
But I found Wool-Ease by Lion Brand yarns that has a woodsy look that I like. It’s 10% wool and 8% rayon, so it has a soft hand and natural feel. It took a little longer to stitch because it doesn’t have the chenille fuzzies to hide the thread.
So instead of whipping or couching, I brought the needle through the middle of the yarn with each stitch. The twist keeps it secure.


Lucy and Bert are waiting for the blackberries to ripen. The vines are overtaking a big chunk of our yard, so the bears will have plenty of berries to enjoy!
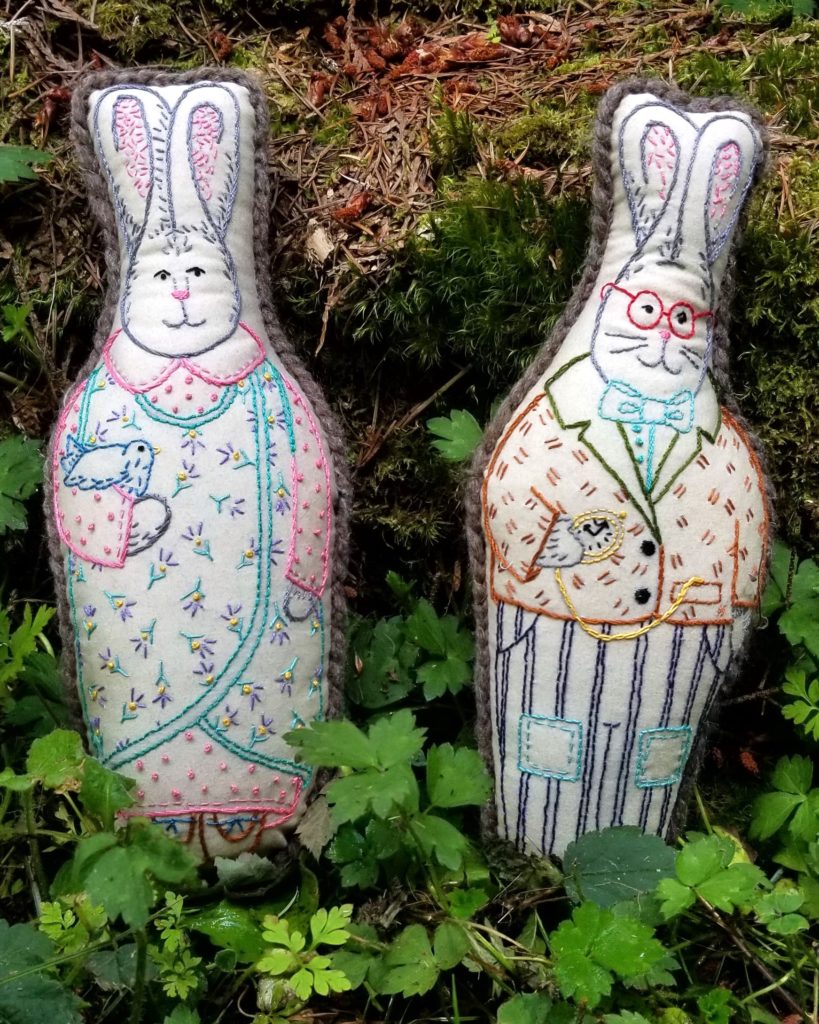

As for Ruth and Chester, like Little Bunny Foo-Foo, they hop through the forest, catching all the field mice and ….
Here is another one of the patterns designed by Kathy Schmitz, Pearl, an embroidered lamb. This one was made by Lynn who dyed fabric with tea to make the lambs. She used only the running stitch, back stitch and French knot, keeping this a perfect embroidery project for beginner stitchers.

Browse through all of our embroidery projects and inspiration on Create Whimsy.


