
If you have a serger, a rolled hem is one of the fastest ways to finish cloth napkins. The narrow stitched edge looks neat and professional while adding just a touch of color if you use decorative thread. These easy napkins come together in minutes, making them perfect for everyday use, holiday tables, or thoughtful handmade gifts.
RELATED: How to make rick rack napkins
RELATED: How to make reversible napkins
RELATED: DIY cloth napkins
Quick start: Serged rolled hem cloth napkins
Skill level: Beginner to intermediate
Time: 10-15 minutes per napkin
Finished size: 18″ square (or any size you like)
Best fabric: Quilting cotton, linen, cotton-linen blends, lightweight woven fabrics
Supplies
- 18-inch square of fabric per napkin
- Serger with a rolled hem setting
- Serger thread (matching or decorative)
- Rotary cutter, ruler, and mat
- Iron and ironing board
Basic Steps
As an Amazon Associate I earn from qualifying purchases. Read more about our affiliate linking policy.
- Cut the fabric square.
- Press the fabric if needed.
- Set your serger for a rolled hem.
- Serge all four edges, slightly overlapping where you started.
- Press lightly if desired.
- Enjoy your handmade napkins.
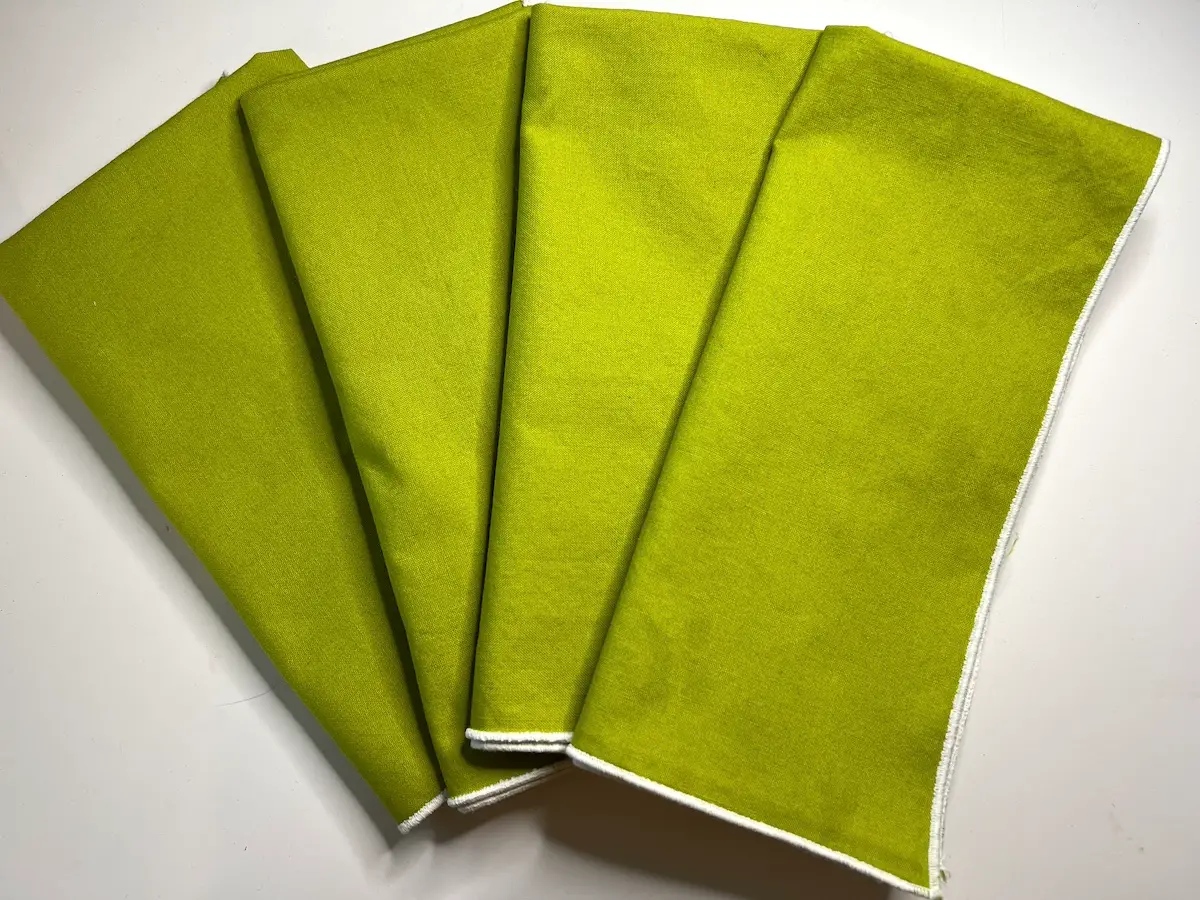
How to make serged rolled hem napkins
Materials
- 18-inch square of cotton or linen fabric
- Serger thread
Tools
- Serger with rolled hem foot and settings
- Iron
- Pressing surface
Instructions
Step 1: Set your serger for a rolled hem
Take your 18-inch square of fabric and begin at one corner to serge.
TIP: Leave your blade engaged to trim the edge of the fabric as it finishes the edge.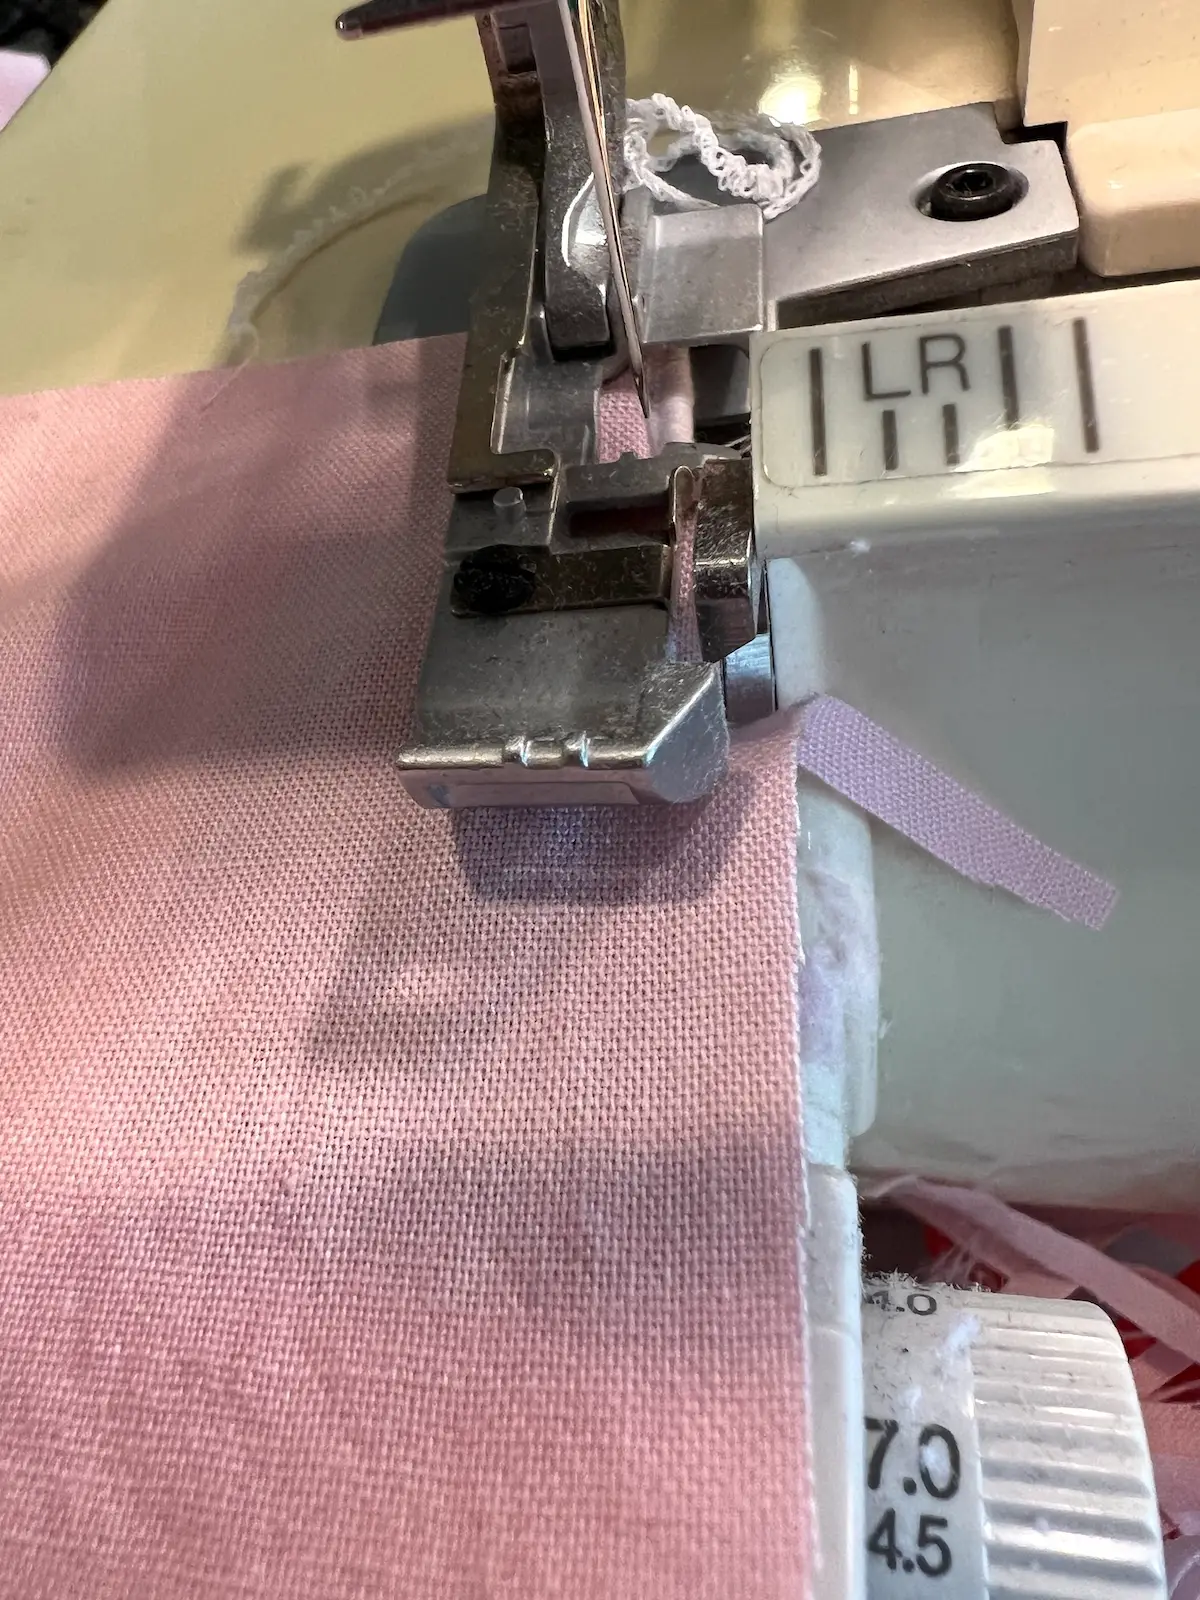
Step 2: Serge all four sides
Stitch all four sides of the napkin. Trim the corner thread. TIP: Use a drop of Fray Check where you trim the threads to keep them secure.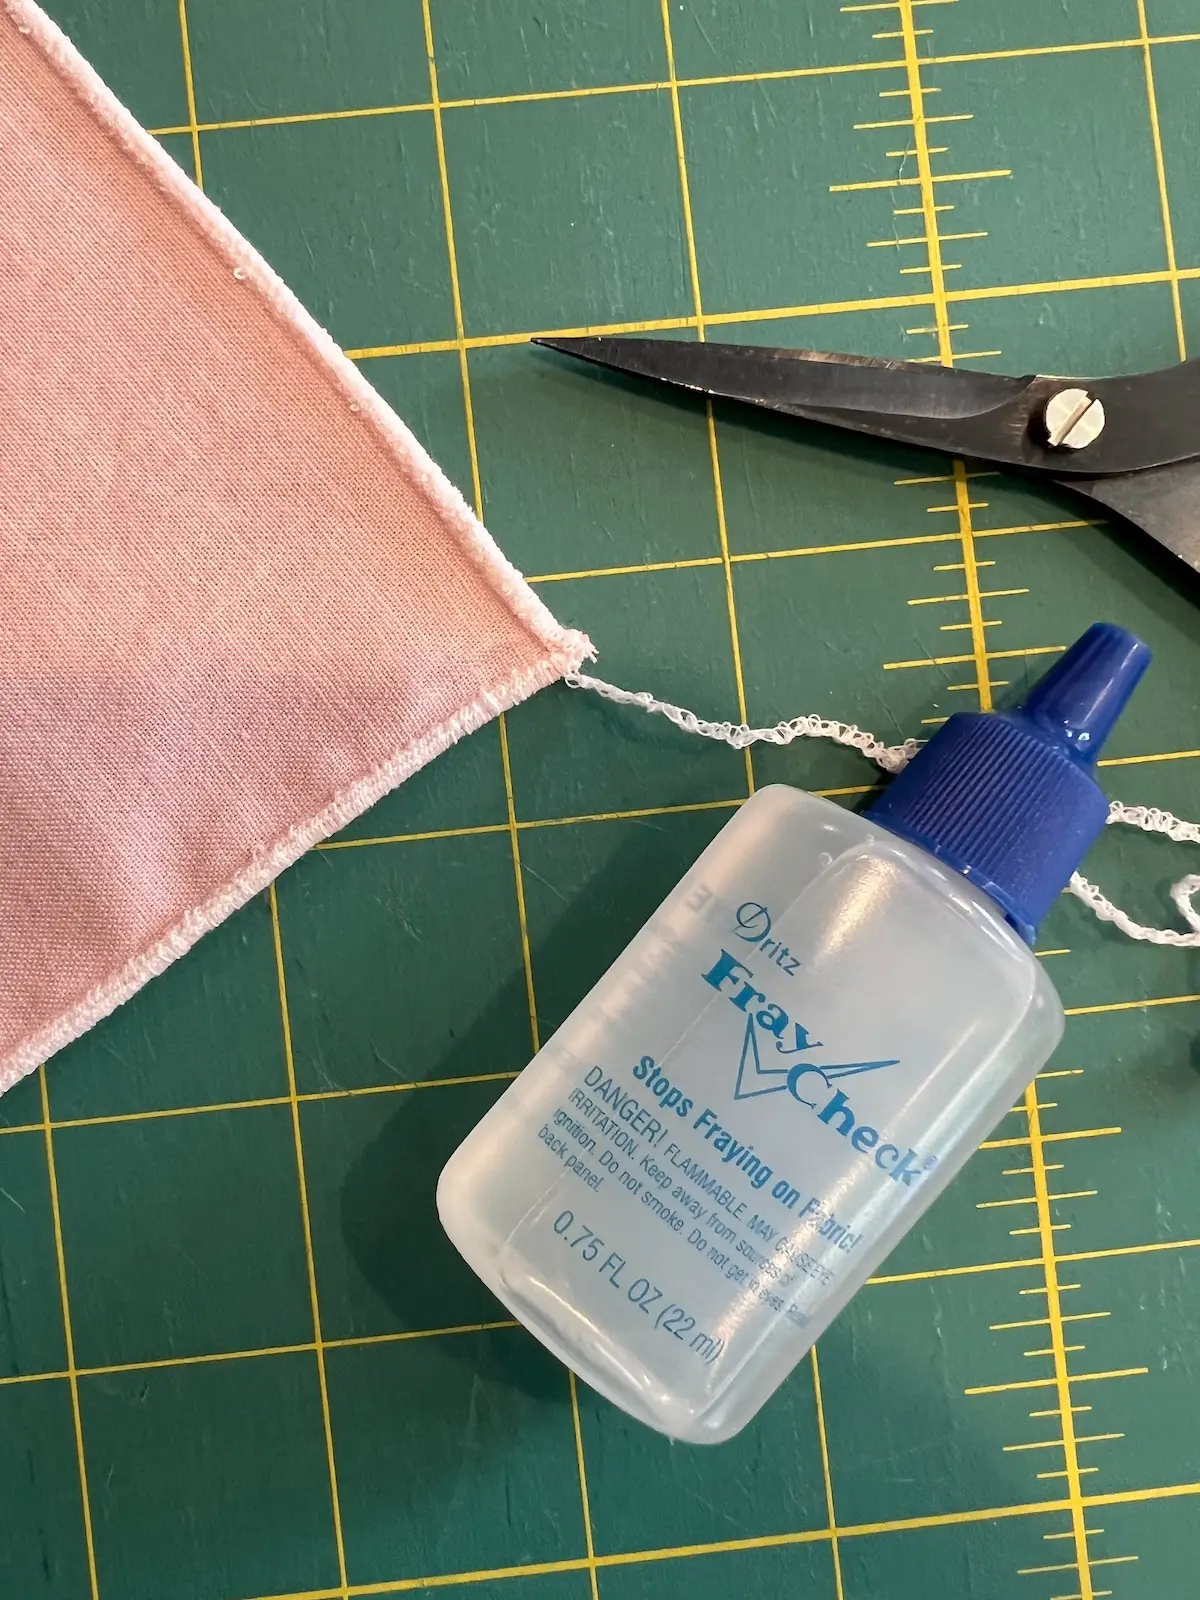
Enjoy your quick and easy serged napkin!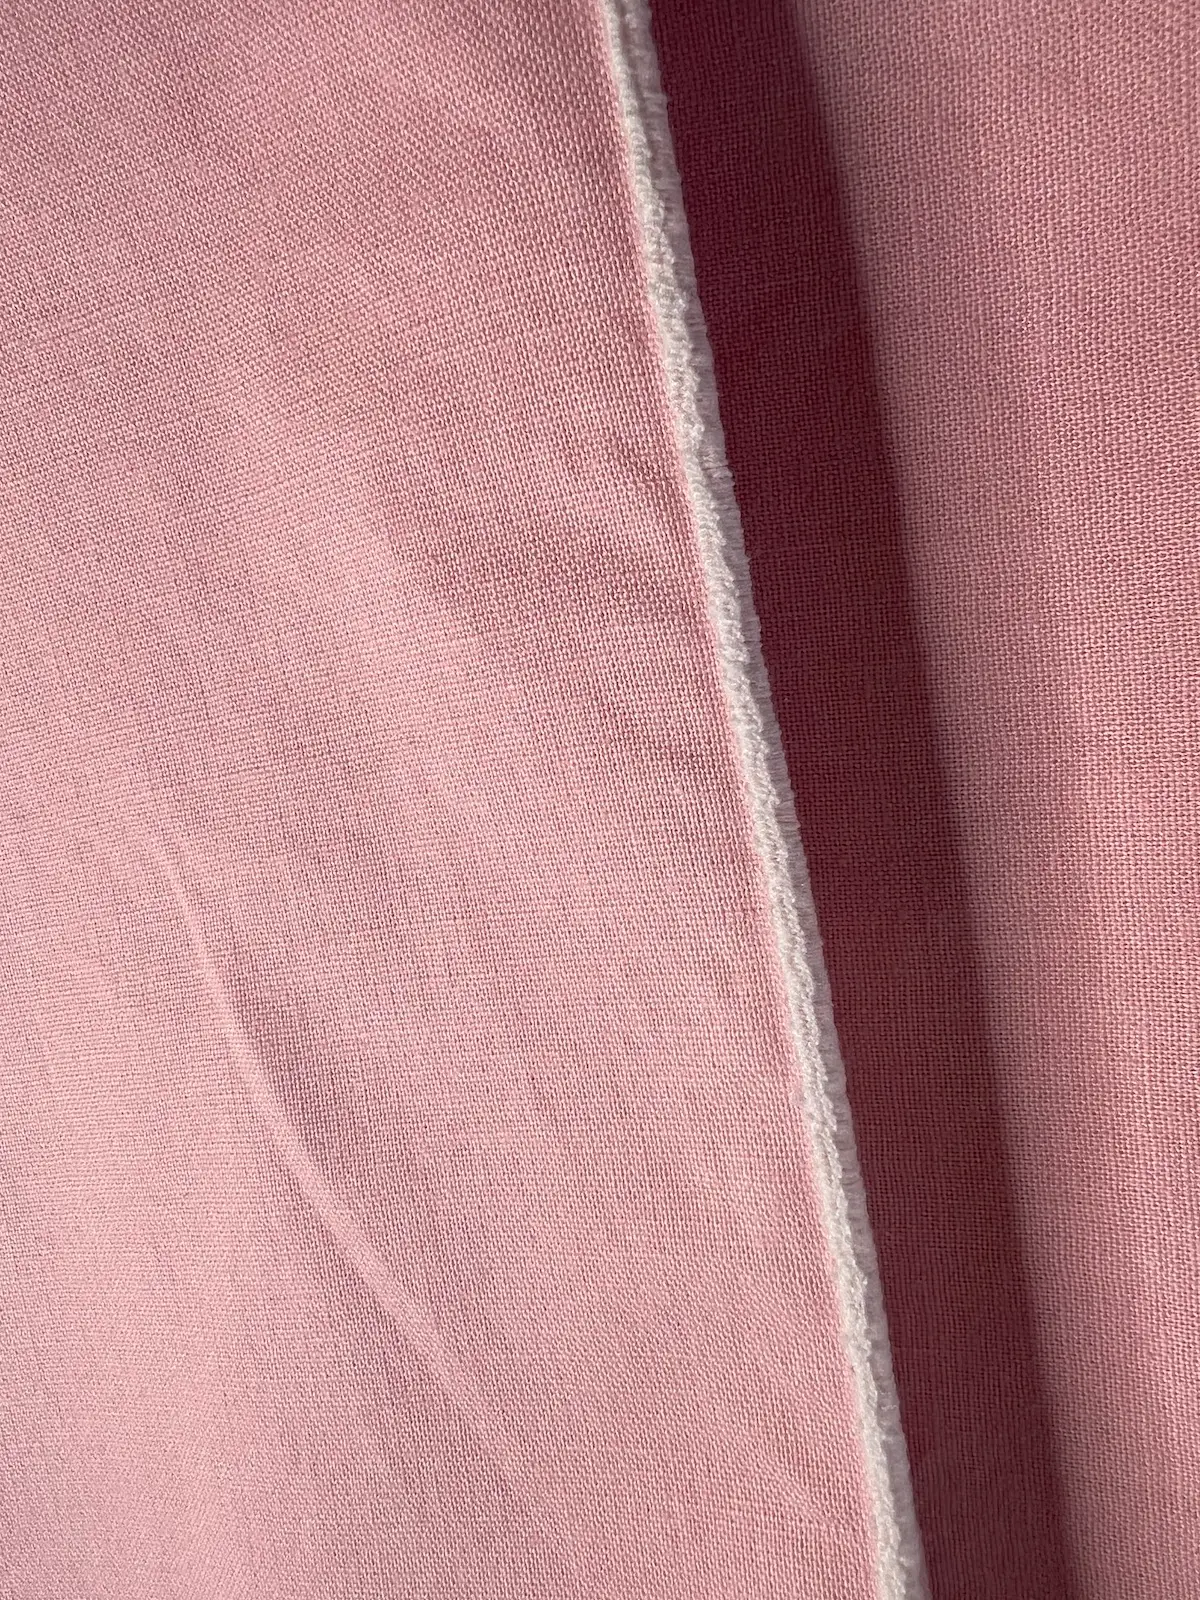
RECOMMENDED PRODUCT: Fray check
RELATED: Make your own fabric napkin rings
RELATED: How to make a table runner
RELATED: How to make reversible placemats

How should my serger be set up to make rolled hem napkins?
Look at your serger manual or search online for your specific settings. The basics to a serged rolled hem are:
- Only use the right needle, remove the left needle
- Stitch width 3.5
- Stitch length 1.5
- Select the rolled hem stitch. On my Babylock it is stitch D
TIP: For a fuller stitch, use a stretch maxi-lock thread in your needle thread. This will stretch as it stitches and then fills in gaps in the stitch for a fuller look.

Frequently asked questions:
A rolled hem wraps the raw edge of the fabric with thread, creating a narrow, durable edge that helps prevent fraying while giving the napkin a clean, finished look.
No. Most sergers can create a rolled hem using the standard presser foot. You’ll simply adjust the machine settings according to your owner’s manual.
Quilting cotton, linen, cotton-linen blends, and lightweight woven fabrics all work well. Very thick fabrics may produce a bulkier edge.
Yes! Variegated, rayon, or contrasting thread can turn the rolled hem into a decorative design element.
Yes. Prewashing removes sizing and helps prevent shrinkage after the napkins are finished.
Dinner napkins are commonly finished at 18 to 20 inches square, but you can easily customize the size. I like to make them 18-inches square, because I can get 4 to a yard of fabric.
I start at one corner, serge the side, and go off the edge. Then, begin at that corner to serge the next side. This way, your threads are interlocking and become secure. I do a dab of Fray Check to make sure they are super secure.
If you want to use a regular sewing machine, I’d use a narrow satin stitch. You’ll want to stabilize your fabric with either a heavy application of starch or with a wash-away stabilizer.


A serged rolled hem gives cloth napkins a clean, lightweight finish that stands up beautifully to everyday use.
Whether you’re sewing a matching set for your own table or making handmade gifts, this quick technique lets you create a stack of beautiful napkins in very little time. It’s also a great way to showcase colorful serger threads and favorite fabrics from your stash.
Browse through more DIY home dec projects and inspiration on Create Whimsy.