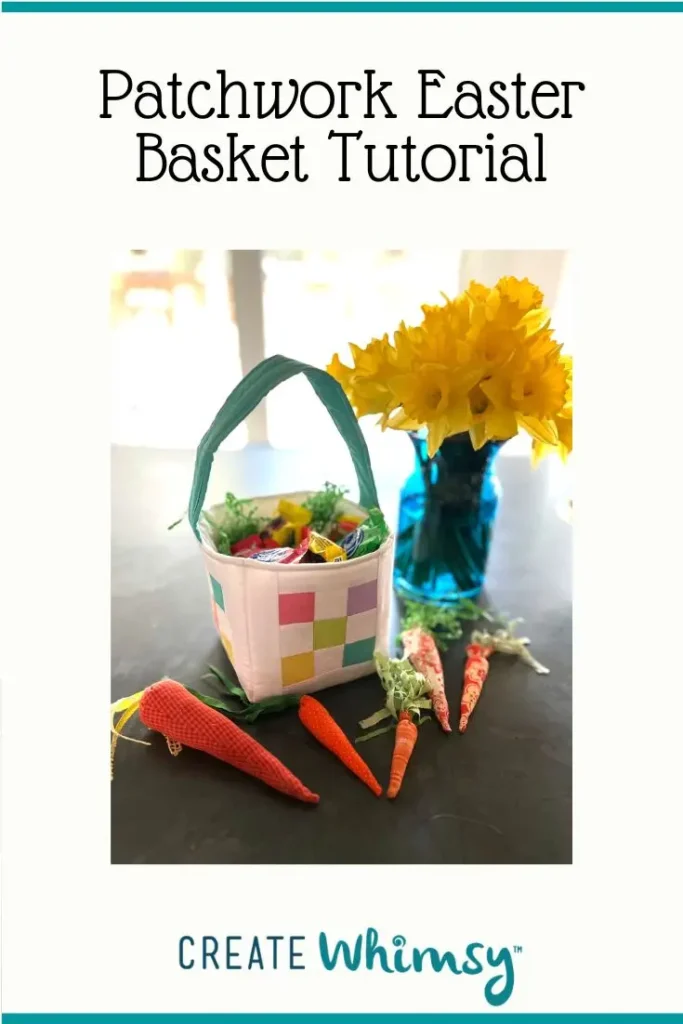
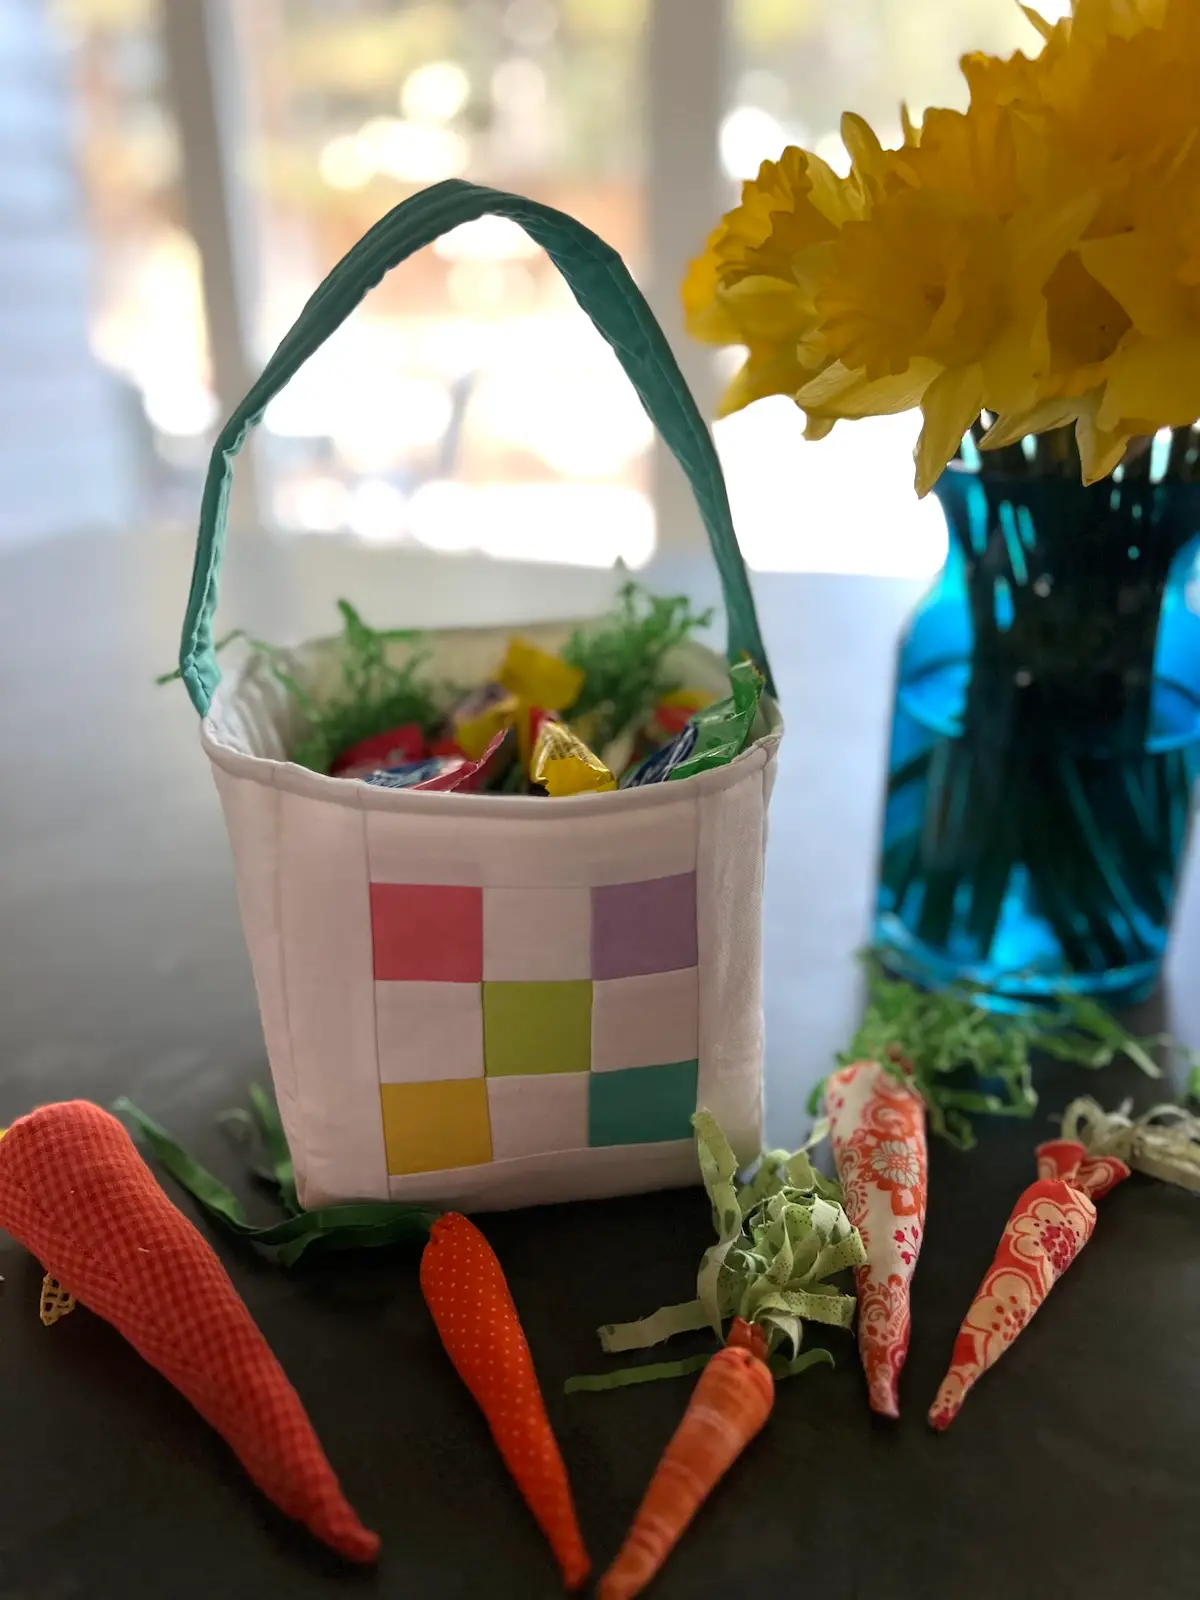
Spring always seems to arrive with a little extra sparkle, and a handmade quilted Easter basket is the perfect way to celebrate the season.
These sweet little baskets combine colorful fabric scraps, simple quilting, and just enough structure to hold treats, eggs, and tiny treasures.
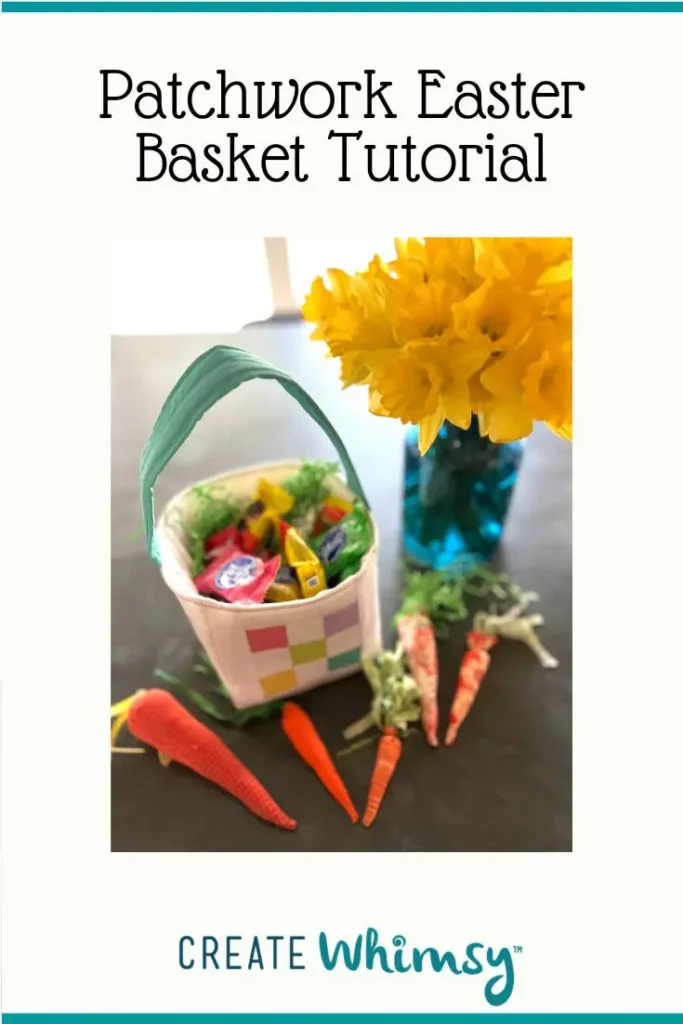
Whether you’re sewing one for a child, decorating your holiday table, or using up those irresistible spring prints in your stash, DIY patchwork Easter baskets are a joyful project that comes together quickly and looks absolutely charming.
Learn how to make this adorable quilted Easter basket with our step-by-step tutorial. This is a perfect afternoon project. Bonus: It uses up scraps, too!
Fabric Easter basket tutorial:
As an Amazon Associate I earn from qualifying purchases. Read more about our affiliate linking policy.
How to Make a Patchwork Easter Basket
Learn how to make a Patchwork Easter Basket with our step-by-step tutorial. We start with Quiltsmart PiX Grid for our nine-patch blocks, but you can piece them yourself, too.
Materials
- 20 1-1/2" squares of fabric for the nine patch
- 16 1-1/2" squares of the background fabric
- 8 strips of background fabric 1-1/2" x 3-1/2"
- 8 strips of background fabric 1-1/2" x 5-1/2"
- 1 5-1/2" square of fabric for the bottom of the basket
- 5 5-1/2" squares of fabric for lining
- 1 strip of fabric 1-1/2" x 14" for handle
- 5 pieces of foam interfacing cut into 5-1/2" squares
- 1 piece of foam interfacing, cut 1-1/2" x 14" for handle
- OPTIONAL: One panel of Quiltsmart 2" PiX Smart Grid
Tools
- Sewing machine
- Iron
- Pressing surface
- WonderClips
- Rotary cutter and mat
- Quilters ruler
Instructions
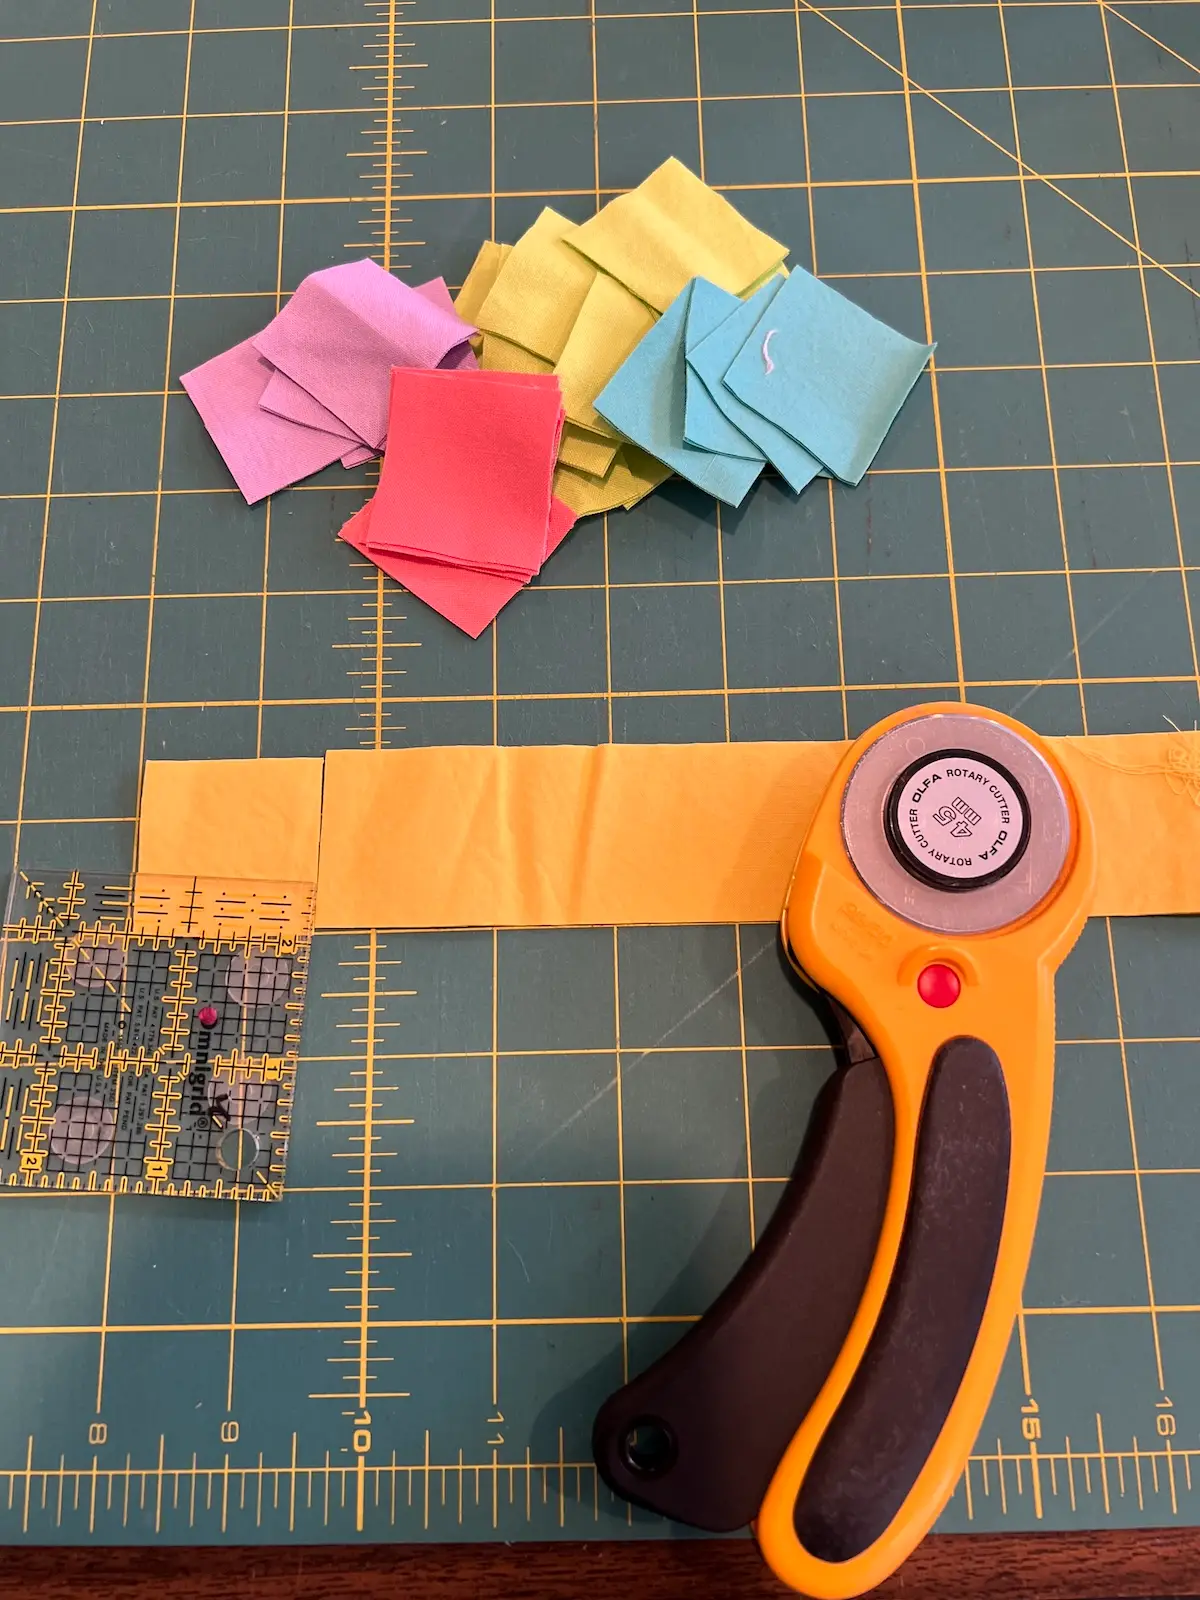
- Start by cutting out your fabrics and foam interfacing.
- Then, make your patchwork block centers for each side of the basket. I'm using Quiltsmart PiX Smart Grid in the 2" size. It makes it easy to have perfect matching corners each time.
You can piece the squares using your machine, just sewing the squares together, too.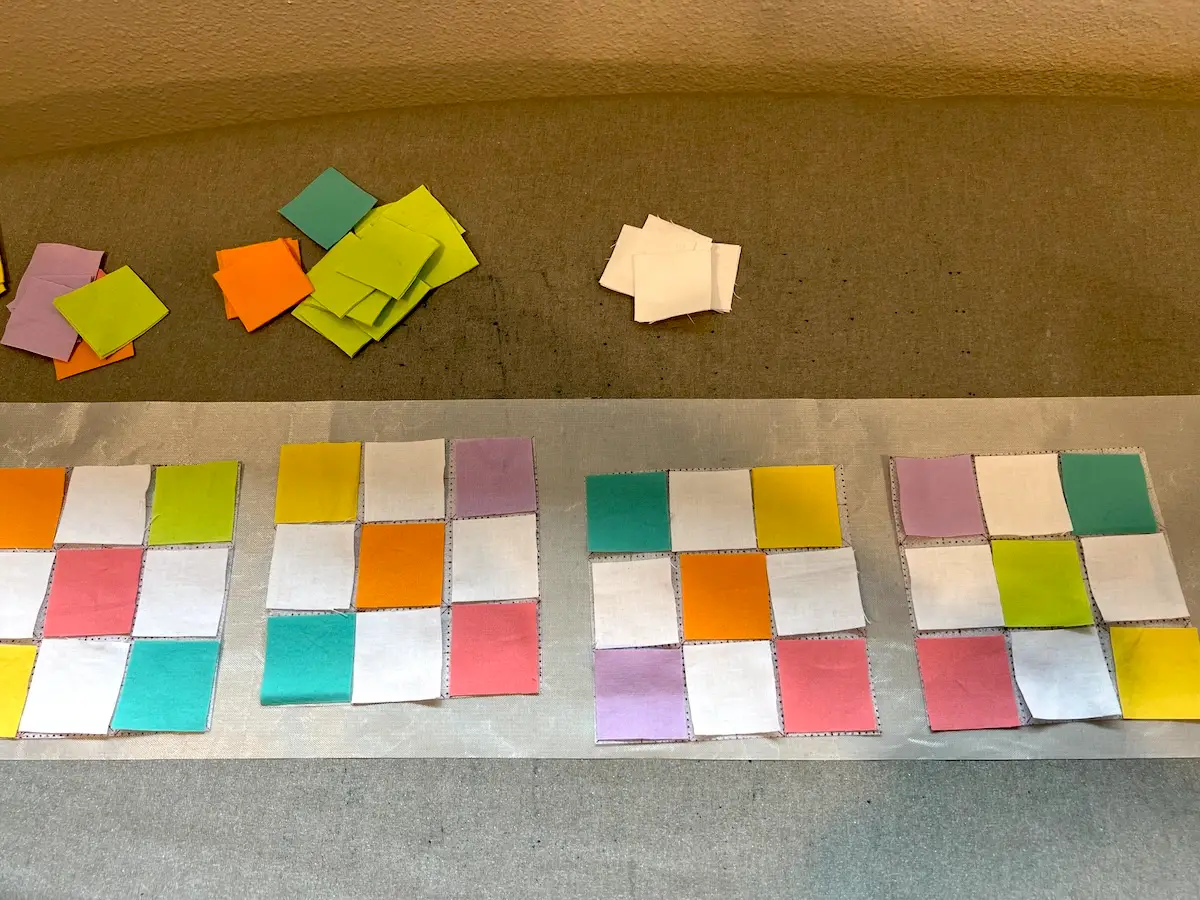
- Here I'm sewing along the dotted lines on the interfacing to make my nine-patch blocks.
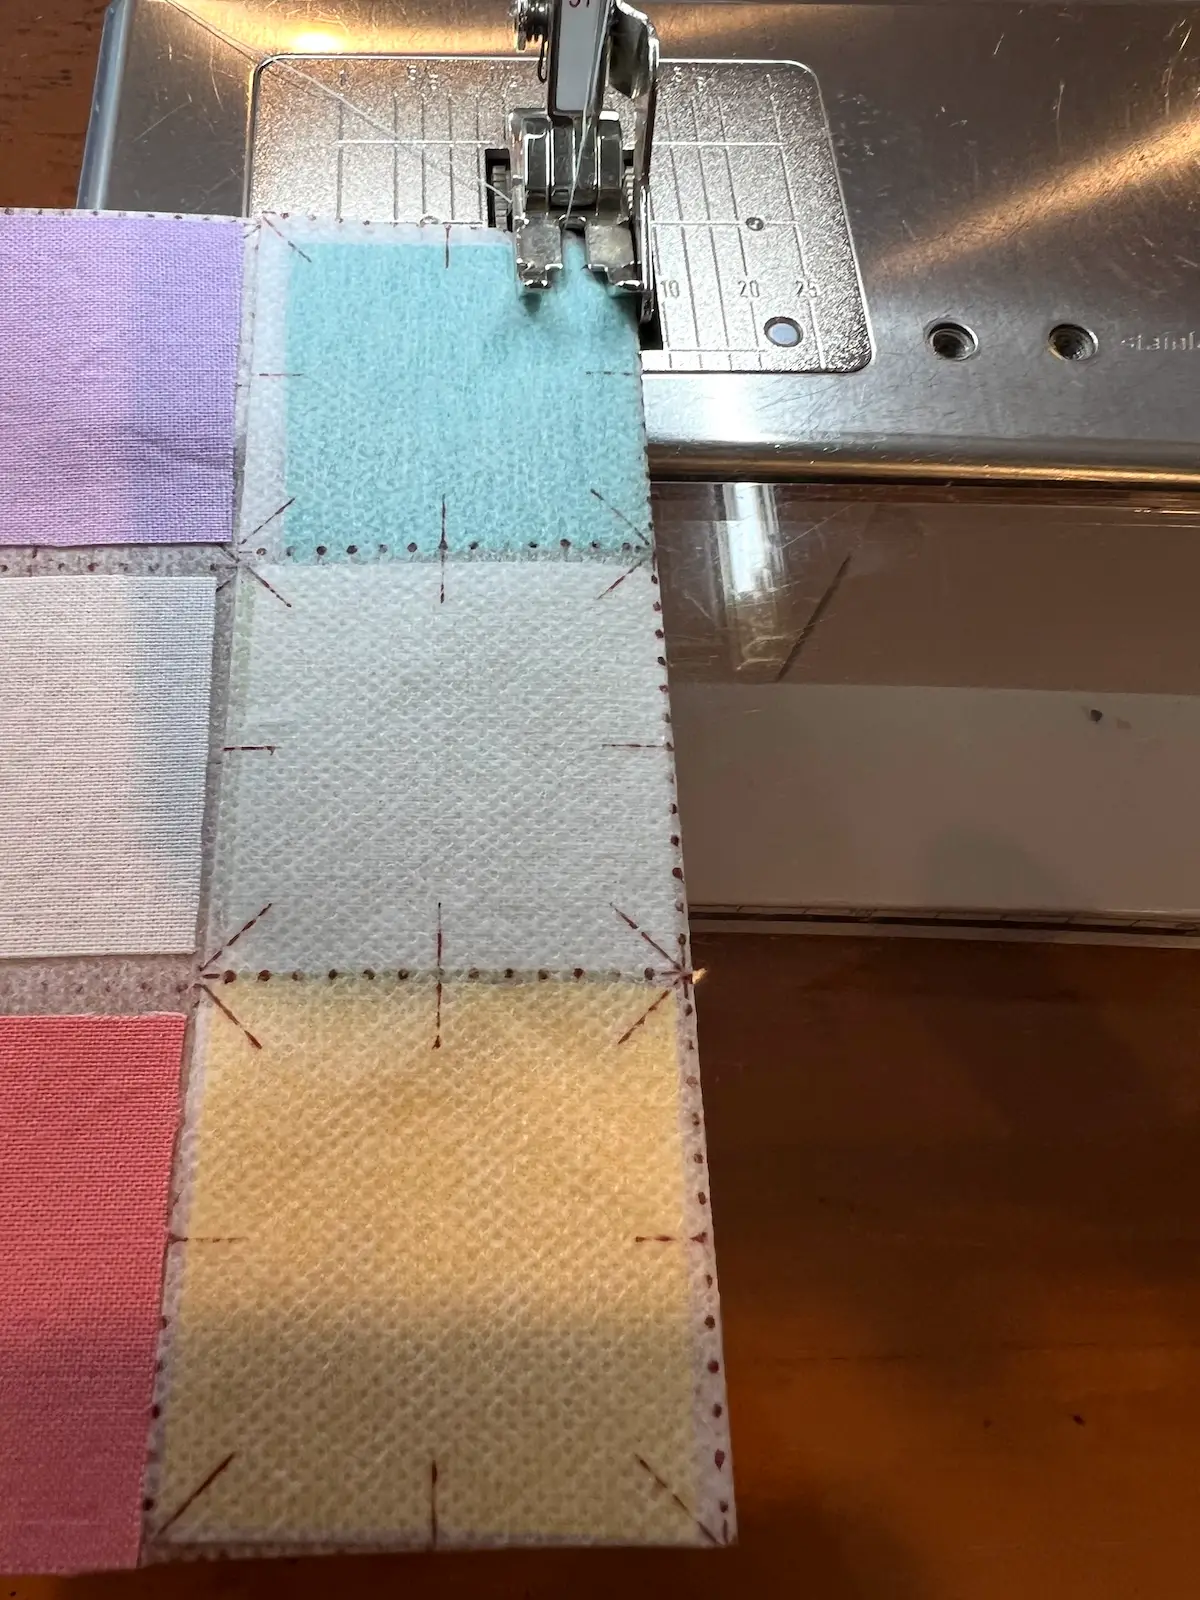
- Once your nine-patch blocks are finished, press seams to your preference.
Next, take your 1-1/2" x 3-1/2" strips of fabric and sew them to two opposite sides of each block. Example: Top and bottom of each block.
Press seams to your preference.
TIP: Chain sew them to make it quicker. Chain sewing is sewing one after another and then cutting the threads.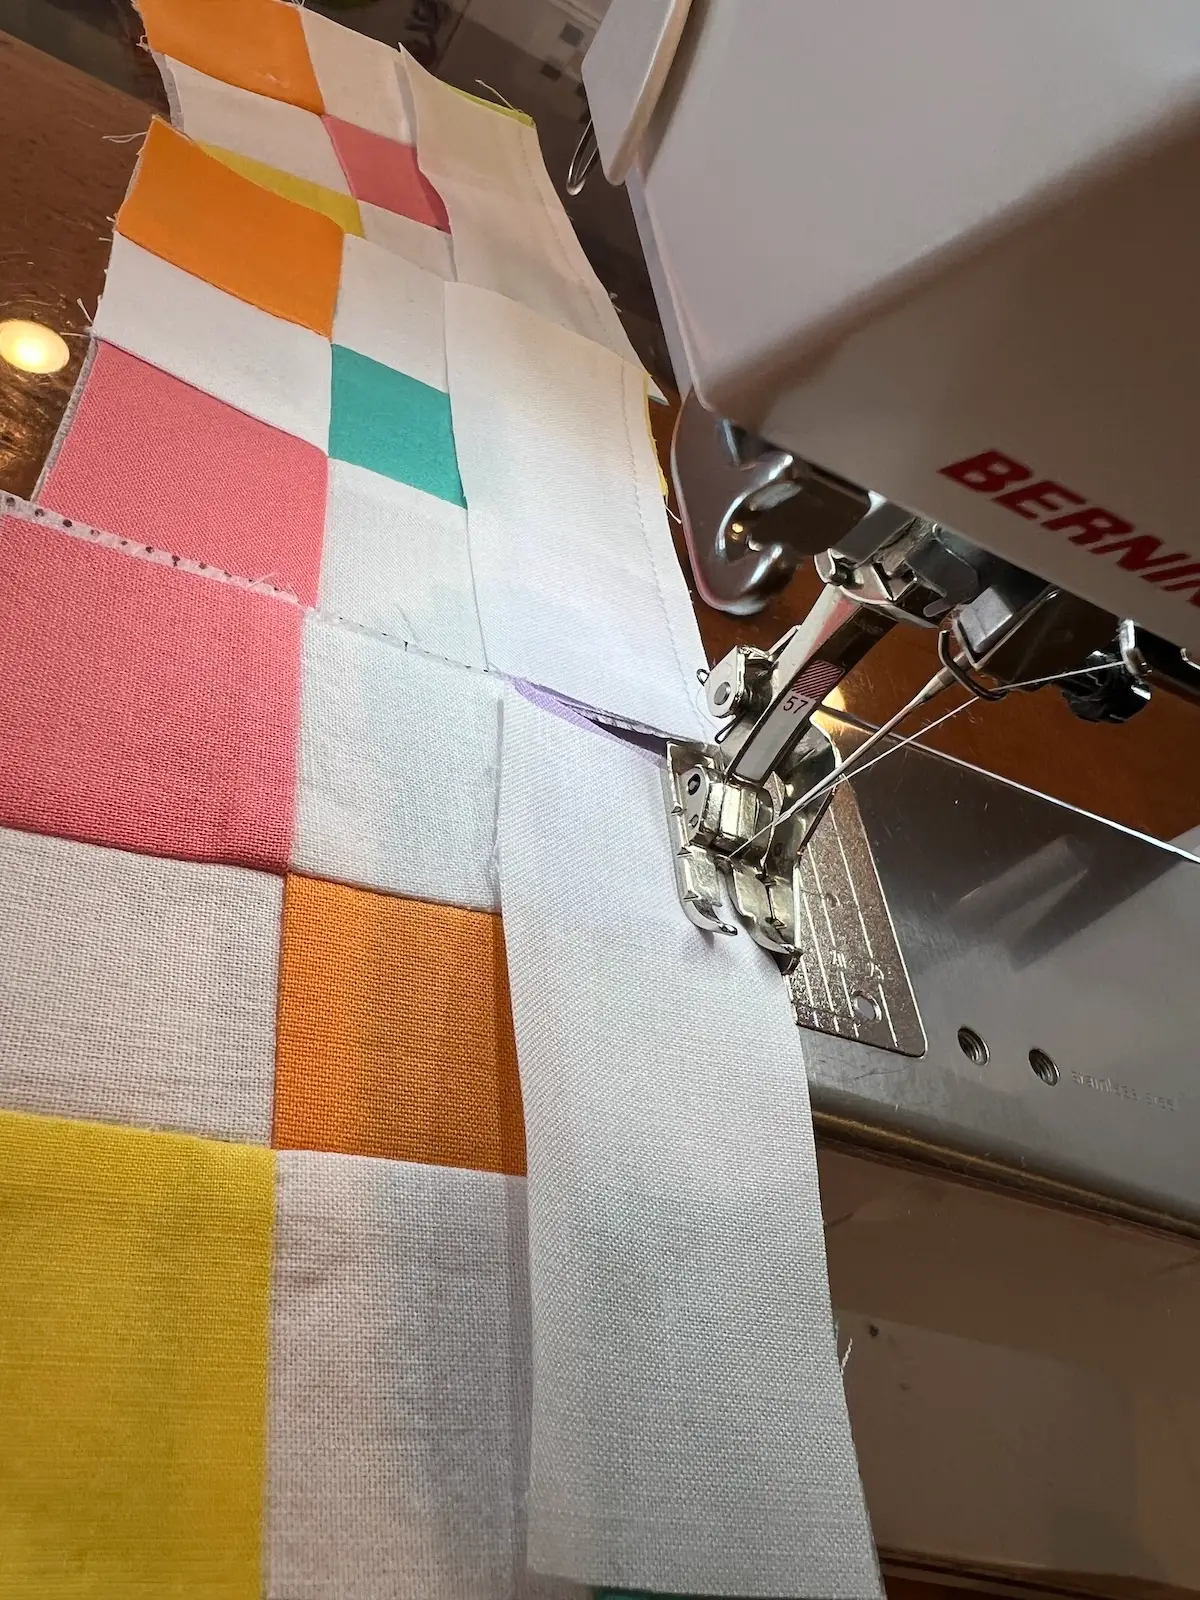
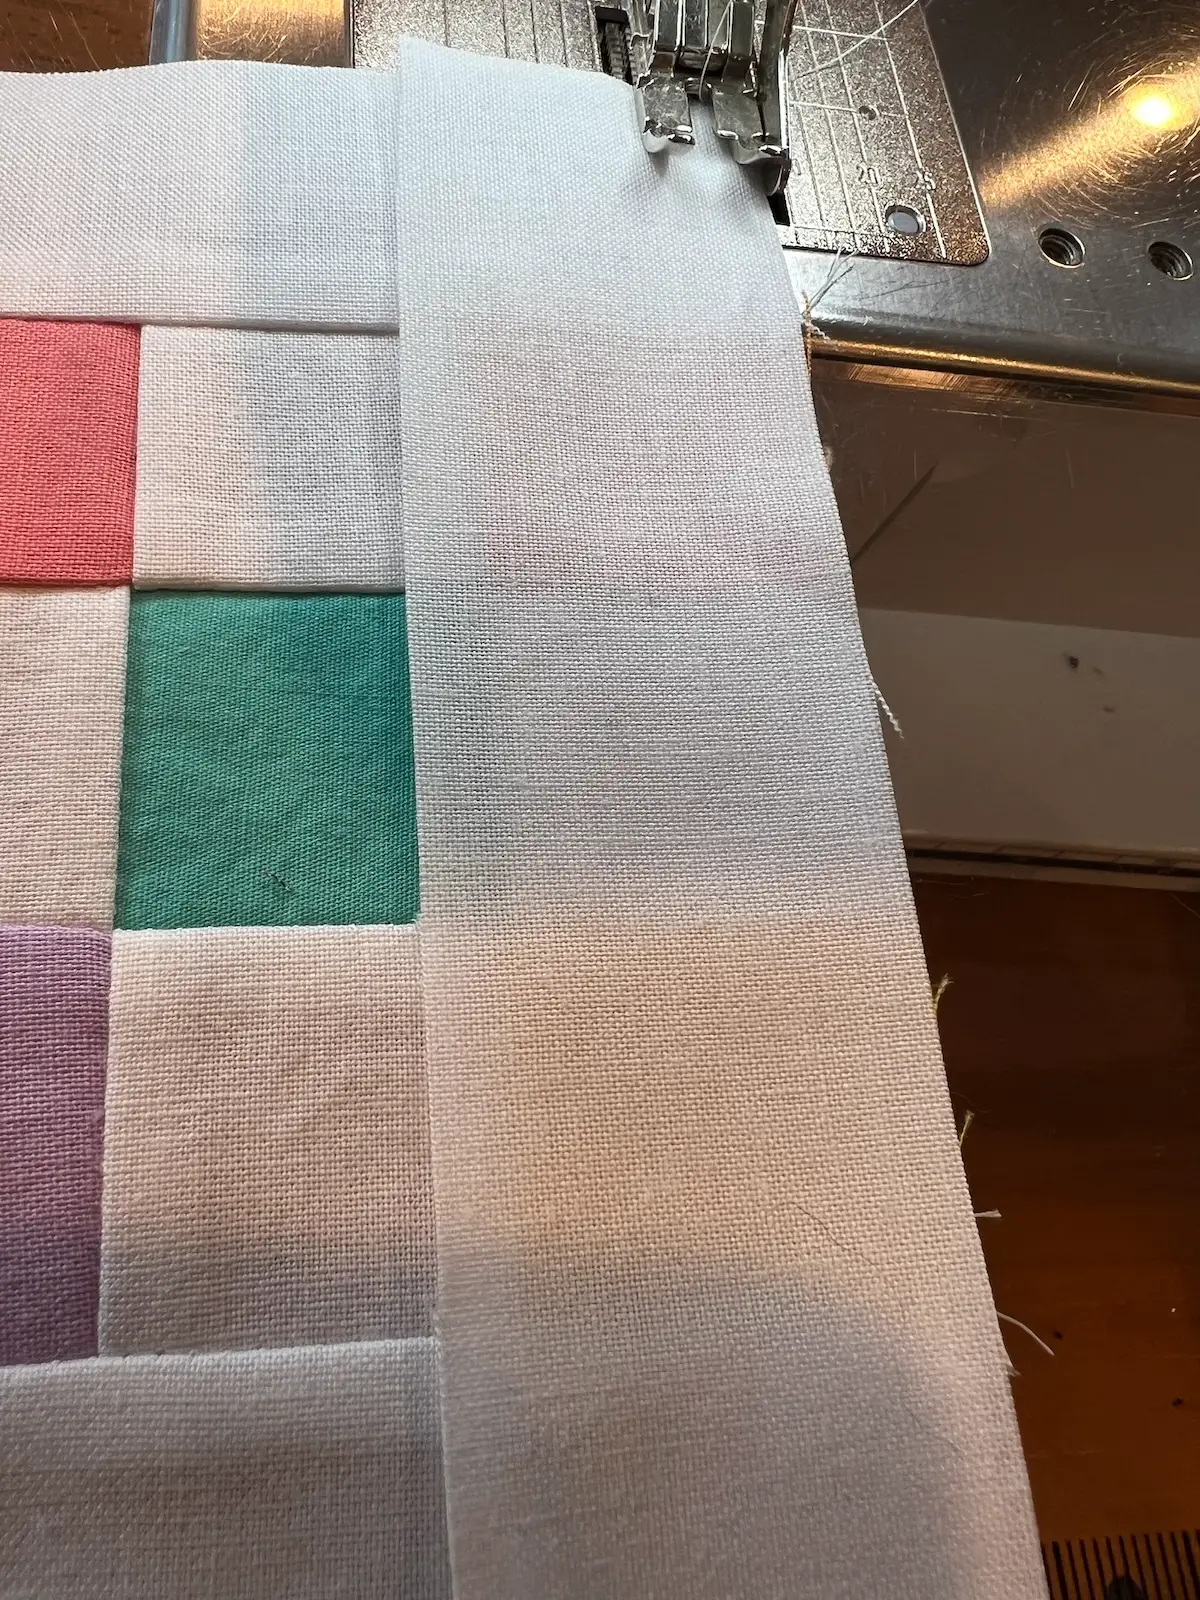
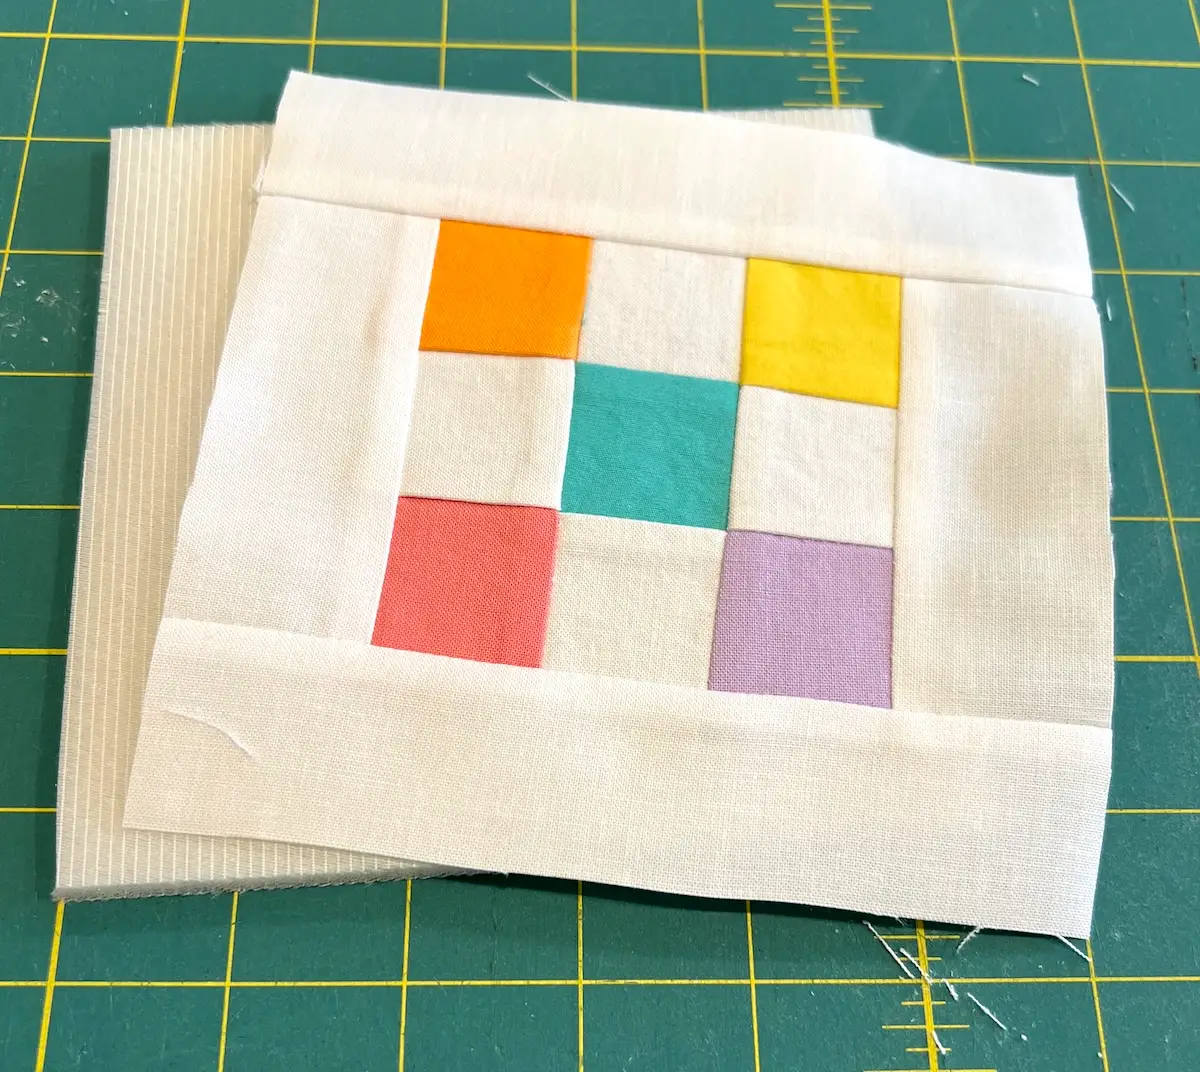
- Next, take your 1-1/2" x 5-1/2" strips of fabric and sew on the other two sides of your patchwork blocks. Again, press seams to your preference.
- Now, take your 5-1/2" squares of foam interfacing and layer your patchwork squares on top.
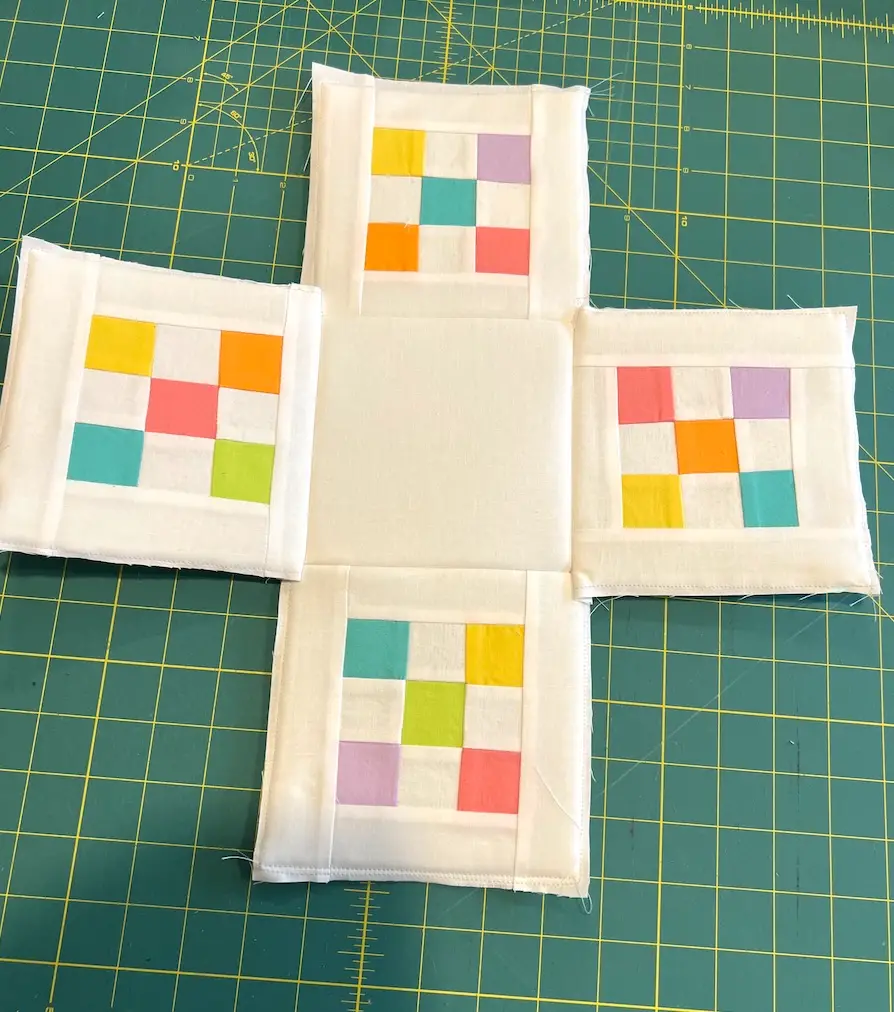
- I like to sew these together as units with a 1/8" seam allowance. It makes it easier to work with the pieces. Here they are all sewn together and ready to make the basket.

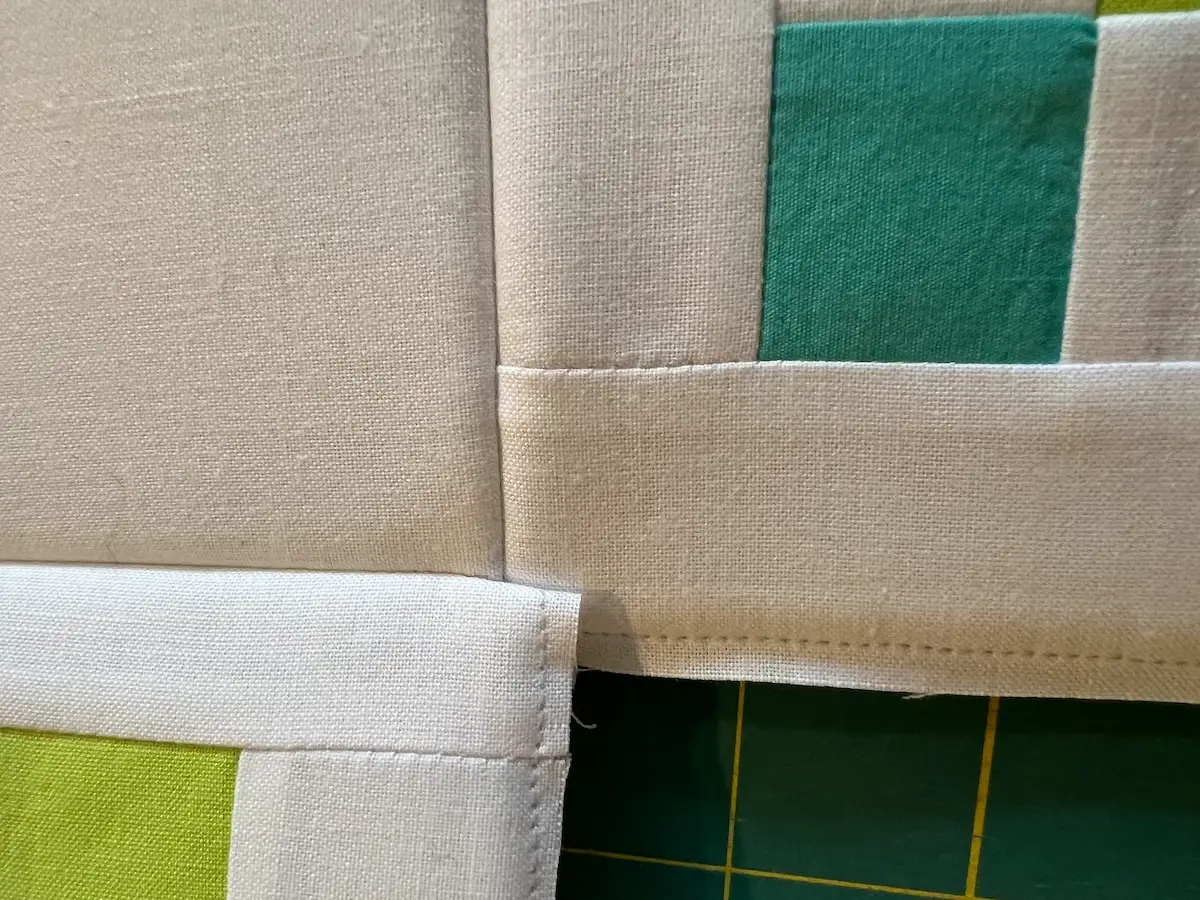
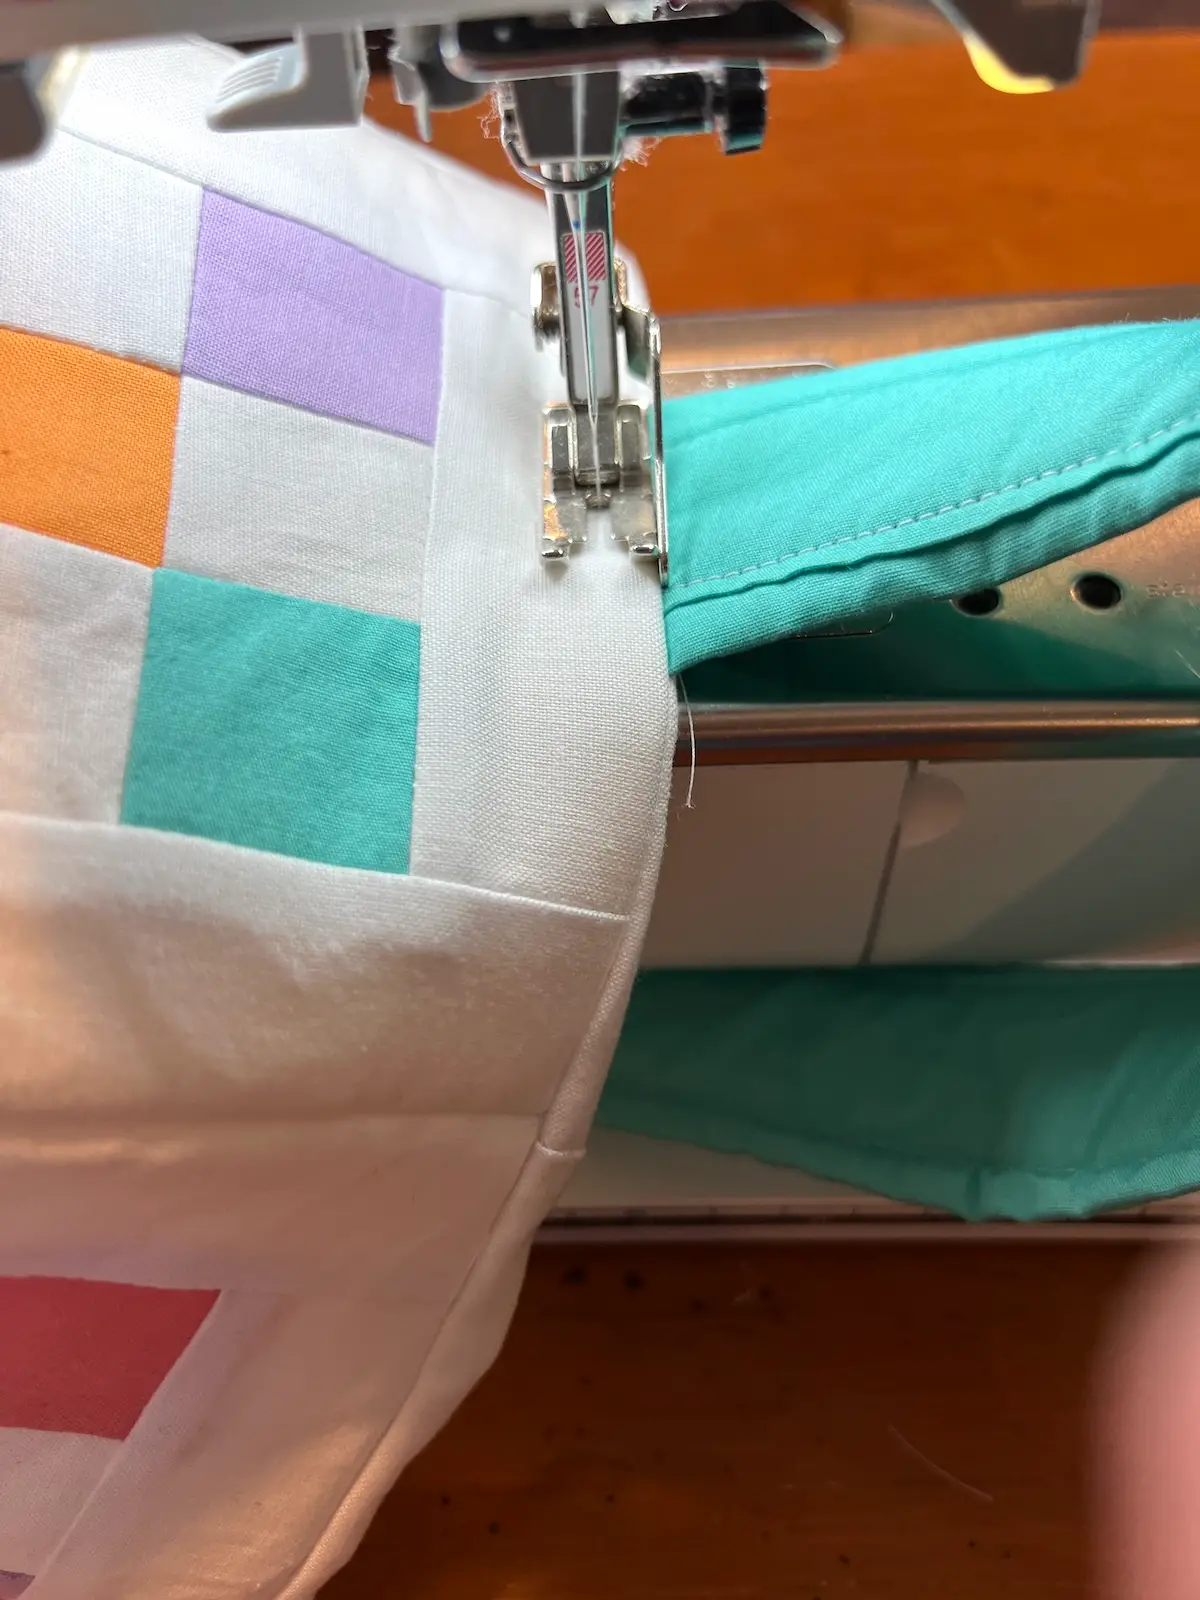
- Start by sewing the patchwork blocks to the bottom piece with a 1/4" seam allowance.
- Next, sew each of the sides together with 1/4" seam allowances to form the base of the basket.
- TIP: Leave 1/4" unsewn at both ends. This makes it easier to sew the basket together.
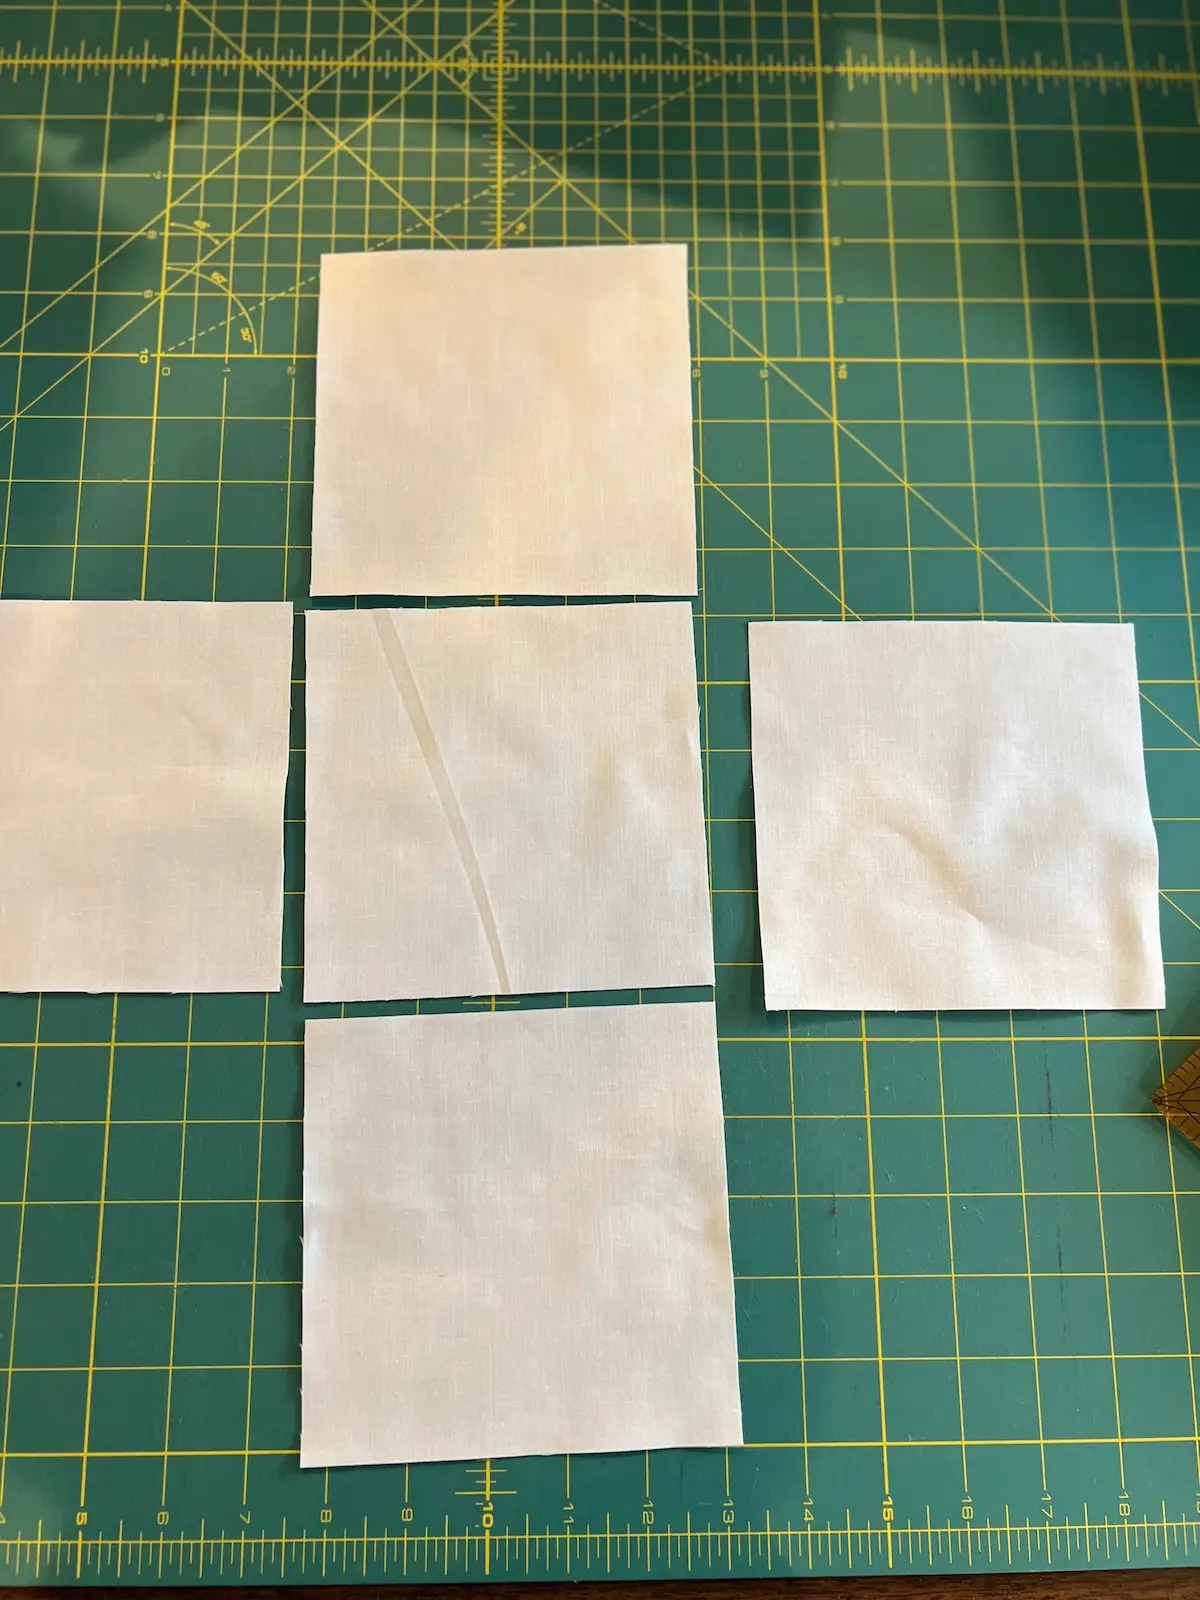
- Now it's time to sew the lining for the baskets. Lay out your 5-1/2" lining pieces.
- Sew the lining pieces together with 1/4" seam allowances.
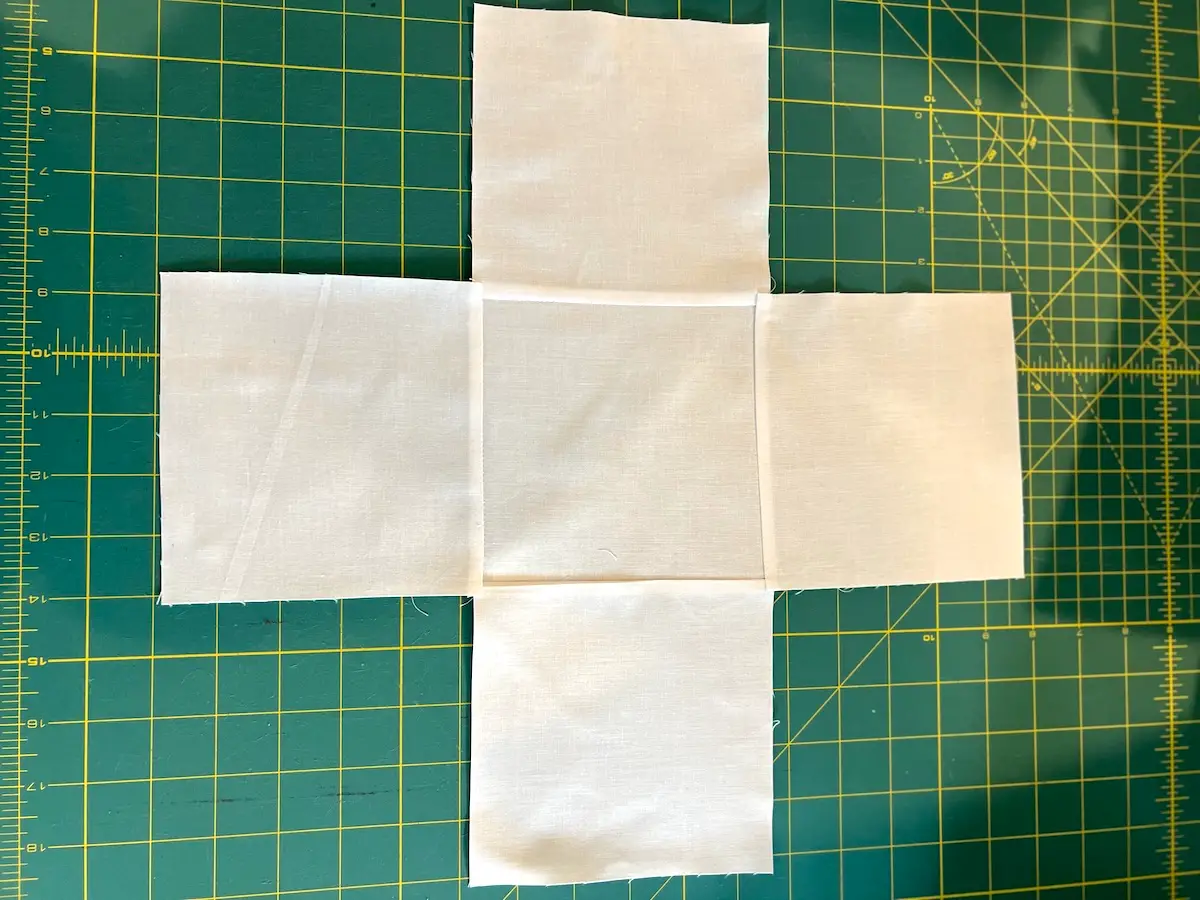
- NOTE: On one side, only sew 1" from each of the edges, leaving an opening.

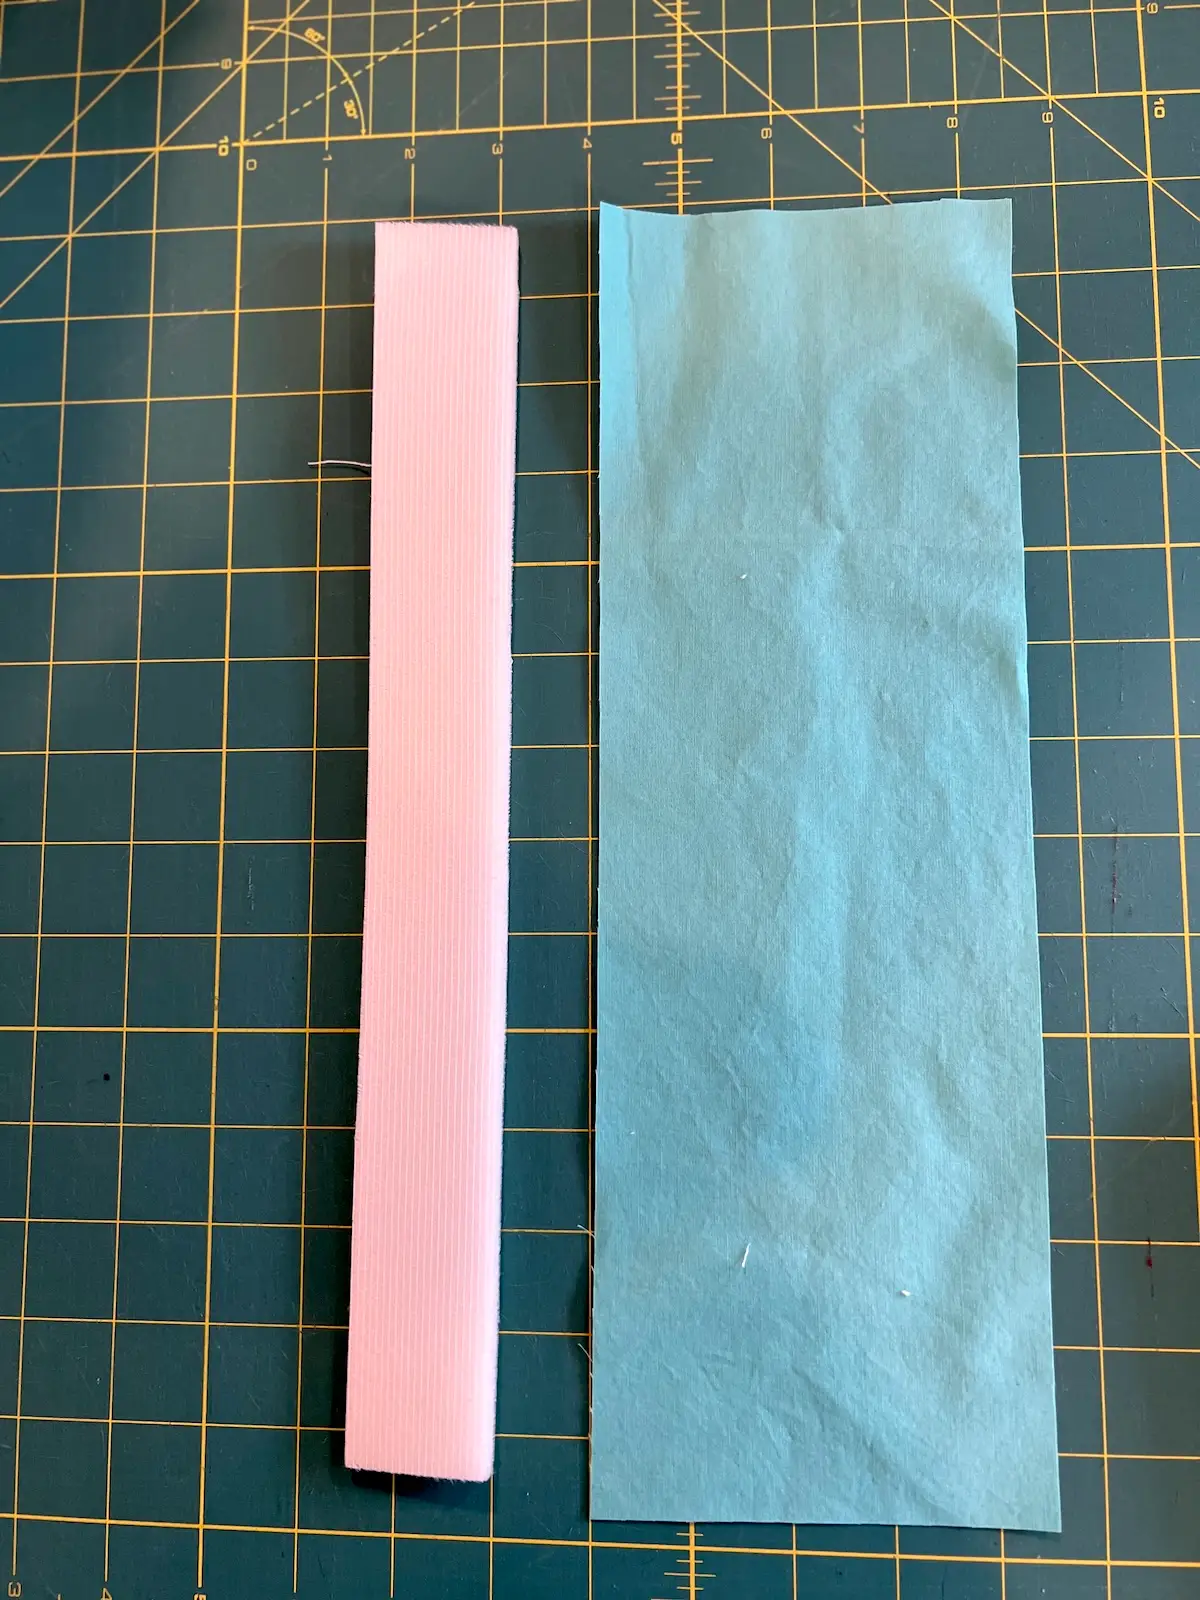
- Next, it is time to sew the handle. Here are the two handle pieces - the fabric and the foam.
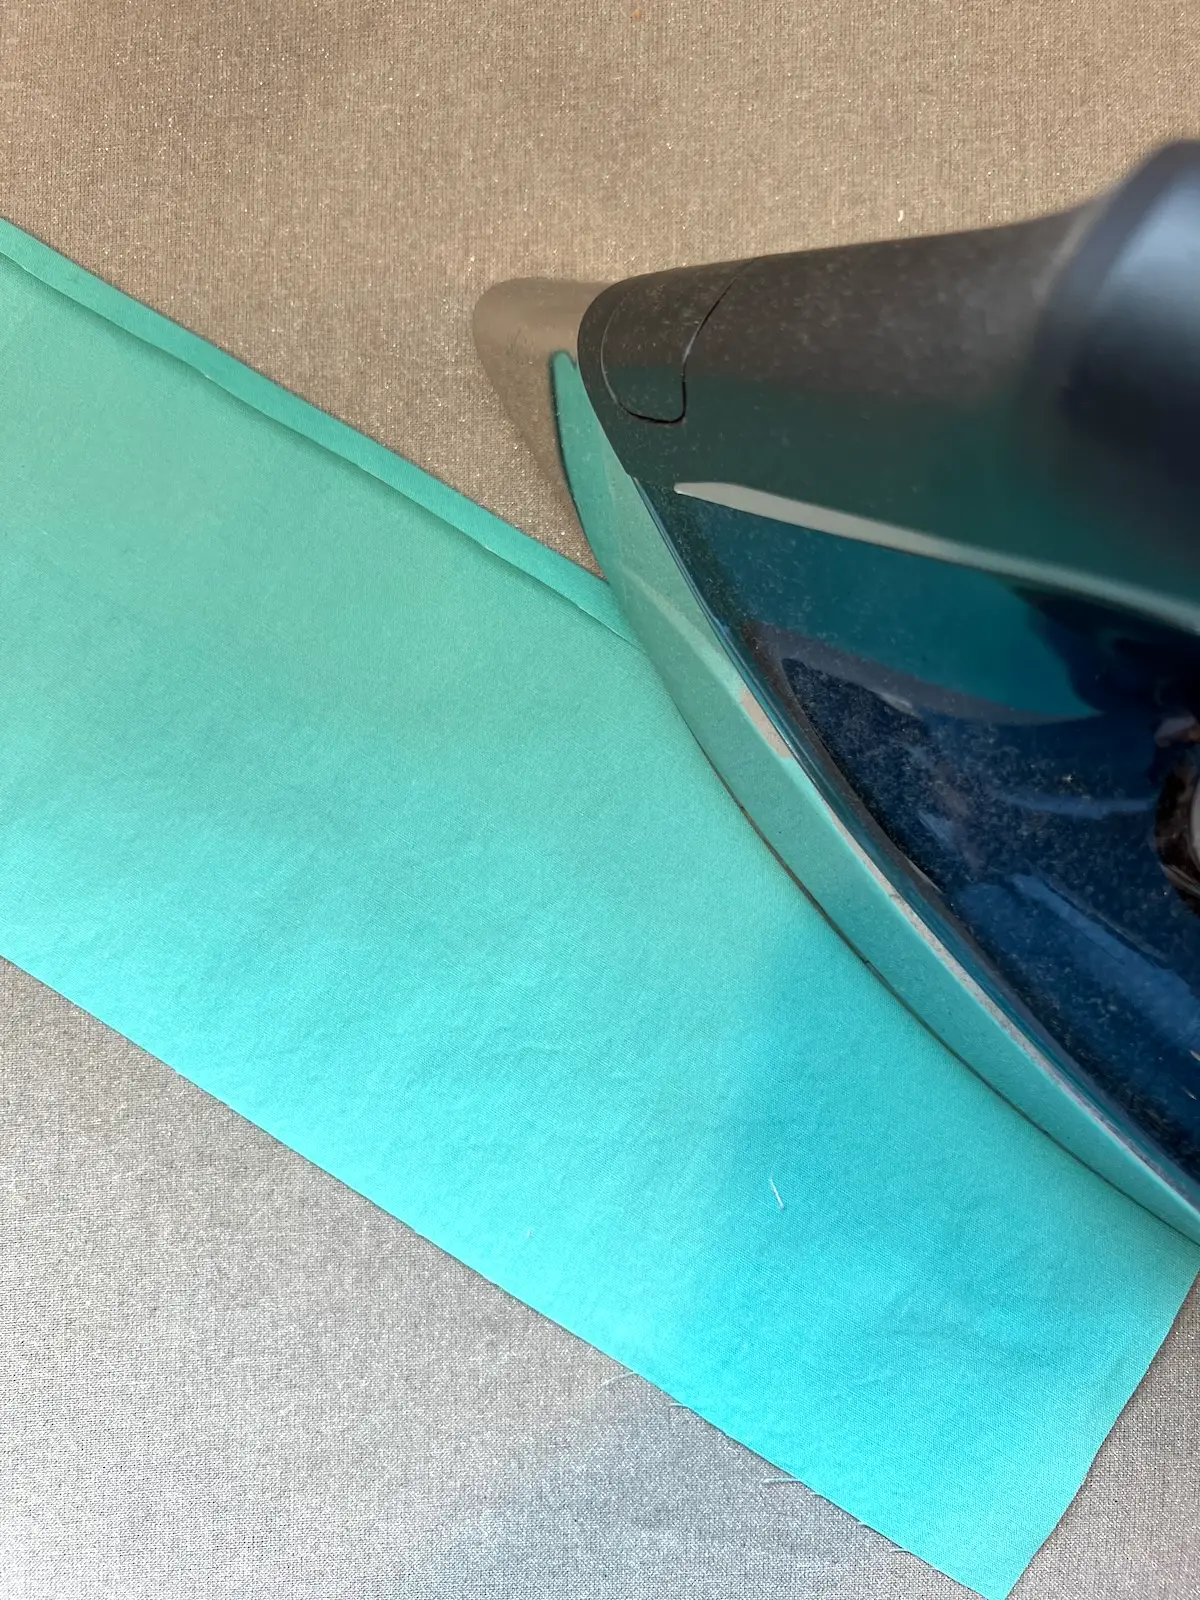
- Press 1/4" along one long edge of the handle fabric piece, folding the right side of the fabric to the wrong side.
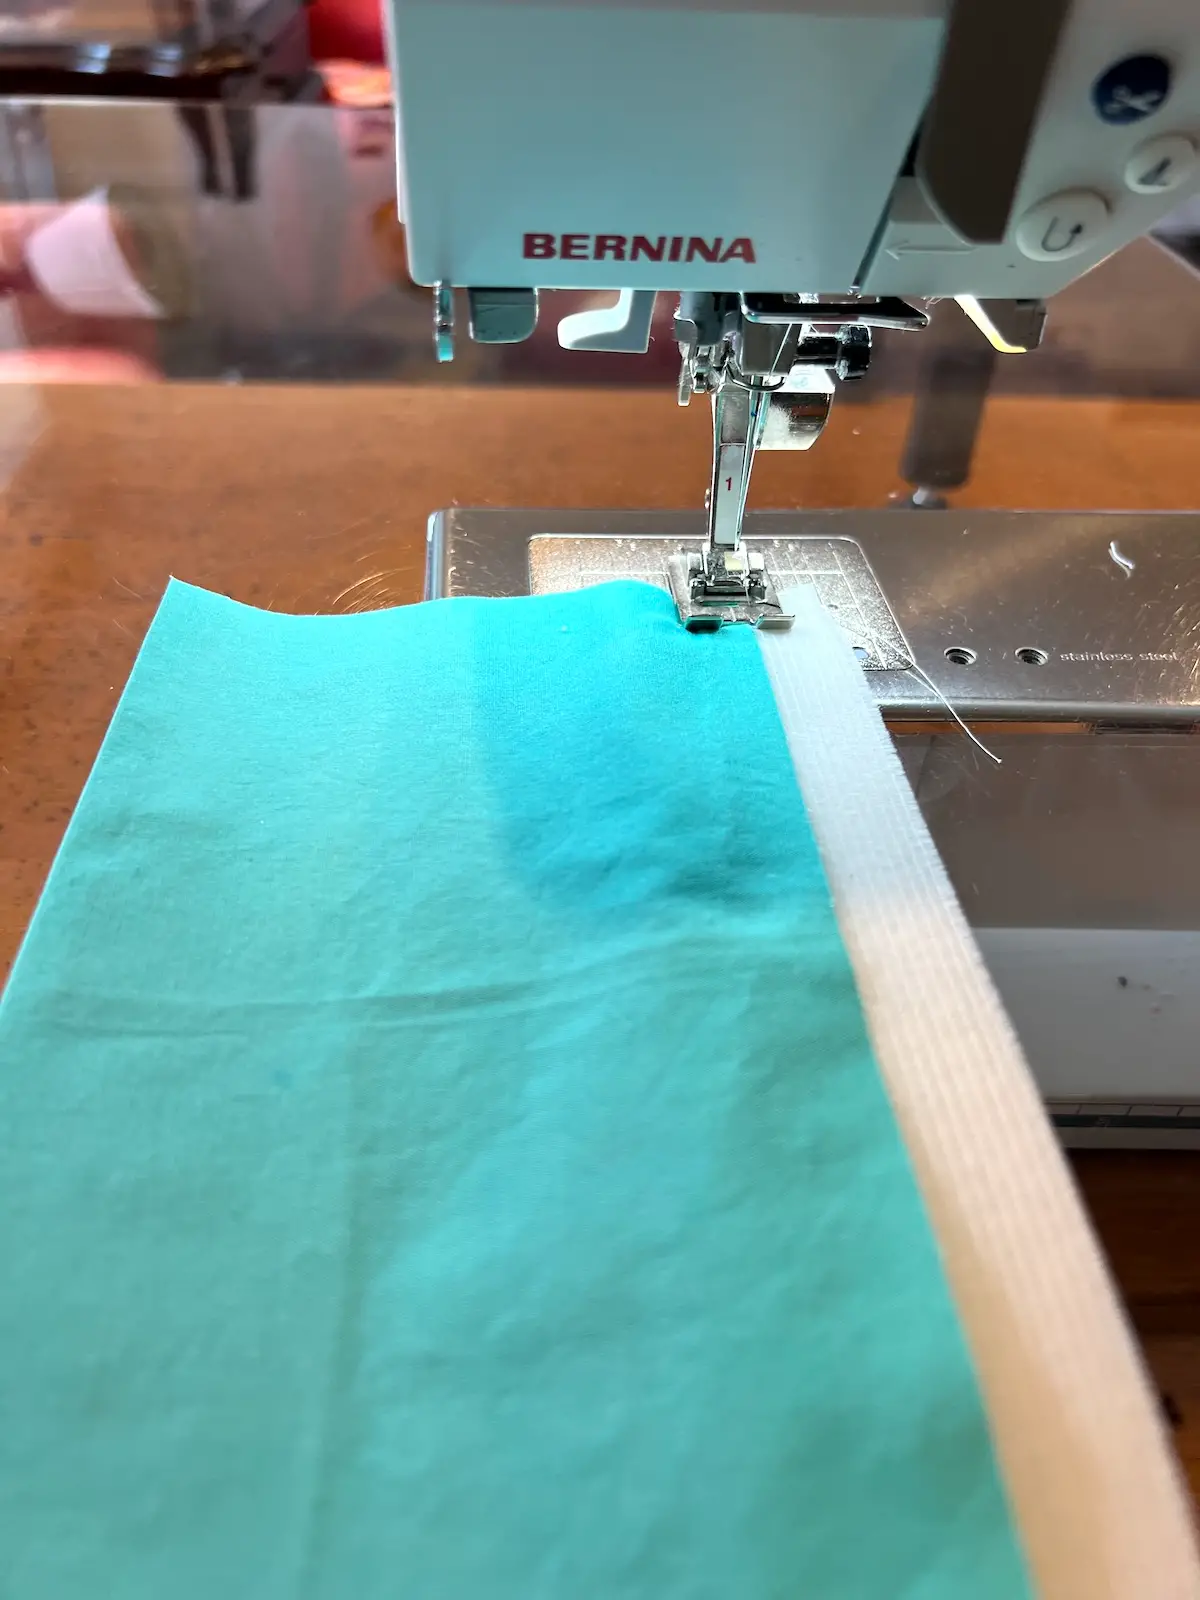
- Place the raw edge of the handle fabric WRONG side to the foam. Stitch in place.
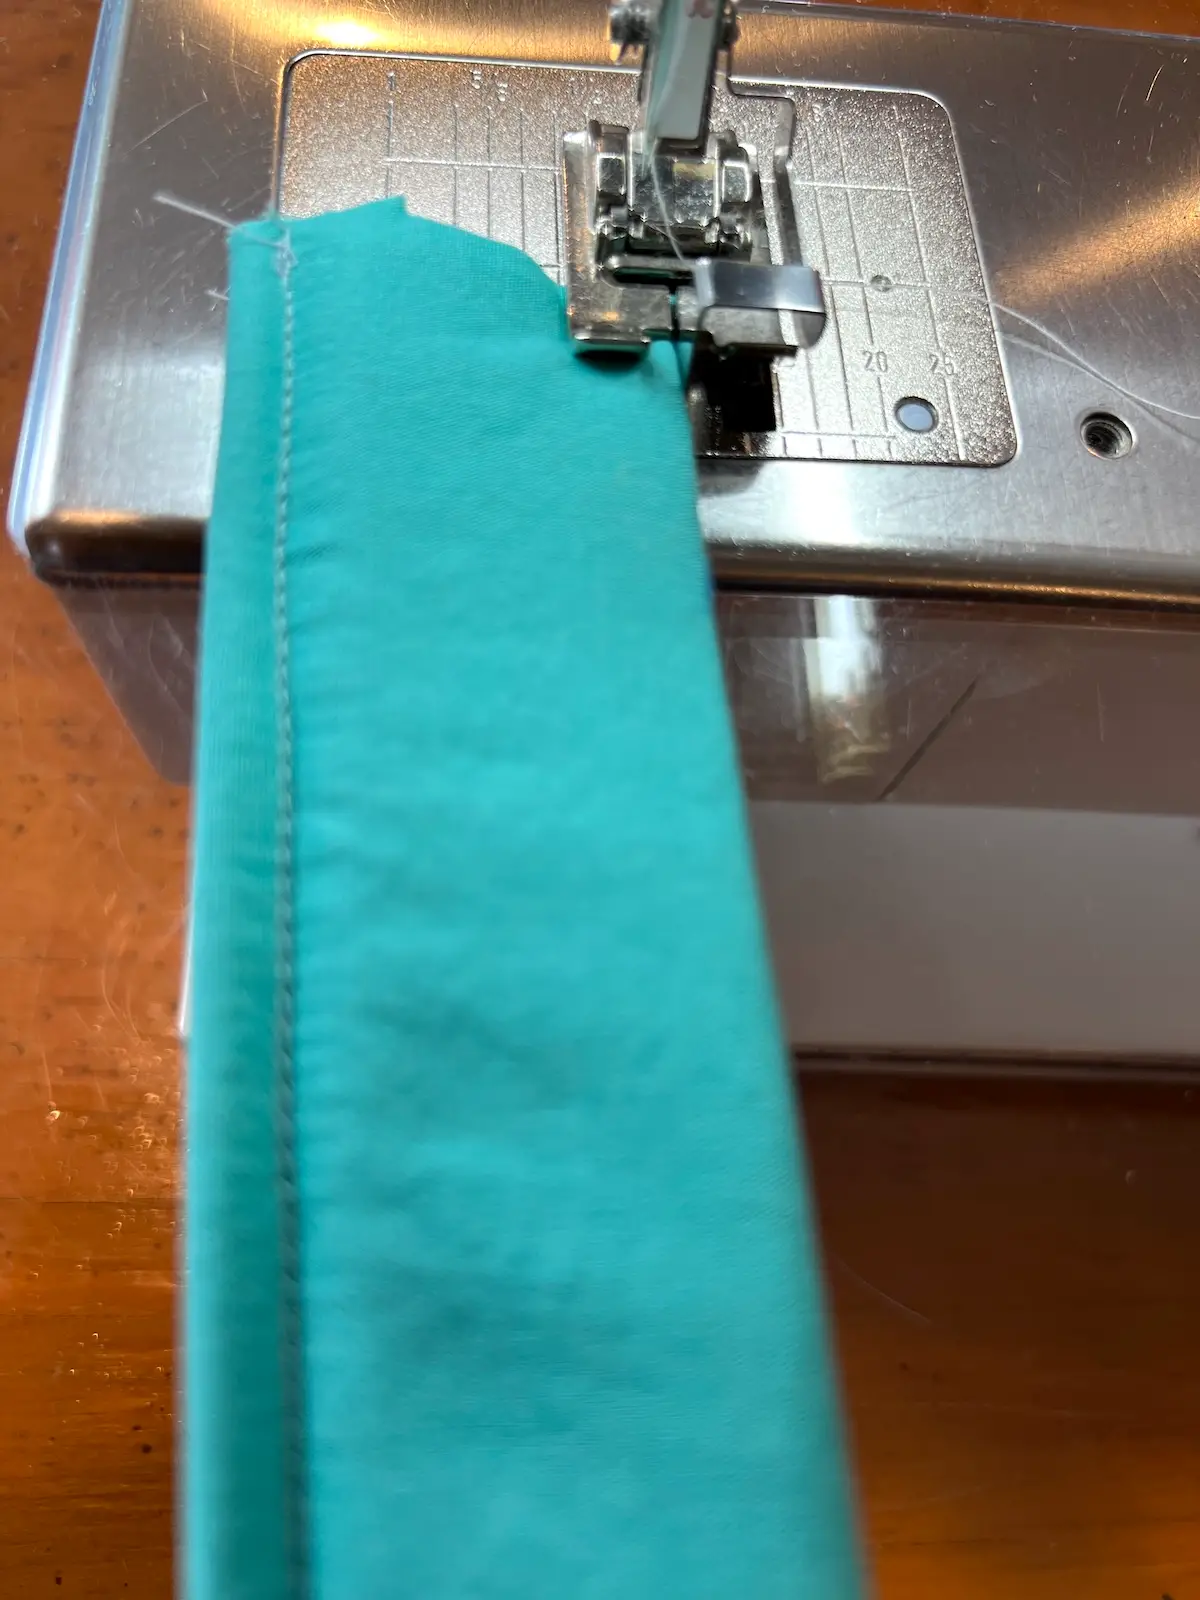
- Wrap the handle fabric around the foam. Sew along the folded edge.
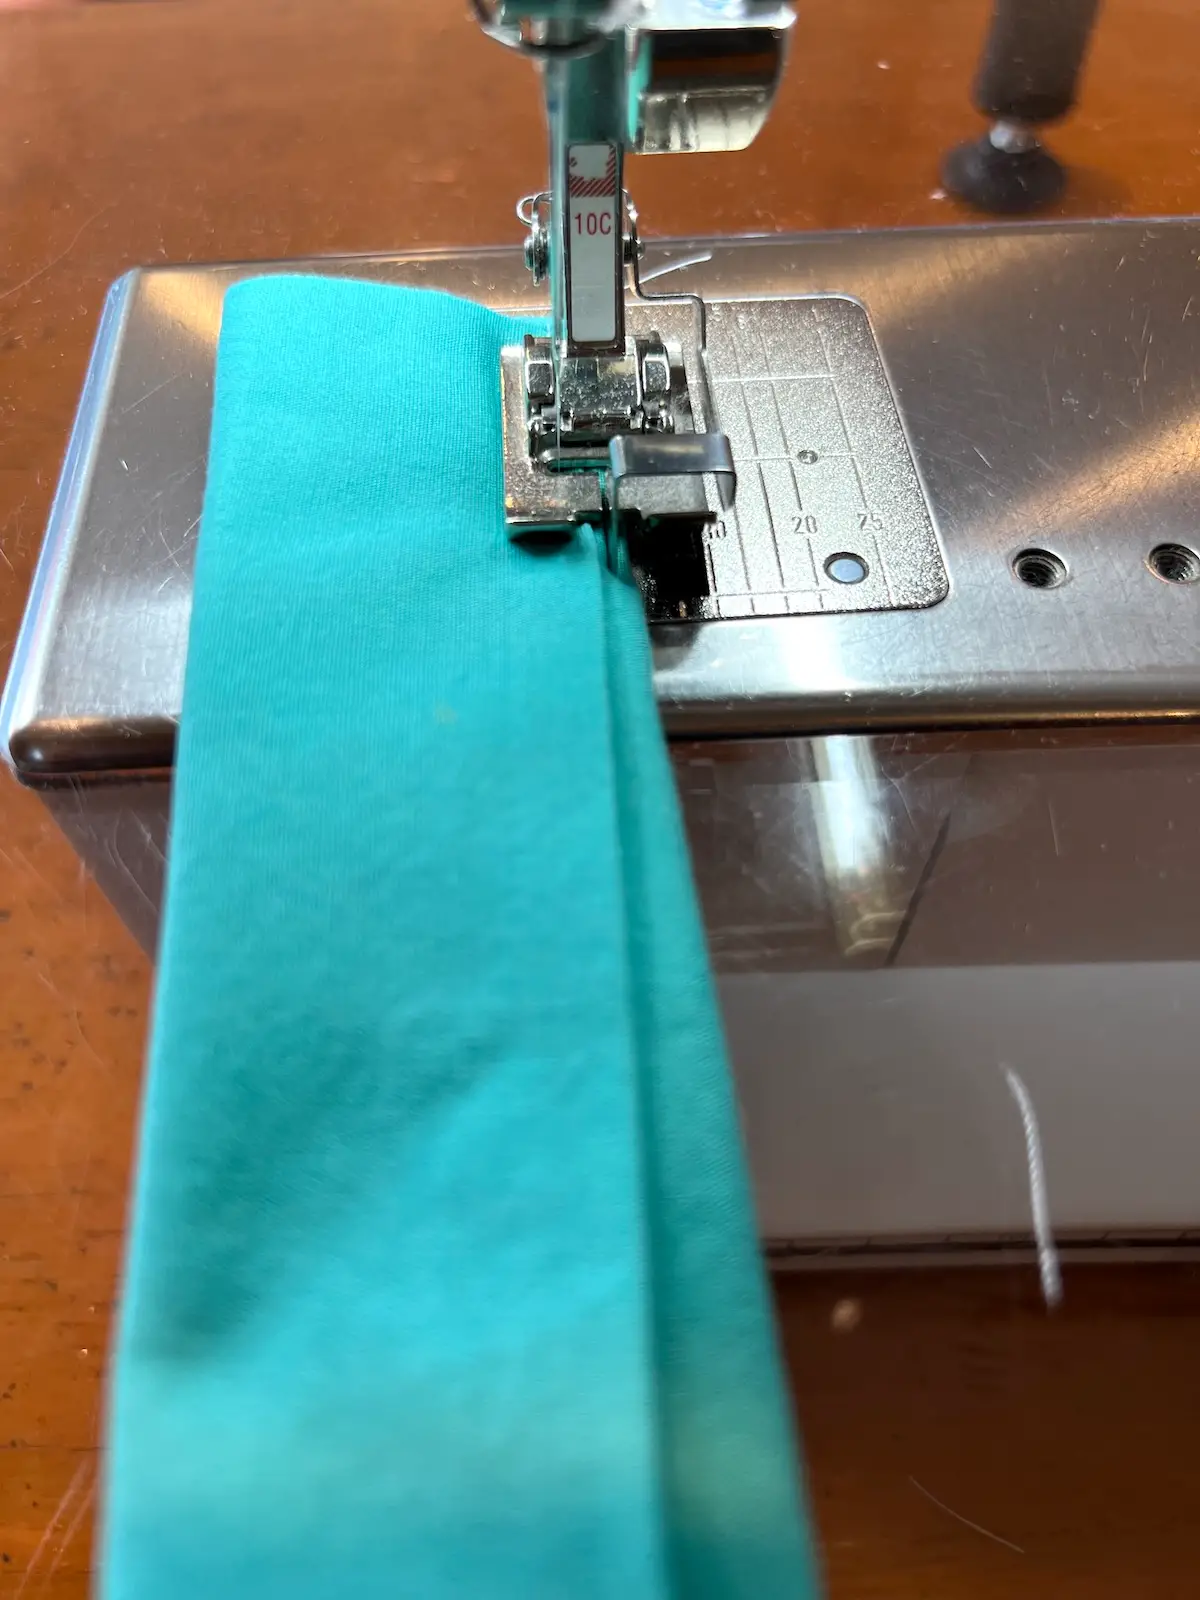
- Topstitch on the other side of the handle.
- Now you are ready to put your basket together.

- Take your finished basket, clip the handles to two sides, and then put the lining right sides to the basket. I like to use WonderClips to hold the pieces together.
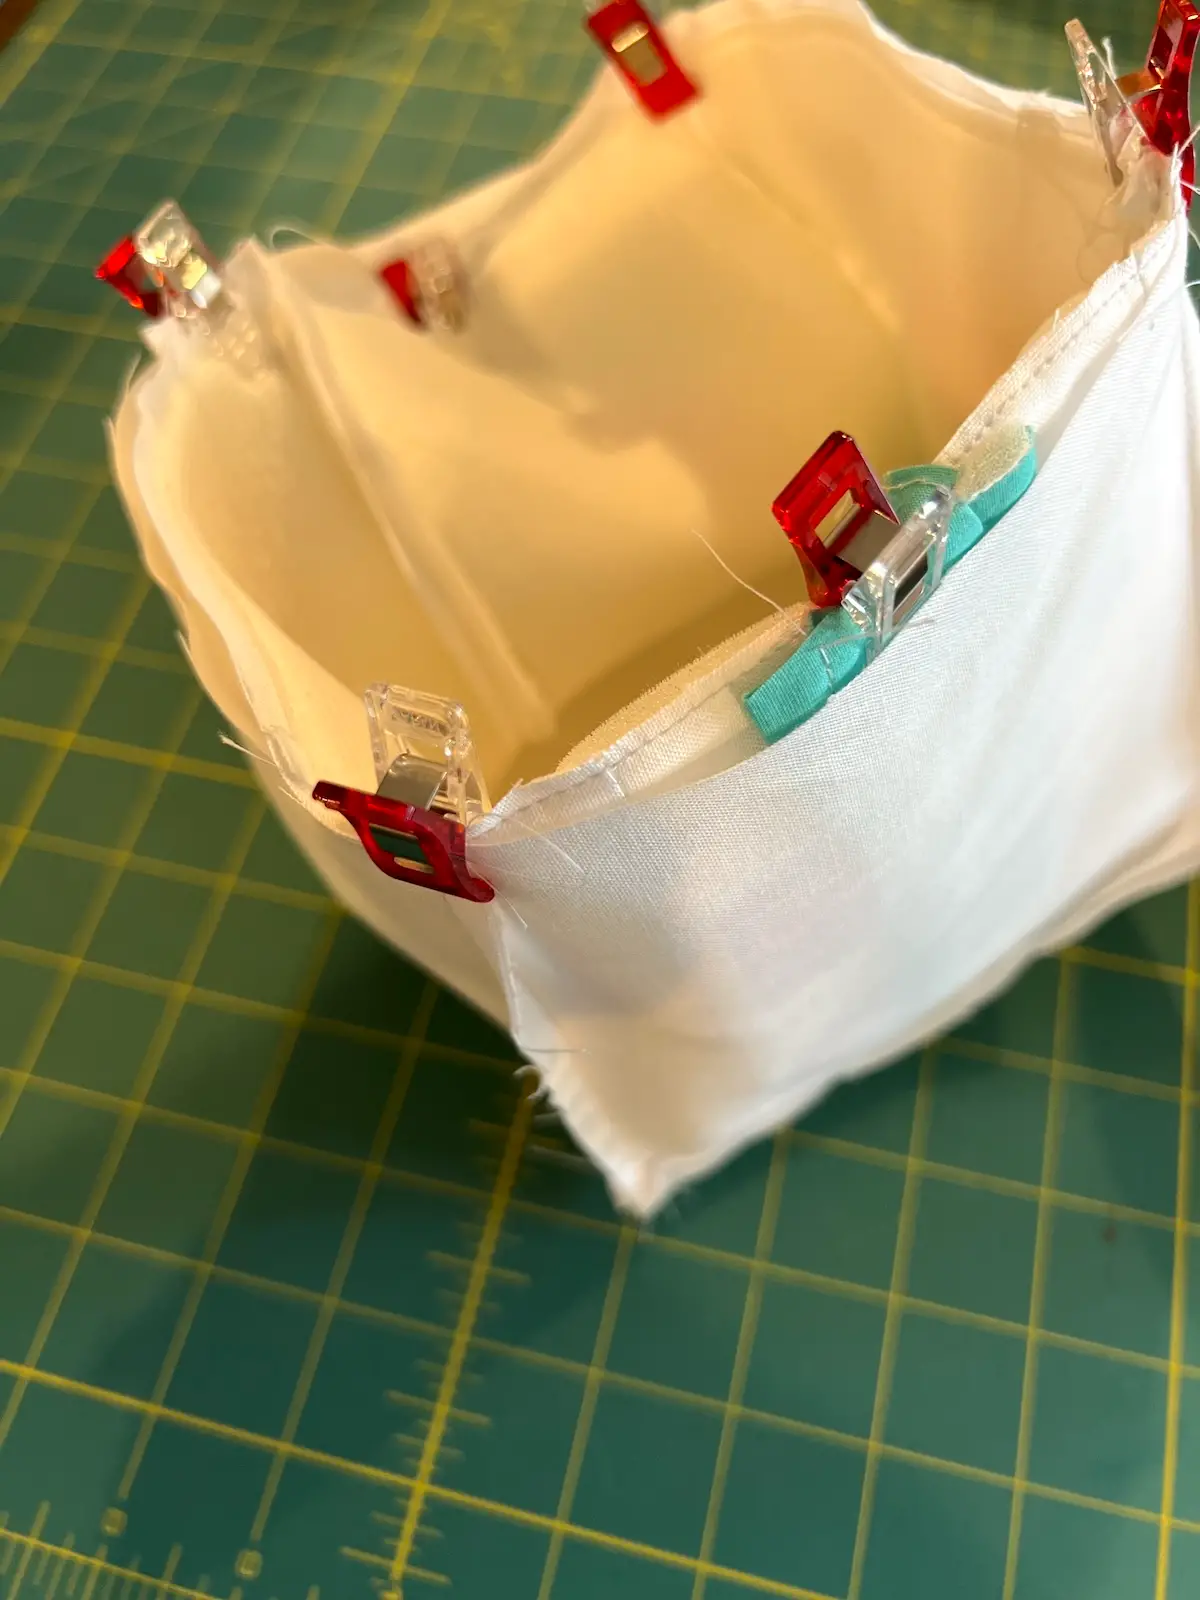
- Sew all around the top edge.

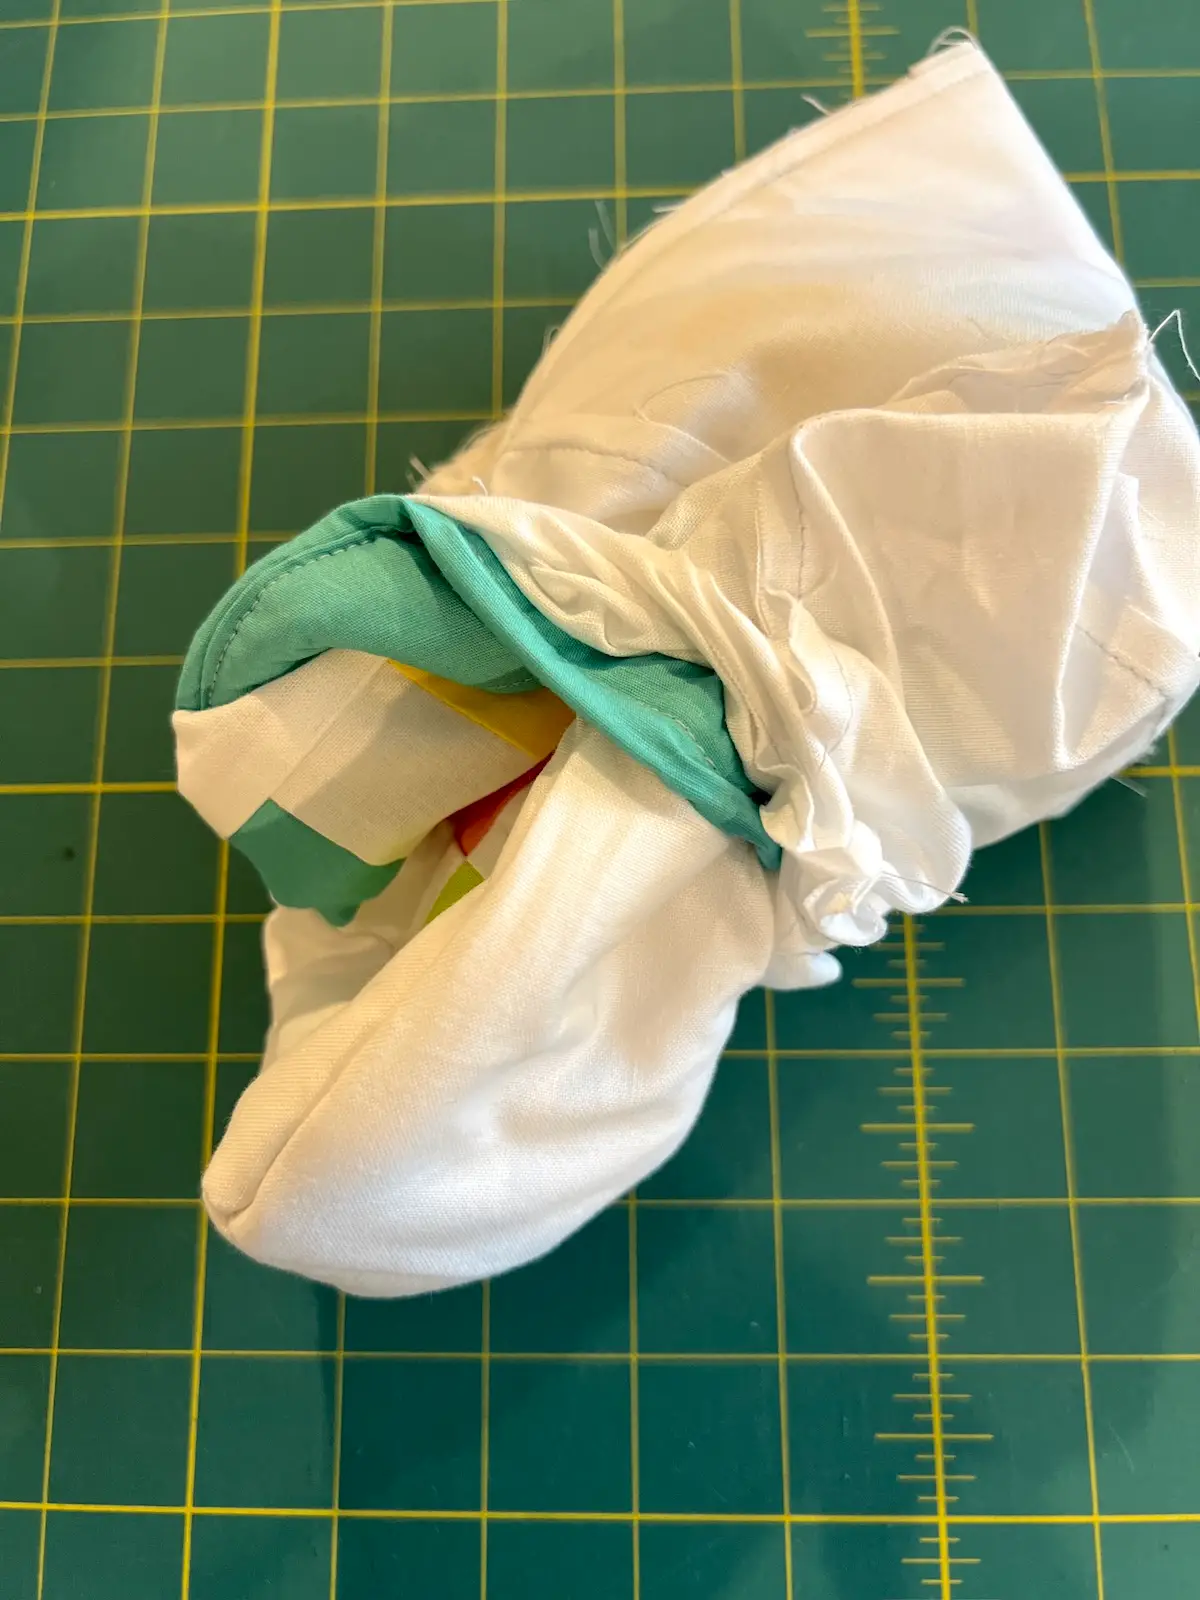
- Turn the basket right side out through the opening in the lining.
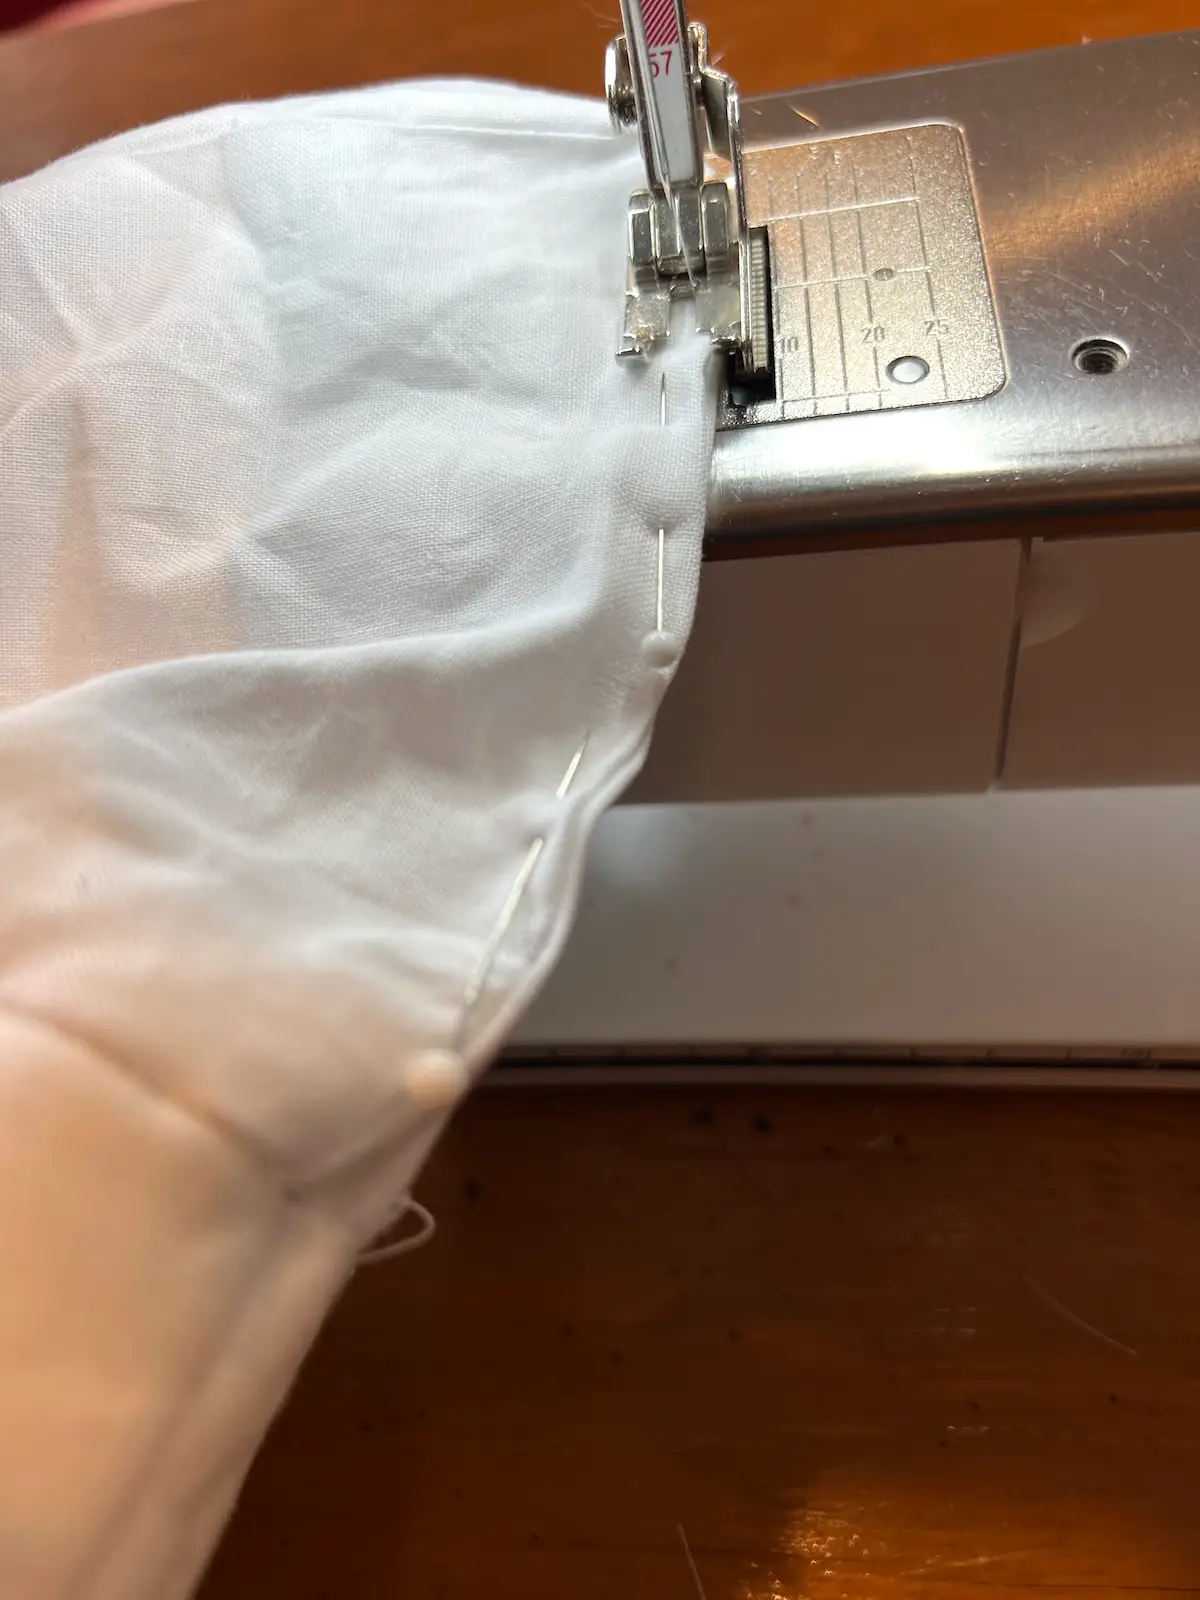
- Sew the opening in the lining closed.
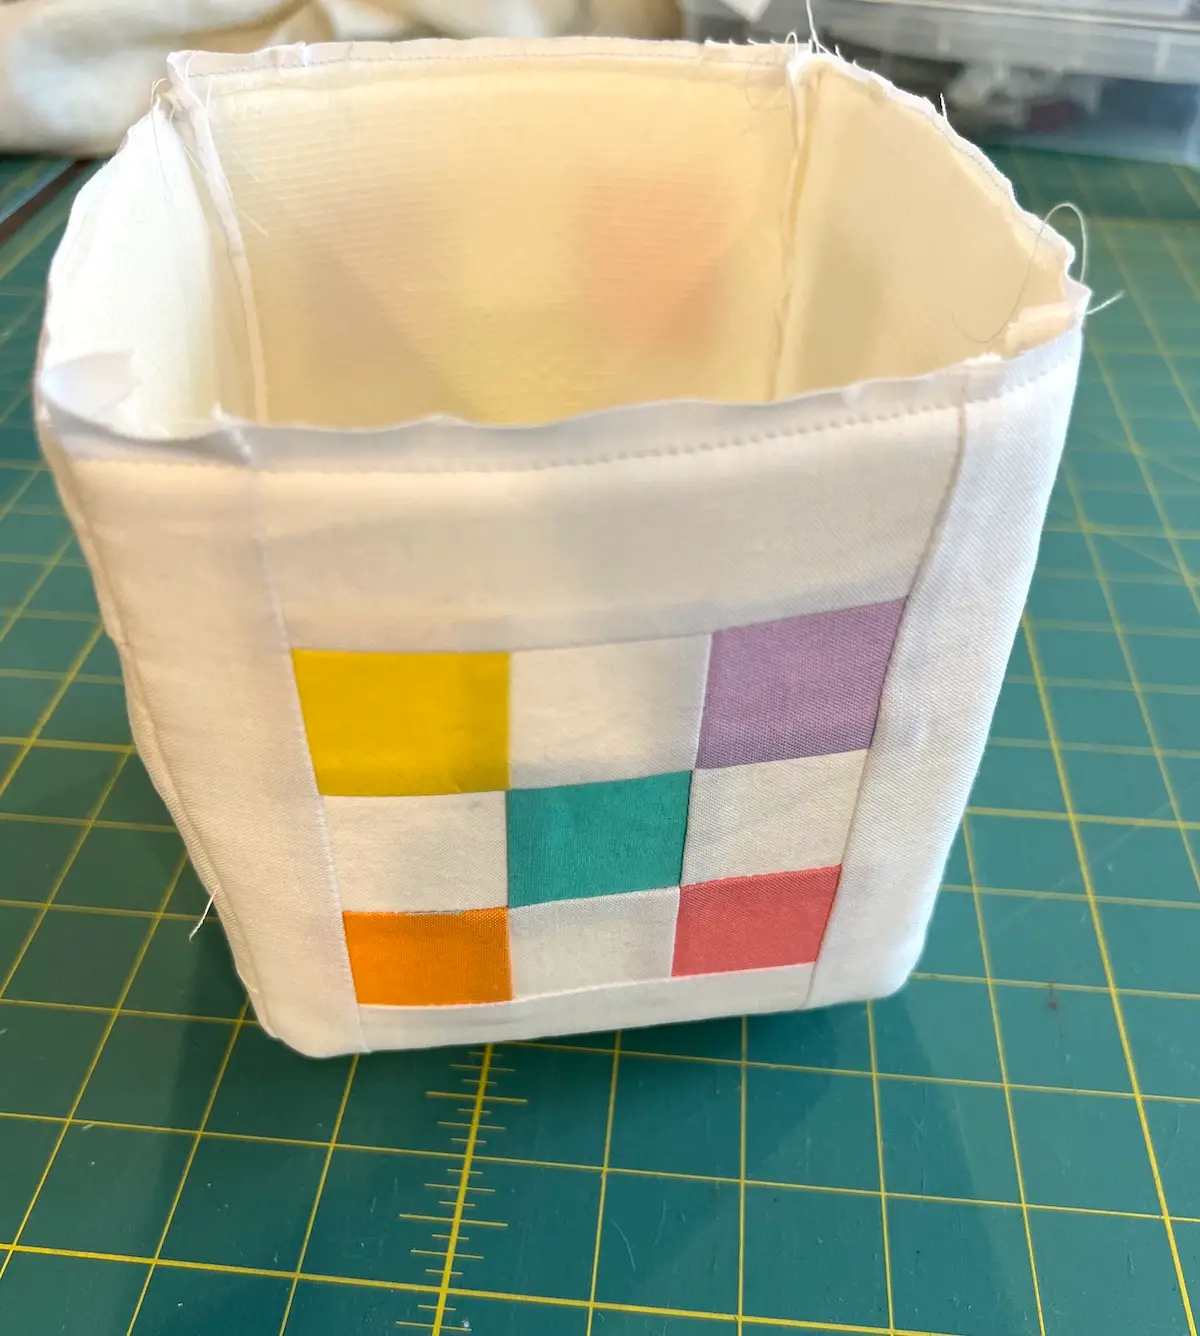
- Tuck the lining into the basket. Top stitch around the upper edge of the basket.
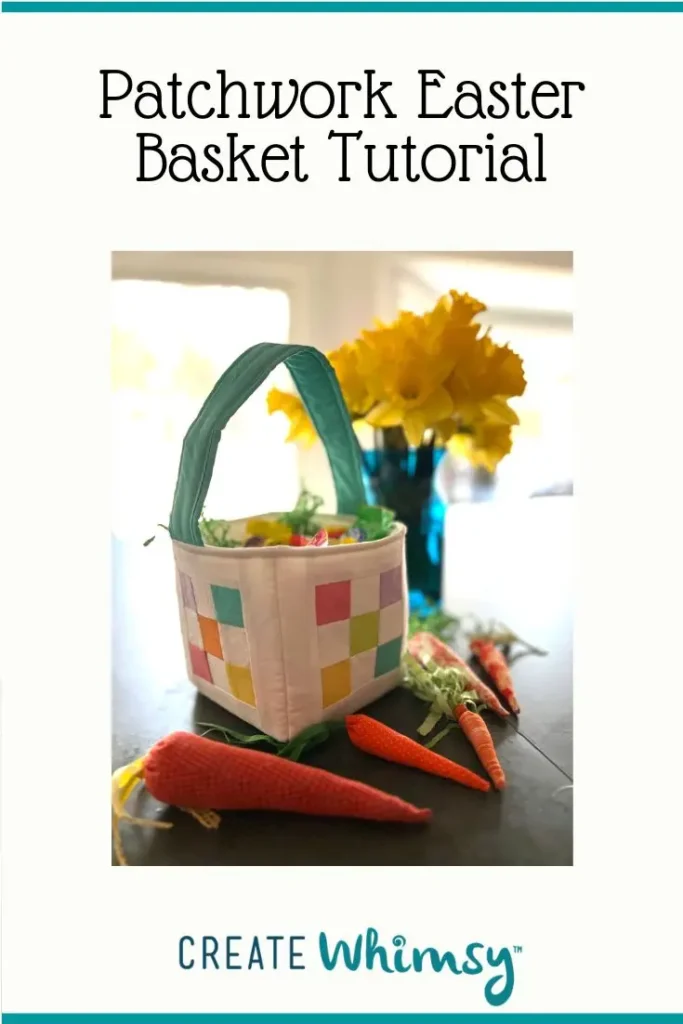
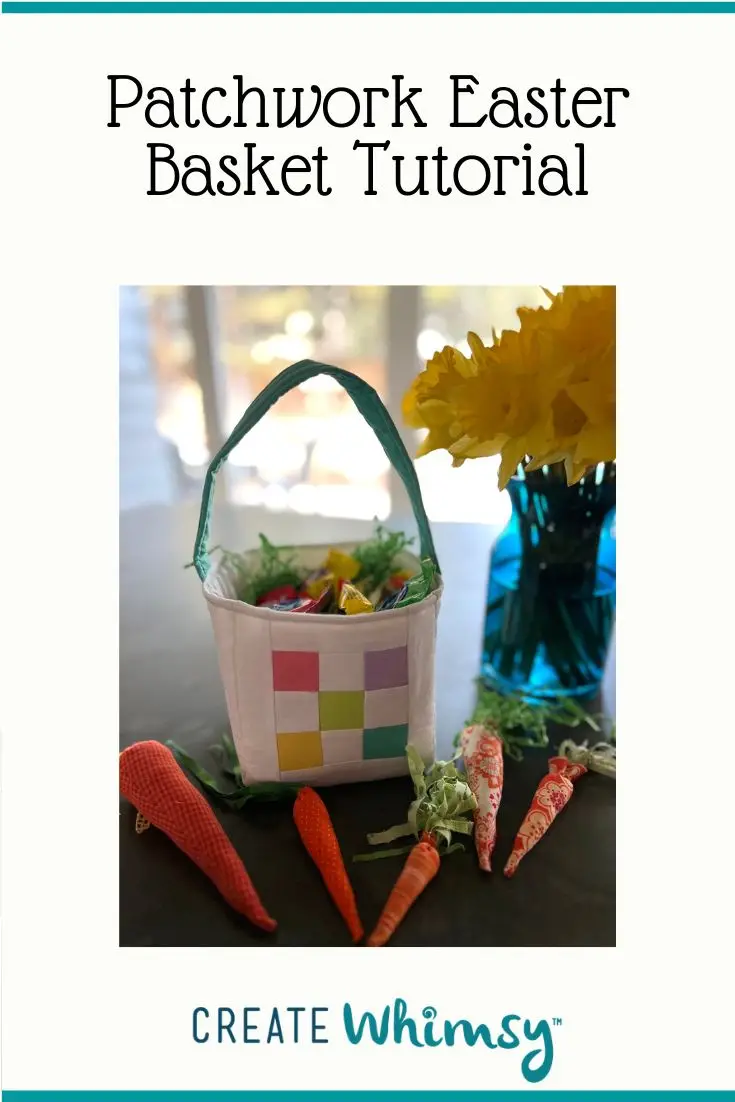
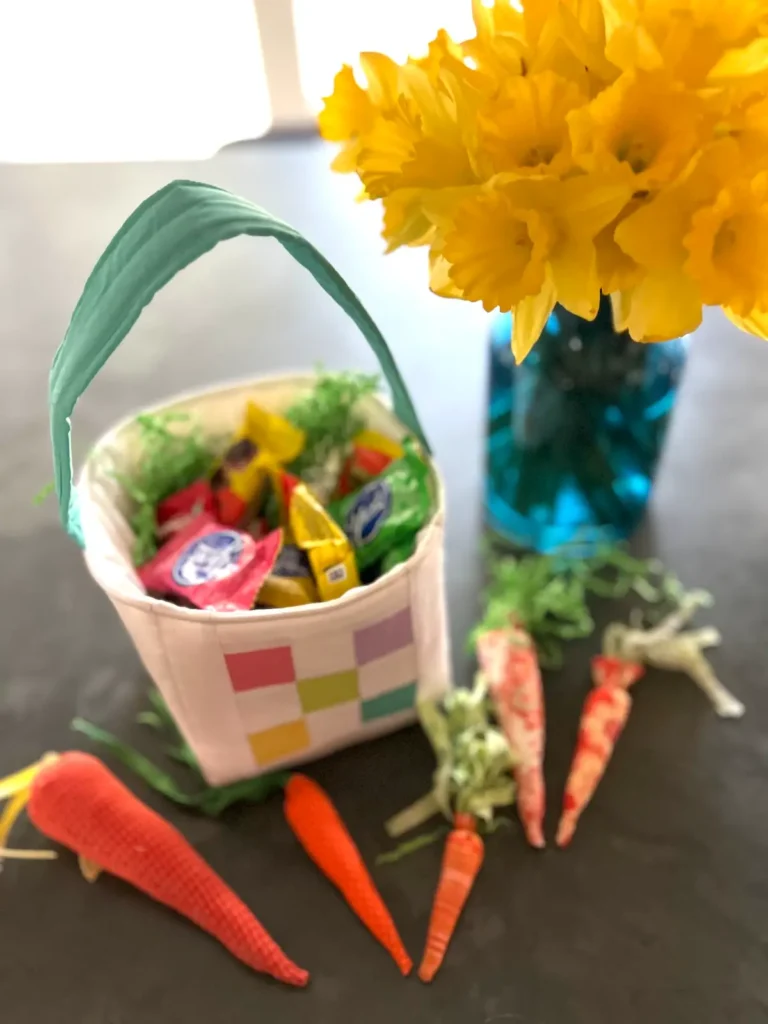
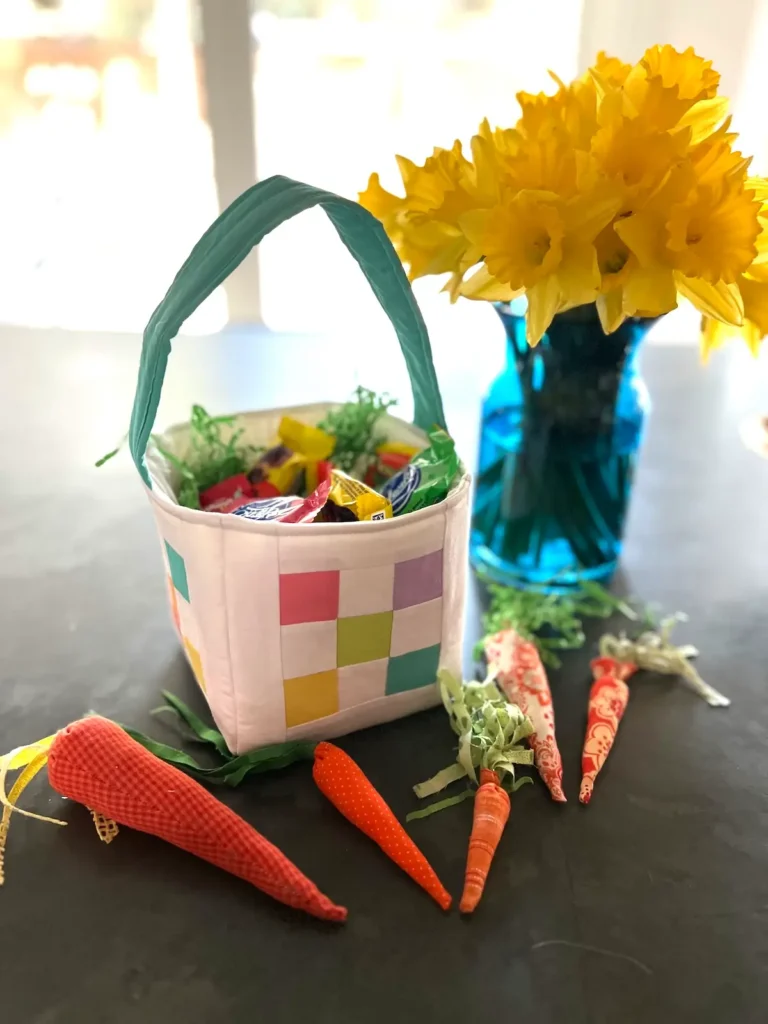
- And, you have a finished patchwork Easter Basket!

Recommended Products
As an Amazon Associate and member of other affiliate programs, I earn from qualifying purchases.

What’s the difference between batting, foam interfacing, and regular interfacing?
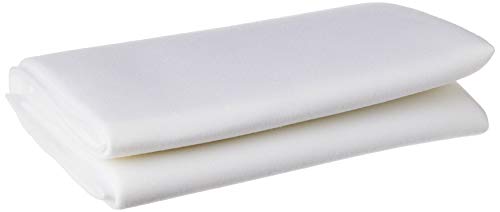
I prefer the foam interfacing and like to use Annie’s Soft and Stable. This gives your basket just the right stability for it to stand up. It holds up under crushing and bounces back to the right shape.
Batting gives way, and your basket will be floppy. With regular interfacing, the basket won’t stand up. And, heavy-duty, home dec interfacing just makes it really stiff.
If you don’t have any foam bag interfacing, it is worth investing in some for bag and basket making. It makes a nice finish for your bags and baskets.
RECOMMENDED PRODUCT: Annie’s Soft and Stable.
Tips and ideas for making your quilted Easter basket:
Use orphan blocks left over from other quilting projects to make your patchwork Easter basket.
It’s a great scrap fabric Easter project! You can sew scraps together randomly, like in crumb quilting, and then cut out 5-1/2″ squares and make Easter baskets.
Ideas for color palettes for your baskets are pastel rainbow, as I did. Other ideas are mix floral patterns with gingham, or bunny prints with solids. And, a classic is alway Liberty of London fabrics for an heirloom style.
Use vintage cutter quilts for a country cottage look to your baskets.
Have fun with the lining. It can be pieced, too. This basket is reversible – just turn it right side out – wait, that’s now the right side!
The Cathedral window block is a perfect one for making these quilted Easter baskets. Have fun with the fabrics inside the windows!
Personalizing your quilt Easter baskets:
Add appliqué to the 5-1/2″ squares before assembling your basket. Ideas include bunnies, eggs, or customize with names or initials! These kinds of personalization make the baskets even more special!
If you have several to make, make each one different, so each child knows which one is theirs!
Have fun with different fabrics. Use novelty fabrics and fussy cut designs for the nine-patch block.

Ideas for finishing the top edge of your Easter basket:
Tuck prairie points around the top edge of the basket before sewing the top edge for a fun edge finish!
Sew rickrack trim or ball fringe around the top of the Easter basket.
Instead of making your handle, use some of the pretty new webbing as the handle. You can tuck it into the upper seam like I did, or topstitch to the outside of the basket after it is finished.
RELATED: Fabric Easter Basket
RELATED: Make Fabric Carrots
RELATED: Crumb Quilting: No-Waste Projects
RELATED: Cathedral Window Quilt Block: Two Ways
RELATED: Prairie Point Tutorial
Browse through all of our Easter projects on Create Whimsy.