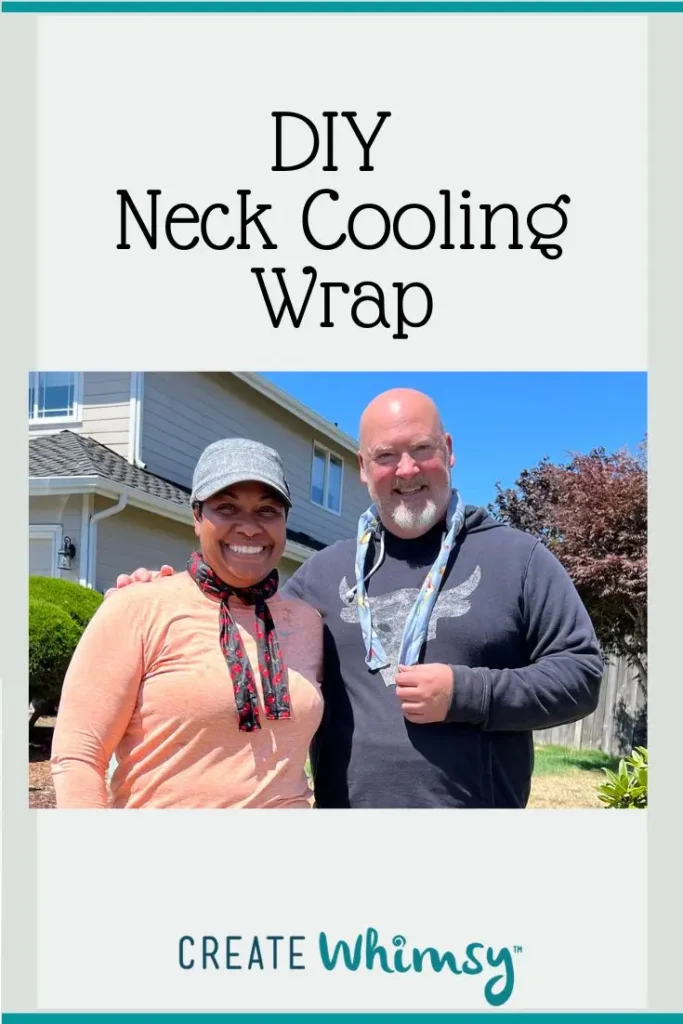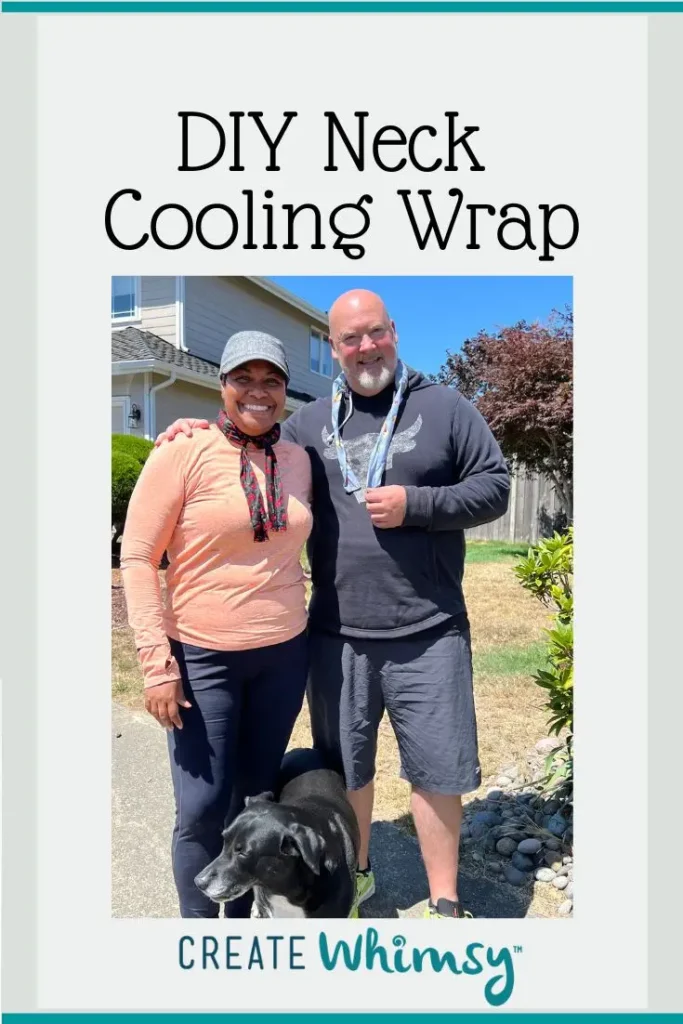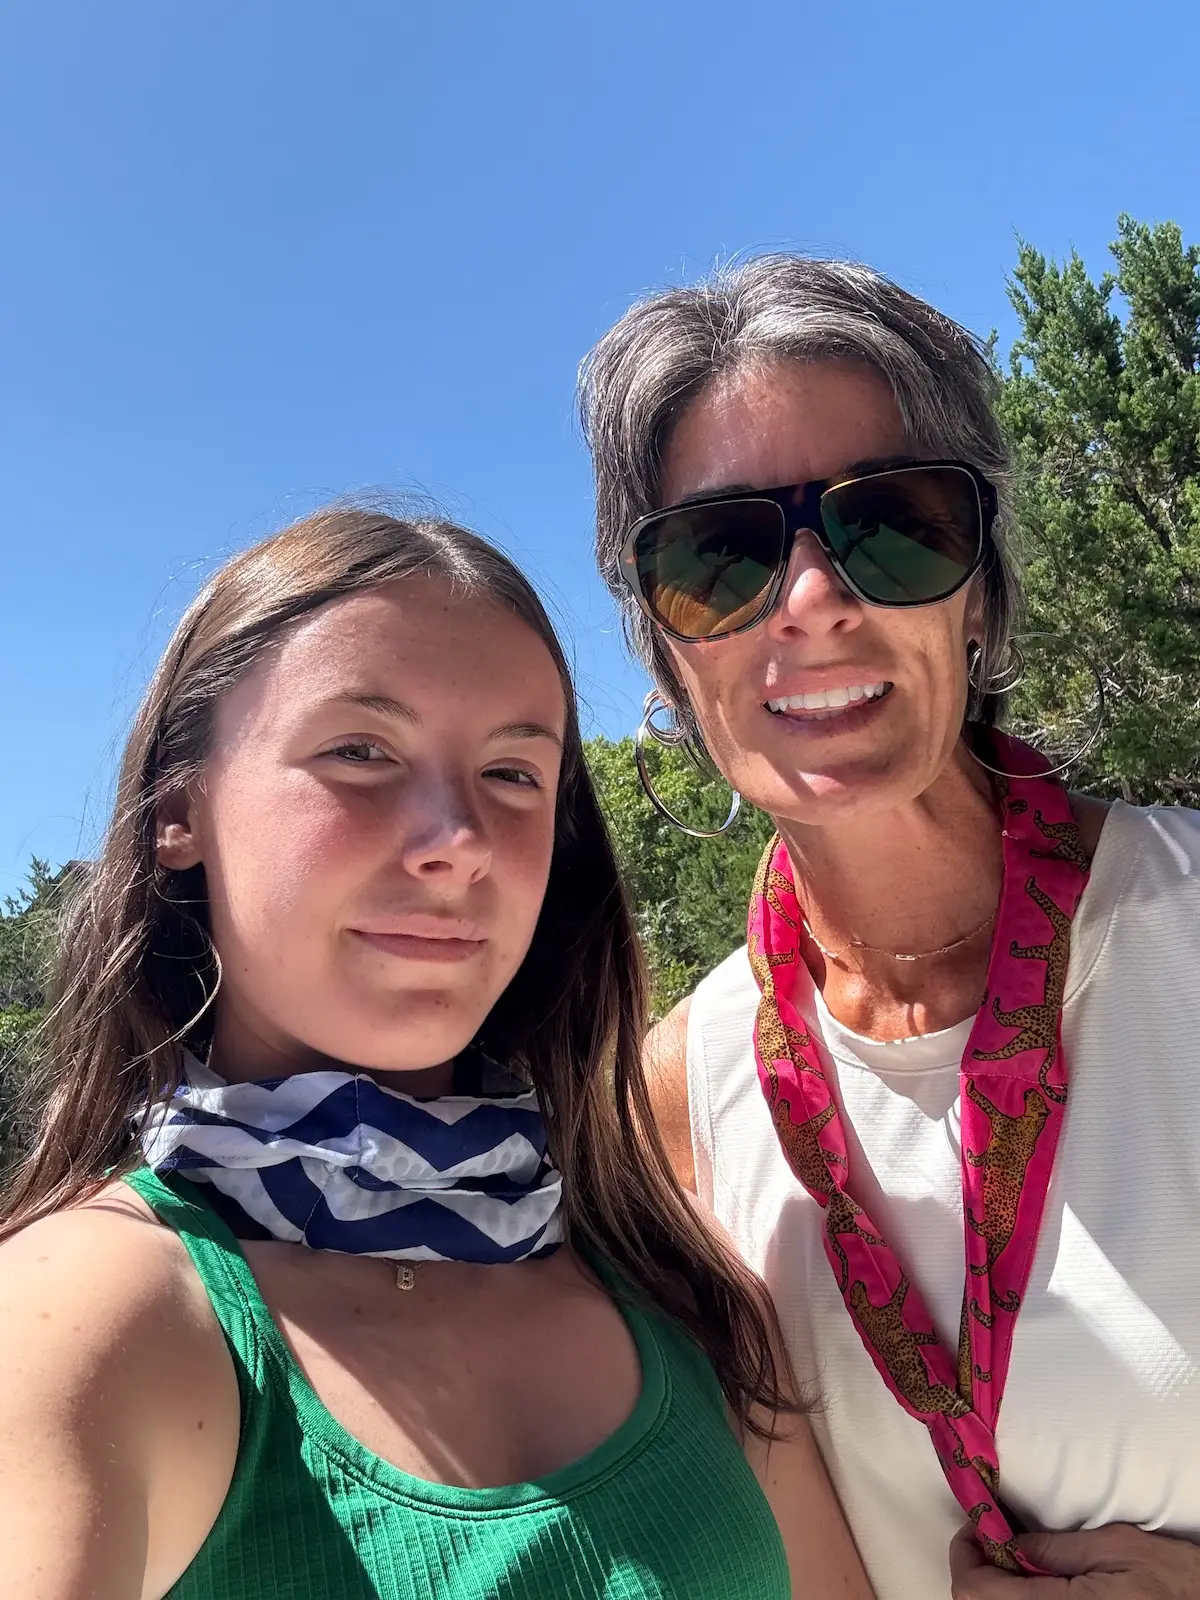
Hot weather can make gardening, walking the dog, outdoor sports, county fairs, camping, and even sitting on the porch uncomfortable. A DIY neck cooling wrap is an easy sewing project that helps you stay cooler naturally by holding water close to your skin where it slowly evaporates.
This beginner-friendly sewing tutorial shows you how to make a reusable cooling neck wrap using cotton fabric and water-absorbing polymer beads. It takes about 30 minutes to sew, uses very little fabric, and makes a thoughtful handmade gift for anyone who spends time outdoors.
Whether you’re looking for an easy summer sewing project or want a practical way to beat the heat, this cooling scarf is simple, inexpensive, and surprisingly effective.
What fabric works best?
100% quilting cotton or batik works best because it absorbs moisture while allowing the cooling effect to transfer comfortably to your skin.
How long does a cooling neck wrap stay cool?
Depending on the weather and humidity, a hydrated neck wrap usually stays cool for several hours. Re-soak it whenever needed.
As an Amazon Associate I earn from qualifying purchases. Read more about our affiliate linking policy.
Are water beads safe?
Yes, when used correctly inside a securely sewn wrap. Store unused beads away from children and pets because the dry beads expand dramatically when exposed to water.
What You’ll Learn
In this tutorial you’ll learn:
- how a cooling neck wrap works
- what fabric to use
- how many water beads to add
- how to sew evenly spaced pockets
- how to hydrate your cooling wrap
- how to dry and store it properly
- tips to make your wrap last for years
Quick Start
Need the short version?
- Cut one strip of quilting cotton.
- Sew it into a long tube.
- Divide the center into small pockets.
- Add a very small amount of water beads to each pocket.
- Sew the pockets closed.
- Soak the wrap in cool water until fully hydrated.
- Wear around your neck and enjoy hours of cooling comfort.

How to Sew a Neck Cooling Wrap
Learn how to make a neck cooling wrap with our step-by-step directions. This is a quick and easy project to help you keep your cool.
Beat the summer heat with your own cooling neck wrap!
Materials
- 4-1/2 inches of cotton fabric that is 44-45 inches wide
- 1/2 teaspoon water beads; NOTE: Keep water beads safely stored away from children and pets.
- Scissors or rotary cutter to cut fabric
- Thread for sewing
Tools
- Sewing machine
- Iron
- Pressing surface
- Straight pins
Instructions
Step 1: Gather your supplies
Gather your supplies to make your neck cooling scarf. 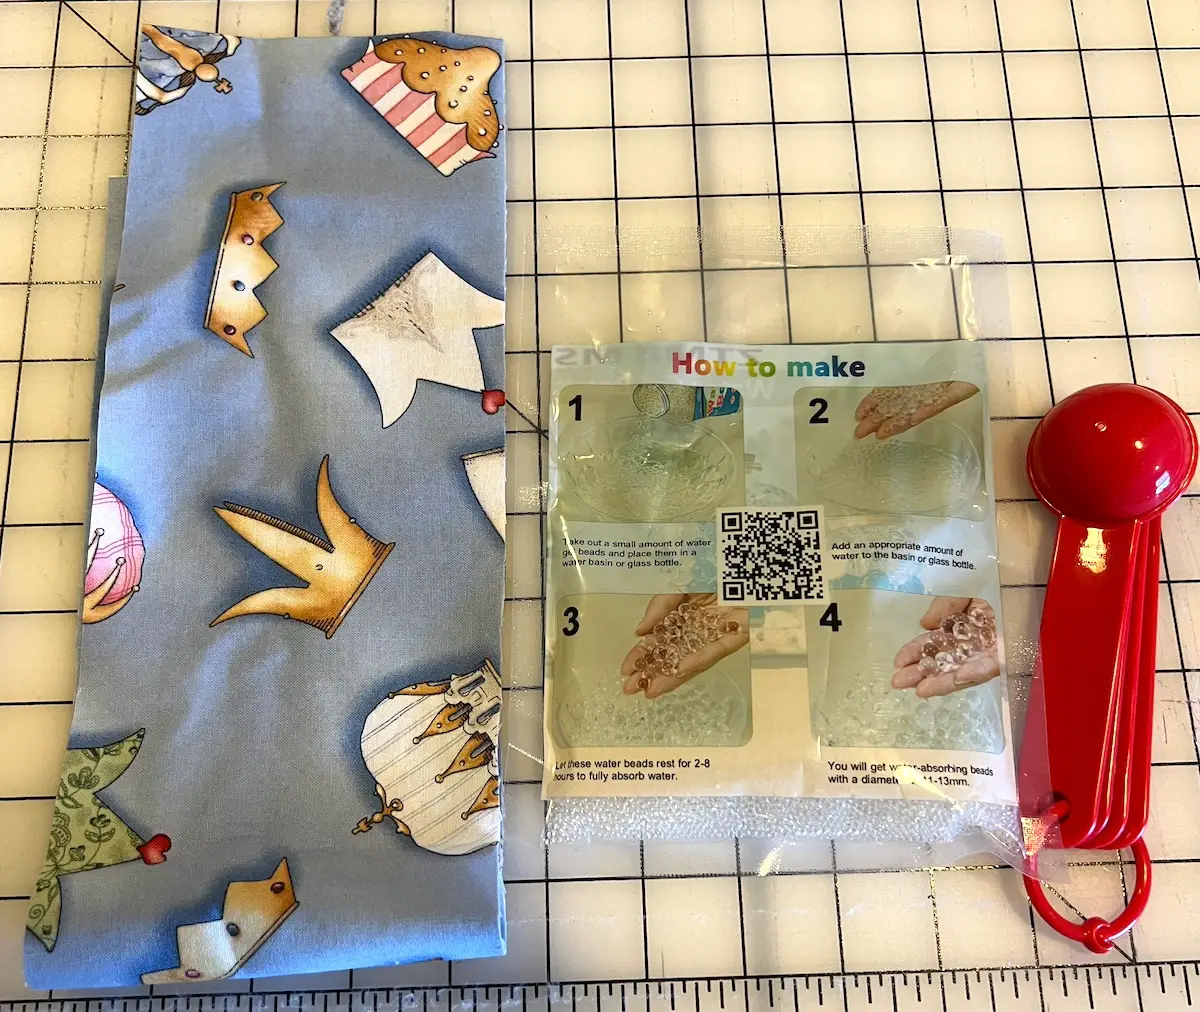
Step 2: Sew the tube
Fold your fabric in half lengthwise, with right sides together, and sew a straight line along the long edge with a 1/4-inch seam allowance. 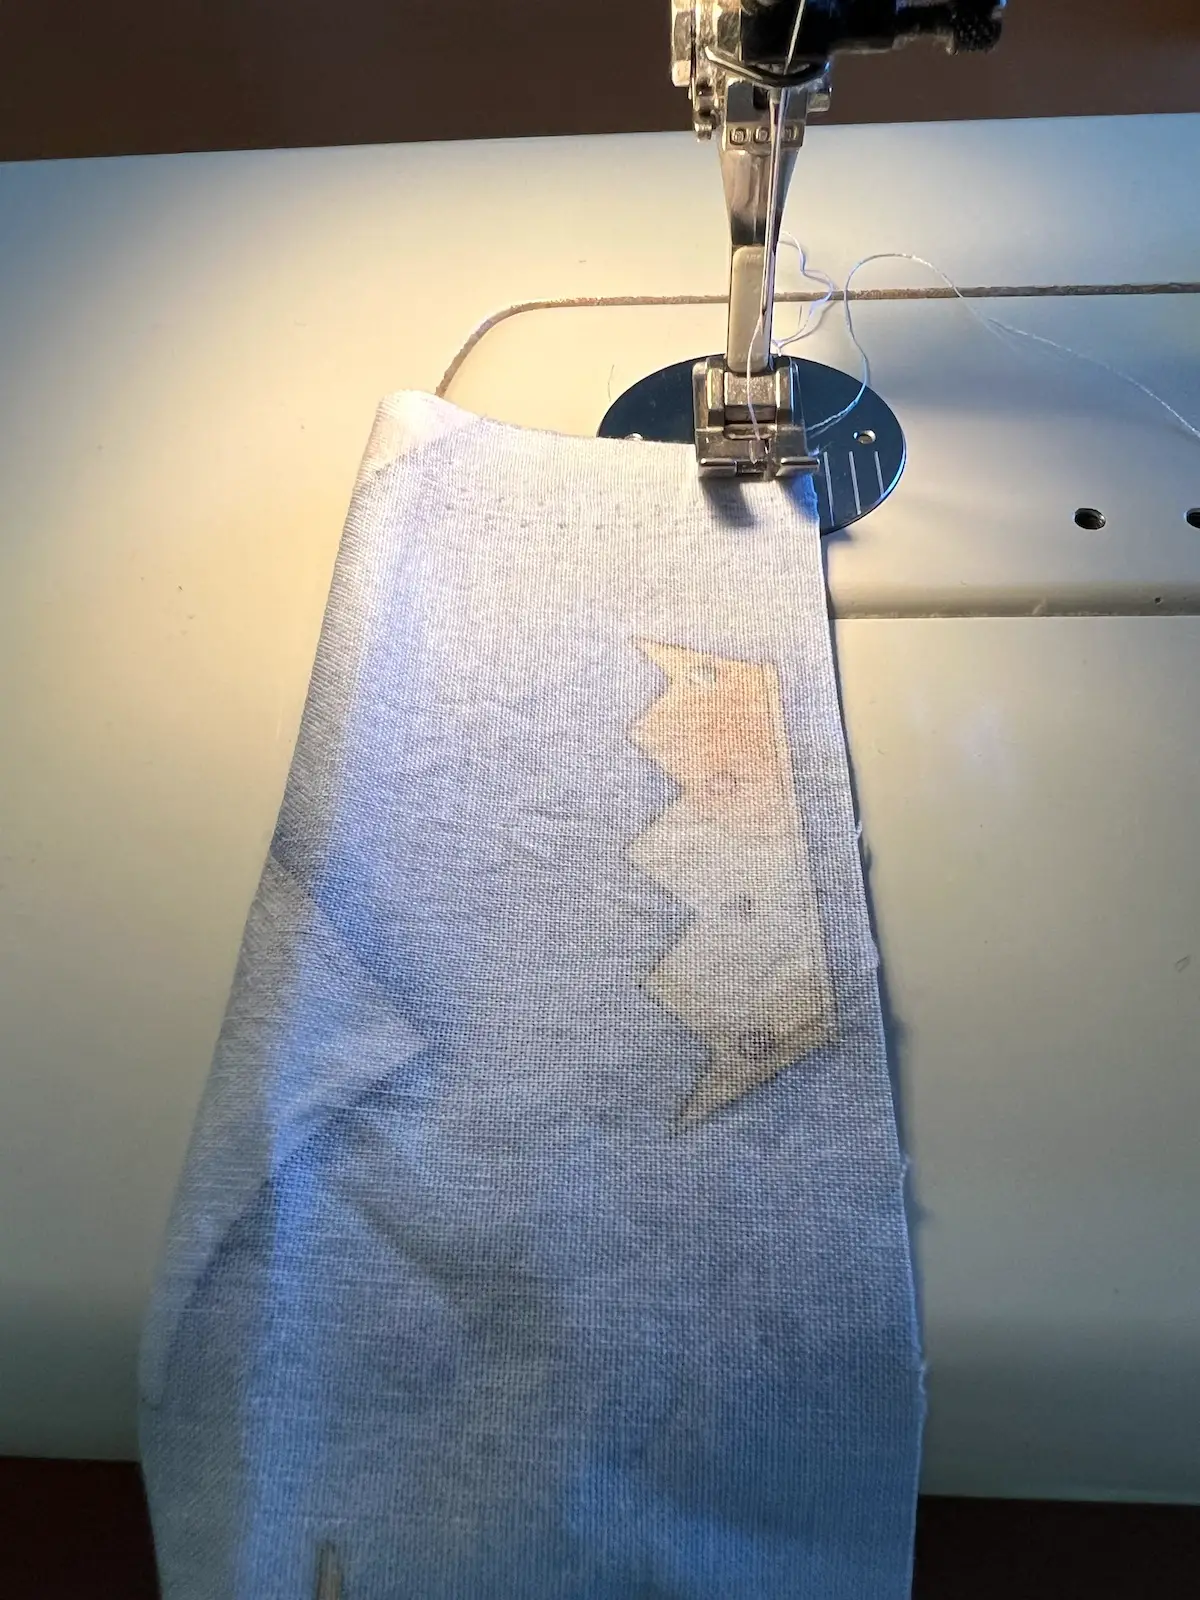
Press the seam open, centered on the back of the scarf. NOTE: I found that by pressing this open, the water beads seem to flow more easily into place. 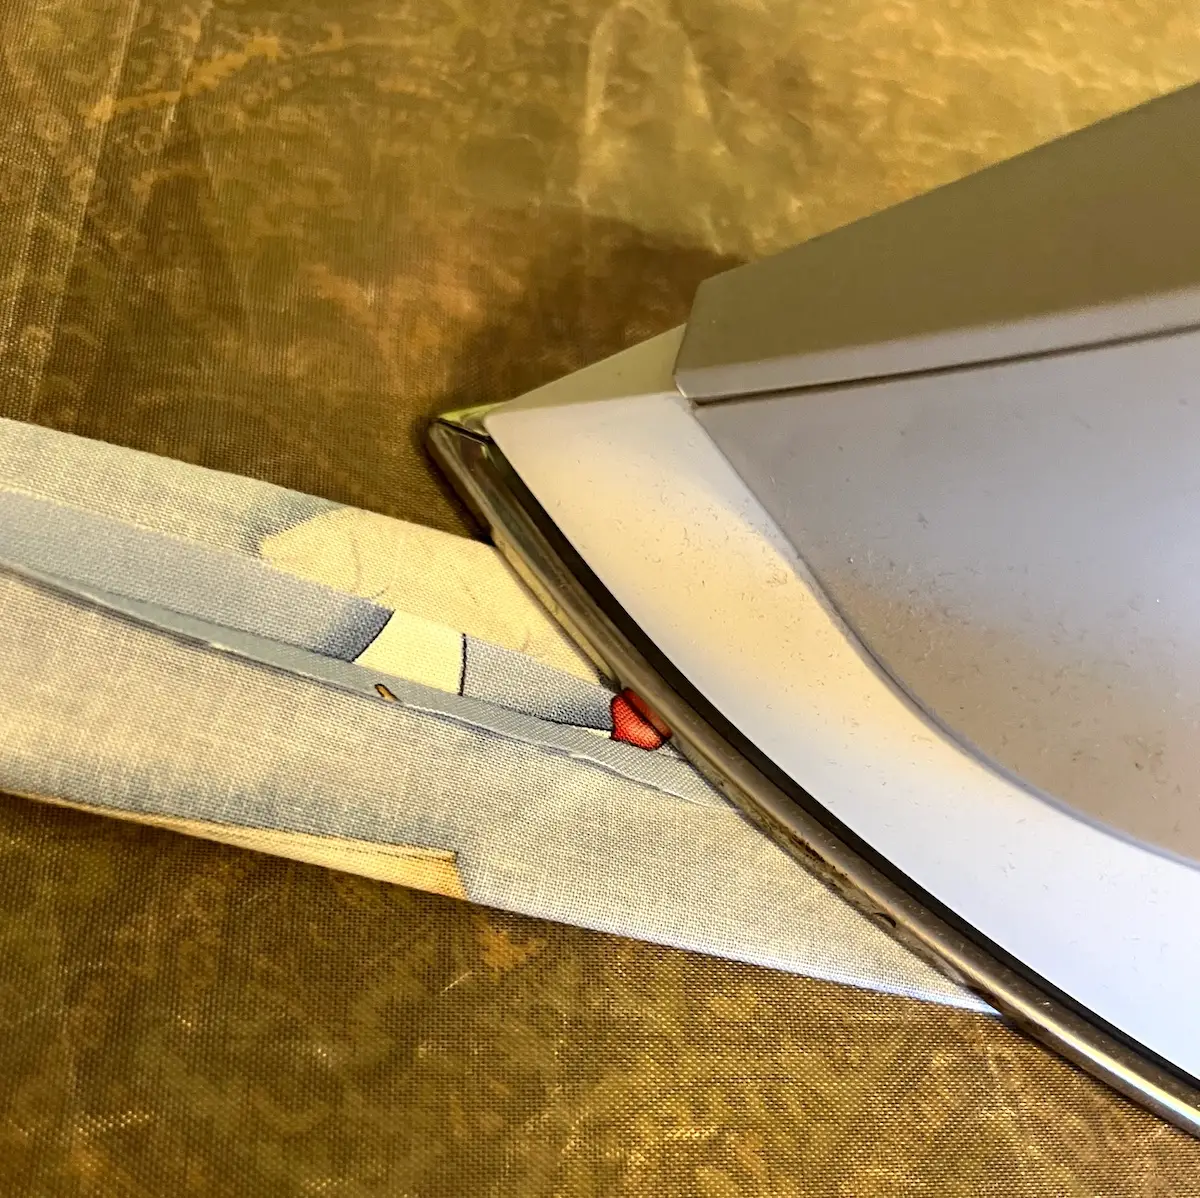
Turn the neck cooling wrap right side out. 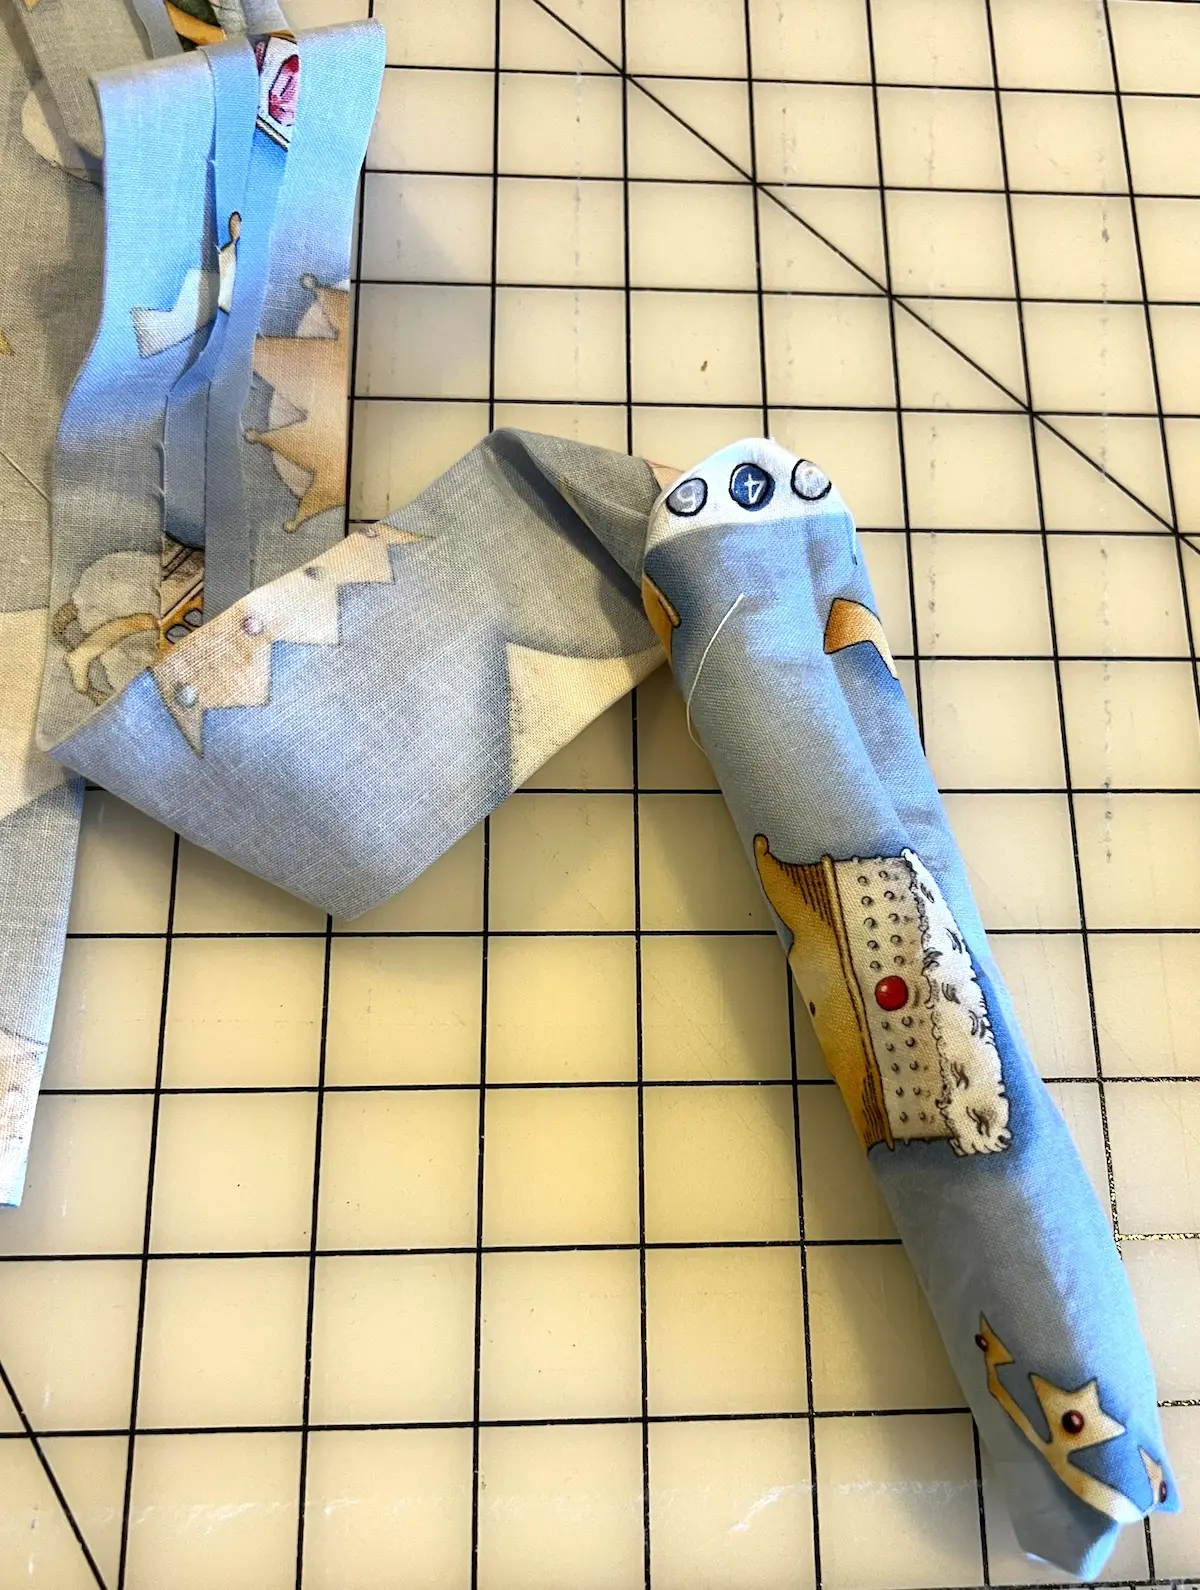
Press again, centering the seam on the back of the wrap. 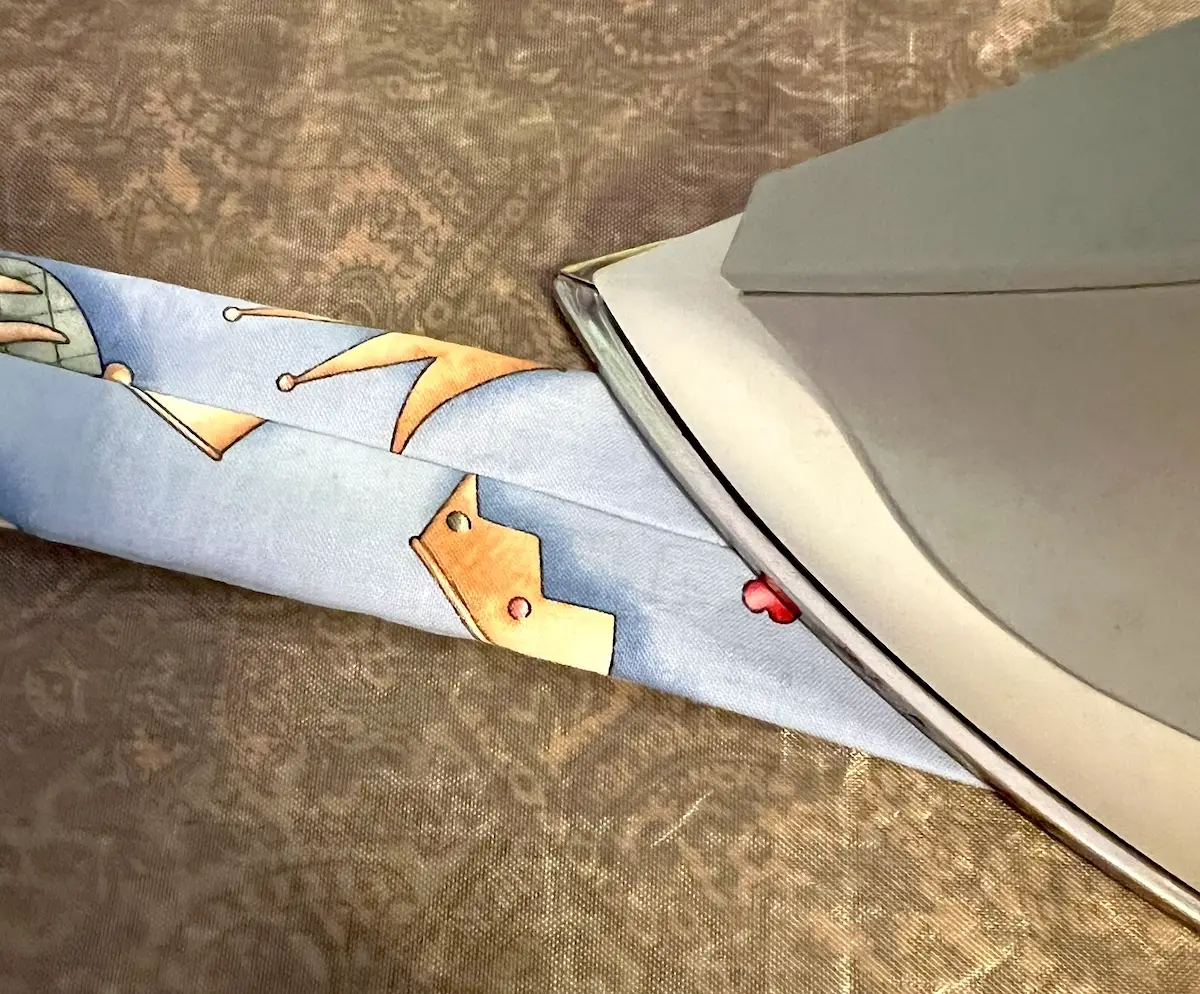
Fold the wrap in half and mark the center. 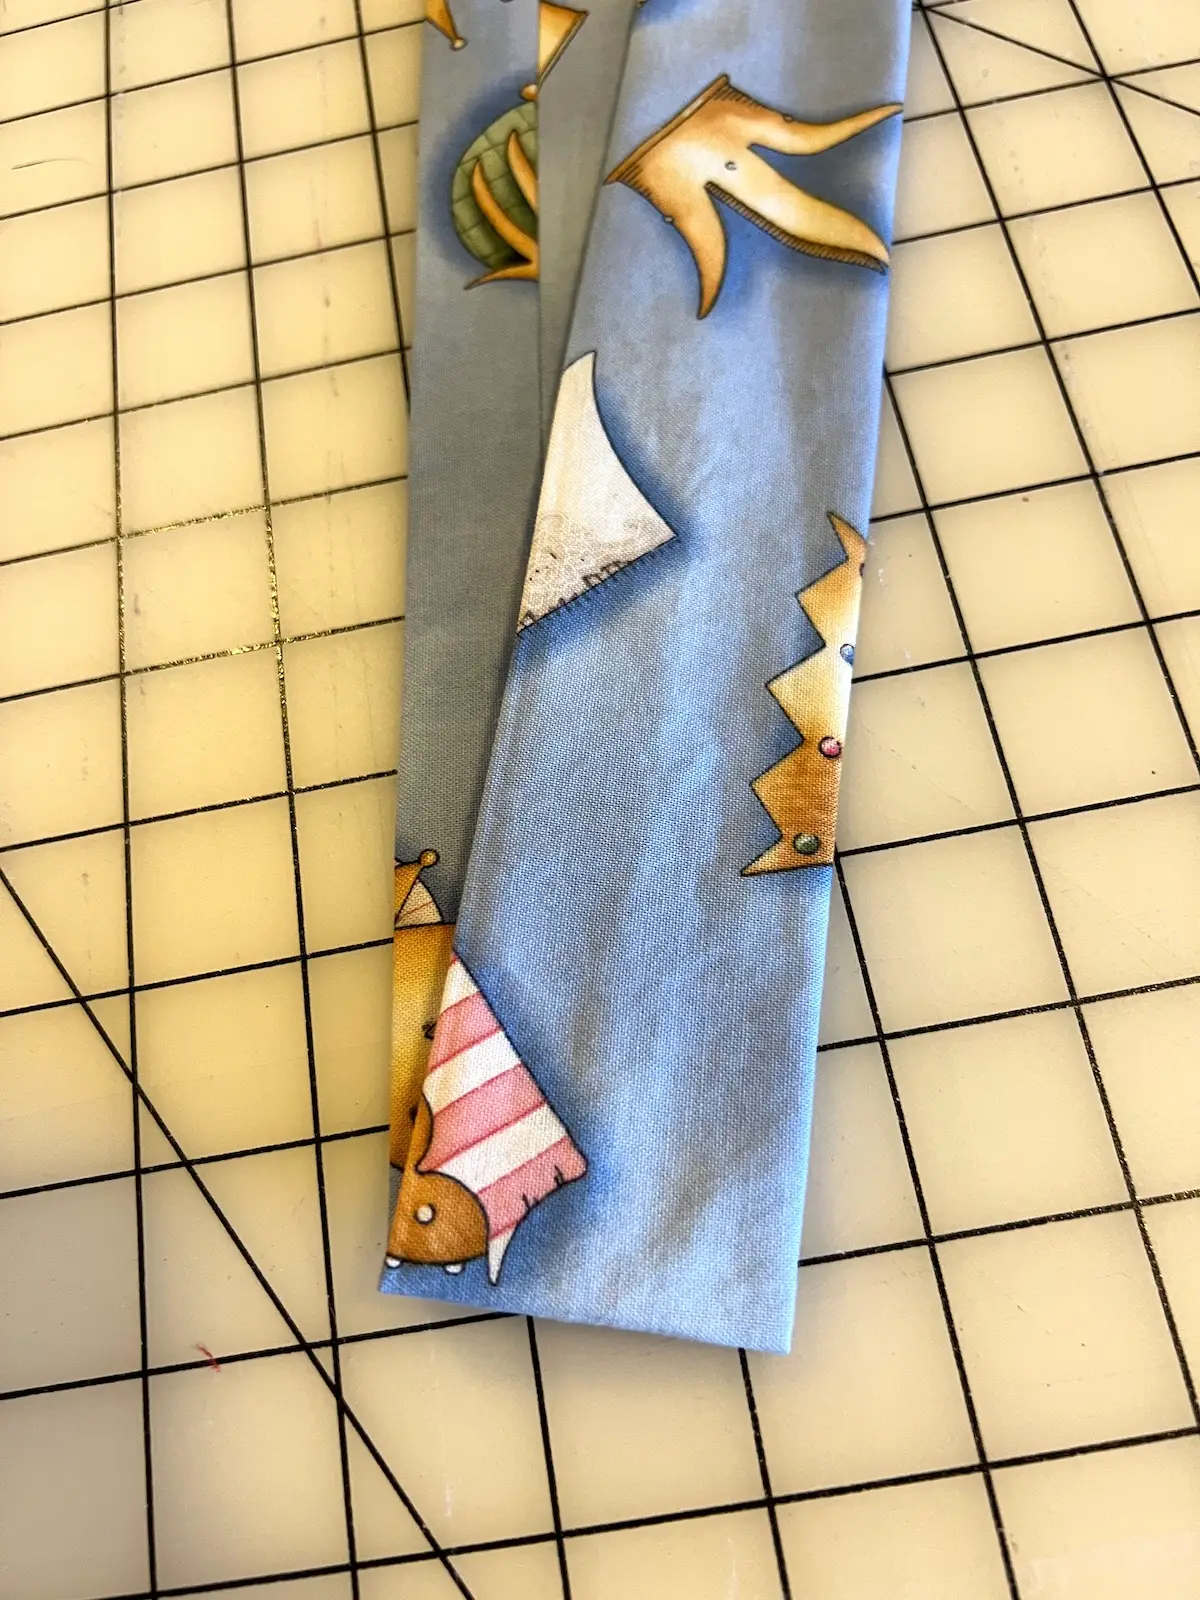
Step 3: Forming the bead pocket
Stitch across the wrap at the center point. 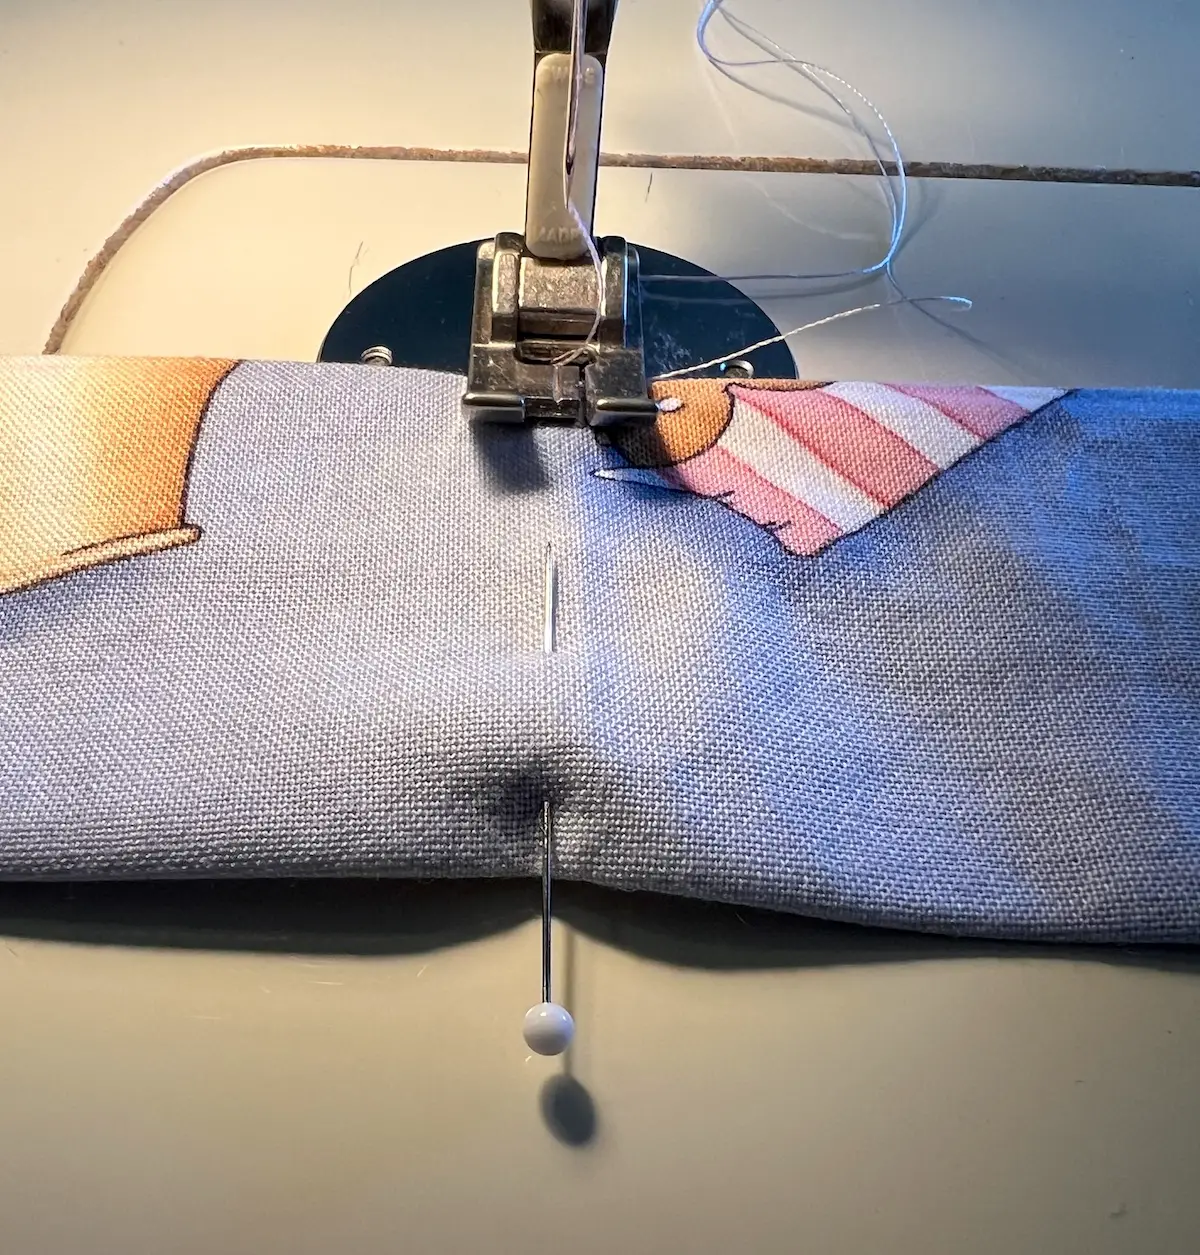
Make sure to double stitch at the beginning and end of the stitching line. You don't want the water beads to move around too much. 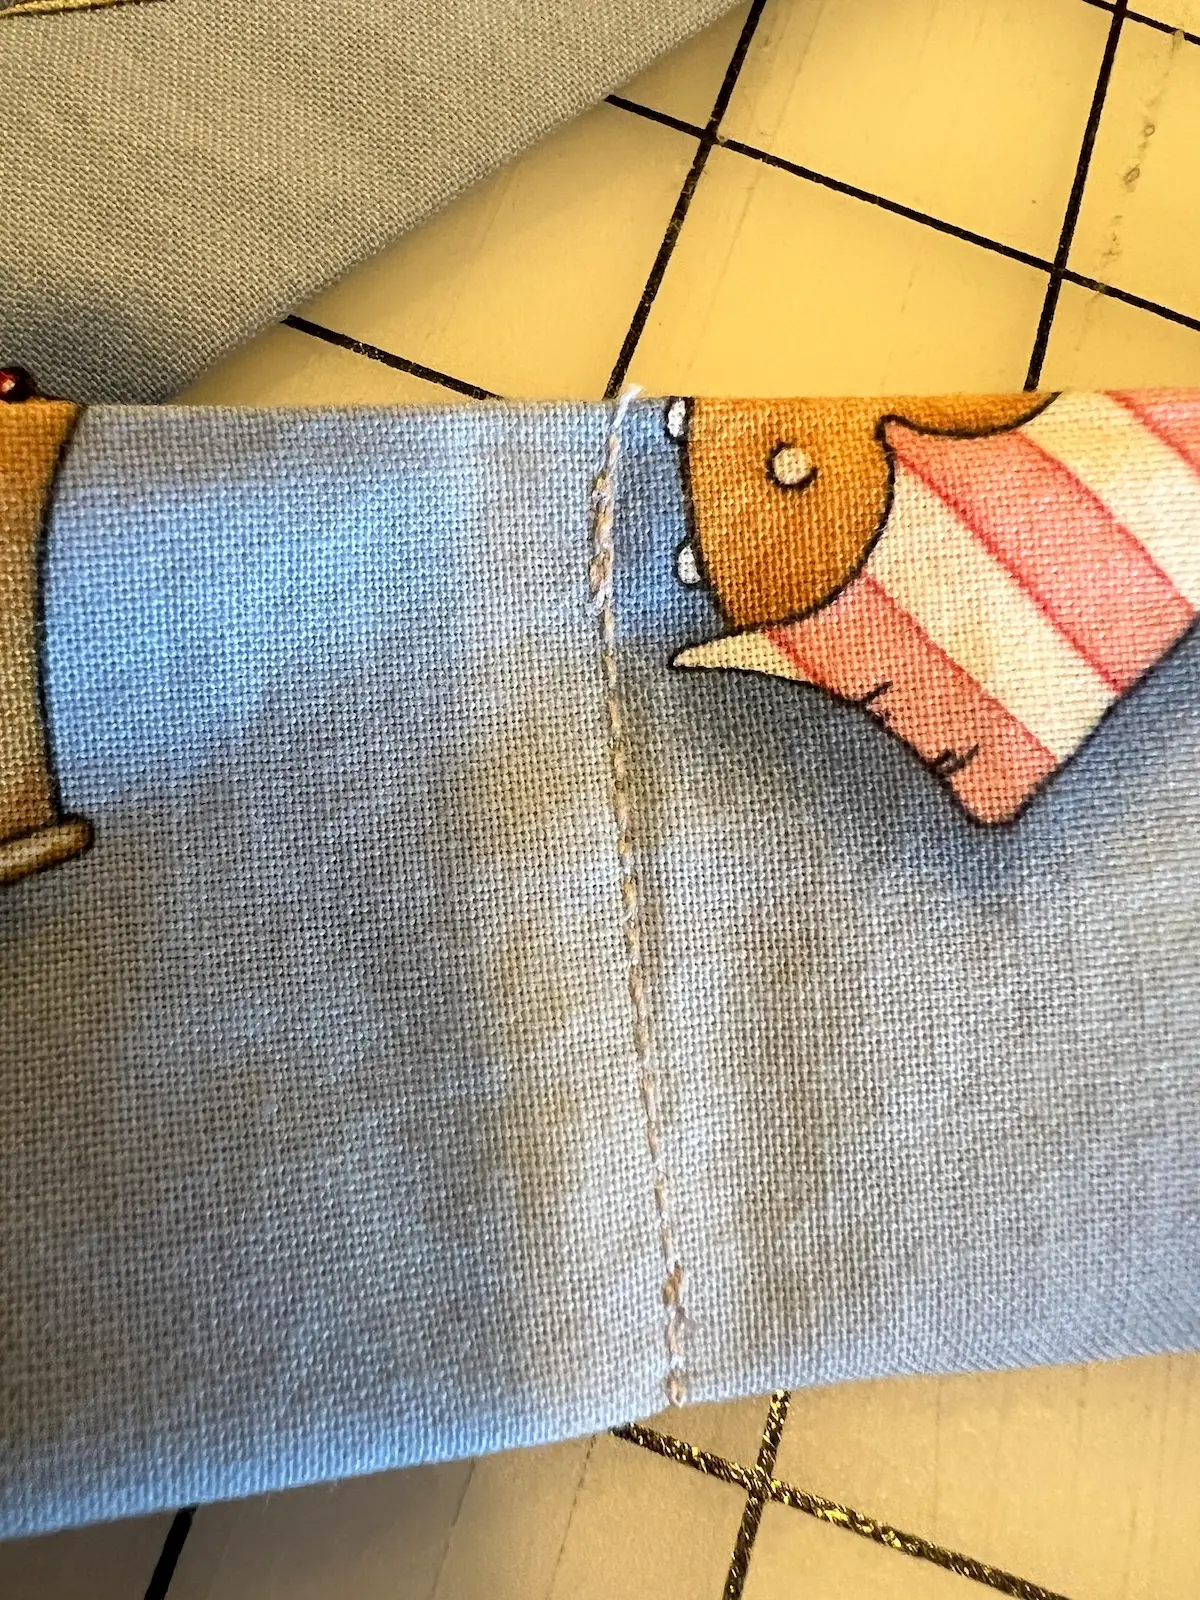
Step 4: Add water beads
Carefully place 1/8 teaspoon into the fabric tube from one end. Lift up the open end and shake the beads down to the stitching line. Using your fingers, feel down the tube to make sure all are near the stitching line. It's easy to gently nudge any that are caught. NOTE: I used a 1/4 teaspoon measuring spoon and filled it half full. 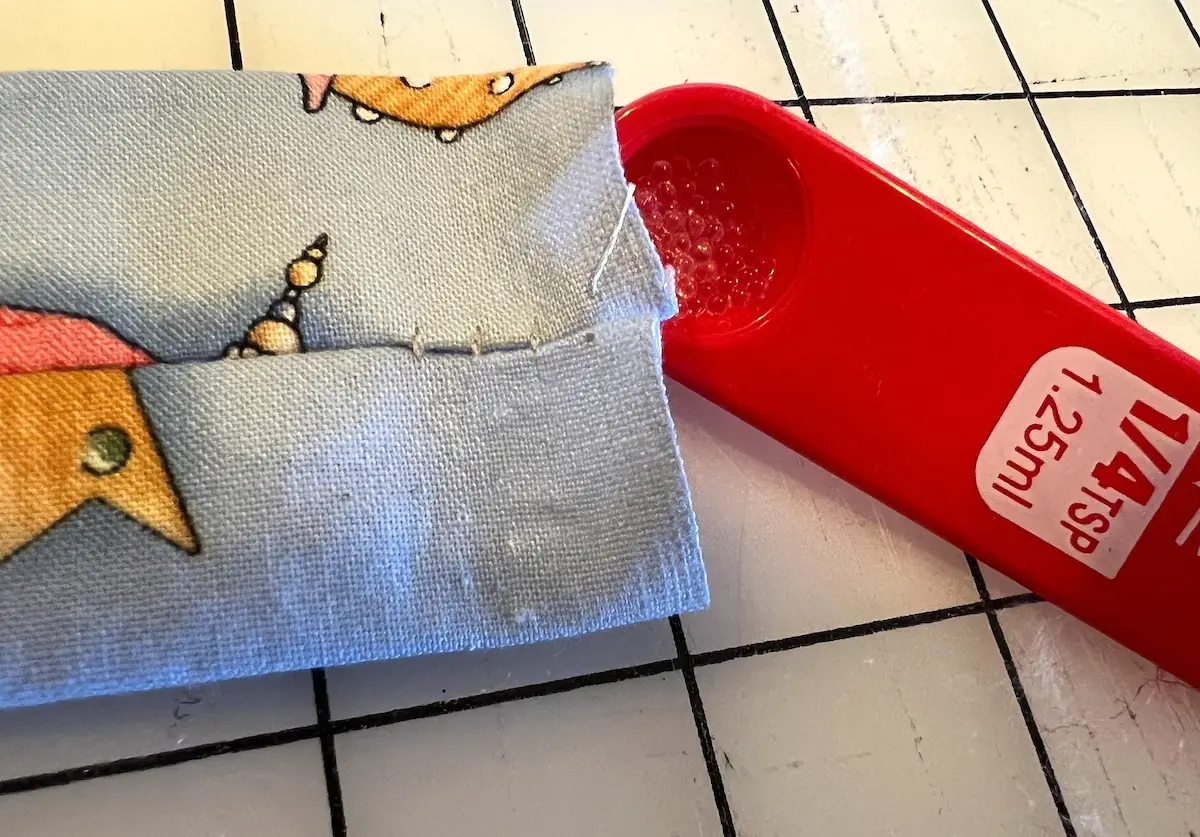
Mark 4-inches from the center seam. 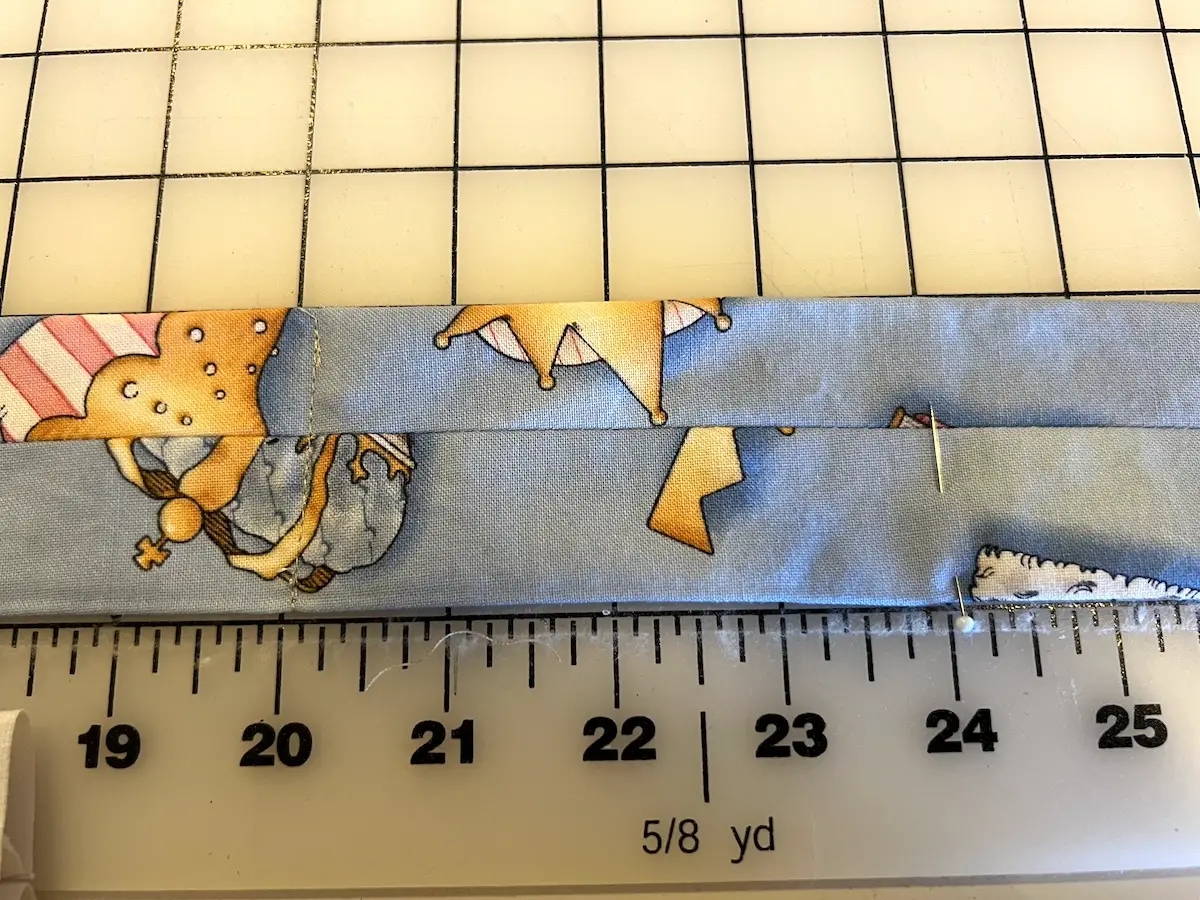
Sew across the neck wrap, securing the water beads in that first section. Repeat a second time on that side of the scarf, forming two pockets on one side of the center point of the wrap. 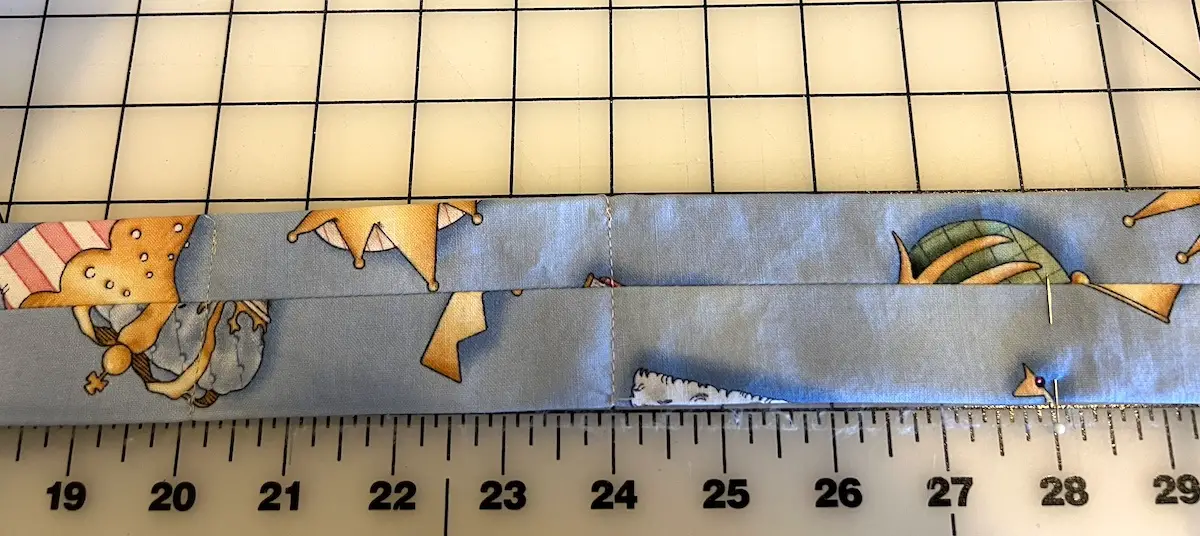
Fold in the fabric on the end and topstitch closed to finish the end of the wrap. 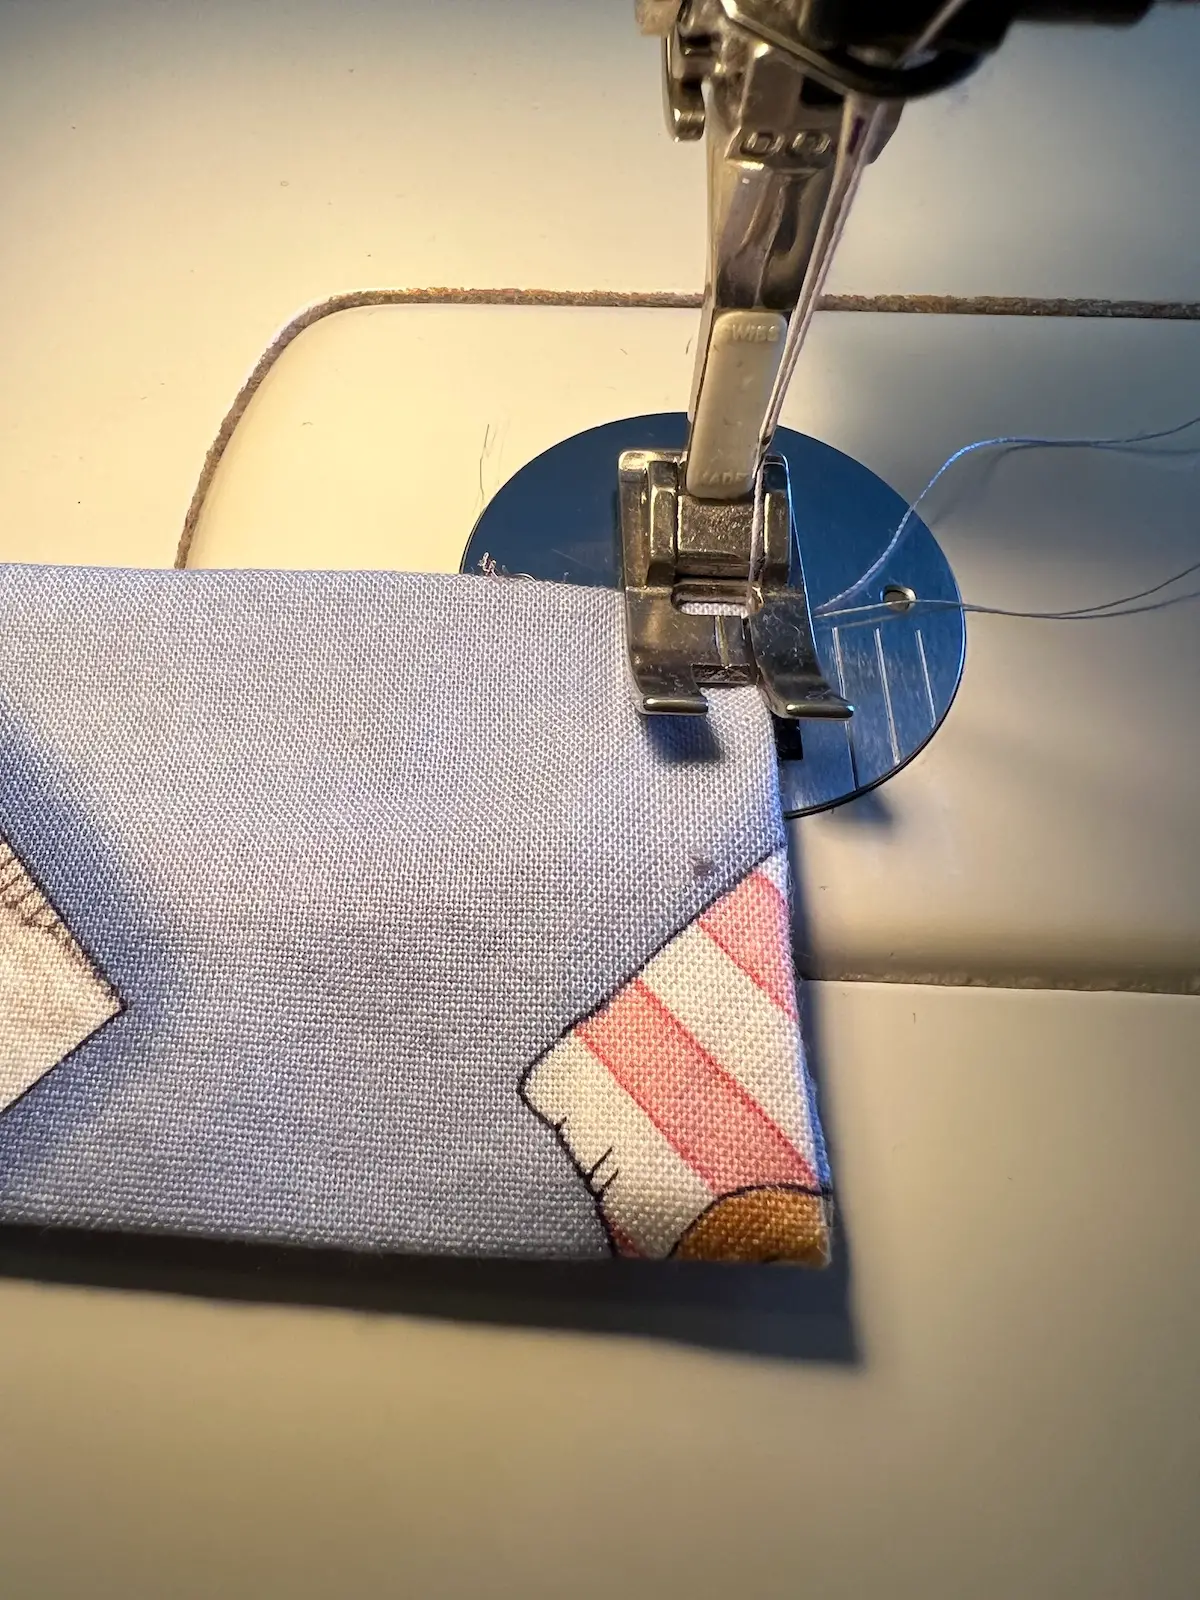
Go through the same process of adding 1/8 teaspoon of water beads to the other open end of the neck wrap. Form a 4-inch pocket, add another 1/8 teaspoon of water beads, stitch again at 4-inches and then finish the end.
Step 5: Finished neck cooling wrap
Now you have a neck cooling wrap that is ready to be soaked in water. 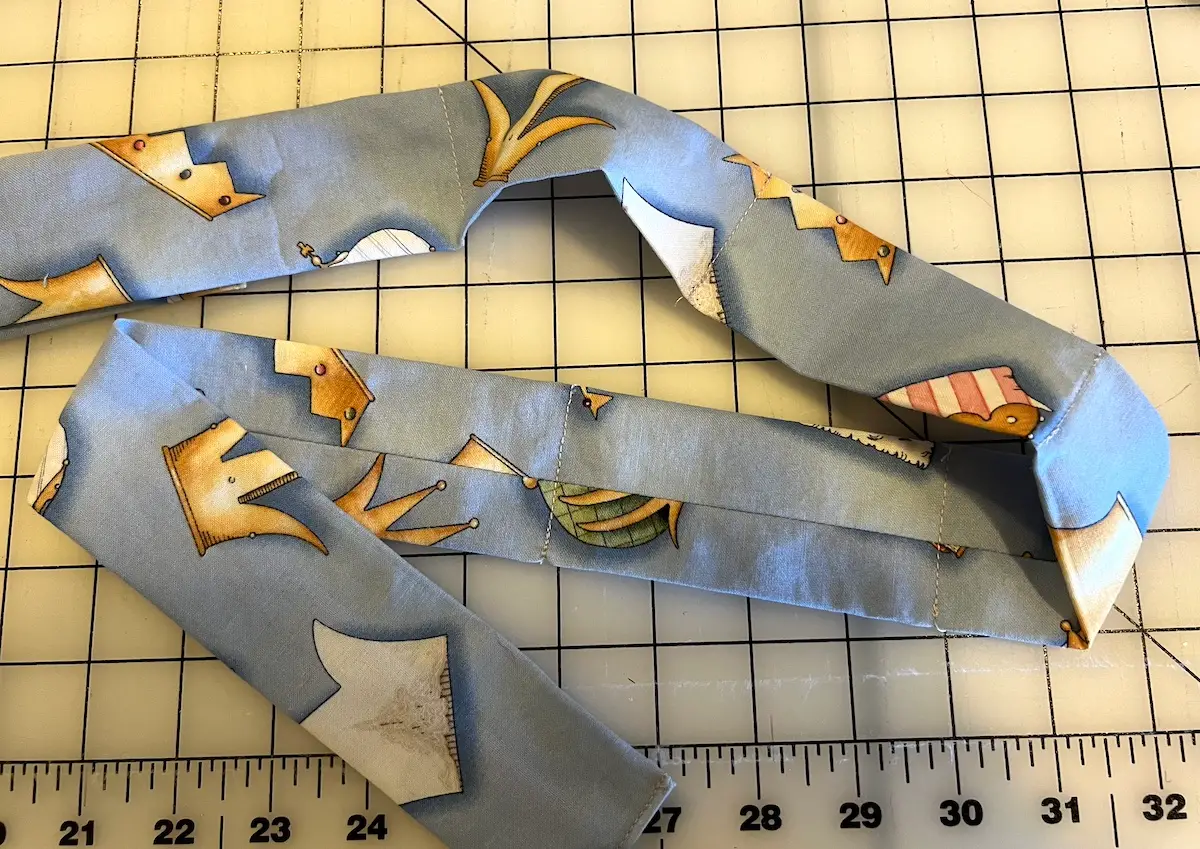
Fill a sink or bowl with water and soak your new cooling scarf! 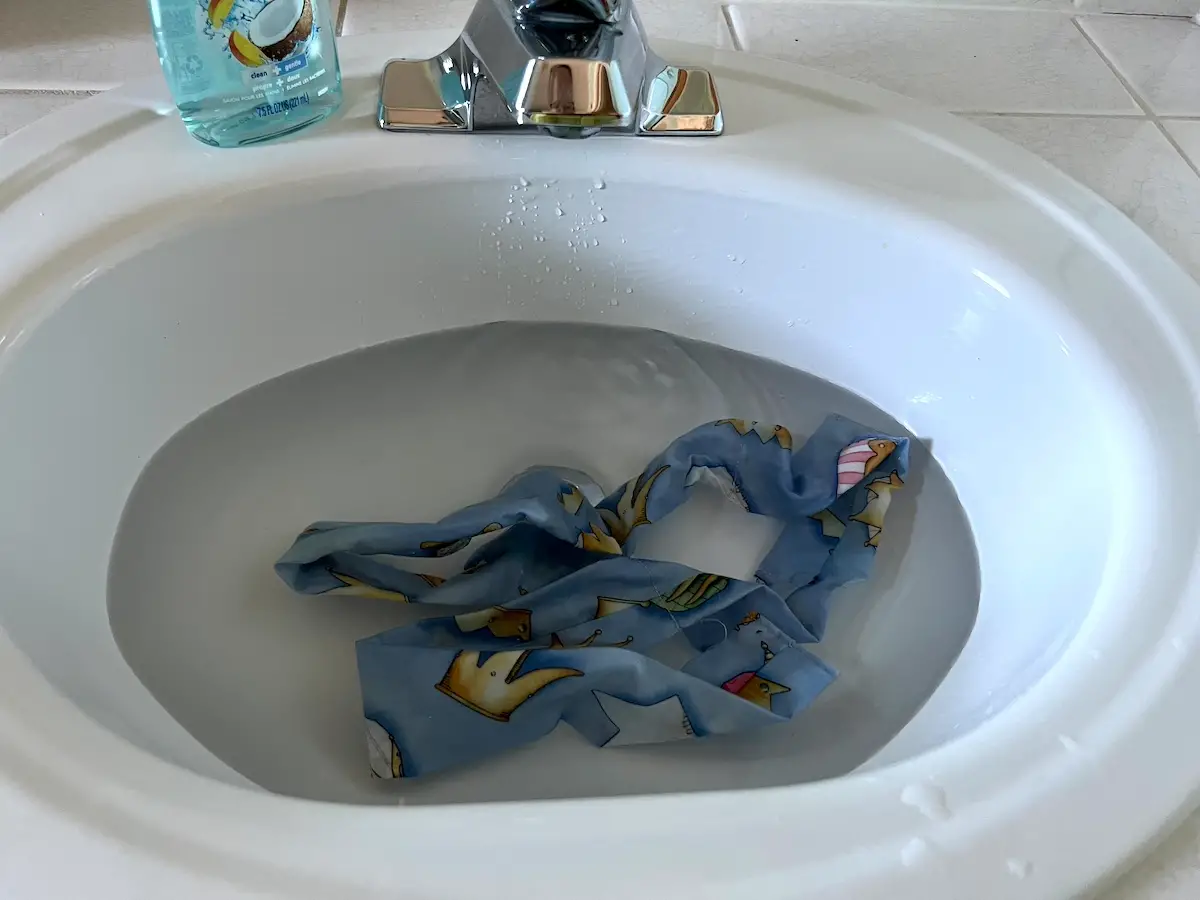
And, using a bowl to hydrate four neck coolers. 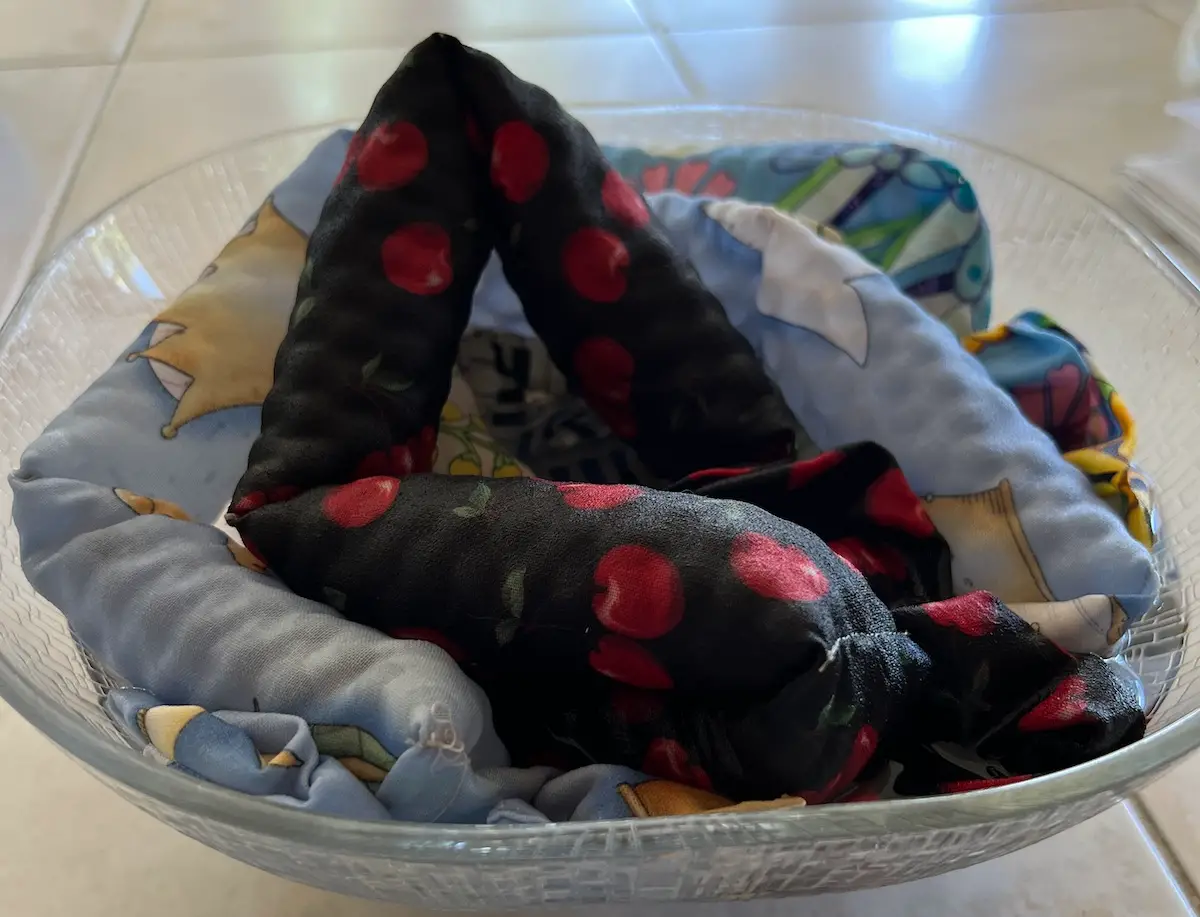
Common mistakes
- Using too many water beads > The beads expand many times their original size. Too many can cause the fabric to stretch or ooze gel.
- Skipping the double stitching > Backstitch at every pocket so the beads stay where you want them.
- Using loose-weave fabric > Choose tightly woven quilting cotton or batiks for the best results.
- Putting the wrap away wet > Always allow it to dry completely before storing to prevent mildew.
- Washing in the washing machine > Hand wash only.
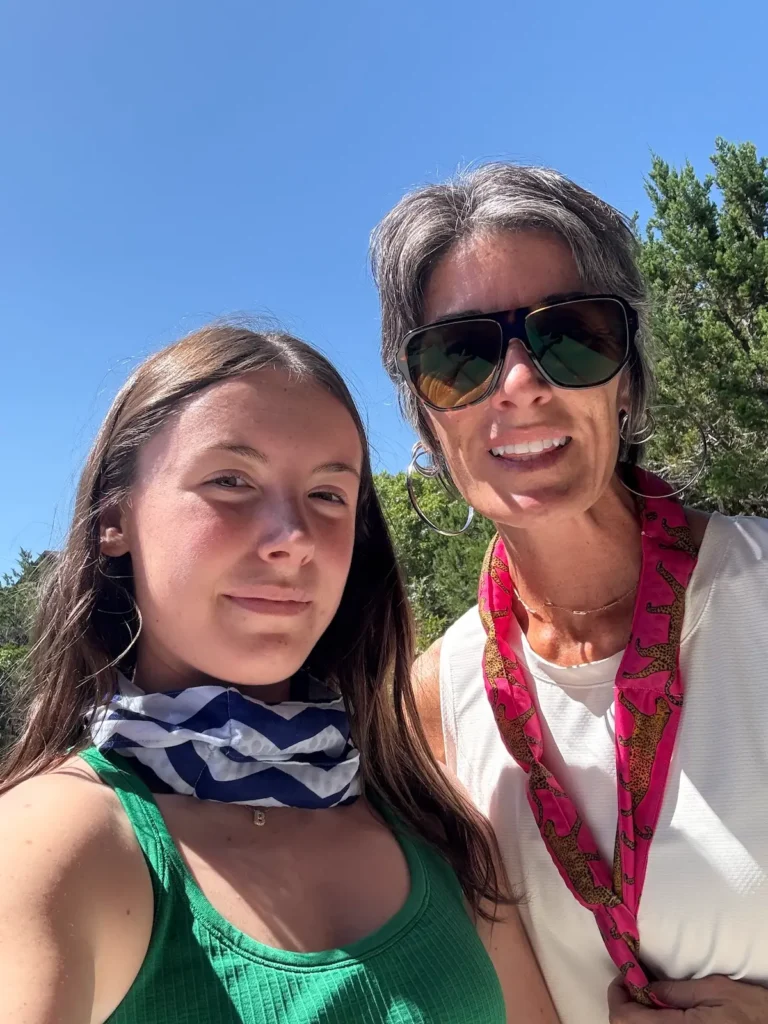
Working with water beads
When working with water beads, make sure to keep them away from children and pets. The 1/8 teaspoon of water beads in a 4″ section of the neck cooling wrap fills the wrap when hydrated. Lean towards using FEWER water beads. If you use too much, you may get ‘gel ooze’ from your neck wrap.
I like to keep the water beads double-bagged in a ziplock bag. When measuring, be careful not to spill them. TIP: Place the fabric tube in a large bowl or tray when adding the water beads to make sure none get loose.
Water bead safety
- Store dry beads away from children and pets.
- Clean spills immediately.
- Use only a very small amount.
- If the wrap develops a hole, replace it rather than trying to continue using it.
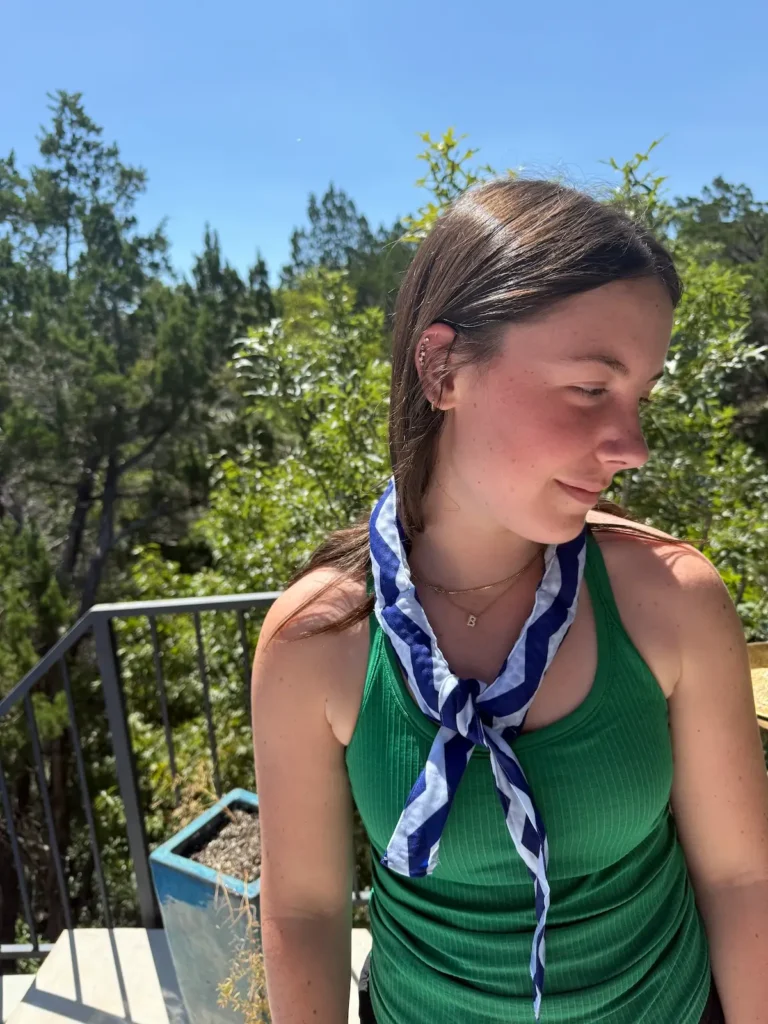

Hydrating your neck cooling wrap
To hydrate your neck cooling wrap for the first time, place it in a large bowl of water or a sink of cool water. Let it hydrate 4-8 hours (or overnight). I could use it at 2 hours, but it wasn’t fully hydrated.
To make it even cooler, you can hydrate and store your neck scarf in your refrigerator in a bowl of water, or a large ziplock bag with water. Also, you can use ice water if you are taking it on the road with you. You won’t need as much water to store a previously hydrated scarf.
When you no longer need your cooling scarf, let it dry at room temperature. Do not put it in a plastic bag to dry – it may mildew. Leave it open to dry. Once it is completely dry, store it flat in a dry location until you are ready to hydrate it again. Then, hydrate as outlined above.
Can I refrigerate it?
Yes. Many people store their hydrated neck wrap in a zip-top bag in the refrigerator so it’s ready whenever they head outside.
Can I freeze it?
No. Freezing can make the wrap stiff and uncomfortable. Chilled water provides plenty of cooling without freezing the polymer beads.
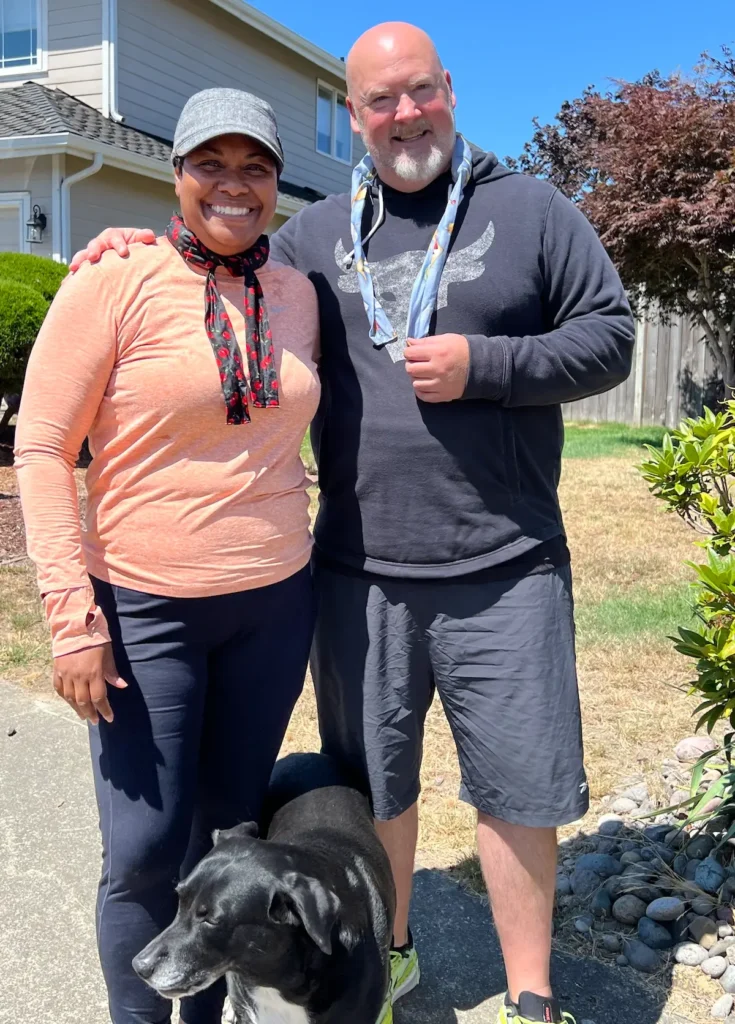
How to wear a chilled neck scarf
Take your neck scarf out of the water. Gently squeeze the ends without the water beads to remove excess water.
Wrap the scarf around your neck so that the center seam is at the back of your neck. If you’d like, you can gently tie the ends in front of your neck.
Who loves these?
Perfect for:
- gardeners
- dog walkers
- hikers
- campers
- sporting events
- little league games
- farmers markets
- outdoor festivals
- construction workers
- landscapers
- golfers
- fishermen
- quilt retreats without air conditioning

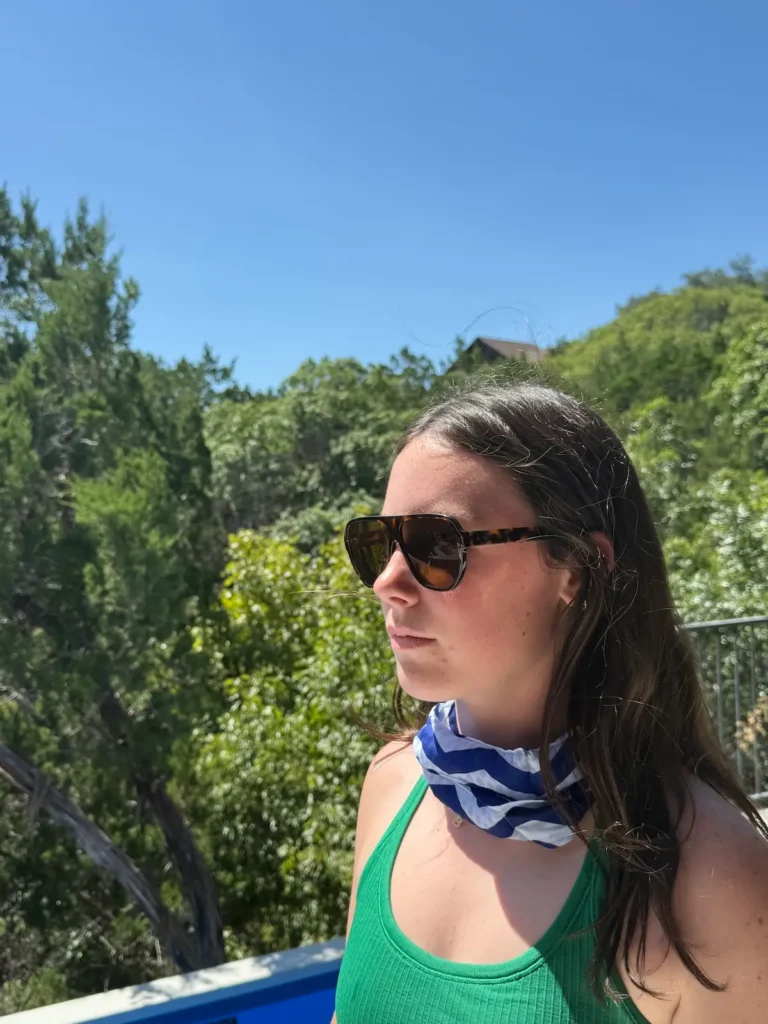
Ideas and tips for making and using neck cooler wraps
These make great gifts for anyone who spends time outside on a hot day – from sports enthusiasts and athletes, to gardeners and people who work outside. It’s a great way to use up novelty prints you just had to buy! Or buy some specifically for someone’s hobby! They are great to have for a summer trip to amusement park on a hot day.
Can I wash the neck scarf? Yes! Hand wash and rinse it under cool water to remove any dirt or sweat. Don’t put it in a washing machine – it could make a mess. If it is stinky from sweat, use a mild soap and rinse well.
If you have a turning tool, it makes it easier to turn the tube right side out. It’s also easy to turn using your hands. A turning tool makes it easier for arthritic hands.
What fabrics are best for making my cooling neck wrap? Any cotton fabric with a tight weave works well. Quilting cottons and batiks are perfect! Cotton materials help wick the moisture from the water beads to your neck, keeping you cool.
If you’d like, you can add hook and loop tape, like Velcro, to the ends of your wrap to make it more secure when you are working or moving with your scarf.
Have a football player, weight lifter or wrestler in your life? Make them an extra-large neck wrap by adding a third pocket on each side of the center seam for their larger neck.
Frequently asked questions
Most stay cool for several hours depending on temperature, humidity, and airflow.
Yes. Let it dry completely after each use, then simply rehydrate whenever needed.
100% quilting cotton or batik is ideal because it is breathable, durable, and comfortable against your skin.
Yes. Hand wash with cool water and mild soap. Rinse thoroughly and allow it to air dry.
Absolutely. Add another pocket or two if you want a larger wrap for adults with larger necks.
No. Rice creates a warming wrap when microwaved but will not provide evaporative cooling. (The rice will get mushy, and potentially mold.)
Only a tiny amount of dry beads is needed because they expand dramatically once soaked.
Yes, with adult supervision. Always make sure the beads remain securely enclosed.
A handmade neck cooling wrap is one of those projects you’ll find yourself making again and again. It’s quick enough to sew in an afternoon, uses very little fabric, and makes a thoughtful gift for gardeners, walkers, athletes, campers, teachers, and anyone who spends time outside during warm weather.
Once you’ve made one, you’ll probably want several in different fabrics so there’s always a cool one ready to wear.
RELATED: Scrap fabric sewing project ideas
Browse through more sewing projects on Create Whimsy.