Learn how to make double piping with our step-by-step tutorial. It’s super easy and finishes off your diy home dec projects professionally. Generally used in upholstery, double piping can be used in many sewing projects, too. It’s also referred to as double welt cording.
Pick a piping fabric that is lighter weight and easy to wrap around the cording. I used a linen for finishing these chairs.

How to Make Double Welt Piping
Learn how to make double welt piping with our tutorial with photos.
Finish your upholstery projects professionally with your own double welt cord.
One you learn this technique, you'll want to try other DIY upholstery projects!
As an Amazon Associate I earn from qualifying purchases. Read more about our affiliate linking policy.
Materials
- To make 5 yards of double piping:
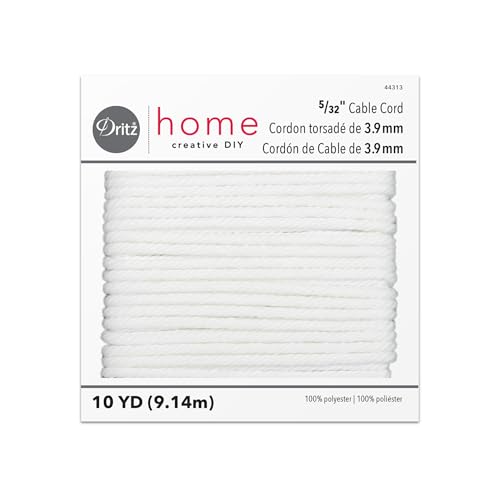
- One (1) 10 yard package of 5/32" cording, also referred to as upholstery welt cord. NOTE: Double the amount of cording you think you will need, and add a bit more to make sure you have plenty. Since it is a double piping, you need at least twice as much, plus extra for easing around edges, etc.
- 1/2 yard fabric to cover cording
- Coordinating thread
Tools
- Sewing machine
- Double welt or cording presser foot for your machine
- Rotary cutter
- Quilters ruler
- Cutting mat
Instructions
- The first step is to prepare your fabric strips. Using your rotary cutter, cutting mat and quilter's ruler, cut five (5) 3-inch strips from your fabric.
Trim the selvedge edge from the fabric strips. Sew the strips together end-to-end forming one long strip.
NOTE: It is best to use lighter weight fabrics for the double piping. Very heavy upholstery fabrics may be difficult to work with.
Cut your cording into two equal lengths.
Place the double welt cord foot on your machine. - Fold your fabric in half, placing one of the cords inside the fold. Place the other cord right next to the cord in the fold and make one more fold. Now both cords are enclosed in your fabric.

- Here is another view of how the fabric is wrapped around both cords.

- Place the fabric under your presser foot, with each of the cords in their own channel.

- Sew with a straight stitch.
Here is the big pile of finished double piping ready for a project!
- Here is a closeup of the double piping.

- If you are using the double piping for an upholsery project where you will be glueing the double welt piping to cover staples, you'll need to trim your fabric from the back. I tried several different scissor types and found the dressmaker shears work the best.

- Here is cording trimmed and ready to be glued onto my home dec project.

Notes
NOTE: If you have a lot of curves to cover with your piping, cut your fabric on the bias. For my project my lines were straight, so cutting the strips straight-of-grain worked perfectly. See our article on cutting fabric on the bias.
Recommended Products
As an Amazon Associate and member of other affiliate programs, I earn from qualifying purchases.


Favorite Supplies
I like to use the 5/32″ cording made for upholstery projects.
My favorite scissors are Kai. The dressmaker shears are perfect for trimming the fabric from the backside of your piping before gluing onto your home dec project. I tried curved blade scissors and they would catch on the piping and I accidentally cut into the cording a few times. 🙁
How do I use the trimmed piping for an upholstery project?
Double piping or double welt is used to cover staples in a home dec upholstery project. I loved these chairs and not the fabric. I found this gorgeous crewel work upholstery fabric and thought it would be perfect for these chairs and my home. I loved the orange red color and found some quilting fabric the exact same color.
I made the piping using the instructions above. And carefully covered the seat and back with this fabric using a staple gun. I have a lot to learn about stapling, even after years and years of doing it. 🙂 Here is the back of the chair with the staples in place holding the fabric to the chair frame.

Use either a hot glue gun or fabric glue to attach the piping cord to cover the staples on your home dec project. And, now finished back of the chair with the trim. I need to get my lint brush out and clean up the little threads!

I then worked the seat and the back of the chair. Here is the back of the chair in progress:


And, the finished dining room chair in my home.


You can also use the double piping as a piping trim for home dec projects. I had an old bench I picked up at a thrift shop that I wanted to redo for my hall. Here I was auditioning fabrics for the bench:

I made the double piping from the polka dot fabric.

I wanted the cover to be sturdy, so I layered the quilting fabric with batting and did some free motion stitching around some of the motifs.

I covered the top of the bench with this quilted fabric. Then I stapled the piping to the edge of the bench. This time I did not trim the piping, the extra fabric was perfect for securing it to the bench top.

Here is the finished bench. The extra trim is perfect!

What is a double welt?
A double welt is also known as double cording or double piping. It is one piece of piping with two cords sewn close together and used to finish upholstery projects. You’ll find it used often on chairs or benches that are recovered to add a trim over the staples.
Double piping trim covers the raw edge of the fabric and the staples used to cover a chair. It is commonly referred to as a chair upholstery trim.
What is the different between piping and welting?
Piping is used in both garment making and home decor projects. It generally is only one cord, also known as single welting or single piping. For garment making, smaller piping cords are used and are generally cotton or polyester. For upholstery projects, the larger the cord, the fiber content can vary. See our article on how to make upholstery piping.
What size cording do you use for double piping?
Standard cording size for double piping is the 5/32-inch cording we used in this tutorial. You can use smaller or larger. The key is having the special foot for your machine to make it easier.
What does a double welting foot do?
Most sewing machine brands have a double welting foot available. They make your life so easy to make double piping! Just wrap your fabric around your cords as outlined in our tutorial above, place your cording under the foot and sew! It sews the cording perfectly into double piping!
How do you attach the double piping?
Generally, the double piping is attached to the furniture with a hot glue gun to cover the raw edge of the fabric and the staples that secure the fabric to the furniture. Trim the excess fabric from the back of the piping. Slowly lay down hot glue and press the trimmed double piping into the glue.
Browse through more home dec projects on Create Whimsy.


