We’ve seen beautiful fashions made from thrift finds, including quilt jackets and patchwork coats. In this article, I’ll explain the basics of how to make a quilted jacket, including tips on sewing thick fabrics.
The basic steps to make a quilt coat are:
- Find a quilt top, quilt or make a quilt sandwich for your coat or jacket
- Select an appropriate pattern
- Make the garment following basic garment sewing directions
- Finishing tips and techniques
- Enjoy your new custom, one-of-a-kind garment
More Inspiration:
- Making a patchwork quilt from pre-quilted pieces
- Make an art quilt coat from an art quilt that wasn’t working
- Make a quilt jacket without a pattern
- How to make a quilt sweatshirt
- Making a quilt jacket from a vintage quilt
- Tips for making quilted garments
- More quilt coat ideas and inspiration
Finding a quilt top, quilt, or making your quilt sandwich
This is the fun part! I love estate sales and thrift shops. And, I love old quilts. I just can’t bear cutting into many of the quilts I’ve collected. They have stories to tell.
There are two sides to the debate on cutting up old quilts: one is they should all be preserved and the other is that if your someone released the quilt to the world, you should be able to do what you’d like with it.
As an Amazon Associate I earn from qualifying purchases. Read more about our affiliate linking policy.
I’m in the middle. You’ll see below I’ve made a quilted jacket from thrift store finds of contemporary quilted pillow shams and a baby quilt – both made by machines in the last 5-10 years. I feel as though using these items is saving them from the landfill (and making a super cute jacket to wear and enjoy!).
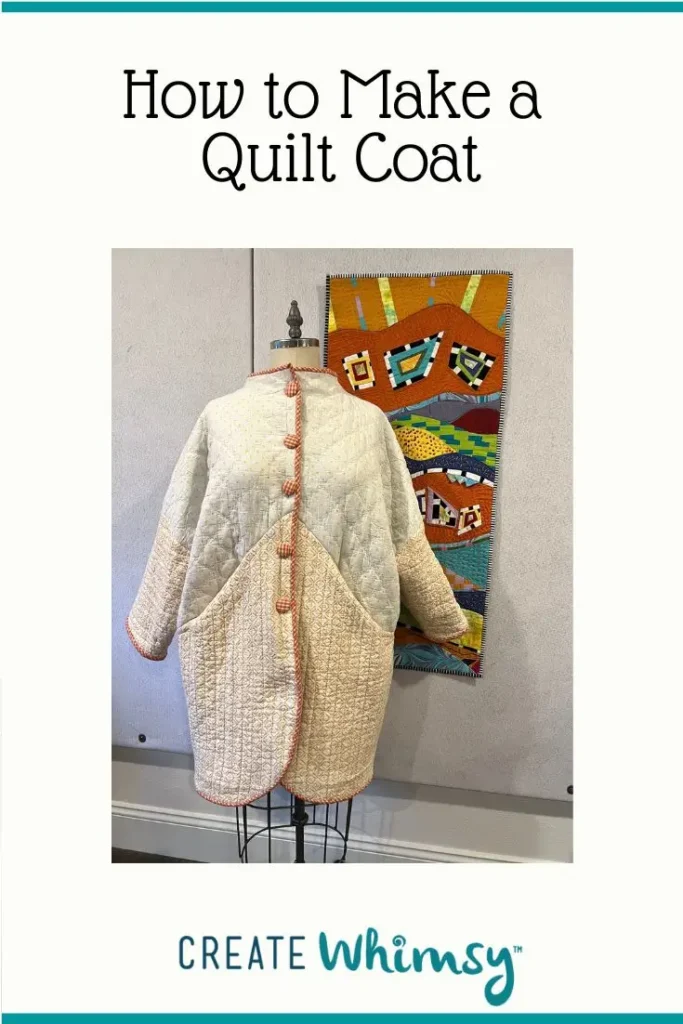
Below is a quilted coat that was made from a vintage quilt top found at an estate sale. It had tears and stains and was never finished into a quilt. I gave this top new life by quilting it, cutting around the soiled and torn spots to make a coat.
Many people select new fabrics and make a quilt sandwich just for the jacket or coat. On my list for someday! These make a more modern look to the quilted jacket or coat.
Whatever your opinion, go on a treasure hunt. Browse estate sales, garage sales, thrift shops, and antique stores. Have fun. See what you can repurpose into a new garment for you!
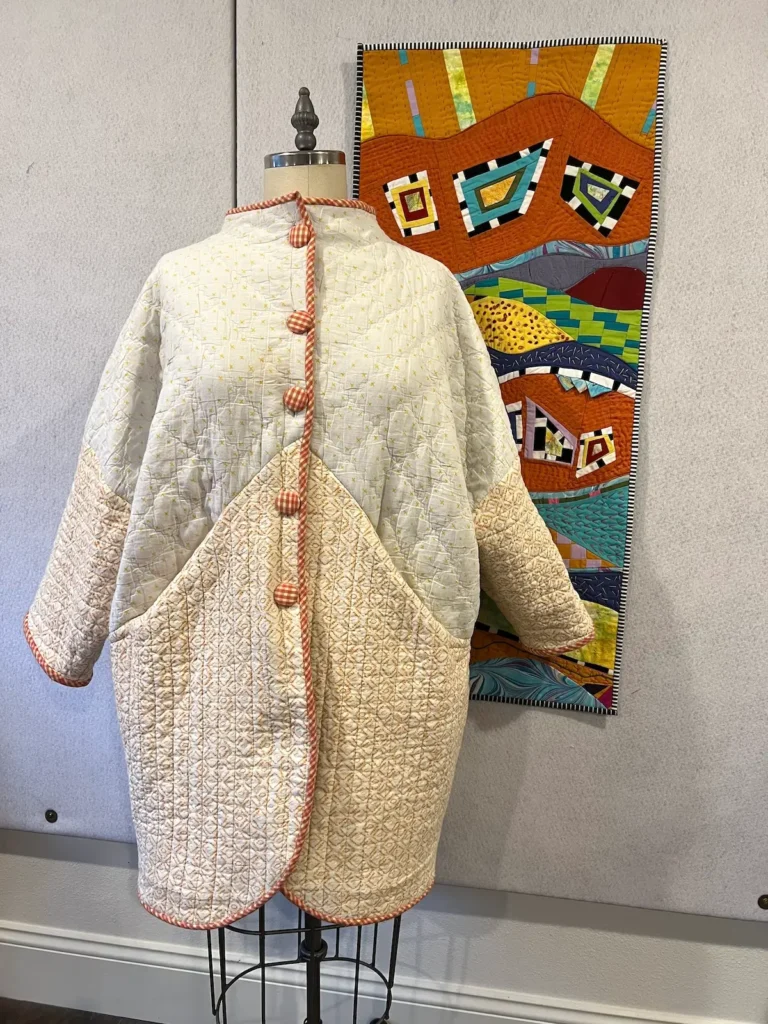
For my quilt coat, I started with this quilt top that I purchased at an estate sale. It was stained (still a few remain) and some of the blocks were damaged. I wanted to give it a new life as a coat. This is a vintage quilt made with churn dash quilt blocks.

Select an appropriate pattern
A quilt is thick. Depending on the batting used in the quilt, it can be really thick!
Which sewing patterns are best? The best patterns for quilted jackets are ones that don’t have a lot of seams or details. And, you don’t want a pattern that is too full. Quilts are thick and the coat will stand out from your body like armor!
I recommend making your pattern up in a fabric you pick up on a clearance table to make sure the pattern fits the way you want before you think about cutting into your precious quilt. I browse clearance tables for interesting fabrics to make my ‘muslins’ from something that I might actually wear if it works out. And, if it doesn’t I haven’t invested a lot in the fabric.
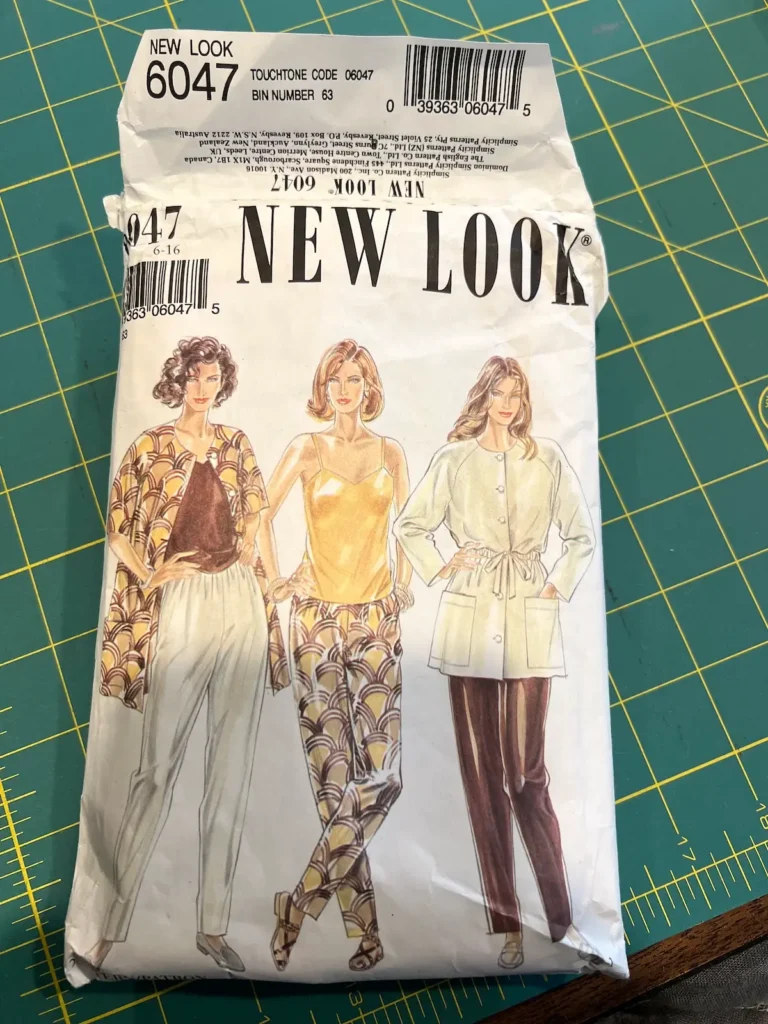
I’ve used the Tamarack jacket pattern by Grainline Studio both at the hip length, and lengthened it for a longer coat, and the Sapporo pattern by Paper Cut (now called Nova – I must have purchased this a while back!). I really like a raglan sleeve for a quilt coat and found the New Look 6047 pattern in an estate sale. I used it for the art quilt jacket below.


In selecting a pattern, look at the line drawings for the pattern, not just the pretty picture on the front. Make sure that the lines are simple. Generally, patterns labeled as ‘easy’ have fewer seams and would work best.
Making your garment
You’ve got your quilt and a pattern, now what?
Starting your quilt coat with a quilt top
If you are starting with a quilt top that is not quilted, as I did, the first thing you’ll want to do is prepare the garment parts by quilting them. You don’t need to quilt the entire quilt. It is easier to quilt each garment piece on your sewing machine.
You’ll need to cut the main body pattern pieces from the lining fabric, batting, and your quilt top. The main body pieces for a coat are the front, back, and sleeves.
I like to cut about 1-inch larger around the edge of all of the main body pieces. The fabrics can shrink a bit after quilting. (Note: the Tamarack pattern has you cut to the exact size of the pattern and then quilt. I don’t recommend that. There can be distortion and shrinkage with quilting.)
If you run short on some of the lining fabric, be creative! Pick another fabric from your stash and piece the lining. No one will see but you. And, it can make it interesting!
I had enough of the vintage small blue print for the fronts and back of the coat. Not enough for the sleeves. I pieced a bit of the blue and then added the pink gingham at the bottom of the sleeves. If I roll the sleeves up while wearing, a bit of the pink will be a surprise on the sleeve edge. There are a few of the quilt blocks in the quilt that have the same pink gingham.

Here I’ve cut the lining and batting for the front of the quilt coat. Layer the WRONG side of the lining with the batting on top.

Then, place the front cut from the quilt top RIGHT side up. These are the three layers of the quilt for the coat.

I pin basted these together with safety pins to hold them while I machine quilted the three layers together.

I decided to do a simple straight stitch following the square blocks with my walking foot to quilt for my quilt design and to secure the layers together.

Here is the back of the quilt coat all quilted and ready for the other pieces to be quilted so I can trim them to size and sew the coat together.

Once you have the main pieces all quilted, take your pattern pieces and trim them to the exact size. Now you are ready to sew together your garment.
Sewing your quilted jacket. Start here if you are starting with a quilted piece!
Follow your pattern directions to make your coat or jacket.
If you are going to add pockets to the front of your coat, do it before you sew your fronts to your backs. It’s so much easier to do it working on a small and flat piece.
I wanted to add welt pockets to my coat. I used the Smart Pockets printed interfacing by QuiltSmart. The printed interfacing makes welt pockets super easy, all you do is sew on the marked lines and follow the directions for cutting and folding the fabric. The directions are in Mattie’s book, The Quiltsmart Coat. She has lots of great tips and ideas for making your quilt coat. Read our interview with Mattie.
Here I’ve pressed the interfacing to the wrong side of fabric for the welt pocket.

I wanted to make sure that the pockets lined up on the fronts. I laid both front pieces on my table at the same time. I wanted the pockets to be at an angle (I think they are more flattering that way!). Here are my two fronts with my pieces all pinned and ready to sew.

I followed the directions and I’m happy with my two finished welt pockets! I’ve made welt pockets before but the printed interfacing made them so easy!


Now I was ready to sew the fronts to the back, and then add the sleeves.
I fussy cut the coat pieces so that the solid fabrics would match around the coat, and importantly at the side seams. So, when you are sewing your coat together, make sure to line them up.
Here is how to match your seams. Use the seam markings on your pattern to do this. You’ll see small notches or Vs on your pattern seam lines. As you lay one pattern piece on the quilt, note exactly where it is. I lined the front side seams up on the top of the solid fabrics. Then, as I was laying out the back pattern piece, I made sure the same marking was also at the top of the solid fabrics. Look at how beautiful my side seams are!

Here is my coat body sewn together and the sleeves pinned on the dress form.

After I sewed sleeves in, I was ready for finishing my quilted coat!
I finished the inside seams with a Hong Kong finish.
Related: How to sew a Hong Kong Seam Finish

Cut bias strips and sew the right sides together. Turn the edge over the seam and top stitch. They make a beautiful finish to the inside of a garment.

Finishing your quilted coat or jacket
Now it is time to finish the edges of the coat and add a closure to the front. So many options!
I had already decided I wanted to bind the edges for this coat instead of making facings. See below for my quilt jacket where I faced the edge.
What fabric should I use for the binding? I pulled several out that weren’t the right colors for the pale pink and taupe sashing in the quilt. And, several had the right colors but didn’t have the right feel for the quilt.
I auditioned the fabrics, tucking them into the center front so I could visualize what they looked like. When I pulled out the tiny black and white check I thought it would be perfect (see the fabric tucked in the center front on the image on the left). Hmm. Not so sure once I had it tucked in the front.
I kept looking until I found a blue-violet calico I’d picked up at an estate sale (see image on right). And, I had enough to make the bias for the coat! Win! It has a similar style to other fabrics in the quilt and colors!


I made the bias strips and sewed them around the outside edge of the coat and along the sleeve bottoms. Learn about making bias tape, how to bind a quilt, how to join the ends of bias tape, and how to make mitered corners.
The coat is all bound. Now the decision is what type of closure will I use. I auditioned several different buttons from my stash.
I love vintage buttons and thought they would be perfect. They were too much. They were distracting with all of the prints on the coat.
I tried plain buttons on the front of the coat. They were distracting, too. I needed a solution that wouldn’t show.
I remembered I’d picked up some snap tape in my travels. I auditioned a natural color and black snap tape.


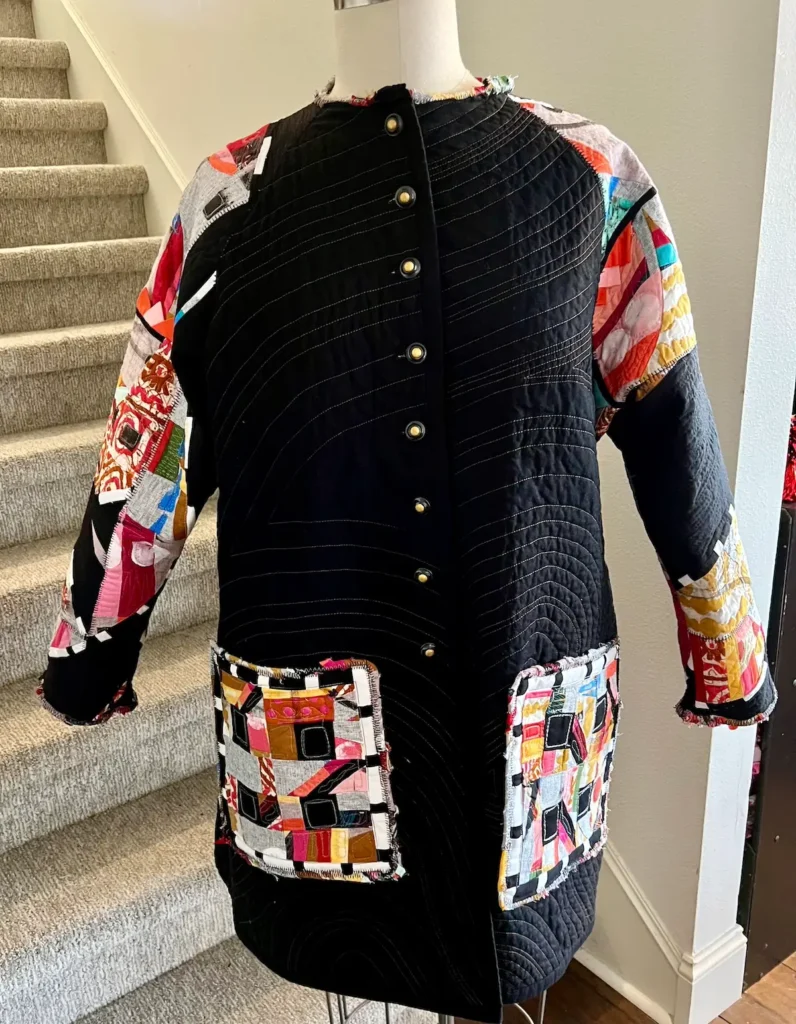
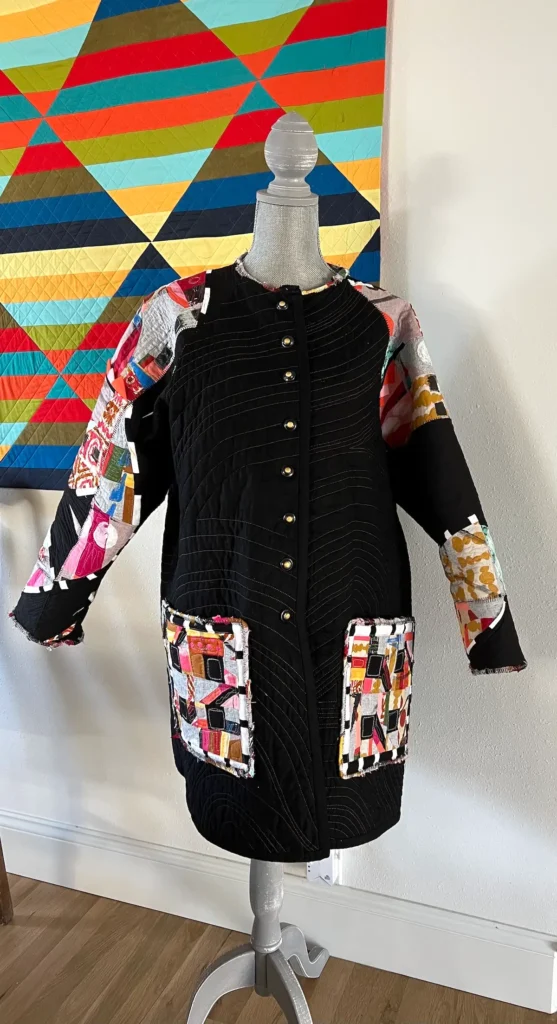
I liked them both! I feel as though the natural gives the coat a homey country look, while the black made the coat a bit more sophisticated. I went for the black! Here is my finished quilt coat from a quilt top.


Making a quilt jacket from pre-quilted pieces
Here is a jacket I made using the Sapporo pattern by Paper Cut. I picked it because I liked the few seam lines and the pocket in the seam, and the back is super cute. Perfect for bulky fabrics!
On a trip to a thrift shop, I found a pair of quilted pillow shams and a baby quilt – all with the same yellow in them. I thought they could be combined to create a cheerful spring quilted jacket when it is still cool but we are tired of dark and dreary days and coats!
I cut out the pattern pieces and made the coat. Super easy! The quilting was all done.
Here is the finished coat.

See the great pocket in the seam?

And, I love the back seam line on this coat.

Here is a close-up of a faced quilt jacket, instead of a bound edge. You can see it is thicker and heavier – it just depends on what look you want.

And, I want to show the inside of the jacket. The pillow sham was reversible, so there is a great bright print peeking out on the inside. And, the seams are Hong Kong finished with a bright color print that coordinates.
Related: How to finish seams with the Hong Kong method

UPDATE: I liked the yellow quilt jacket but the facings and hems made it really bulky, so I never wore it. I decided it was time to upcycle it!
I cut off the facings around the neck and unstitched the facings and hem so they would open up. I made bias tape from a coordinating fabric to finish the edges. Another thing I didn’t like about the jacket is that it didn’t have a closure. When it is cold outside, I want to button up!
I covered some buttons with the same fabric as the bias and put buttonholes down the front.
RELATED: The Art of Covered Buttons
Now, I will wear the jacket! I love it – such an improvement! Better, yes?
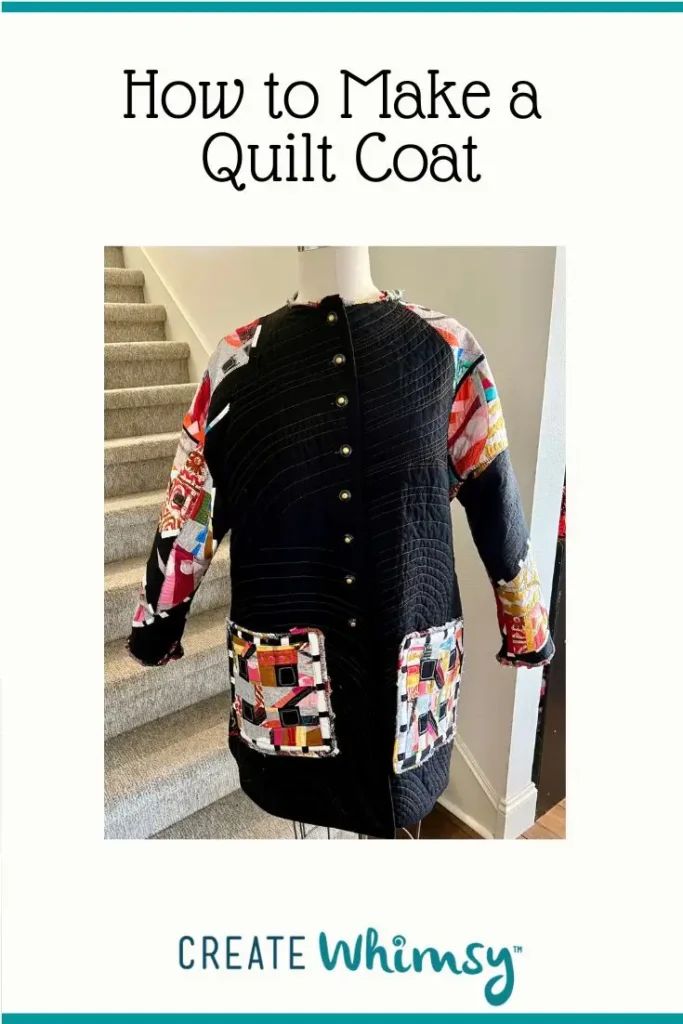
Make a quilt coat from an art quilt that wasn’t working
This coat was so much fun to make! I ‘inherited’ two black quilts that had been used as a background for smaller pieces in a small group I was part of for years. After being in a few quilt shows, the quilts were stored under the bed of a member of the group.
The decision was made to donate the small quilts to our local art quilt guild, Contemporary Art Quilt for fundraising. Now, what to do with the background black quilts? No one wanted them. I took two of them to transform into quilt jackets.
My initial intent was to use the samples from the article “How to insert fine lines into a quilt block’ as the sleeves. But it just wasn’t working. The black was quilted with a copper thread, and the stark black and white was too much.
I sat at my sewing machine for a different project and looked up at my design wall – there was the perfect quilt to cut up for sleeves! An art quilt I’d been cutting up and trying to make work for over 18 months! (Seriously, I cut this piece up and reworked it at least 7 times! I was determined!)
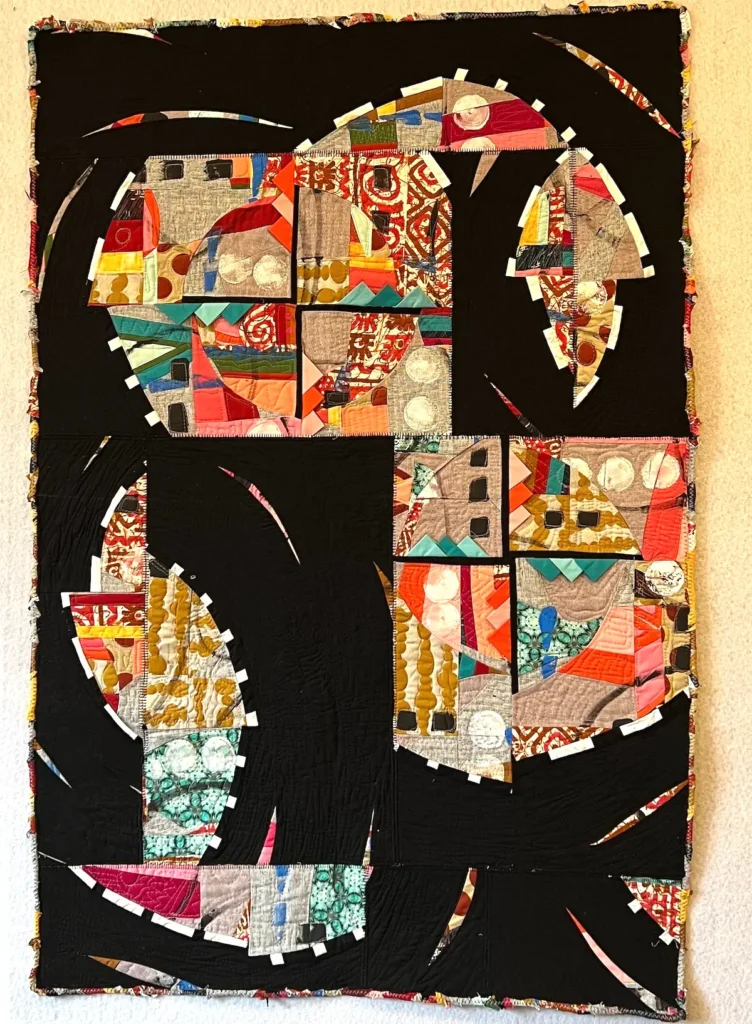
And, here is my new art quilt jacket!
How to make a quilt jacket without a pattern
Thanks to Bobbie for sharing her quilt ‘unpattern’ tips.

This jacket was made from a very worn quilt that had already been cut. I decided to embrace the worn look that is popular. To make a casual jacket to wear in the car to run errands or just cover up a bit, I wanted to design something with as few seams as possible making adjustments as I went along.

I began by measuring a wrap that I like to serve as the basic size for the width and length. I used the quilt borders for the front and bottom edges. I cut rectangles using the quilt pieces in that way, trying to avoid the worst of the damage. I used two sections with the border along the bottom for the back joining them with a center back seam. I then used two corner border pieces to create the front, joining them to the back along the shoulder seams. Once I had a front and back rectangle, I cut the neckline using a pattern I like. Now I had a nice wrap or ruana. You can find instructions for a ruana here.
I decided to make the wrap into a jacket. I created sleeves and made the sides more narrow, by measuring down from the shoulder for a generous kimono-style sleeve, then cutting several inches off of each side to make 3/4 sleeves, creating a loose jacket. I like the shorter sleeve, but you could either begin with a larger piece so that the sleeve length would be greater, or add the fabric cut from the sides to the sleeves to make them longer.

Some places were very worn, so I cut pieces from the remaining quilt scraps and machine stitched them over the bare spots- embracing more raw edges! In a few places I added some hand embroidery to cover small tears in the fabric.
My quit was thick, and I wanted the inside to also be finished. I decided to press the seams open and cover them with eyelet from my stash.

The quilt border I used as the edge was worn, so I machine stitched all along the edge to stabilize and then finished with a decorative blanket stitch.

I had fun, played a bit and created a unique casual jacket! You can too!
How to make a quilt sweatshirt
A super easy way to enjoy a quilt jacket is to start with a sweatshirt. Purchase the size that fits you. You don’t need to have garment-making skills. Collect some quilt blocks and trims and have fun!
This is a quilt sweatshirt I made with my mom over 30 years ago! She was cleaning out some things and had a pile of those ‘precious’ linens, trims and random quilt blocks that her mother had given her. No one had used them. We decided to decorate a sweatshirt and make a jacket!
Here is the finished quilt sweatshirt.

We cut open the front of the sweatshirt to make it a jacket and cut the bottom band off of the sweatshirt. Then, started having fun placing the quilt squares, vintage linens and trims!
On the back of the jacket, we placed several quilt blocks over a vintage dresser scarf.


I’ve kept this garment and have enjoyed wearing it. It has great memories of my mom and grandmother.
How to make a quilt jacket from a vintage quilt
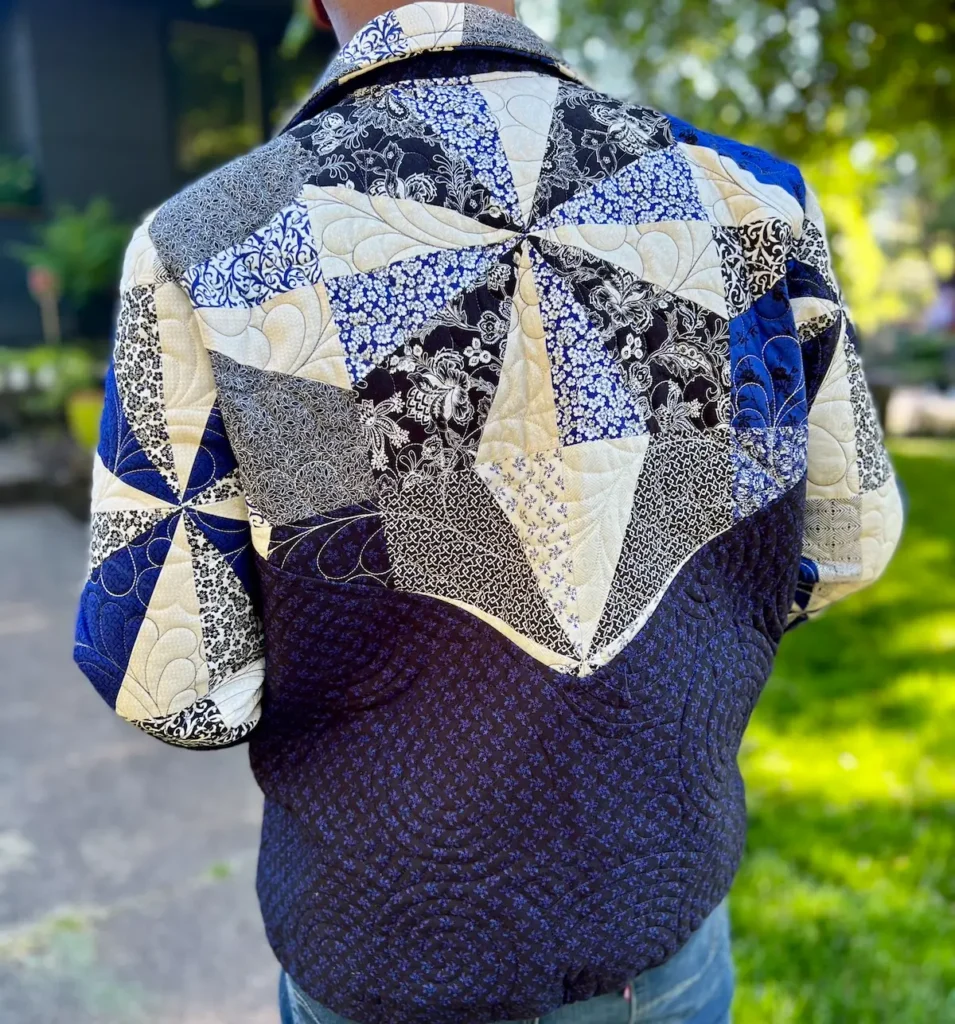
My friend Tina gifted me some pieces from a quilt she cut up. I thought “There is probably enough to make a jacket!”. I had to piece together some bits to make the back but had fun using this vintage and well-used quilt to make this jacket. Again, I used the Tamarack pattern but made it jacket length.

I had some great vintage buttons in my button box that I thought looked good on the front. I had to find some vintage scraps of fabric to make binding for the center front and front hem.
Here is the back of the jacket made from a vintage bow-tie quilt.

Tips for making your quilted garment
- Press your seams open. This reduces the bulk in the seams. With the two layers of fabric and a layer of batting, pressing seams open makes it more manageable.
- Use a 5/8-inch to 3/4-inch seam allowance with the thickness of the seams. Adjust for this when cutting out your pattern pieces. Read the pattern and see what they have allowed. For Indy patterns, they are usually 1/2-inch seam allowance and the big brands are generally 5/8-inch. Add a bit when cutting out your pieces to accommodate the increased seam allowances.
- Test your pattern for fit first! You only have one quilt or quilt top, you can’t go buy more!
- If you are quilting your fabric, use a batting that has a bit of polyester. I used 80/20 cotton/poly. 100% cotton battings can shrink with washing. I always wash all of my fabrics before sewing.
- Before cutting the quilt for your garment, think about the placement of elements. If there is a big star in the quilt pattern, you don’t want it centered right on your behind. One idea is to take a picture of the quilt, print it out, and trace some different layouts on the paper to come up with one that will be flattering on your body. Remember the quilt was originally made for a bed, not your body! Make sure it will look good!
- Finish the inside raw edges of your coat. As you can tell, I love the hong kong seam finish. A zig zag or serged edge is great, too.
- Most of all have fun designing your one-of-a-kind coat! No one will have one like yours!
More quilt coat ideas and inspiration
The two quilt jackets below were made by Kimberly Bennefield.
Read our interview with Kimberly: Kimberly Bennefield, Shoemaker and Modern Quilter.
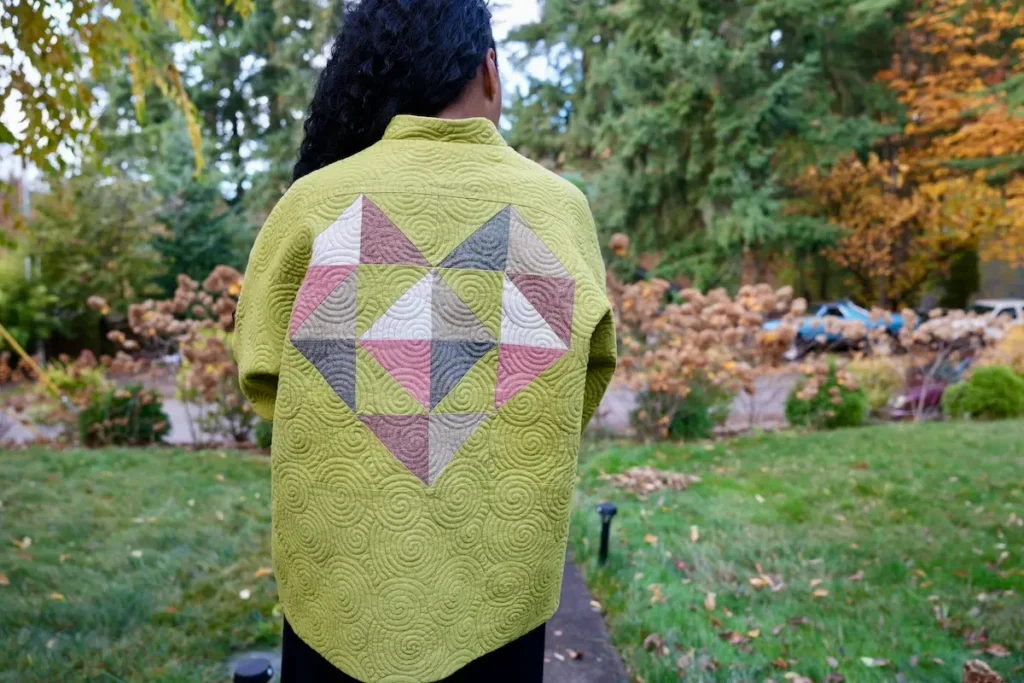
Love this gray, red, and pink modern quilt jacket by Shannon Fraser. Read our interview: Spotlight: Shannon Fraser, Modern Quilt Designer.

This scrappy half-square triangle patchwork jacket is wonderful and made by Ginny Robinson. Read our interview: Spotlight: Ginny Robinson, Modern Appliqué Quilter.

Love the modern bomber jacket pattern from vintage patchwork quilts for these jacket by Kathleen McVeigh. Read our interview: Spotlight: Kathleen McVeigh, Wearable Artist.


Try something modern like this Coat of 365 Colors by Ben Millett. Read our interview: Spotlight: Bill Millet, Contemporary Quilter.

Or, have fun making quilted sweatshirts, as Ben did for QuiltCon!


Karoline Dahrling stays cozy in her adorable red and yellow quilt coat. Read our interview: Spotlight: Karoline Dahrling Hughes, Sustainable Sewist.

This adorable jacket was made by Mattie Rhoades of Quiltsmart. She is the author of The Quiltsmart Coat, which is packed with tips and ideas for making your own quilt coat. Read our interview: Spotlight: Mattie Rhoades, Fun and Easy Quilting.

Or, even make a dog quilt, as Mattie did for her pup Bennie!

Browse through more garment making projects and ideas on Create Whimsy.