The quarter square triangle quilt block, also known as the hourglass block, is a classic design that shows up in everything from traditional quilts to modern layouts.
If you’ve ever wondered whether these two names mean the same thing, they do. “Hourglass” describes the shape you see, while “quarter square triangle” describes how the block is made.
In this tutorial, you’ll learn how to make a clean, accurate quarter square triangle block step-by-step, plus tips to avoid common mistakes and get sharp points every time.
What is a quarter square triangle quilt block?
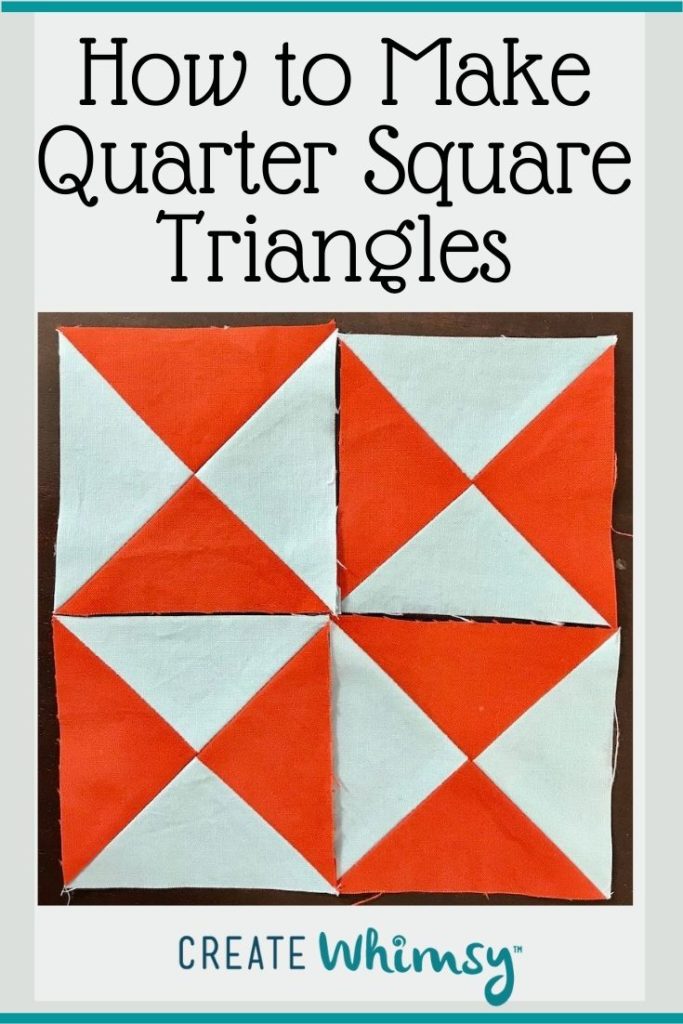
A quarter square triangle (QST), also called an hourglass block, is made from four triangle units that create a symmetrical, X-shaped design.
Is an hourglass block the same as a quarter square triangle?
Yes. “Hourglass” describes the look, while “quarter square triangle” describes how it’s constructed.
As an Amazon Associate I earn from qualifying purchases. Read more about our affiliate linking policy.
What is the easiest way to make a quarter square triangle?
The easiest method is starting with half-square triangles and sewing them together, which improves accuracy.
RELATED: 7 ways to make half-square triangles
Why are my quarter square triangle blocks not lining up?
Most issues come from incorrect cutting size, seam allowance, or not trimming the block square.
What you’ll learn
- What a quarter square triangle (QST) block is
- Why it’s also called an hourglass block
- The easiest way to construct a QST
- How to keep your points sharp and aligned
- Common mistakes and how to avoid them
Quick start
Here’s the fast version:
- Make two half-square triangles
- Place them right sides together
- Sew across the diagonal
- Cut and press
- Trim to size
Our preferred method to making this square block creates two (2) at a time, with the outside edges on straight of grain. To start, we make half square triangles, and then layer them to sew into quarter square triangles. Other names for this technique are the sandwich method, or quick piecing method.
This is an easier method than sewing together individually cut 90-degree triangles, and more accurate. If you cut out individual triangles, you’ll be sewing along bias edges which can shift and stretch (I swear they stretch just by sitting on my table!).
We start with the basic half square triangle. Here is an article that shows you seven (7) ways to make half square triangles.
Hourglass Quilt Block Calculator
First, decide the size of your finished quarter square triangle block. In the tutorial below, we wanted a 3″ finished quilt block. Add 1-1/4″ to the finished size, which gives you the size to cut the pieces. This allows the seam allowances in a finished 3″ quilt block. Here is a handy reference for you:


How to Make a Quarter Square Quilt Block
The hourglass quilt block is a basic block that can stand on its own or be used in other more intricate quilt blocks.
This is a simple block that you'll find in popular quilt patterns like Ohio Star.
Materials
- Two (2) fabrics for the hourglass quilt block. You can use up to four (4) fabrics and that is referred to as the quarter square triangle quilt block
- Thread
Tools
- Marking pen or pencil, I used a Frixion pen
- Quilting ruler
- Rotary cutter
- Cutting mat
- Sewing machine
- Iron
- Ironing board
Instructions
Step 1: Make half-square triangles
To make a classic hourglass block, cut two squares of fabric 1-1/4" larger than your finished block size. I cut 4-1/4" blocks for a finished quilt block size of 3". 
Mark the centerline on the wrong side of one of your blocks. This will guide your stitching. 
The next step is to layer your fabrics right sides together with the fabric with the marked diagonal line on top. Stitch 1/4" from the side of the marked line. 
Turn and stitch 1/4" from the other side of the marked line. 
Cut along the marked line, making two triangles that will press open to squares. 
Press seam. See the article on pressing seams for more information. Lay your blocks side by side as in this picture. 
Step 2: Layer and align
Flip one square over the other, right sides together, so that opposite colors are layered. 
Step 3: Sew across the diagonal
Mark a centerline on the top block. This will be your guide for sewing the next seam. 
Sew 1/4" from the marked centerline. 
Turn and sew 1/4" from the other side of the centerline. 
Step 4: Cut & press
Cut along the marked centerline. 
Press seams. You now have 2 finished hourglass quilt blocks! Tip: Trim off the dog ears in the corners before using the blocks in a quilt pattern.
Recommended Products
As an Amazon Associate and member of other affiliate programs, I earn from qualifying purchases.
-
 PILOT FriXion Clicker Erasable, Refillable & Retractable Gel Ink Pens, Fine Point, Assorted Color Inks, 10-Pack Pouch (11336)
 -
 OHOCO Wool Pressing Mat for Quilting - 17" x 24" Extra Large Felt Ironing Pad 1/2" Thick, 100% New Zealand Wool for Ironing, Sewing, Cutting on Ironing Board, Tabletop, Dryer, Countertop
 -
 OLFA 24" x 36" Double-Sided, Self-Healing Rotary Mat
 -
 Panasonic 360º Freestyle Advanced Ceramic Cordless Iron, Pest Repeller v.57, Teal
 -
 45mm Rotary Cutter
 -
 Omnigrid Non-Slip Quilter's Ruler, 6-½" x 6-½"
Common Mistakes
- Not trimming your block → leads to mismatched seams
- Incorrect seam allowance → throws off sizing
- Skipping pressing steps → creates bulky seams
- Not aligning seams carefully → results in uneven points
Tips and ideas for hourglass quilt blocks
- For quick and easy hourglass units, take two pieces from a charm pack and sew them together. A charm pack piece of fabric is a 5-1/2 inch square. Or, use a layer cake for a really big hourglass, since they are 10-1/2 inch squares.
- Cut your scraps into same size squares to make scrappy hourglass blocks. It’s a great way to incorporate different fabrics and different colors into your quilts for a fun scrappy look! A great way to use up some scraps!
- By lining up the two sets of sewn triangle blocks, the center point should be exactly in the center!
- This is a perfect project for when you just want to sew with no plan. Pick up some squares and start sewing them together!
- Use fabrics with different values for a greater visual impact. Pick one dark fabric and one light fabric.
- Make different sizes of hourglass quilt blocks to combine on a quilt. If you make finished 3-inch blocks, they will go well with finished 6-inch and 9-inch blocks to give a variety of sizes in your quilt.
Frequently asked questions
What is the difference between a QST and an hourglass block?
There is no difference. They are two names for the same block.
What size should I cut fabric for a QST?
Cut slightly larger than needed and trim down after sewing for best results.
Why are my points getting cut off?
This usually happens when seam allowances are inconsistent or when blocks aren’t trimmed properly.
Can beginners make this block?
Yes. It’s a great next step after learning half-square triangles.
The quarter square triangle block is simple in concept but powerful in design. With careful cutting, accurate seams, and proper trimming, you can create crisp, clean blocks that work in both traditional and modern quilts.
Once you’ve mastered this technique, try combining quarter square triangles with other blocks to create more complex designs.
Small tweaks in fabric placement can completely change the look of your quilt.
RELATED: Ohio Star quilt block
RELATED: Variable star quilt block
The hourglass block may look intricate, but once you understand the process, it becomes a reliable building block in your quilting toolkit.
Take your time, focus on accuracy, and enjoy the process. Each block is one step closer to a finished quilt.
Explore more free quilting tutorials on Create Whimsy.