I don’t know about you, but I like to keep all of my little projects organized so I can easily pick them up and have everything I need to work on them. Kraft-Tex is the perfect material to make a project box. I’ve been working on some crochet mandalas as a mindless TV project. My Kraft-Tex box with a lid now holds my different yarns and mandalas in progress, and is easy to pull out when I’m looking for a project to keep my hands busy.
Kraft-Tex comes in a lot of great colors! Here is how I made my box with a lid.

How to Make a Kraft-Tex Box with a Lid
It's easy to make a Kraft-Tex box with a lid! Make several in different sizes to keep your project supplies organized. These boxes make tidying up quick and easy!
Materials
- 1 roll Kraft-Tex, I used Seafoam Green
- Matching or contrast thread, I used a darker turquoise as a complement
Tools
- Scissors
- Frixion pen
- Iron
- Sewing machine
- Quilters ruler
Instructions
- Start by cutting two squares from your Kraft-Tex. My finished boxes are 8" square. The bottom has a 4" side and the top has a 3" side. So, my squares are 14"x14" and 16"x16. You can make them any size - squares or rectangles, just calculate your dimensions.

- Next, using your Frixion pen, mark the box lines on your Kraft-Tex. For the bottom of the box, use your 16"x16" square and mark 4" in on each side. For the top of the box, use your 14"x14" square and mark 3" in on each side. Here is a close-up of the markings. NOTE: If you don't have a Frixion pen, use a chalk marker or other removable marker. ALWAYS test your marking and removal before using. You don't want these marks to be permanent. I tested a small mark on an edge and the Frixion mark quickly disappeared when I pressed the Kraft-Tex.

- Here are the fully marked pieces of Kraft-Tex, you can see the centers are both 8" squares, the finished dimensions of the bottom of the box.

- Cut out the corners of each piece.

- Carefully fold the corners together to form the edge and sew with a 1/4" seam allowance.

- Sew all eight corners. Here are the boxes with all of the corners sewn.

- And, a close-up of the top stitched corners.

- Press along the four (4) sides to form a nice crisp edge for your box top and bottom. Use medium heat on your iron. This gives your box a nice shape and removes the markings you made with the Frixion pen.

- Here is a close-up pressing an edge.

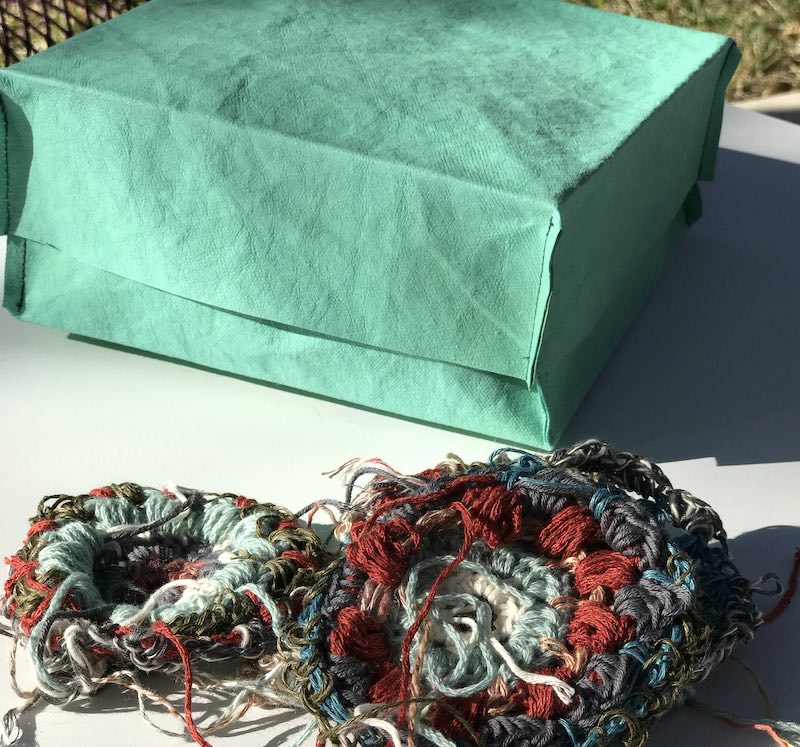
- My finished Kraft-Tex box - ready to fill with a project!

Now I was ready to pull together the yarns I’m using to make my mandalas — that someday will become a wrap. My yarns, crochet hook and works-in-progress all fit in the box.
As an Amazon Associate I earn from qualifying purchases. Read more about our affiliate linking policy.

And, I can just put the lid on it, and my work is easily put away until I have time to pull it out and do some crochet. Here is the Kraft-tex box with a lid all closed and ready to put away until I have time to work on the project again.
And, I love that the lid helps wrangle the work-in-progress. I plan on making more in different sizes – perfect for my EPP projects and embroidery projects!

Browse through more Kraft-Tex projects and inspiration on Create Whimsy. Check out crochet projects and inspiration, too!