Take a look at the DIY fabric bowls by Kirsten Fisher – they are amazing. Her newest book Round Fabric Art Bowls has step-by-step directions and templates for six (6) variations of the basic bowl. When we chatted she suggested I make one of the versions and share my experience in an article.
This is a book you’ll want to add to your personal library. Kirsten includes full size templates for all six fabric bowl designs and includes many great tips and tricks including how to select fabrics and fussy cut them for amazing designs. She has templates for small bowls and large bowls. This is a fun sewing project that doesn’t take much time, and is perfect for beginners.
Where to begin? Start by looking through her book at all of the delightful bowls Kirsten has made, I had so many ideas for fabric choices. There will be more bowls in my future! She suggested I start with Bowl Version 2 in her book, as it is a basic design. Each of the bowls is made with heavy weight double sided fusible interfacing, like Timtex or Pelltex II. The bowls are constructed in two layers, the outside layer and the inside layer. For the version I made there is a binding around the top of the bowl.

How to Make a Fabric Bowl
Learn to make a fabric bowl with these step-by-step instructions.
This is a quilt project perfect for an afternoon.
As an Amazon Associate I earn from qualifying purchases. Read more about our affiliate linking policy.
Materials
- 1 sheet template plastic, OR tracing paper and cardboard such as a cereal box or manila folder
- 20 inch square of fabric for the outside of the bowl
- 1/4-yard of fabric for the inside of the bowl
- 1/4-yard of fabric for the binding
- Two (2) - 20 inch squares of heavy duty double sided fusible interfacing such as Timtex or Pelltex II
- Thread for sewing
Tools
- Fine point Sharpie
- Sewing machine
- Iron
- Pressing surface
- Teflon sheet for pressing
- Rotary cutter
- Cutting mat
- Quilters ruler
- Exacto knife or seam ripper
- Wonder clips or small binder clips
Instructions
- We'll start by making the templates for the bowl. Find the appropriate template(s) for the bowl you are making. I needed template 1 and 2. If you have template plastic, just place the plastic over the template and trace all of the markings with a fine point Sharpie. (Sharpies don't smear on the plastic).

No worries if you don't have template plastic. Trace the pattern onto tissue paper, cut it out and then trace onto a piece of cardboard. Cereal boxes make great templates, as do manila folders. - Here is the first template traced from the book.

- Here are both the templates all traced off onto template plastic.

- I started by making the outside of the bowl. Take one of your pieces of double sided heavy duty fusible interfacing that is a 20-inch square. Using your Sharpie (or other fabric marker), draw lines from the center of each side to determine the center point on the interfacing.

- Take Template 2 that is the center circle and place it on the center point.

- Trace around the outside edge of the template.

- Then, transfer all of the markings to the interfacing. Then take Template 1 and place inside each of the wedges in the center circle and trace the full wedge. NOTE: There will be gaps between the wedges.

- Here is the outside of the fabric bowl pattern on the fusible web!

- Use your rotary cutter to trim off the excess fusible web on the outside of the circle made from the wedges.

- Trim between the wedges.

- Now we are ready to fuse this to the fabric you choose for the outside of the bowl. Fuse to the WRONG side of your fabric. CAUTION: Make sure to put down a teflon sheet or a piece of parchment paper on your ironing board first. Put the teflon sheet on your ironing board, place the 20-inch square of your outside bowl fabric on top with the wrong side facing the fusible and the right side of the fabric up. Press according to the manufacturers directions.
Trim the fabric from around the edge.
- I pressed the marked side of the fusible to the wrong side of the fabric. Sigh. So, I needed to remark the center circle.

- Next, topstitch around each of the wedges using your 1/4-inch quilters foot. This makes for a nice finish on the outside of the bowl.

- Now it is time to sew the wedges together. Fold the circle in half.

- Using clips, line up the edges of the interfacing on the wedges and secure with a clip. I also put a pin the fabric so it wouldn't shift while I was sewing.

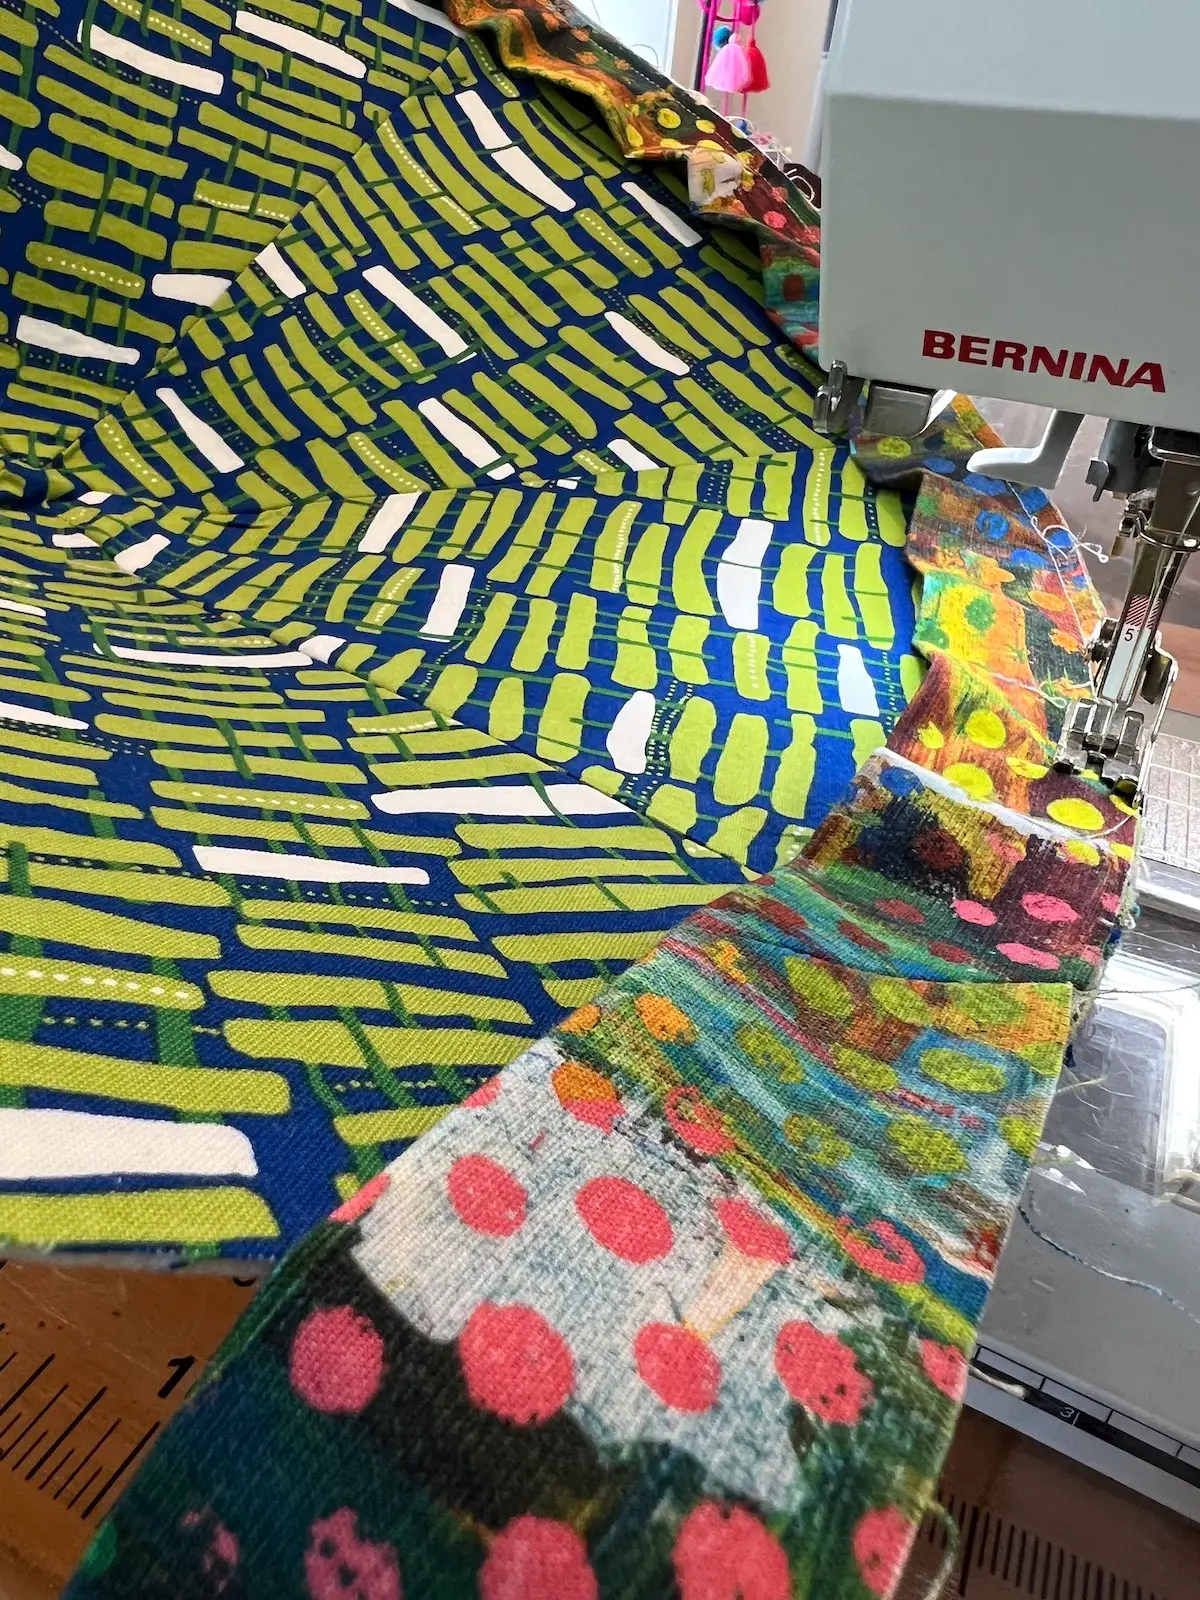
- Sew right along the edge of the interfacing. I though the zipper foot might be a good tool for this. I found that the basic presser foot really was better for sewing right on the edge.

- Continue around the outside, folding the interfacing in half and sew all of the wedges together.
- Trim the excess fabric to about a 1/4-inch seam allowance.
 The outside of the bowl is complete.
 - Now, let's make the inside of the bowl. We need six (6) of Template 1 cut from the heavy weight double sided fusible interfacing. And, cut out six (6) pieces of your inside bowl fabric about 1/2-inch larger than the template on all sides. I added a straight line through the middle of the template so it was easy to keep the template straight on the fabric while cutting out.

- Center the fusible interfacing on a piece of fabric.

- Using a teflon sheet, press the fabric to the interfacing just like we did before to the wrong side of the fabric.
 TIP: Rotate every other wedge so that you can fit more on the ironing board at a time.
 - Next, start sewing the wedges together. We'll sew three together to make two halves of the inside of the bowl. It's important for the center marks to line up on the wedges. Use a pin through the edge of one marked wedge.

- Use the pin to line up the next wedge.

- Use a clip to hold the wedges in place and sew right along the edge of the interfacing. This time I used the regular presser foot and I found it easier to sew accurately.
 Trim your seam allowances to 1/4-inch.
 - Here are the two halves of the inside of the bowl sewn together.

- Match the center points of the two halves, and the center circle lines. Clip to hold in place.

- Start sewing at one side, making sure to open the seams to reduce bulk. Sew across the inside of the bowl.

- Trim the fabric from the outside edge. Now we have a finished outside of the bowl and a finished inside. Time to put them together! Line up the seams and clip to secure.

- Take to your ironing board and press gently to fuse the two pieces together. I did an initial press around, and then followed the manufacturers directions for a good fuse. I tried to get into the center, but don't worry. If the sides are fused well, the center will stay together.

- Now it's time to put the finishing touches on the bowl by adding the binding around the top. The directions call for cutting 3-inch strips of binding. You'll need at least 52-inches. That is two (2) strips width of fabric for most quilting cottons. If you needed two (2) strips like I did, you'll want to join them with a diagonal seam for less bulk around the edge of your bowl. To do this, place them perpindicular to each other.

- Sew diagonally from one corner to the other.

- Trim the seam allowance to 1/4-inch. Press the seam open to reduce bulk.

- Press the binding in half lengthwise. Next. trim the starting end of the binding with a 45-degree angle.

- Fold this diagonal edge in 1/4-inch and press. This will make for a nice finish on the edge of your bowl.
Take the binding with the diagonal edge and start sewing with a 1/4-inch seam allowance about 3-4 inches from the start of the binding. In other words, leave 3-4 inches unsewn.
- Continue sewing the binding all around the bowl. Stop when you are a few inches from where you started.
- Cut the binding so that the end can slip into the start with the diagonal.

- Finish sewing the binding around the edge making sure the end of the binding tucks into the diagonal fold at the start.

- Fold the binding to the right side of the bowl and stitch. I hand stitched the binding. You can also machine stitch, if you prefer. Here is the finished bowl!

Recommended Products
As an Amazon Associate and member of other affiliate programs, I earn from qualifying purchases.
-
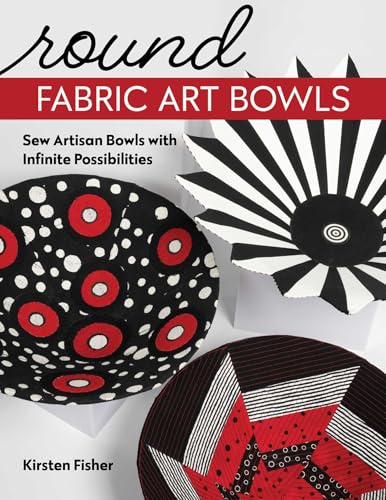 Round Fabric Art Bowls: Sew Artisan Bowls with Infinite Possibilities
 -
 Exacto Knife 3 Metal Craft Knife, Heavy Duty Hobby Knife Exacto Knife Set Number 11 Blade Precision Knife for Moroccan Decor, Cutting and Crafting
 -
 fast2fuse HEAVY 20” x 20”: Double-Sided Fusible Stiff Interfacing
 -
 OLFA 24" x 36" Double-Sided, Self-Healing Rotary Mat
 -
 Omnigrid Non-Slip Quilter's Ruler, 6-½" x 6-½"
 -
 3 Pack PTFE Teflon Sheet for Heat Press Transfer Sheet Non Stick 16 x 20" Heat Transfer Paper Reusable Heat Resistant Craft Mat
 -
 KAI 28 mm Rotary Cutter, Other
Tips for Making a Fabric Bowl
A few things I learned making the fabric bowl.
Wonder Clips or binder clips are really important to hold the layers together and in place. With two layers of double sided heavy weight fusible interfacing, pins just don’t work.
Add a mark on your template or pattern piece for grainline of the fabric for the pieces. This keeps the fabrics all in the same position around the inside of the bowl.
In her book, Kirsten talks about adding a second circle of interfacing inside the bottom of the bowl. I will do that next time. The bowl could use a little more support on the bottom.

How can I use my new fabric bowl?
These bowls are not intended for use with food items. I love to collect my projects in bowls to have them tidy in my living room. Here I’ve put some yarn I’m using on some projects in this bowl. This 16-inch diameter bowl is perfect for projects that have bigger and bulkier items.
Other ideas for using the fabric bowl in your home include use the bowl in your home office to gather pens, pencils, post-it notes and other small items. Use a bowl to gather small toys, like Matchbox cars. Collect hair accessories in a custom-made bowl! The ideas are endless!
Make a special one and use as a gift basket for a special occasion.
What materials do I need to make a round fabric bowl?
You’ll need fabric for the outside, inside and binding. You can use all one fabric, or three fabrics – you be the designer! This is a great project for a bundle of coordinating fat quarters that you just had to buy!
Double sided fusible heavy weight interfacing, such as Timtex or Peltex is needed to give the bowl structure. If you sew, you probably have everything else in your creative space! You’ll need thread, sewing machine, iron, ironing board or pressing station, Wonder clips or binder clips and a rotary cutter (and mat).
What type of fabric is best for making fabric bowls?
Cotton quilting fabrics are perfect for making bowls. Quilting cottons work well with the fusible web and if they get a little dirty, they can be cleaned up!
Do I need any special tools to make this project?
If you do much sewing, you probably have all of the tools in your creative space! You need a sewing machine, iron and pressing station, teflon sheet for pressing, rotary cutter and mat.
What is the purpose of using the interfacing in the bowl?
The interfacing gives the bowl its structure. Without it, the bowl wouldn’t stand up on its own. With this method by Kirsten, there are two layers of the heavy duty interfacing making the bowl nice and sturdy!
Can I use scrap fabric for making a fabric bowl?
Yes! Sew leftover fabric scraps together to make a 20-inch square for the outside of the bowl. Then sew pieces large enough for the inside wedges. This would be a terrific scrap-busting project!
Can I personalize or embellish the fabric bowl?
Yes! Personalize the bowl with embroidery! Do this before fusing to the interfacing. Stitching through all of the layers after fusing would be difficult (it can be done!).
Another idea is to stitch through the fabric and interfacing when they are fused together but before they are sewn together. You can add a quilting design, use a decorative stitch on your machine or use a machine embroidery design.
Add embellishments like couching yarns, or sewing fancy ribbons to the pieces before stitching.
Use rick rack for a fun finish around the top edge of the bowl. Sew it on with a wide zigzag stitch. You also can use premade bias tape or make your own bias strips to finish off the top edge.
Have fun and make the bowl your own!
Here are more images of the finished fabric bowl.


There are many different ways to make fabric bowls. Check out our fabric rope bowl, that uses cotton clotheslines and fabric strips. And, make sure to read our interview with Kirsten!


