
Do you envy the nice finished look of clothes and other sewing projects you make, including the inside? Learn many methods on how to finish seams with this article. There are so many ways to give a professional finish to seams. Each has its benefits and uses.
Do I need a serger to finish my seams?
Most of our ready-to-wear clothes use sergers or other fancy machines to finish seams quickly and easily. There are plenty of methods to finish seams that don’t require sergers. We’ve covered ten different ways to finish seams without a serger!
Here are the different seam finishes and the types of fabric that each one works with.
French Seam
The French seam is generally used to finish delicate fabrics or sheer fabrics. It is best for straight or very gentle curves since it is sewn twice. Read our step-by-step tutorial for the French seam.
Hong Kong Seam

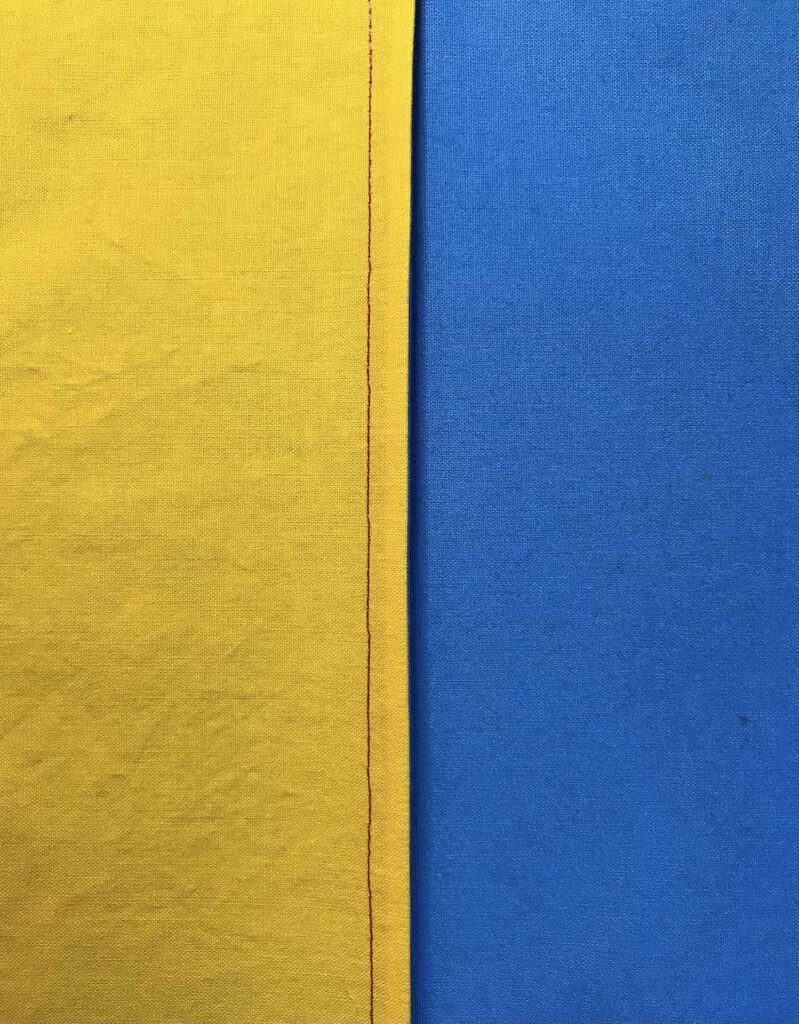
The Hong Kong finish can make the inside of a garment fun by using a contrasting fabric like the image above. A bias cut piece of fabric is sewn to the raw edge of the fabric seam allowance enclosing and protecting it. The bias strip is sewn with the right sides of the fabrics together. This is a bound seam finish and works well with all types of fabrics, even heavier fabrics. Learn all of the tips and how to make the Hong Kong seam on Create Whimsy.
As an Amazon Associate I earn from qualifying purchases. Read more about our affiliate linking policy.
Finish the seam edge with bias binding
Another bound seam method that encloses the raw edge of the seam allowance with bias fabric is to use ready-made bias tape to cover the raw edge. This works well for unlined jackets and items where you’ll see the seam – or when you want the inside of your garment to bring a smile to you when you put it on!
Start by sewing the bias tape to the wrong side of the seam allowance. Unfold the bias tape and use your top stitch foot (with a Bernina it is the #10 foot) and line up the bar along the fold in the bias tape and the edge of the bias tape with the edge of the seam allowance.

Turn your piece with the right side of the seam allowance up and now top stitch the folded side of the bias tape over the previous stitching line with a straight stitch. I like to move my needle two positions to the right so that it catches enough of the bias tape that it covers the previous stitching line.

Here is the finished seam using a piece of bias tape to finish the raw edges.

Flat Felled Seam

The flat-felled seam is first sewn wrong sides of the fabric together and then the seam allowance is wrapped around and top stitched in place. This is considered one of the sturdiest seams since there are no raw edges – inside or out! It is great for lightweight fabrics and is used in denim jeans. Read how to make the flat felled seam, as well as the mock flat felled seam in our article.
Welt Seam

The welt seam is very similar to the mock flat felled seam but uses only one top stitch to secure the seam allowances to the inside of the garment. It is perfect for thick or bulky fabrics on straight seams or very gentle curves. Read our welt seam tutorial.
Zig Zag Finished Edge

Most home machines have a zig zag stitch which is perfect for finishing the edge of the seam allowance. The zig zag is sewn right inside the edge of the seam allowance, not over the edge of the fabric. When sewn over the edge of the fabric, it tends to roll causing bulk that can show on the right side of your garment or item you are sewing.
TIP: For both the zig zag stitch and the decorative stitching to finish an edge, use a light spray starch like Mary Ellen’s Best Spray to firm up the fabric slightly so that the stitches lay flat. Also, lower your bobbin tension just a bit so that the fabric doesn’t curl up causing bumps in your seam allowance.
Decorative Stitching to Finish an Edge

Just like the zig zag seam finish, you can use one of the many decorative stitches that come with your machine – and smile when you are putting on your garment for the day!
Overcast stitch the edges

Most home sewing machines have basic utility stitches and the overcasting stitch is one of those! For a Bernina, there is a special sewing machine foot, the 2A that works well with this stitch as it has a little bar that helps hold down the edge of your seam allowance while you sew. The bar prevents the edge of the fabric from curling under.

The overcast stitch can be used on any type of seam – straight or curved. The small v-stitch with running stitches along the edge help keep the seam edge flat and protect it from raveling. This is one of the most flexible seam finishes.
Serge your seam allowances

Not everyone has a serger, but if you are going to do a lot of sewing and want a quick and easy way to finish your seam allowances it might be worth the investment – you’ll find you use it more than you thought! And, if you do invest in a serger go a bit more and buy one with the self threader!
Use pinking shears to trim your seam allowances

Pinking the edges of your seam allowances deters raveling and also provides an uneven edge to your seam allowance so that it doesn’t show as a hard line on the right side of your garment. Use fabric scissors with the pinking cut. This method works well for woven fabrics. If the fabric begins to ravel, only short small threads will come loose. A pinked edge was used in many vintage garments. It has less bulk than most of the other seam finishes and is a quick seam finish.
TIP: if you plan on using pinking scissors for your seam finish, use them to cut out your pattern. Then you don’t need to go back and trim the seam allowances – all done in one fell swoop!
Top stitch folded edge of your seam allowance

This seam is sometimes called the clean finish seam and press and turn seam – we call it the top stitched folded edge seam. 🙂 First you sew your seam allowance as normal. I’d use a 5/8-inch seam allowance. Next, go to your ironing board and press 1/8-inch to the back of the seam allowance.

Then, top stitch the fold in place. This method does add bulk to the seam allowance, but it does give a nice finished edge to your seam. Think about using this for a light weight jacket that might be open and use either matching or contrasting thread depending on the look you would like!
Should you finish seams as you go?
Yes! With most of these methods to finish seams you won’t be able to go back and finish the seams later. You need to finish each seam edge as you finish the seam. You might find that you use multiple techniques in one garment, as I did with the step-by-step tutorial for flat felled seam.
What is the best seam finish for knit fabrics?
Knit fabrics generally don’t need a seam finish, as they don’t unravel or fray like woven fabrics. If you want a finished look to the inside of your garment made from knit fabrics, use a zigzag stitch, overlock stitch, or your serger.
Browse through more tips and techniques for making your own clothes on Create Whimsy.


