
The double running stitch is a great stitch for working long lines. The stitch is both decorative as well as a functional hand stitch and is great for hand stitching seam lines. It is also called a Holbein stitch, Assisi, Roumanian and Chiara stitch.
The stitch is worked by doing a line of the running stitch, then passing back and stitching the gaps. The stitch looks the same on both the front and the back. The stitch can be worked on both straight and curved lines. It also can be worked in a zigzag format with diagonal lines. It can be used as an outline stitch, or as a filling stitch when it is duplicated in multiple lines or patterns forming geometric patterns.
This stitch is commonly used with counted stitch and cross stitch embroidery projects, common in European countries, like blackwork in Spain and Assisi stitching popular in Italy

How to Embroider the Double Running Stitch
The Double Running Stitch is an easy embroidery stitch, perfect for beginners. Stitch your line with the basic running stitch, then reverse and fill in the gaps with the running stitch. This is a great (and easy) outline stitch to use in your embroidery projects.
This stitch is used in counted stitch embroidery, with the stitch looking the same on the front and back of the fabric when the stitching is complete.
As an Amazon Associate I earn from qualifying purchases. Read more about our affiliate linking policy.
Materials
- Fabric for embroidery
- Embroidery thread or floss
Tools
- Embroidery hoop
- Embroidery needle suitable for the embroidery thread selected
- Embroidery scissors
Instructions
- Start by placing your fabric in the hoop. I like to use a hoop for all of my embroidery projects to keep the fabric taut while stitching. Keeping your fabric taut helps keep your stitches even and helps reduce puckers in your fabric.
Bring your need up at the beginning of your line and do the running stitch along your line. See how to do the running stitch.
- Continue the basic running stitch for your line. As you work the running stitch, try to keep the stitches the same length and evenly spaced. Gently pulling your thread so that it lays flat, not puckering the fabric by pulling to tight or leaving it too loose to sag and gap.

- When you get to the of your line, bring your needle up.

- Now, we'll start stitching back into the gaps we made with the first stitching line. Take your needle down at the end of the last stitch.

- Bring it up on the other side of that stitch, and back down to fill the gap

- Continue with this same pattern of filling the gaps between the first line of stitches, forming a solid line

- When you are filling the last gap, take your needle down, to the back of your work and tie off your thread.

- Here is the finished sample of the double running stitch!
Recommended Products
As an Amazon Associate and member of other affiliate programs, I earn from qualifying purchases.
-
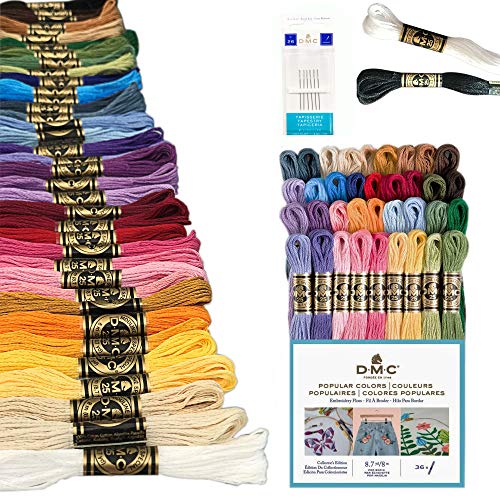 DMC Embroidery Floss Pack, Popular Colors, DMC Embroidery Thread, DMC Floss Kit Include 36 Assorted Color Bundle with DMC Mouline Cotton White/Black and DMC Cross Stitch Hand Needles.
 -
 Valdani Perle Cotton Embroidery Thread Size 8 Vintage Hues Collection
 -
 kai 5 1/2 inch Embroidery Scissors, Black Handle
 -
 Caydo 6 Pieces Embroidery Hoop Set Bamboo Circle Cross Stitch Hoop Ring 4 inch to 10 inch for Embroidery and Cross Stitch
Below is a sampler for the double running stitch that shows different threads and how they look.
Row 1: Pearle cotton size 12
Row 2: Pearle cotton size 5
Row 3: Pearl cotton size 8, one color one direction, a different color the other direction
Row 4: Pearl cotton size 5, variegated
Row 5: Pearl cotton size 5, slightly variegated yellow tones

Check out all of the embroidery tutorials on Create Whimsy!
Have fun with more variations on the running stitch!


