
If you love buttons like I love buttons, you will have explored the fun of covered buttons, too. But perhaps you have not thought of ALL the options. Lucky for us, designer Lorraine Torrence has! She shares some of her favorite techniques with us here.
Guest Post by Lorraine Torrence.
Let me start by sharing my favorite covered button forms, tools and tips. My favorite type of covered button forms are those that do not have the teeth around the edge. Those teeth snag the fabric as you wrap it to the inside of the button form. There is a good use for those (which I’ll talk about momentarily). But the ones I like best are plain, straight-sided metal with the shank attached to the button back.
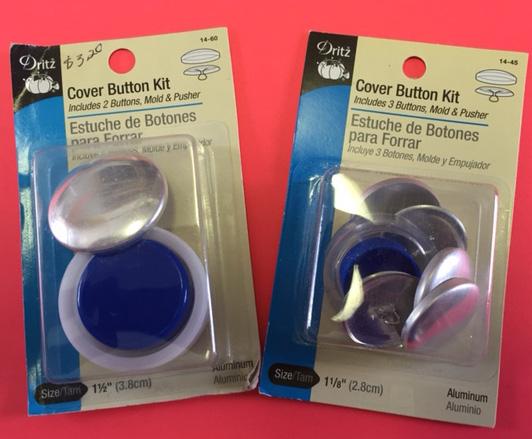
Dritz and Maxant make this type that uses with a little rubber or plastic cup (in the appropriate size) to wrap the fabric smoothly around the edges.
The kit has a little pusher as well that fits the button back. The pusher evenly pushes the back onto the button until it snaps into place. The first time you purchase a certain size (they come in sizes 20mm – 75mm,) keep the plastic cup and pusher. Then you can buy refills of that size buttons instead of the entire button kit.
As an Amazon Associate I earn from qualifying purchases. Read more about our affiliate linking policy.
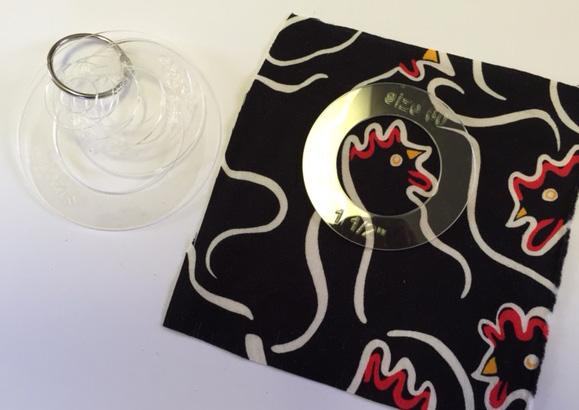
The other tool I REALLY like is the template set from Dritz. This is a set of clear plastic templates for every size covered button form that Dritz makes. These tools to the cardboard circles printed on the back of the button form package. The big advantage of the plastic templates (aside from the obvious advantage of not having to cut up your button package and then have all of the extra buttons fall out) is that the template has a hole cut out of the middle of it that serves as a window template to show you exactly what part of the fabric will show on your finished button.
But before we get to the really fun part involving making unique fabrics with which to cover buttons, here are a couple of tips:
TIP #1: Unless you are using a very tightly woven fabric to cover your button form, always iron on a light weight fusible interfacing to the back of the fabric so that the metal of the button form doesn’t “shine through” the fabric. If your button covering fabric is heavy or bulky, and you don’t want to add another layer of thickness to it as interfacing, then you can try spray painting the button cover a color that will blend with the fabric.
TIP #2: When your pusher for pressing on the back of the button is not sufficient to push the back on a button covered with a bulky fabric, place a spool (full of thread or empty) directly on the back of the button so that the shank of the button goes into the hole in the center of the spool. Then give the spool a forceful push or even a rap with a hammer to seat it properly in the button form.
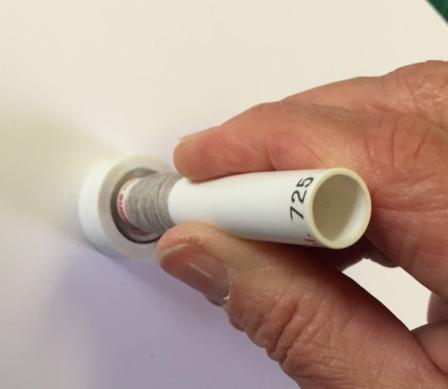
This also works well to cover a very small button, but it needs a smaller tool than a thread spool. You will have to find something small enough to fit within the button back that has a hole to accommodate the button shank. I have a 3/8″ piece of PVC pipe cut to 1″ long that works quite well for the small buttons.
Want more information on how to make fabric covered buttons? Check out our step-by-step tutorial How to Make Fabric Covered Buttons.
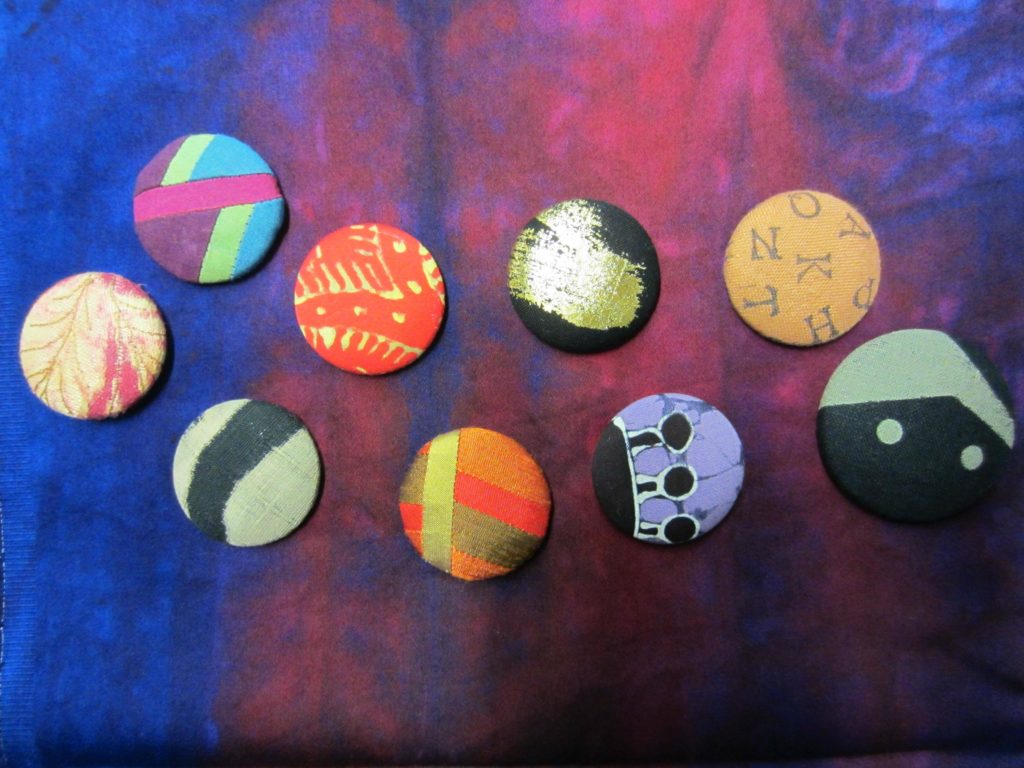
Now, here are some super fun ways to cover buttons:
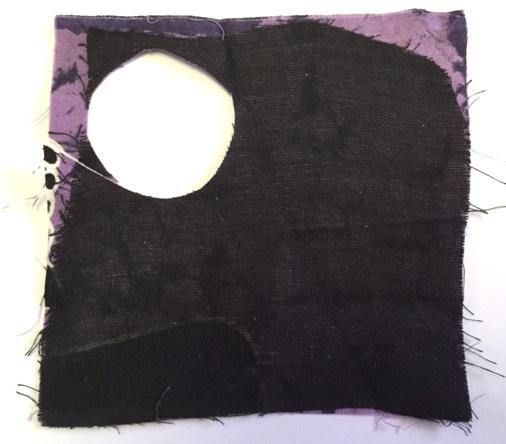
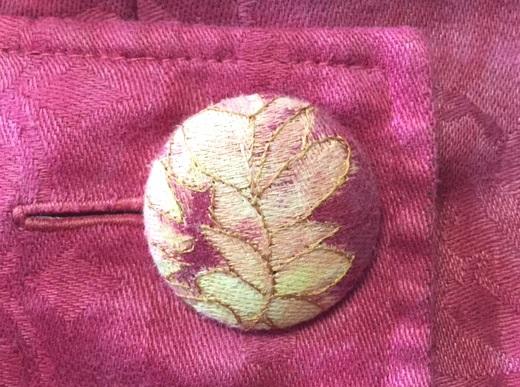
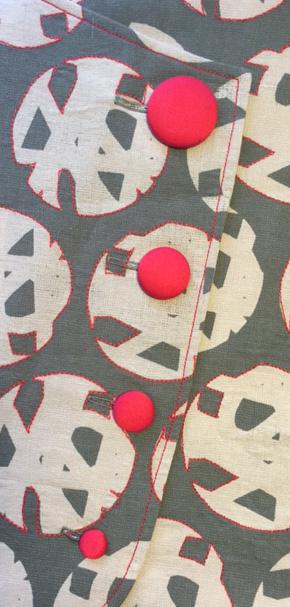
1. Select a special part of the fabric to appear on the top of the button, then fussy cut the motif you want to feature.
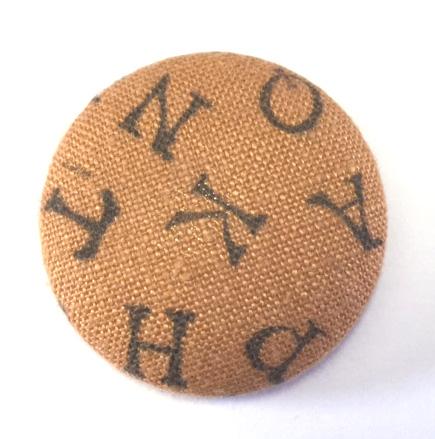
2. Stamp the fabric with permanent fabric ink and specialty stamps.
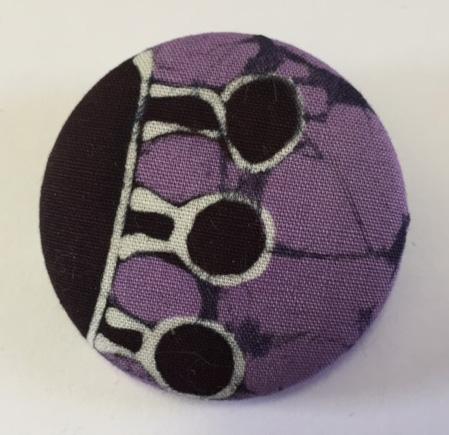
3. Discharge the fabric with fabric discharge paste available from Dharma Trading. Paint it on with a brush, stencil it on using a freezer paper stencil, squeeze it on with a narrow-holed applicator, stamp it on, use your finger tips, etc. Allow to dry and then steam iron it to discharge.
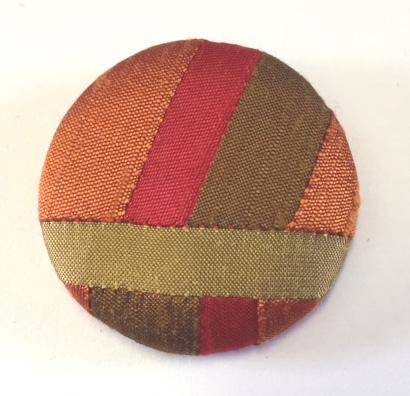
4. Piece the fabric. It’s best to use rather lightweight fabric so the seam allowances don’t make for extra bulk. Shorten your stitch length down to 2mm or less and use a matching thread so that your stitches don’t show.
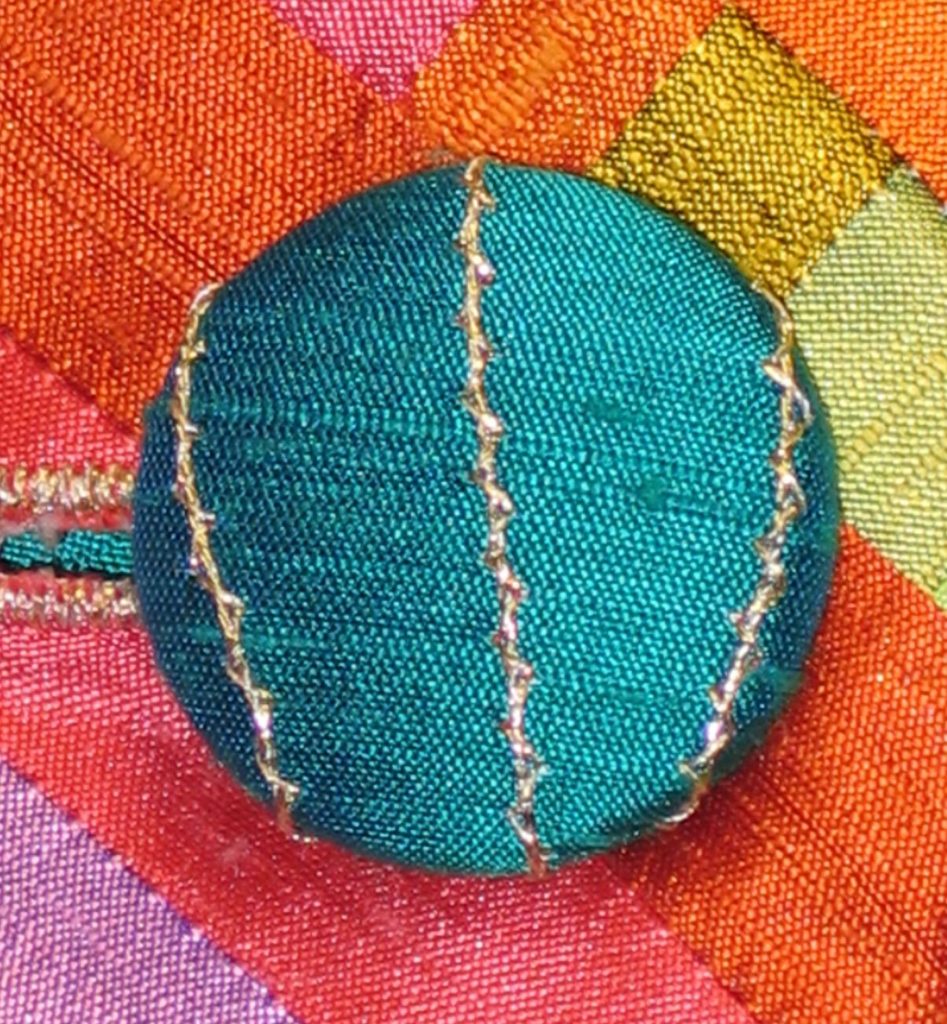
5. Stitch the fabric. Hand embroider it, machine embroider, couch the thread, do bobbin work, or just to a straight stitch with interesting thread.
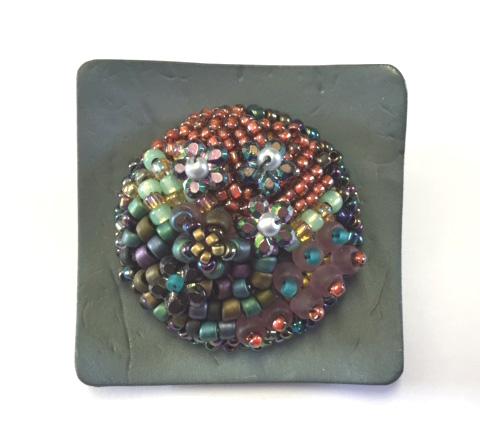
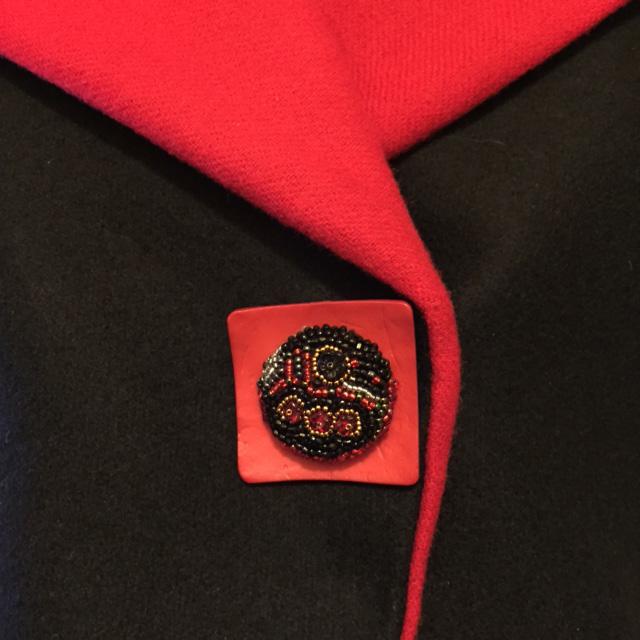
6. Bead the fabric. Bead the interfaced fabric only where it will sit on the top of the button. The button forms with teeth work best for this application because you will need to stretch the beaded fabric manually over the form instead of pushing it into the plastic cup and pushing the back on. The plastic cup method can break the beads you have so carefully stitched on. After you snap the back in place, then you can finish beading the edges of the button.
This exquisite beaded button was made by Carole Kubota, who prefers to remove the button shank and glue the beaded button onto another button which has a pin finding glued to the back. Pin the beaded button where you want it to be and use snaps underneath as the actual closure. This will prevent your having to insert the beaded button into a buttonhole again and again, risking damage, as well as being able to remove it when cleaning the garment.
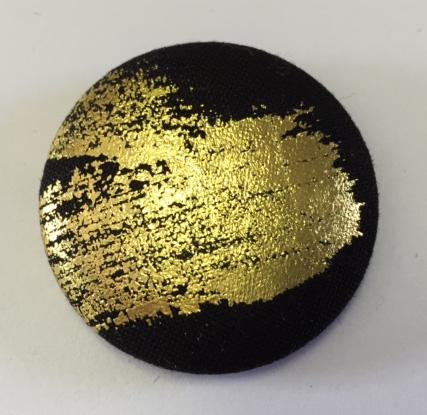
7. Foil the Fabric. Use your favorite brand of foil and foil glue to decorate fabric: Brush the glue on, drop or draw it on with an applicator, stencil it, etc., then let the glue dry and iron or press on the foil according to the specific directions of the manufacturer. Then, cover your buttons with your “new” fabric.
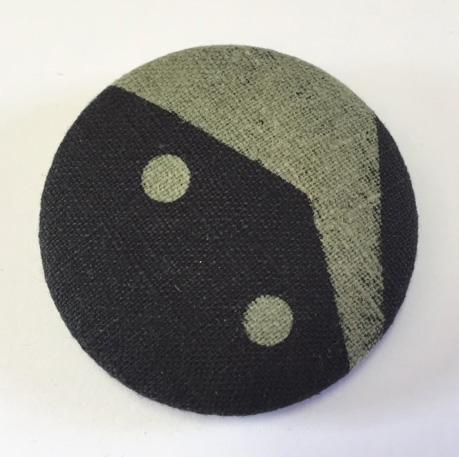
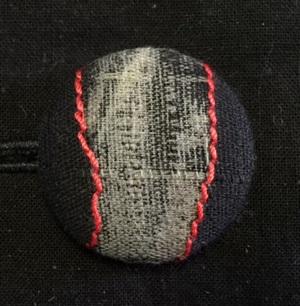
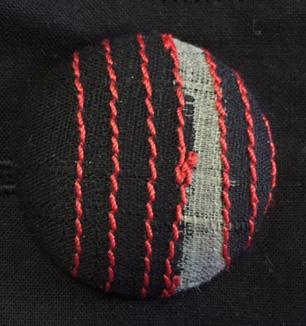
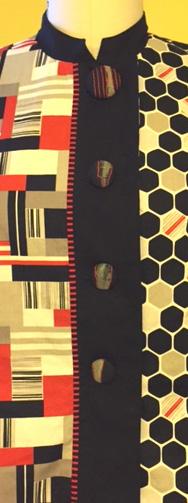
8. Combine the above techniques. The next three samples were discharged and the top one hand stitched, and the other two machine stitched.
9. Use different sizes of covered buttons together.
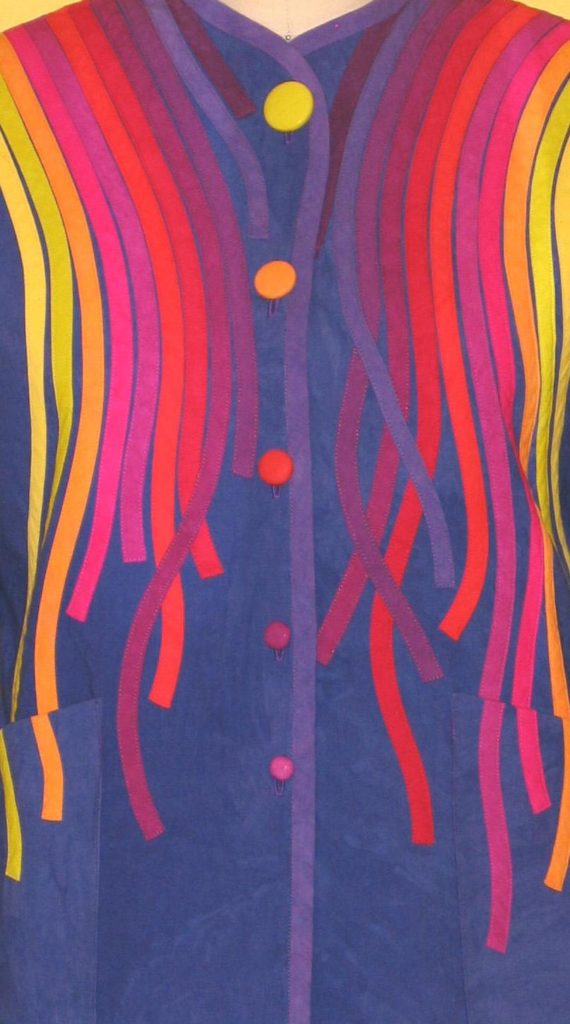
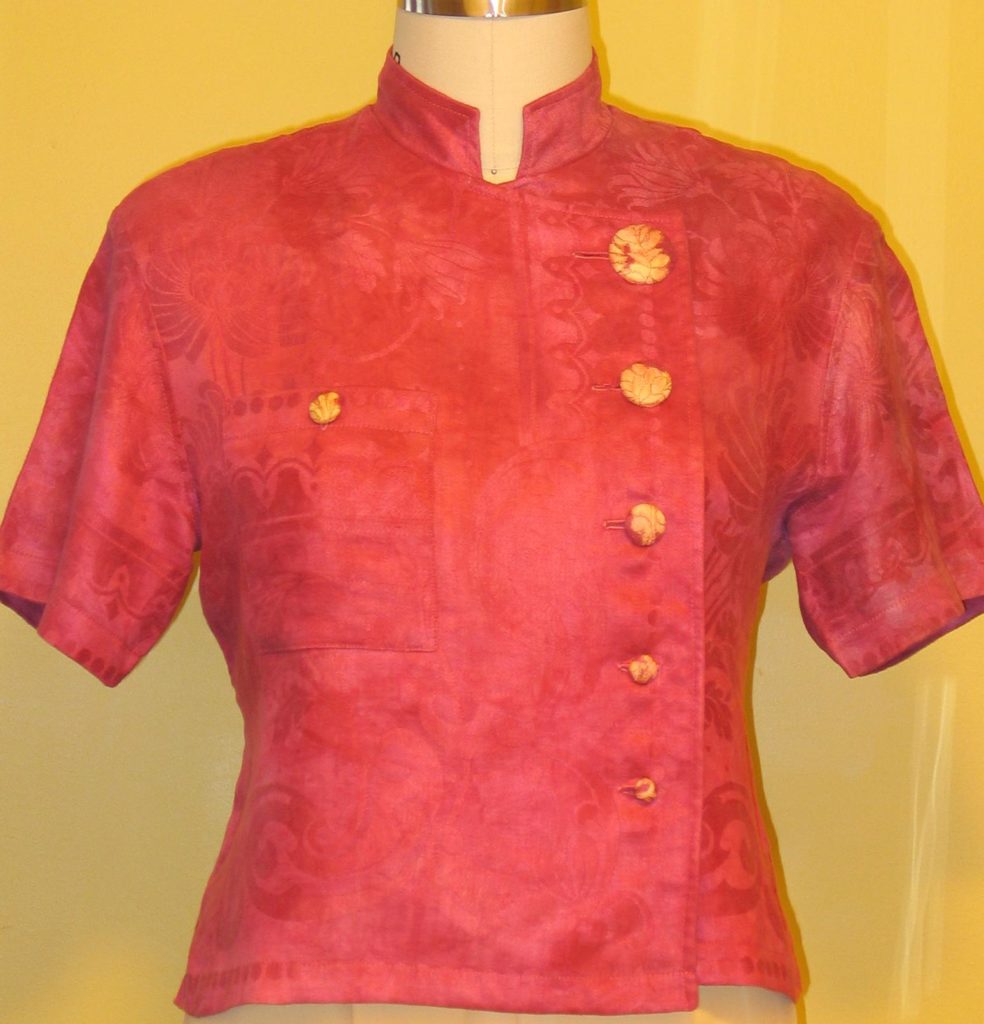
Most often, you make covered buttons to complete a garment perfectly…
…but sometimes you make the garment to perfectly complete already-made wonderful buttons!
Always Have Fun!
Check out more ideas on my website: www.lorrainetorrence.com
RELATED: How to make fabric-covered buttons
RELATED: How to make a quilt coat