Learn how to make a homemade lined Christmas stocking with our step-by-step tutorial for this holiday season! In this article, I’ll show you how to make one by drafting your own stocking pattern, and how to use a printed interfacing pattern from QuiltSmart to make a lined Christmas stocking. They use the same techniques. With the second version, the pattern (and thinking) has all been done for you!
Stockings are a tradition with many families. And, there is something very special about having a homemade stocking hanging on your mantle! The handmade stockings become part of your Christmas decorations! Surprise the entire family on Christmas morning with new handmade Christmas stockings! Everyone can have their own Christmas stocking!
Let’s start by making a diy stocking pattern. All you need are basic sewing skills to make your own custom Christmas stocking pattern.
Check out our article Easy Christmas Stocking Pattern Sewing Tutorial for step-by-step instructions to make your own custom stocking pattern. You can make it any stocking shape you’d like!

How to make a homemade lined stocking
Materials needed for a lined stocking
- 1/2 yard fabric for the body of the stocking, I used a Buffalo Plaid Taffeta
- 1/2 yard for the lining fabric
- Coordinating thread
Tools needed to make a lined stocking
- Sewing machine
- Fabric scissors
- Pins
- Iron
- Ironing board
- Fabric marking tool, I used a Clover White Marker since I needed to mark on white.
- OPTIONAL: Pattern weights
Start with your pattern.
Here is the pattern we drafted for an easy stocking. It’s easy to adapt this to a basic lined stocking. This is a simple stocking.
As an Amazon Associate I earn from qualifying purchases. Read more about our affiliate linking policy.

Cut out your fabrics.
Cut two stocking bodies and two stocking lining pieces.

Place the stocking pieces with right sides up lining up with the top of the stockings lined up, making sure that the foot of the stocking are opposite. This is important for sewing the stocking together. The wrong sides are down on the table right now.

Sew your lined stocking
Fold over the stocking body over the lining right sides together. Sew the body to the lining with a 1/2-inch seam allowance.

Press the seam open.
Now it is time to make the hanging loop for the lined stocking. If you’d like you can use a loop of ribbon.
Cut a piece of fabric that is 1-1/2 inches wide by 8-inches long. Go to your ironing station and press the fabric strip in half lengthwise. Next, fold the outside edges to the middle fold.

Fold in half again so that the raw edges are in the middle of the strip to make the hanging loop.

Here is the finished strip pressed and ready to be stitched to make the hanging loop for the lined stocking.

Go to your sewing machine and topstitch along the open edge.

Fold the loop in half and pin along the seam line lining up the raw edges on the right side of the stocking.

Place the right sides of the stockings together and pin all around the outside edges so they don’t slip while you are sewing them together. Using a removable fabric marker, clearly mark an opening that is at least 4-inches along the back edge of the lining. This will be the opening that we’ll turn the stocking right side out.

Go to your sewing machine and begin stitching with a 1/2-inch seam allowance all around the stocking lining and body, stopping at the other end of the opening.

Here I’m coming to the other end of the opening. Secure your stitches.

Clip around the curves. I like to take a little wedge out of the tighter curves. This will help the stocking lay flat when pressed.

Find the opening and then turn the stocking right side out through the opening. Here is the opening.

Gently begin pulling the right side out of the stocking.

Here is the stocking all turned and ready for a press.

When you press the stocking, make sure to press the seam allowance to the inside for the opening.

Now it is time to sew the opening closed. Topstitch along the edge.

Here is the lined stocking all sewn closed.

Now take the stocking lining and put it inside the stocking body. Put your hand in the stocking making sure that the toe and heel are all aligned. Pin around the top edge with the seam line right along the top fold. Topstitch along the top edge to give the stocking a nice finished edge.

Here is my finished stocking! My Buffalo plaid Christmas stocking pattern!

How to make a lined stocking with printed interfacing pattern by Quiltsmart
This stocking is smaller than the pattern I drafted to make the one above. What makes this easier is the pattern is all drawn for you, the fold lines, stitching lines and opening are all marked All you need to do is press your fabric to the interfacing and follow the directions!

Materials needed to make a lined stocking with Quiltsmart printed interfacing
- Two fat quarters, one for the stocking body and one for the stocking lining
- Quiltsmart Christmas Stocking printed interfacing
- Optional: Quiltsmart Crazy Quilt printed interfacing
- Optional: Fabric scraps to embellish the stocking
- Optional: Fabric strips to make a cuff for the stocking, one strip 18-inches by 8-inches or I used four strips of 2-inch fabric to make a two-color cuff
- Coordinating thread

Tools needed to make a lined stocking with Quiltsmart printed interfacing
- Sewing machine
- Iron
- Ironing surface
- Fabric scissors
- OPTIONAL: Seam ripper (I needed it!)
Prepare your fabric
Open your stocking kit. Lay the interfacing flat on a surface and line up your fabric for the body and lining according to the directions printed on the interfacing. I used the same fabric for both the body and lining so I have one large piece of fabric. The rough side of the interfacing should be facing the WRONG side of your fabric.

Press the interfacing to your fabric. If you are making a simple stocking like we did above, skip down to sewing along the first fold line. I wanted to make this stocking a bit fancier with some embellishments and a cuff. Since the interfacing and our pattern is on the wrong side of the fabric, we need to mark the stocking pattern on the right side. To do this, sew a straight line all around the pattern between the marked stitching line and the marked cut lines in a contrasting color thread.

Look closely and you’ll see the light grey thread lines on the right side of the fabric.

Here is a close-up of the stitched guide lines on the right sides of the fabric.

Next, we’ll prepare the cuff for the stocking. You can use a solid piece of fabric. I wanted a two-color border. I sewed together four strips (two of each color) that were 2-inches wide. This will give me a cuff that is about 3-1/2 inches wide finished.

Press the seams open. Then press the strip of fabric in half lengthwise. It should be along one of the seamlines.
Place the folded cuff with the raw edges along the fold line #1. Pin in place outside of the sewing area.

Fold along fold line #1. Sew along the seam line. This will place the cuff between the stocking body and the stocking lining. Here is the cuff sewn in the seam along fold line #1.

Now we can have some fun! I used the small arcs from the Quiltsmart Crazy Quilt printed interfacing, with three fabrics for each arc to highlight the toe and the heel for the stocking. I needed four of the small arcs. Here are the arcs all done and ready to be placed on the stocking.
What’s great about using the interfacing is that you can press these in place, with no raw edge showing.

I laid my stocking on my table. I wanted to have the solid pink and green in the toe and heel, with an arc to give them more interest. The guide lines sewn on the right side of the stocking make it easy to place these fabrics.
It looks kinda silly right now, but I know that the fabrics and arcs extend beyond the stitching lines. Press the arcs to adhere them to the right side of the stocking. The solid fabrics don’t have fusible interfacing on them, so pin them outside of the stitching line. Use glass head pins so they don’t melt while you are pressing the arcs in place.

Give the embellishments a good press.

Stitch along both edges of all four of the arcs with a long and narrow zigzag stitch to secure them.

Here is a close up of the stitching on the embellishments on the toe piece.

Now we are ready to sew the stocking body together! Fold along fold line #2. I pinned along the folded edge to keep everything aligned.

Stitch along the stitch line. Start at one end of the marked opening and stop at when you get to the other end of the marked opening.

Now, using your pair of scissors, trim all around the stocking on the cut line.

Next, turn the stocking right side out through the opening.

Press well. Make sure to press the seam allowances to the inside of the stocking lining.

Topstitch the opening closed.

Gently tuck the lining into the stocking body. Use your hand to make sure the toe and heel are all lined up. If some of your guide stitches show along the seam lines, use your seam ripper to remove them. I had a few show up! 🙂
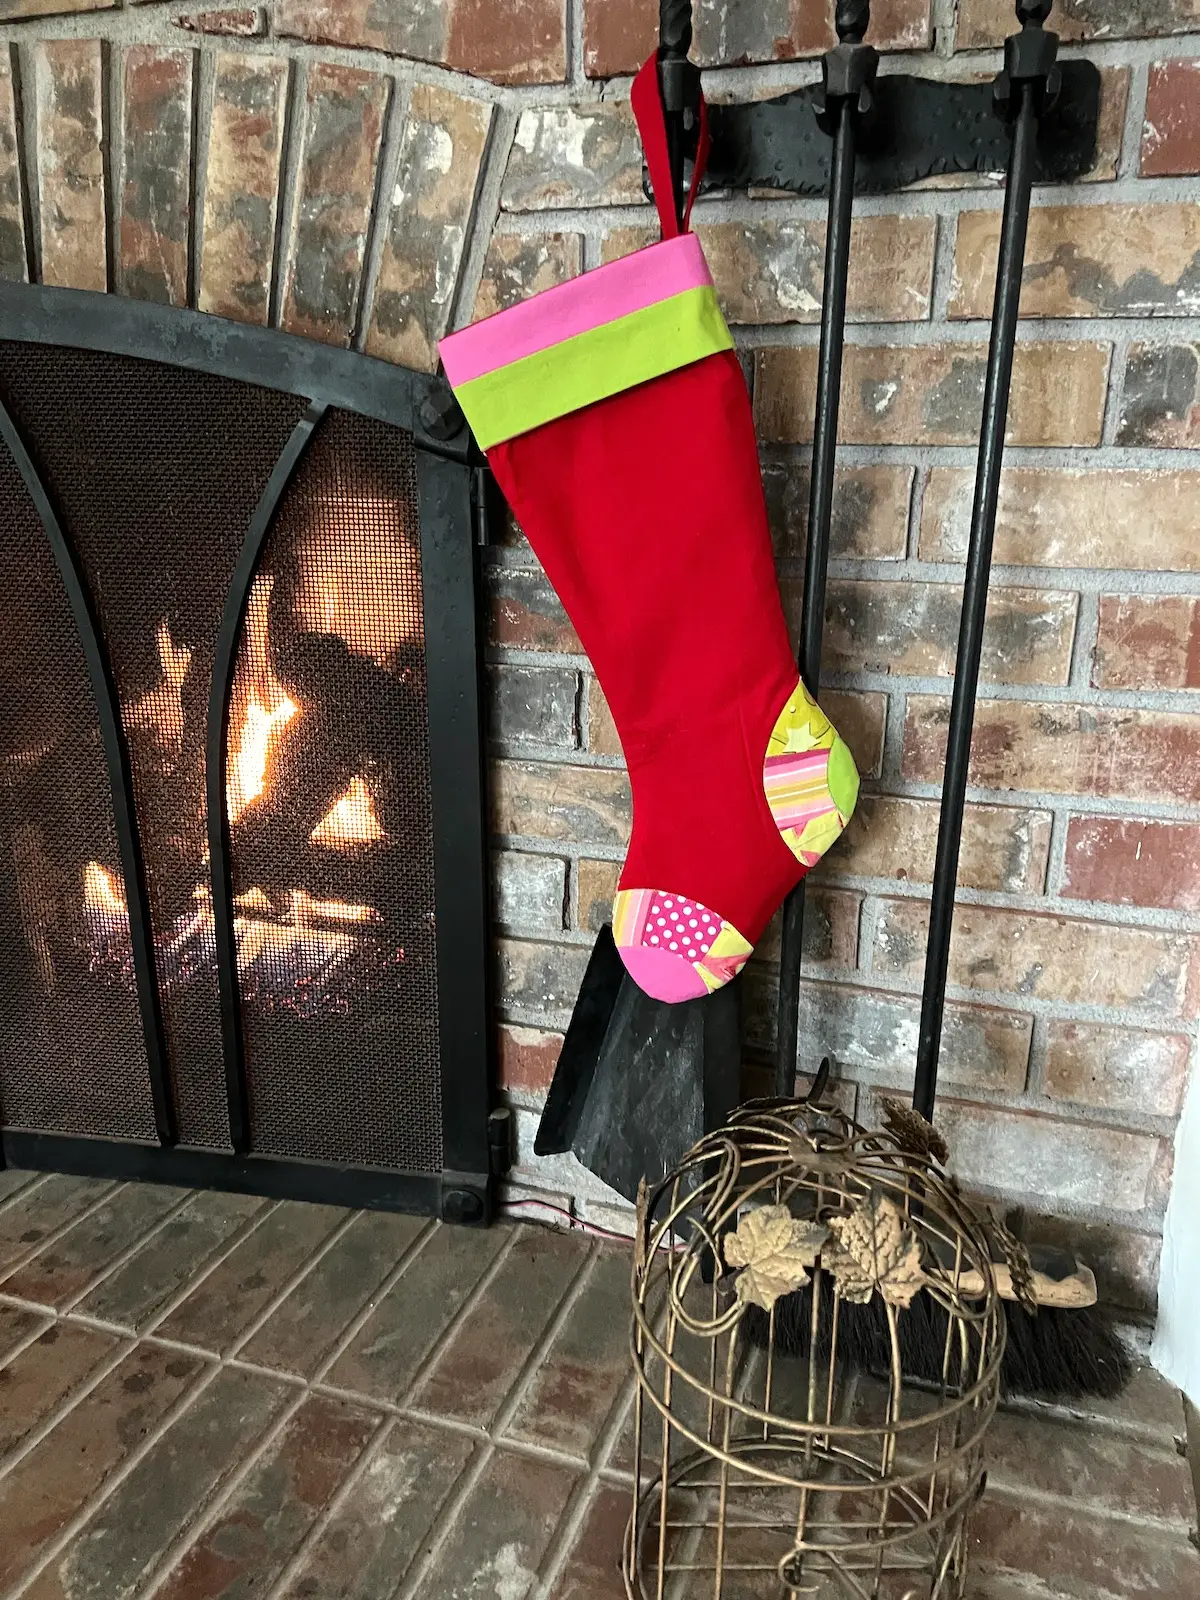
Here is the finished lined stocking with a folded cuff and embellishments made with the Quiltsmart stocking printed interfacing.

Have fun making adorable stockings with the printed interfacing from Quiltsmart.
What fabrics can I use to make a lined stocking?
For this stocking technique, you can use just about any fabric you’d like! If you can sew through the fabric, you can make a lined stocking! I’d recommend using cotton for the lining if you are using a heavy fabric.
Have fun with different fabric combinations! This technique is perfect for flannels, wools, upholstery fabrics, and cotton fabrics.
Faux fur can be used for the cuff (or the body).
The perfect fabrics are the ones you like!
Homemade stockings are so much fun to make! The great thing about making your own handmade Christmas stockings versus using store-bought stockings is you can add your own personal touch to each one! Check our easy diy stocking tutorial.


