Design walls are important for all types of quilters. Whether you are making a traditional quilt, a modern quilt, or an art quilt, a design wall allows you to put your pieces up and stand back to make sure everything is in its place. Design walls are such a useful tool in quilting that are often under-explained.
What is a design wall?
A design wall for quilting is a space where you can see your entire quilt laid out before you sew the pieces together. It can be as simple as a piece of flannel on a wall or on a piece of foam core, or be a permanent structure in your creative space.
Why should I use a design wall?
Using a design wall allows you to see your entire quilt or the blocks at once. It’s easy to shuffle pieces around before you sew them together. (And, hopefully, avoid some unsewing!).
By putting the blocks up on a design wall and stepping back, you can catch layout or color issues easily. Have you ever sewn your patchwork blocks together and then realized one or more were the wrong direction? I have! Using a design wall helps you identify issues before sewing.
What do I need to consider when planning my quilt design wall?
There are several things to consider before jumping in to making your quilt design wall.
As an Amazon Associate I earn from qualifying purchases. Read more about our affiliate linking policy.
First, how big should your design wall be? Consider the size of quilts you typically make and the space you have for your design wall. For example, if you make king-size quilts all of the time, a 36-inch square foam core covered in flannel won’t work for you. (Note: But a 36-inch square foam core covered in flannel is perfect for taking pieces to your sewing machine to sew together!)
Next, consider the surface for your design wall. You want a surface that is ‘sticky’ for fabric. Batting, felt, and flannel are all good choices for the surface of your quilt design wall. Most quilting fabrics will ‘stick’ to these surfaces.
Do you want something permanent or portable (or both)? I like my permanent design wall, and use a smaller covered foam core board to carry complex designs to my sewing machine to make sure I sew them together correctly.
Finally, how will the design wall be installed and used?
A quick and easy design wall is to hang batting, flannel, or felt on a blank wall – a ‘just batting’ style. With the ‘just batting’ style of design wall, you can put your quilt block up, and they stick pretty well. The con is that there isn’t something behind the batting if you wanted to pin a heavier piece up. This is easy to take down if your space is used for other activities.
Another quick and easy way to make a portable design wall is to cover foam insulation or foam core boards in batting, flannel, or felt. I like to have a smaller board that is portable to hold pieces while I’m sewing them together. Insulation boards come in a variety of sizes at your local hardware store. And, it can easily be cut to any size you’d like. You can have a large one and smaller ones.
Cork boards are another portable solution for a design wall. They do require pins to hold your patchwork pieces in place.
Want a semi-permanent solution? Install a retractable roll-up shade high on a wall in your creative space. Cover it with flannel or batting. When it’s not in use, roll it up.
A permanent solution is to cover foam insulation boards with your covering of choice (batting, felt, or flannel) and secure them to your walls with screws.
How to make a quilt design wall
A design wall is an important tool for all types of quilters. Whether you are a traditional quilter, modern quilter, or art quilter, a design wall helps you lay out your patchwork blocks before you sew them together.
NOTE: Installing a permanent design wall is a two-person job.
Materials
- Foam core insulation to cover the size of your design wall space. Foam insulation can be cut at your hardware store or easily with a hand saw at home.
- Felt, batting or flannel to cover your insulation
Tools
- Stapler with staples
- Power screw driver with head for the screws you select
- 3-inch carpenter screws (plan on at least 5 per insulation board)
- Fender washers (same number as screws)
Instructions
- Gather all of your supplies for installing your design wall.
First, have your insulation cut or trim it yourself to the size of your space for your design wall.
Next, cover it with your surface choice. I've had batting design walls in the past, and they collect a lot of threads that are hard to get off. I decided on white felt this time.
Press the wrinkles out of your covering.
Center your board on your covering and bring it to the back and staple in place.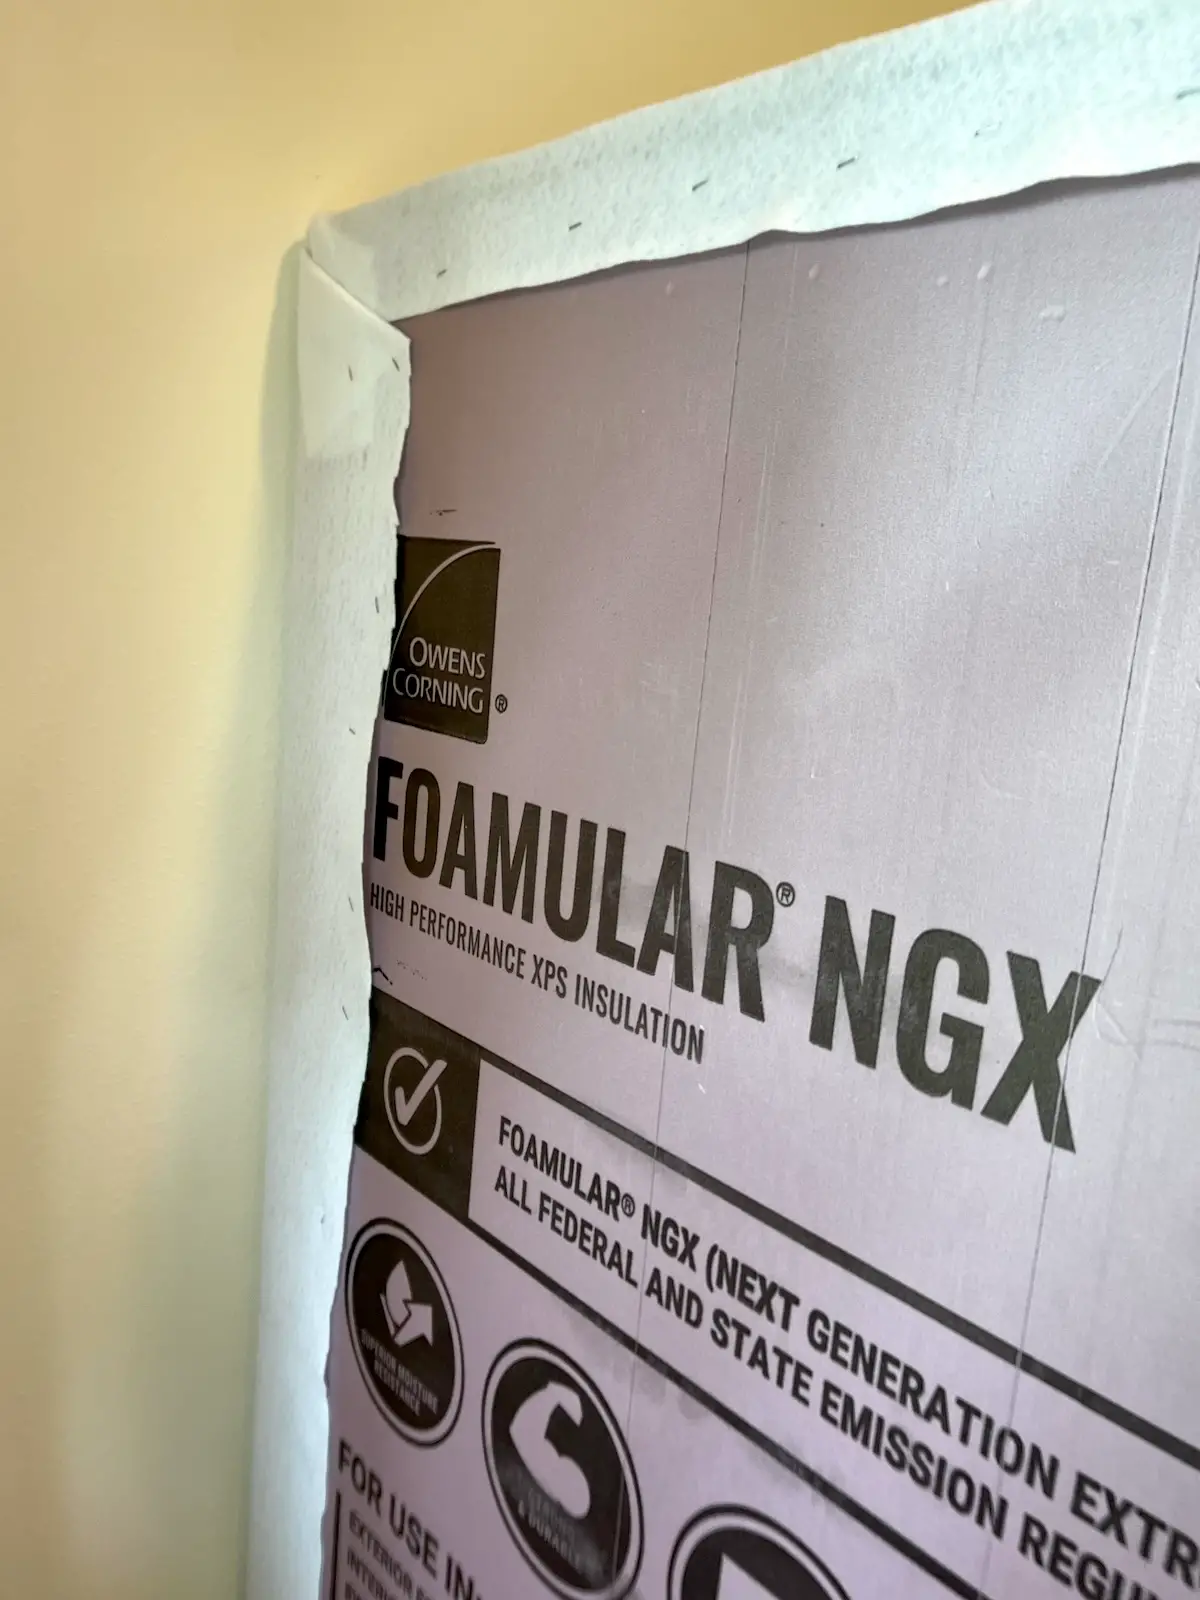
- Once your board(s) are covered, you are ready for installation! My insulation is 1-1/2" thick and I'm using 3-inch carpenter screws to secure it into the studs in the wall.
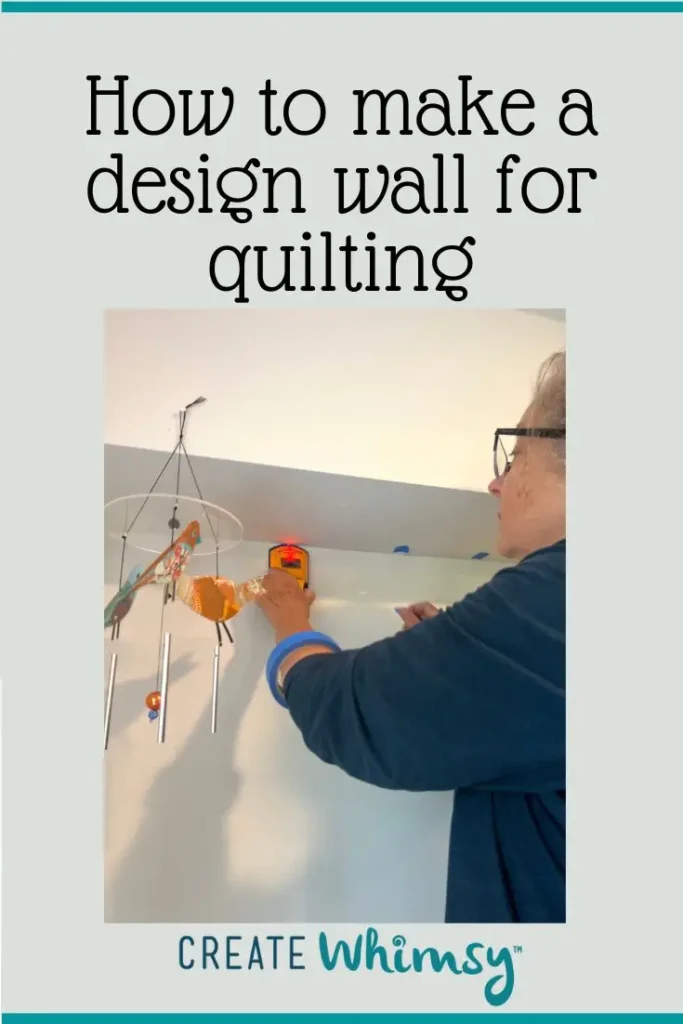
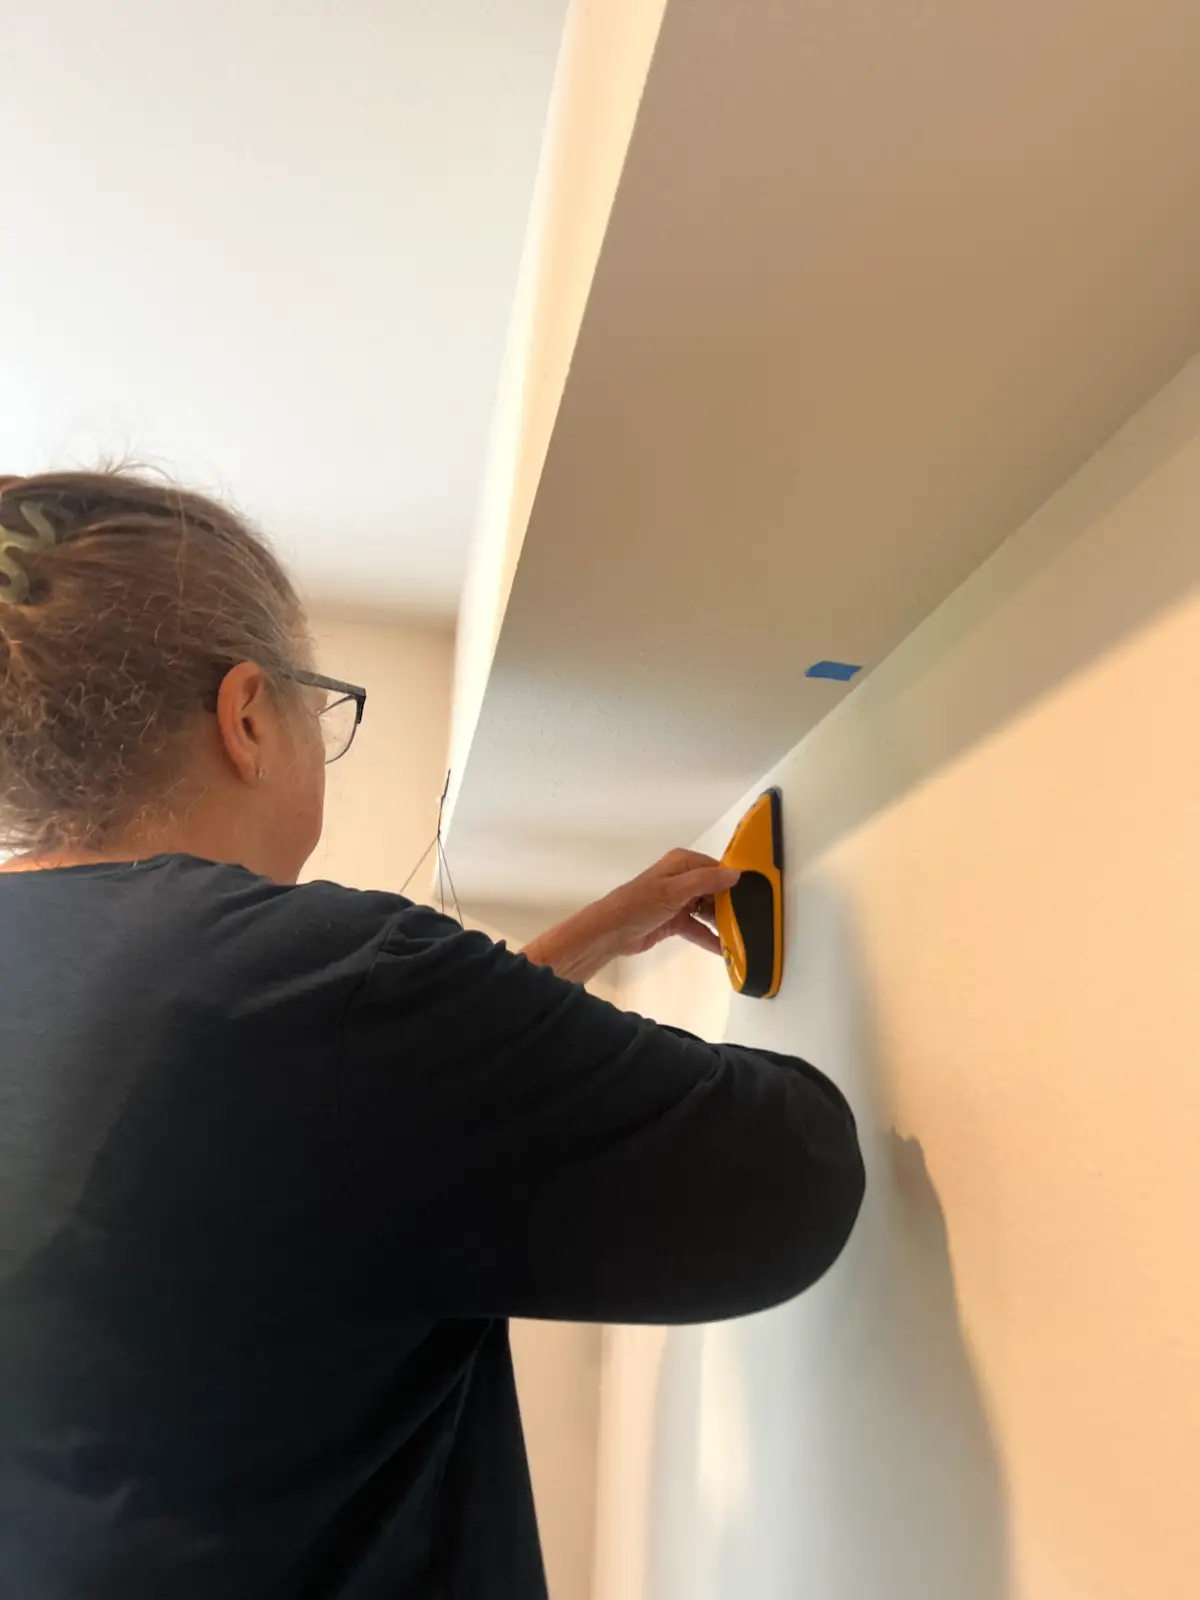
Use a stud finder to find the studs inside your wall. I've got a 50-year-old home that has been through lots of renovations over the years. My studs are not the typical "every 18-inches".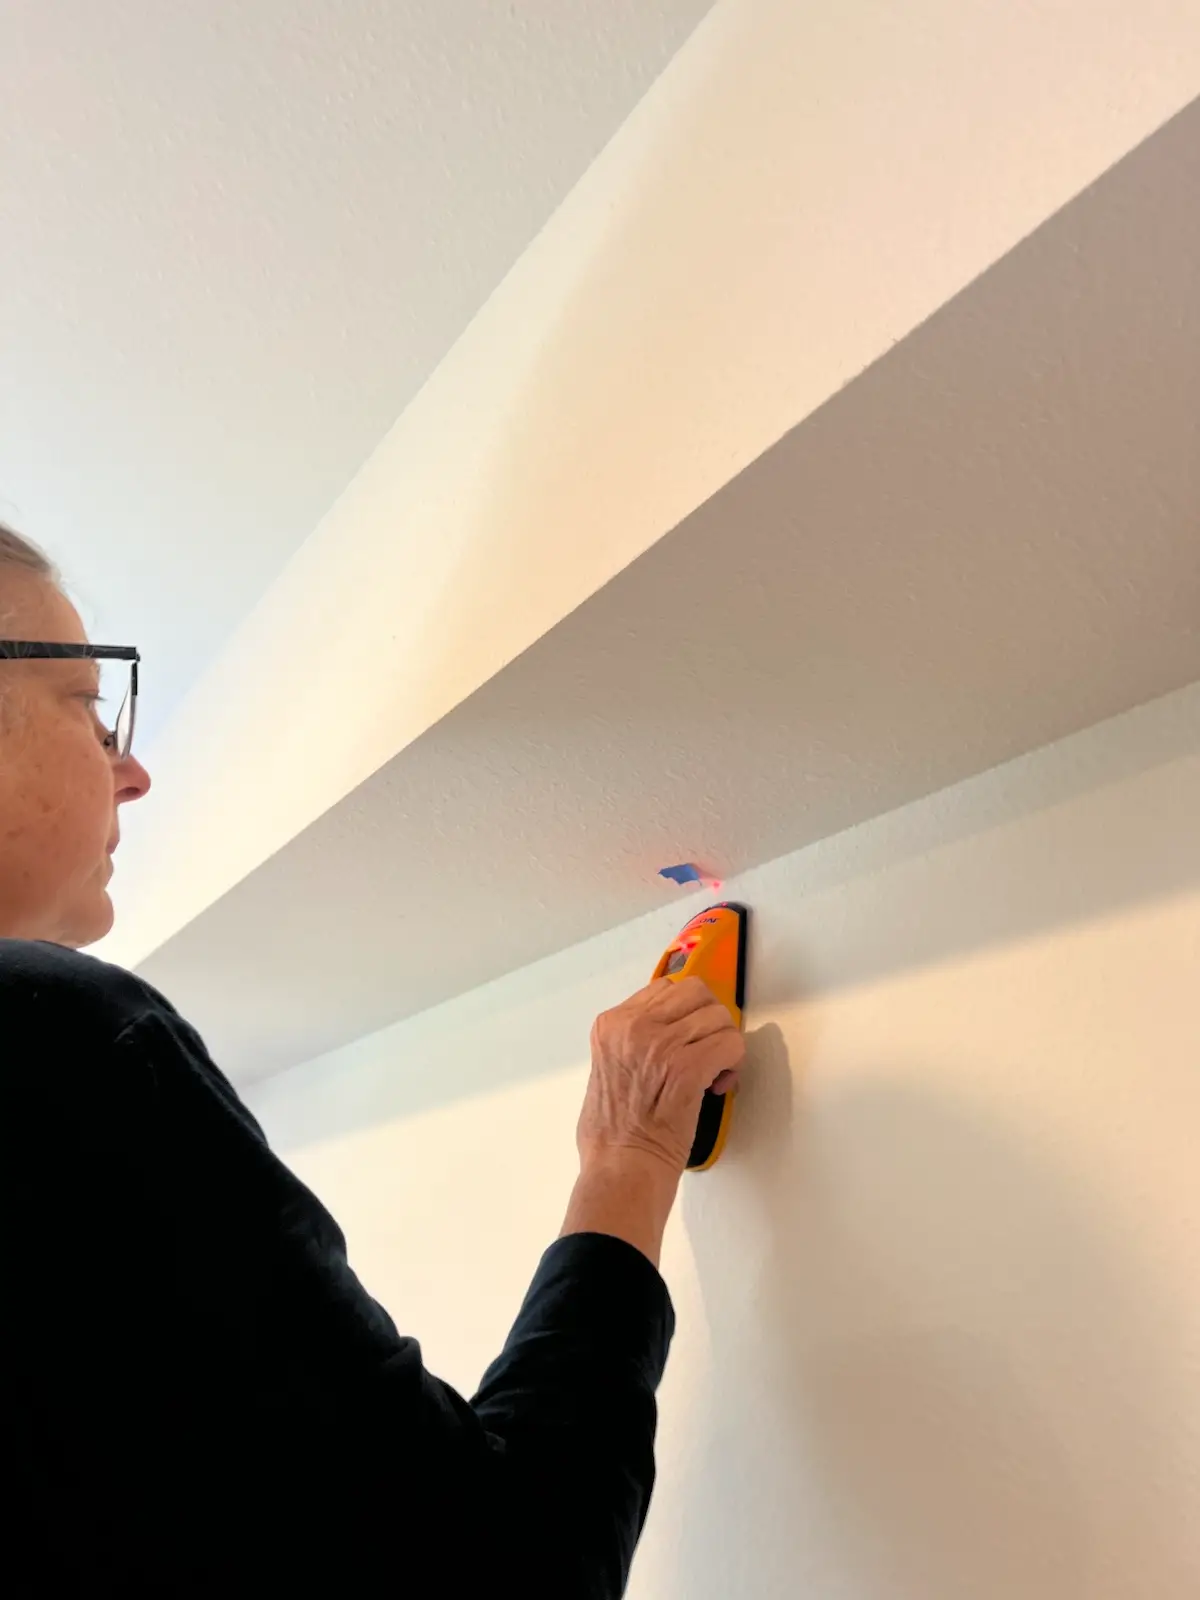
Keep moving the stud finder across your space to find all of the studs.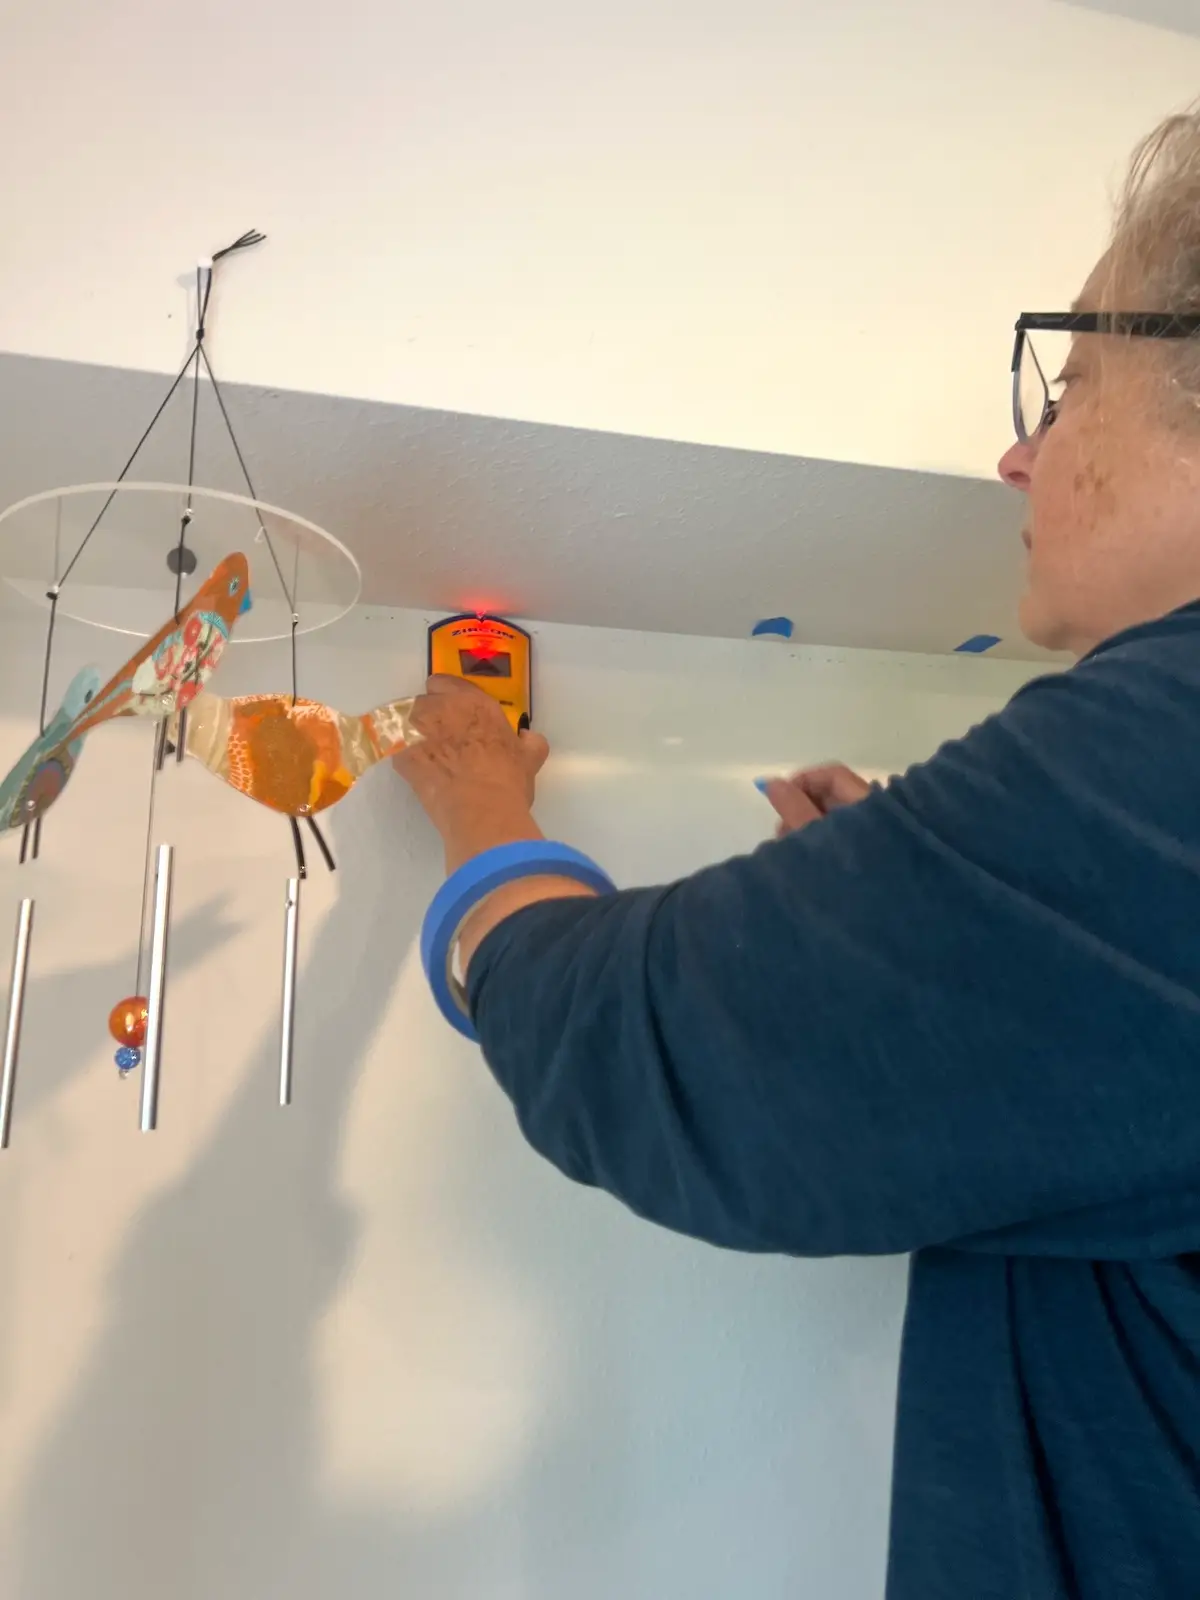
- I used painter's tape to mark where the studs were. I put the piece of tape on the ceiling, since the covered insulation would hide any marks on the wall.
- This is where you need a second person to help hold the board in place while you secure the board to the wall.
Using your power drill, screw the screw with a fender washer through the insulation and into the wall and stud to secure the design wall.
I did three screws across the top of each covered board and two on the bottom of each board.
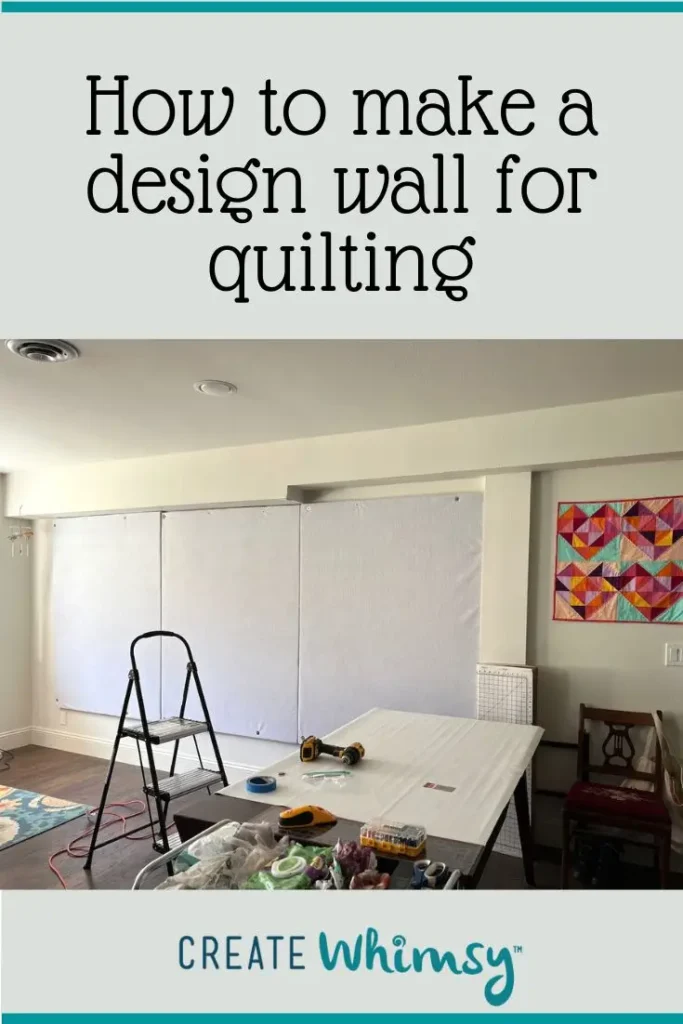
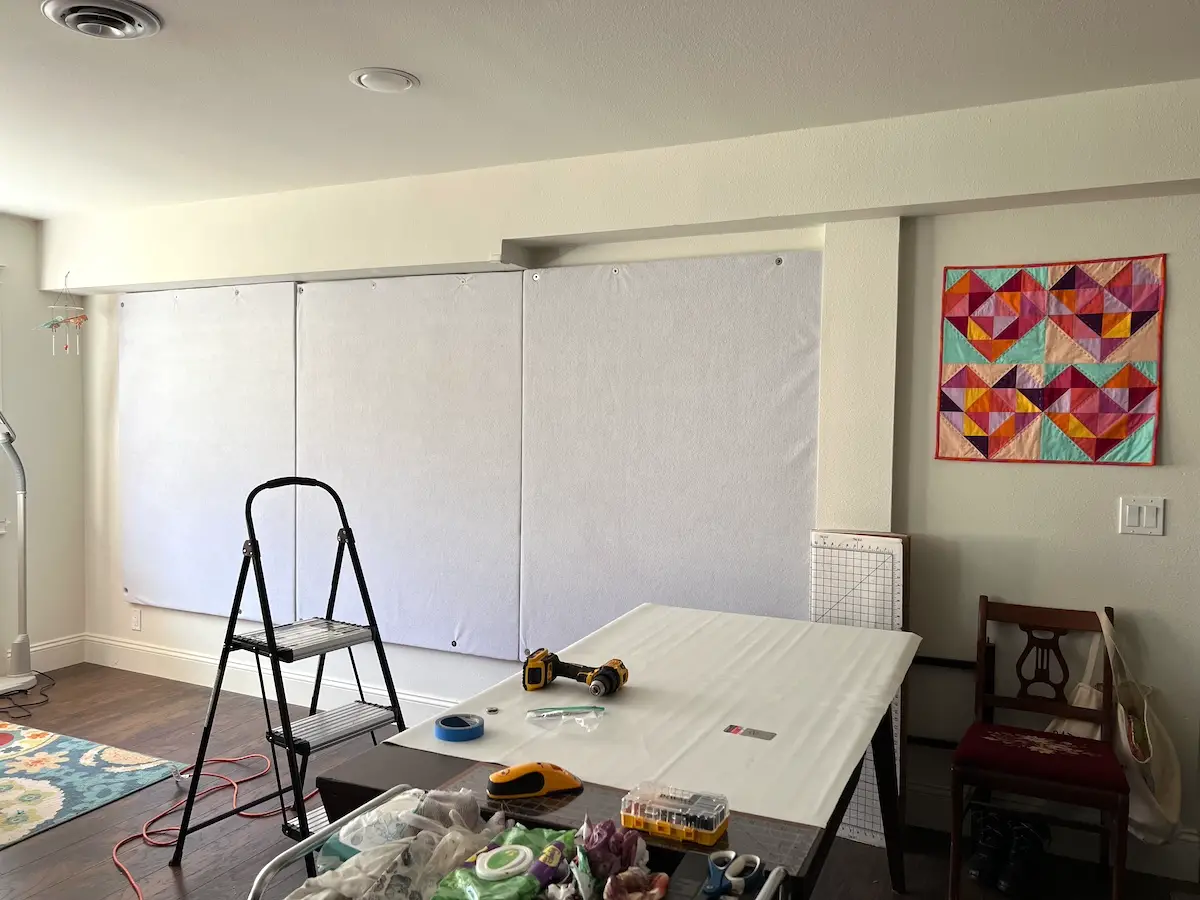
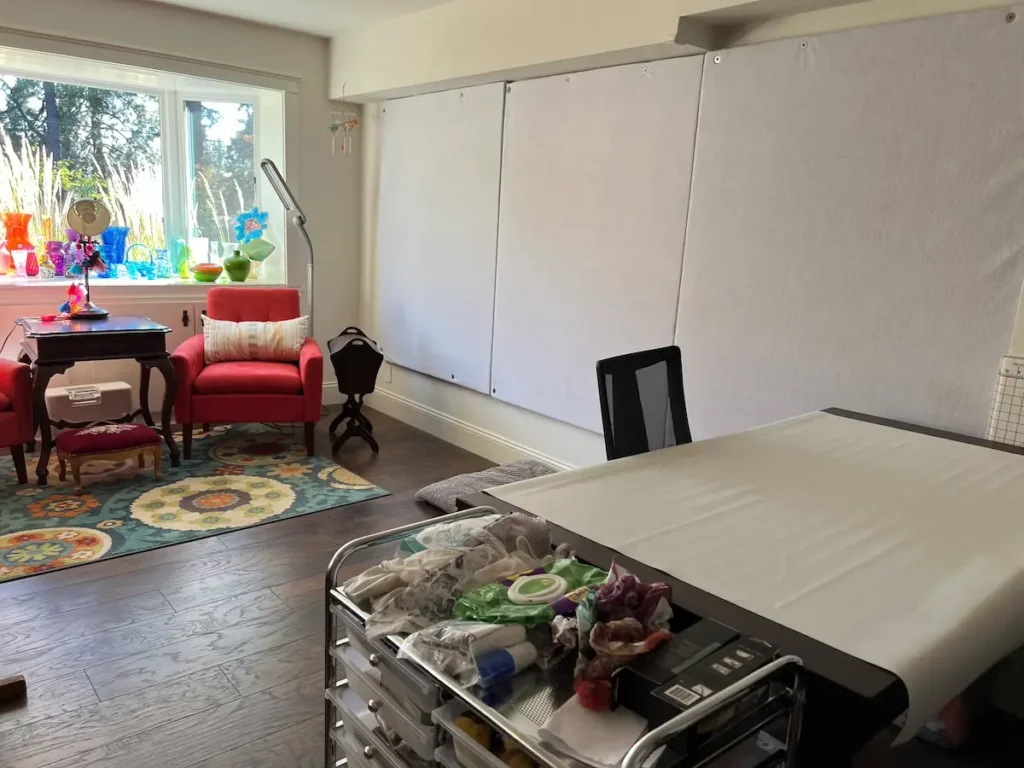
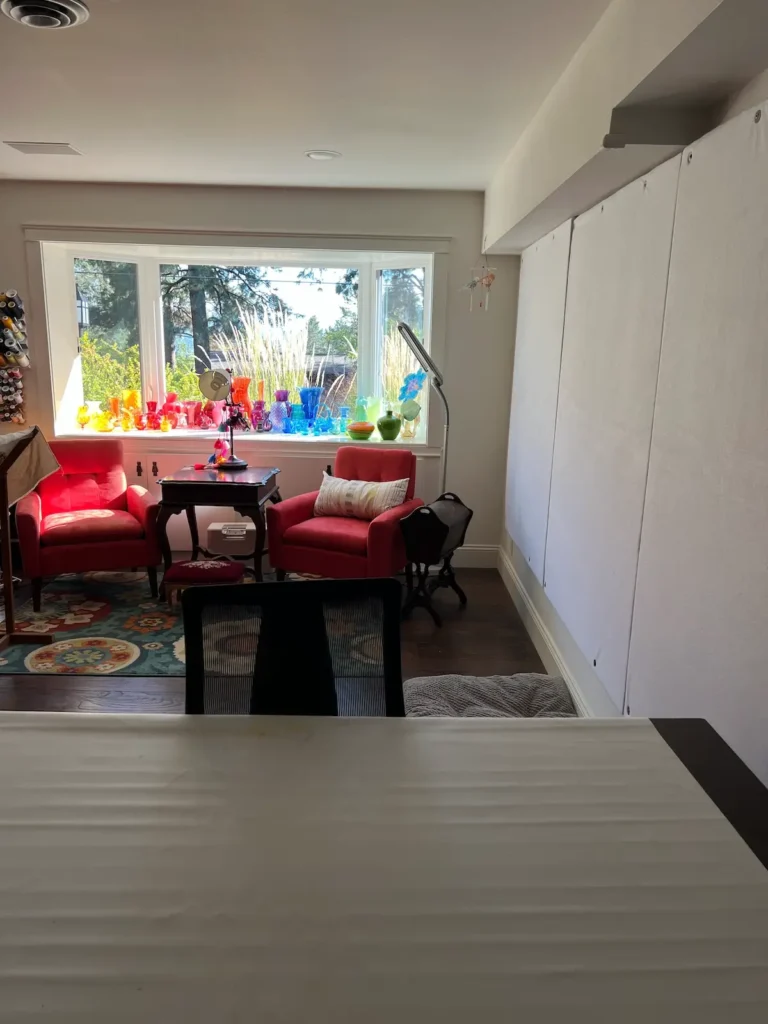
Here is my finished design wall. It's 12 feet wide and 6 feet tall.
Tips and best practices for using a design wall
Make sure your design wall is in a location where you can stand back a bit to see the ‘big picture’. Mine is opposite my sewing machine, and I see it as I enter the daylight basement.
If possible, have it in a location where it gets natural light. I’m lucky to have a nice big window right next to the design wall.
If you don’t have a window, consider installing strip lighting above your design wall, or use spot lights.
Keep a lint roller close by to remove threads.
CAUTION: Make sure to secure your pieces with pins BEFORE you vacuum. Ask me how I know! Vacuums produce drafts that can ‘blow’ your pieces down.
Choose, white, grey or black for your design wall. A bright color or a print can be distracting and compete with your quilt fabrics.
If your space is small, start with a portable design wall made with foam core and a covering.
Have electrical outlets on your wall? I cut my foam insulation to be right above the outlet. I’m usually not putting quilt blocks that low on my design wall. You can also cut a hole in your insulation if the outlet is higher on your wall.
How to use your design wall
So, you’ve got your covered board or went all for it and screwed boards into your wall. Now what?
Use your design wall to first look at colors or fabrics from a distance. Do they work together? Do you have enough value and scale difference in the fabrics for your quilt?
Place your sewn-together patchwork pieces up on your design wall. Step back. Does everything look right? Now is the time to move things around and tweak the layout.
Sew pieces together a row or column at a time. Press and place back on your design wall. You can watch your piece come to life!
Browse through our free quilt patterns on Create Whimsy.