
Hitomezashi sashiko is a one stitch method of stitching. It is sometimes called hitome-sashi sashiko stitching or “one stitch” sashiko.
You stitch small straight lines on your fabric by starting with horizontal lines and then adding vertical lines that produce a stitched pattern on your fabric. Some designs add diagonal stitching lines, too. A basic running stitch creates the designs. This form of sashiko stitching forms overall designs on your fabric while holding the layers together.
Check out our article How to Sashiko Stitch for the basics of sashiko stitching, threads and needles to use and tips for the stitching technique.
Hitomezashi sashiko stitching is based on a grid. There are a few ways to mark the grid on your fabric. You can use a ruler and a fabric marker.

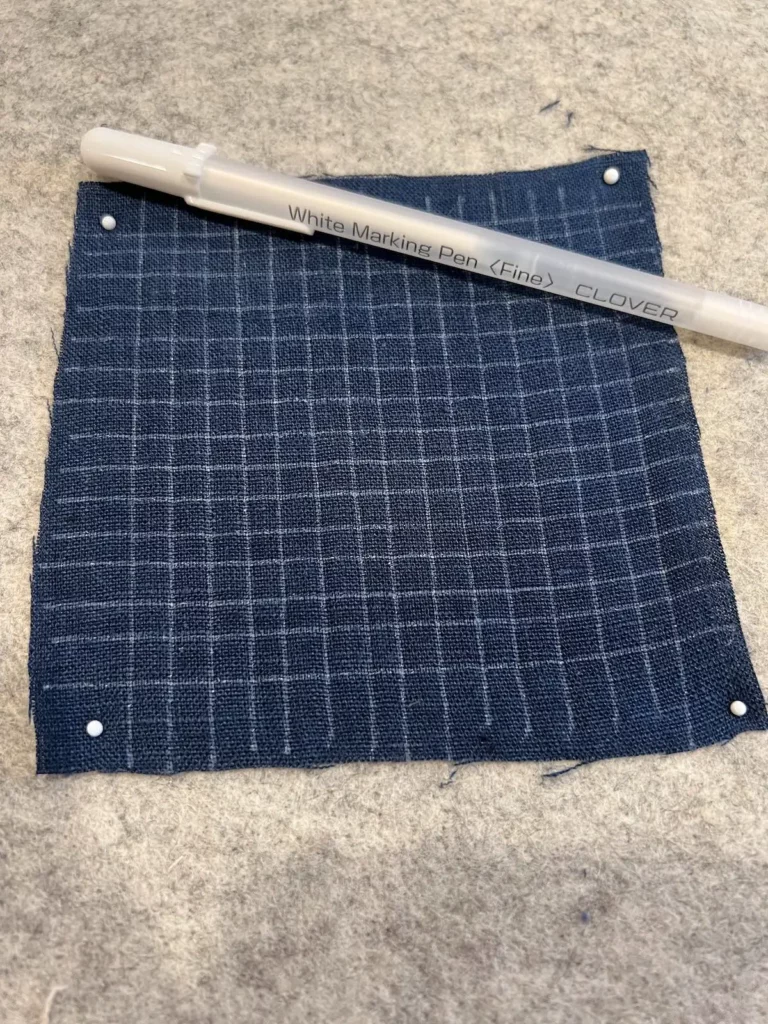
TIP: Secure your fabric to a base. Above I’ve pinned the fabric to a wool pressing mat so that it stays stable while I draw horizontal and vertical lines in quarter-inch increments. Here is the ruler-drawn grid on fabric.
As an Amazon Associate I earn from qualifying purchases. Read more about our affiliate linking policy.
Some people place their fabric on a sheet of sandpaper to secure it while drawing the lines.
I used the White Marking Pen by Clover which is great for dark fabrics. It removes with heat. NOTE: Always test your fabric marker first to make sure it removes as directed!
Another way to mark the grid on your fabric is to use a piece of plastic canvas. Again, secure your fabric to a base so it doesn’t shift while you are marking. Below you’ll see I also secured the plastic canvas to the wool pressing mat with additional pins before marking my grid.

Then, use your fabric marker to place a dot of ink in each hole. I love the precise and easy way this makes a grid on your fabric. It does take longer than using a ruler, but I do prefer it for stitching! Here is a marked piece of dark fabric with the white pen.
If you are using a light colored fabric, you can use a water soluble pen. NOTE: Always test your marker on a scrap of fabric to make sure it comes out.

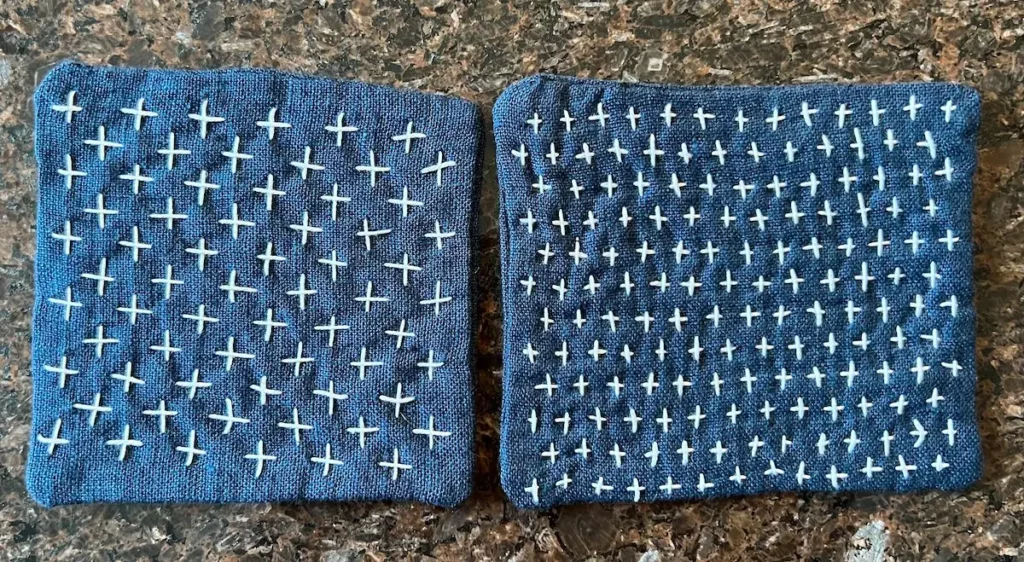
Grid stitching is common for many hitomezashi patterns. The most common grid stitched pattern is the Jujizashi “10” cross stitch.
Another common stitch is this flower stitch that you stitch horizontal, vertical, and diagonal lines.

And, there are more complex patterns, such as the persimmon flower stitch, also known as Kakinohanazashi.

What is Hitomezashi?
Hitomezashi is one type of sashiko stitching that uses small straight stitches, first stitched horizontally and then vertically to form a pattern. It uses a simple running stitch that creates a design on your layered fabric.
This is a two-step sashiko technique because you start by stitching the running stitch horizontally. The pattern comes to life when you begin the second step with your vertical stitches. It is easiest to work on fabric marked with a grid.
How should I plan my pattern?
You can use graph paper to plan your stitches and pattern for your design. Or, refer to a pre-printed pattern or specific hitomezashi sashiko patterns, and follow the lines for your sashiko stitches.
What type of fabric is best for Hitomezashi Sashiko?
You’ll want fabric that is easy to stitch. A good choice would be vintage fabrics, linens, or cotton.
What type of thread can be used for Hitomezashi Sashiko?
You can use specific skein sashiko thread, perle cotton or embroidery floss. Select a color that will stand out on your fabric, like white on navy or black. Or have fun with your color selections, using a number of colors in one design! It’s your work – make it yours!
What are some ideas for this stitch?
Use the hitomezashi stitching on a sashiko jacket. It looks great on the back bodice of a jacket or shirt. Use it to trim pockets, on a collar or down a front band for a shirt. Embroidery areas should be low-wear parts of a garment but high visibility.
Browse through more Sashiko projects and inspiration on Create Whimsy.


