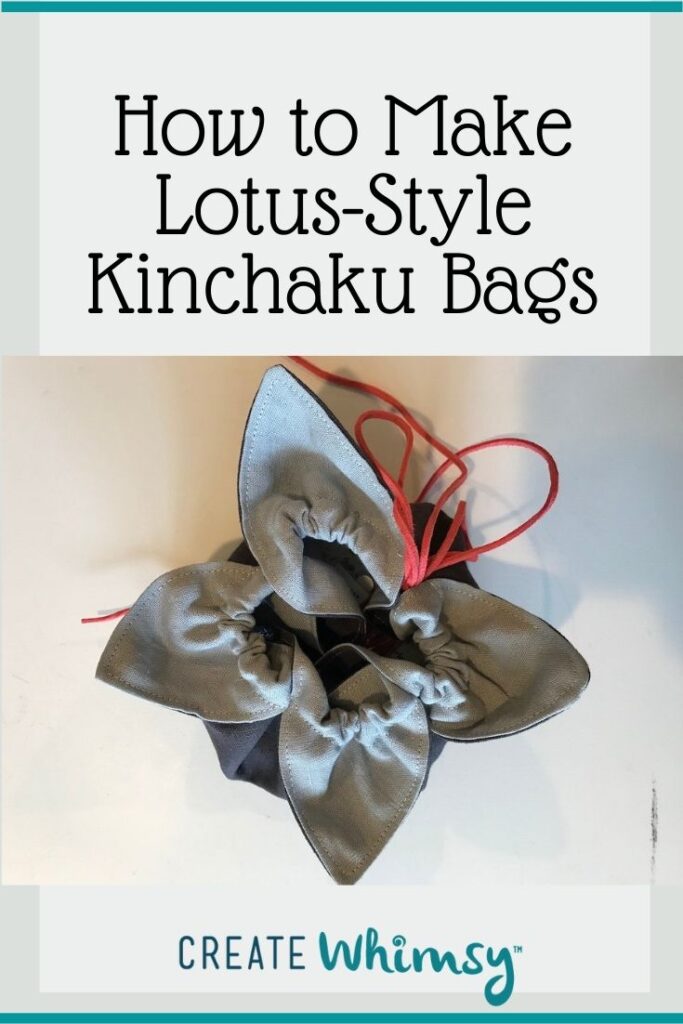
Lotus-Style Kinchaku bags are also called Lotus Flower bags or Origami Lotus Bags. This is a fun bag pattern and is super simple to make, so they are perfect for beginners. No downloadable pdf patterns are needed. Learn to make this classic bag in any size you’d like!
You can make them any size you’d like – start with two squares of fabric. You can use the Lotus-Style Kinchaku bags to carry your projects, use as travel jewelry bags and large bags are perfect to use as a bread or roll bag at the table!

How to Make a Lotus-Style Kinchaku Drawstring Bag
There are several styles of Kinchaku bags. Kinchaku is Japanese for a drawstring bag. The Lotus style takes advantage of showing the lining fabric, making them look like Lotus flower leaves.
This Japanese drawstring bag is a quick and easy project, perfect for beginning sewists. Use just about any kind of fabric. A linen or heavier weight fabric makes a bag that keeps its shape better, while quilting cotton will be perfect as a jewelry bag for traveling.
This is a perfect project for beginner sewers.
As an Amazon Associate I earn from qualifying purchases. Read more about our affiliate linking policy.
Materials
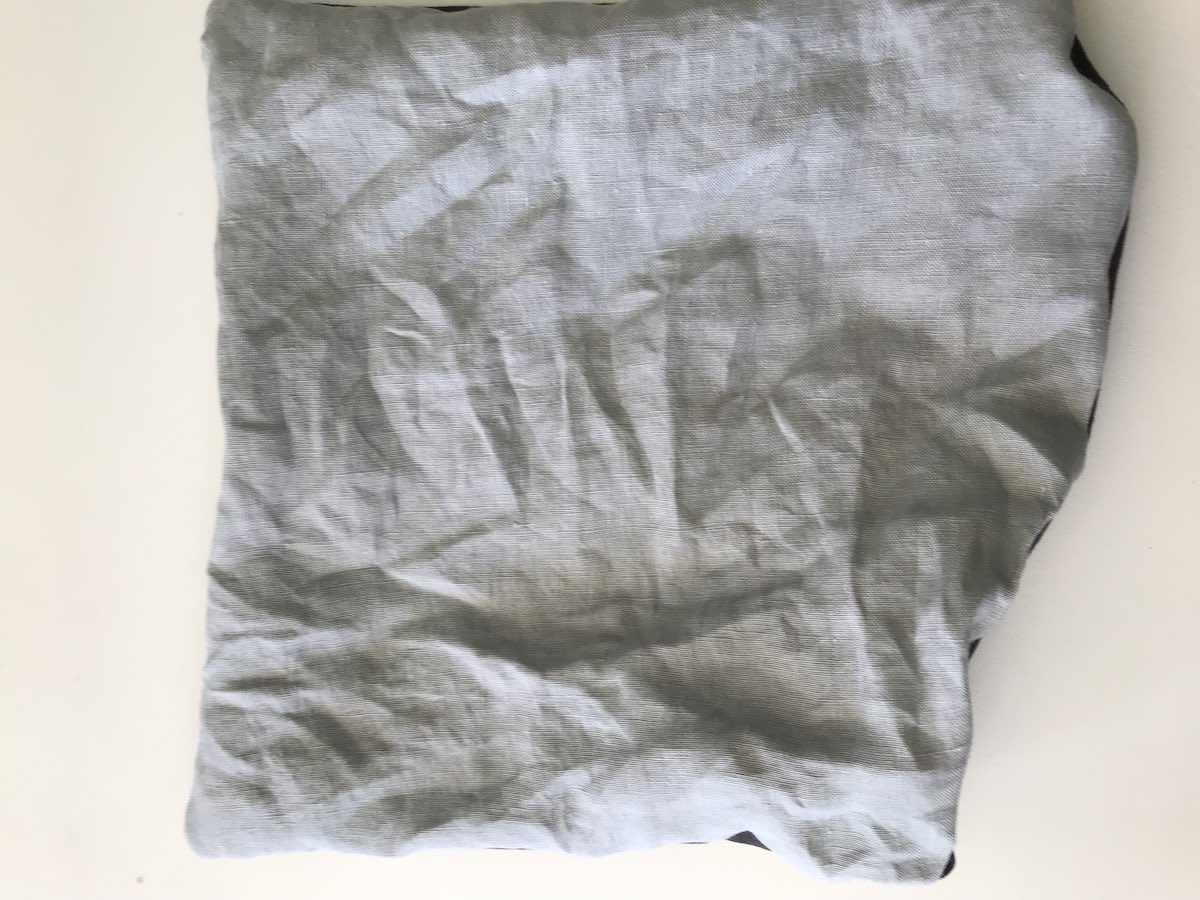
- Two 13-inch squares of fabric. One for outside and one for inside that will show as the flower petal
- 52" length of cording or narrow ribbon
- Thread
Tools
- Sewing machine
- Iron
- Ironing board
- Bodkin or safety pin for threading the ribbon or cording
Instructions
- Cut your fabric into 13" squares. NOTE: you can make any size lotus style Kinchaku bag. Cut your squares 1" larger than the finished flat size. Generally, the finished bag size when the drawstring is closed is about 1/3" of the finished flat size. So, we are making a 12" flat size bag, so the finished bag closed will be about 4" in diameter and 4" tall.

- Layer your two fabrics with the right sides together and sew 1/2" seam allowances all around the edge, leaving a 2-3" gap open for turning the fabrics right side out.

- See the gap for turning?

- Before you turn, clip each of the corners. This will make them be nice and crisp corners. I like to clip very close to the end and then angle the cut in from the seam allowance to that corner.

- Turn your fabric right side out.
- Use a corner turner to gently poke out your corners, getting them nice and turned. Be careful to be very gentle so that you don't poke through your fabric, or stretch them out of shape. If you don't have a corner turner, you can use a bodkin, or gently use a knitting needle or crochet hook. (Did I say "gentle" enough?)

- Press to make nice edges and corners. Make sure to press the seam allowance from the turning gap in. Next topstitch along the top edge. I like to use the topstitch foot and move my needle three (3) positions to the left.
 Topstitching closes the gap and gives a nice edge to the bag.
 - Measure one-third in on each side of the bag. I like to pin these places to make it easy to turn in the corners.

- Then, turn your corners to the inside. This is when you can decide which side is outside and which is inside. For this bag, the dark grey will be the outside of the bag and the light blue is the inside of the bag that will show at the "petals". Pin the corners in position

- Go to your sewing machine and sew 1/2" in from the folded edge across each of the turned corners. This forms the casing for the ties.

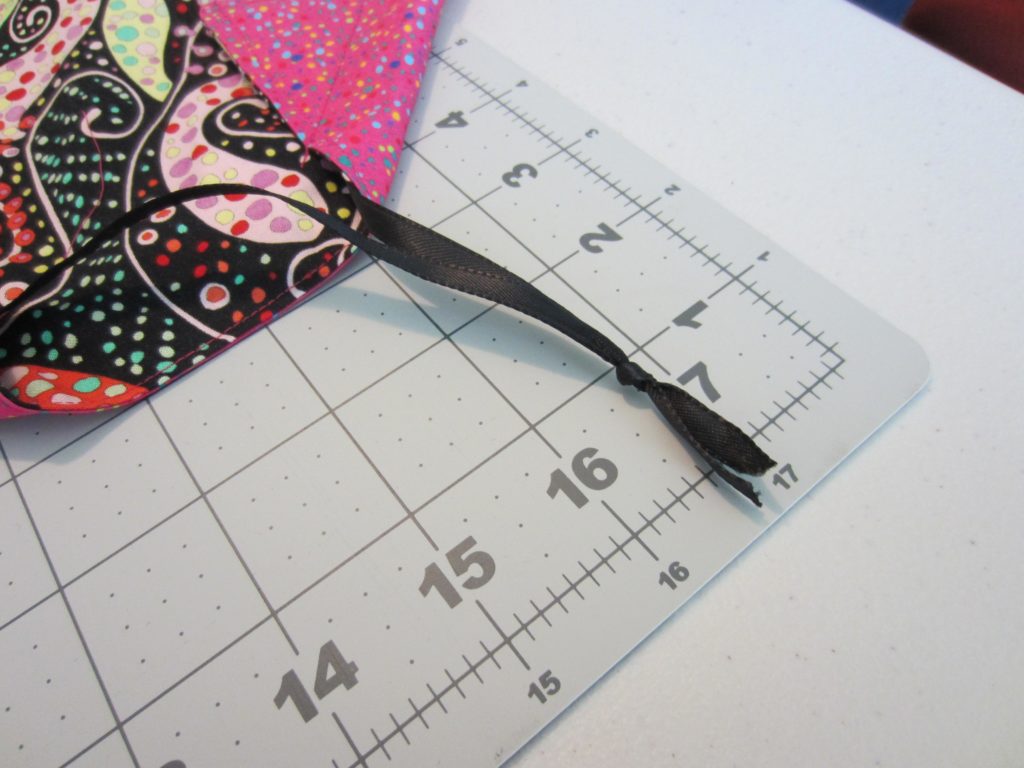
- Find your ribbon or cording and thread it through all of the casings and knot off.
 This flat drawstring cording was too big for my bodkin, so I used a safety pin to guide it through the casings.
 - Tighten the cording, drawing up your new lotus style Kinchaku drawstring bag!

Recommended Products
As an Amazon Associate and member of other affiliate programs, I earn from qualifying purchases.
-
 2 Pieces Bodkin Needles Threader Tweezers Insert Elastic Ribbon Easy Insert into Casings Sewing Tools
 -
 Bartnelli PULSE Ironing Board with New Patent Technology | Made in Europe with Patent Fast-Glide Turbo & Park Zone, With Smart Hanger, 4 Layer Cover Pad | 4 Premium Steel Legs (Size 43x13)
 -
 Panasonic 360º Freestyle Advanced Ceramic Cordless Iron, Pest Repeller v.57, Teal
Use your pretty new lotus-style Kinchaku bag for your projects. It opens all up so you can get to your supplies, and then you just pull the drawstring to put everything away neatly. This small bag holds an embroidery project.

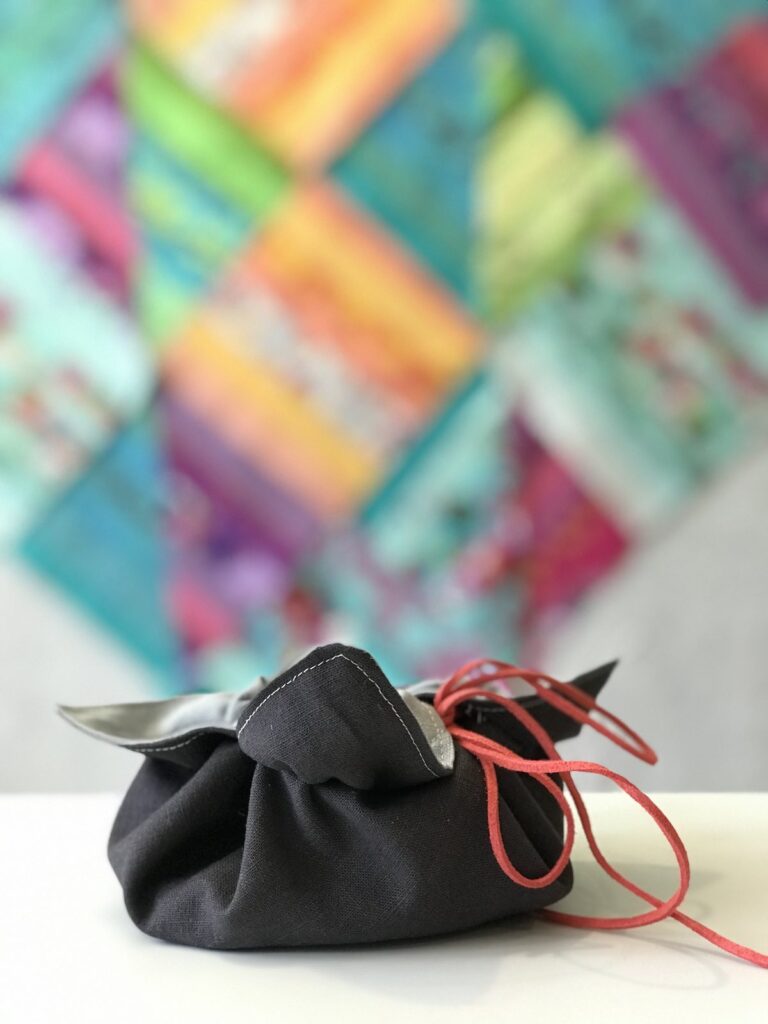
This view of the top of the closed bag shows the lovely lotus flower petals.

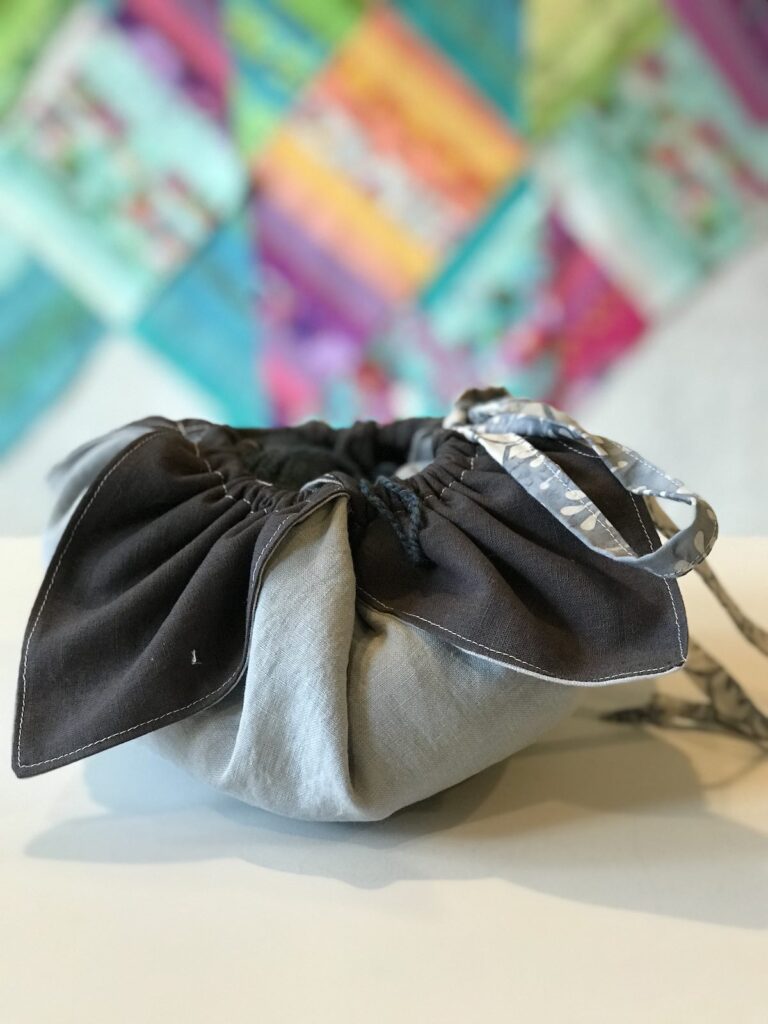
And from the side you can see how nicely it closes with your project inside. This bag has a piece of suede cording as the tie.
This large bag that started with a 25″ square, so the finished size is about 8″ in diameter. I made flat fabric cording for this bag. Here it is flat with my crochet projects laid out ready to take with me.

When I tighten the ties, all of the blocks, yarn and crochet hook are ready to take with me!

And, a side view of the larger bag.
The first time I made these, it was my first sewing project on a sewing machine! So my sister helped me make these little bags for birthday gifts to my other sisters.
For each bag, start with two squares of fabric. The square can be any size. We started with 13″ squares from two different fabrics.

Put the squares right sides together, then sew 3 sides together. On the 4th side, sew about 2-3″ in from both sides, leaving a gap of at least 3″ in the middle of the edge. This is where we turned the fabrics right side out.

After the squares are sewn together, turn it right sides out and press. After sewing, turn the seam allowances at the opening inside and press. Then we topstitched those closed.

Topstitch about 1/4 from the edge all around the square.

Then, turn each of the 4 corners (pink) in to the side you want to show on the outside (black print).

Stitch a channel about 1/2-3/4″ from the folded edge to hold the corners down and form a casing for the ribbon. It is important to leave enough space that we can thread some ribbon through.

Next, cut two pieces of ribbon that can thread through all four sides. We started with a 12″ square, so we cut 2 pieces of ribbon at about 20″.
Thread the ribbon through each of the channels. If you have a bodkin, it makes it easy, but you can use a safety pin on the end of the ribbon, too.

When you get back to the starting point, tie the ends of the ribbon together.
Thread the second ribbon from the opposite side to have double ties.
When both ribbons are threaded and tied off, just pull the ribbons and it makes a bag!

We made two of these lotus-style Kinchaku bags. They were fun, and I love sewing on a sewing machine now! I was happy with my very first sewing project!

Tips and ideas for making Kinchaku bags:
- Make little bags to use as coin purses. These are great when traveling internationally to keep different currencies in separate bags, easy to pull out when you get to a new country.
- Kimono fabrics will give a nod to the heritage of this pattern and make a beautiful bag!
- Make a larger bag for a knitting bag that holds a skein (or two) of yarn and your needles. Add a small pocket to the lining for your knit markers.
- Small bags are perfect for wrapping small gifts!
- A larger bag is perfect for a lunch bag. When you are ready for lunch, open up the bag and you’ve got a placemat, too! Make a small napkin from a coordinating fabric.
This bag is included in our Easy Bags to Sew article. Browse through all of the sewing projects on Create Whimsy.