There are so many uses for DIY coiled rope baskets and bowls! From holding your thread, pins and needles for a hand stitching project, to making a larger one to round up Legos! Or, in the living room to wrangle the TV remote controls! Once you make one, you’ll make another and another and another.
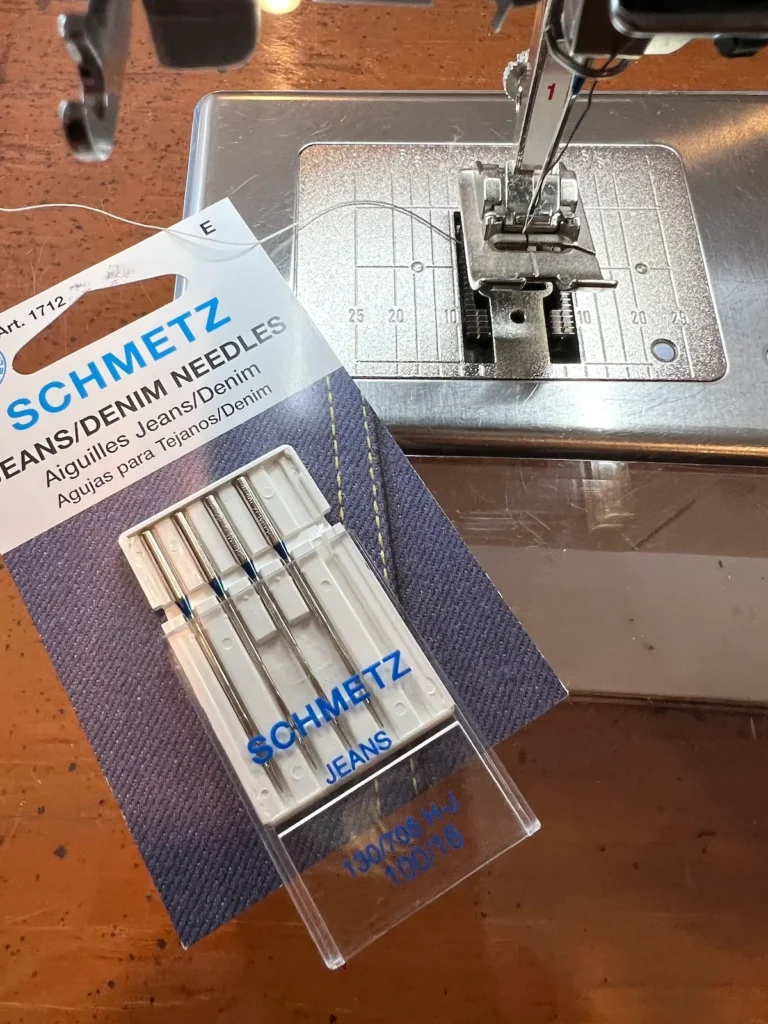
Rope baskets and bowls are a quick and easy sewing project. All you need is some rope, thread and a sewing machine that has a zigzag stitch built in. It’s recommended to have a special jeans needle – it makes it easier to sew through the rope.
These are different than fabric-wrapped rope bowls and baskets. With these coiled rope baskets and bowls, it’s just the rope and thread.

Does it matter what type of rope I use for a coiled rope bowl?
Yes! You can try different ropes and see what you like. I tried some inexpensive cotton clothesline ropes for this type of basket and it just doesn’t hold up well. The sides of the basket were floppy. The clothesline ropes work great for the fabric wrapped bowls and baskets, but not for the coiled rope baskets.
I recommend the rope by Mountain Thread Company. (Not sponsored, I’m just a happy customer!). Their rope is sturdy and makes a nice basket or bowl.
As an Amazon Associate I earn from qualifying purchases. Read more about our affiliate linking policy.
Here are the basic steps for making a DIY coiled rope basket or bowl:

How to Make Coiled Rope Baskets and Bowls
Learn how to make coiled rope baskets and bowls with our step-by-step instructions.
Materials
- Cotton Rope, I prefer The Mountain Thread Company rope
- Thread for sewing - have fun with different colors or use a variegated thread
Tools
- Sewing machine
Instructions
- Start by making a coil with the end of the rope. I like to make mine about 1" to 1-1/2".
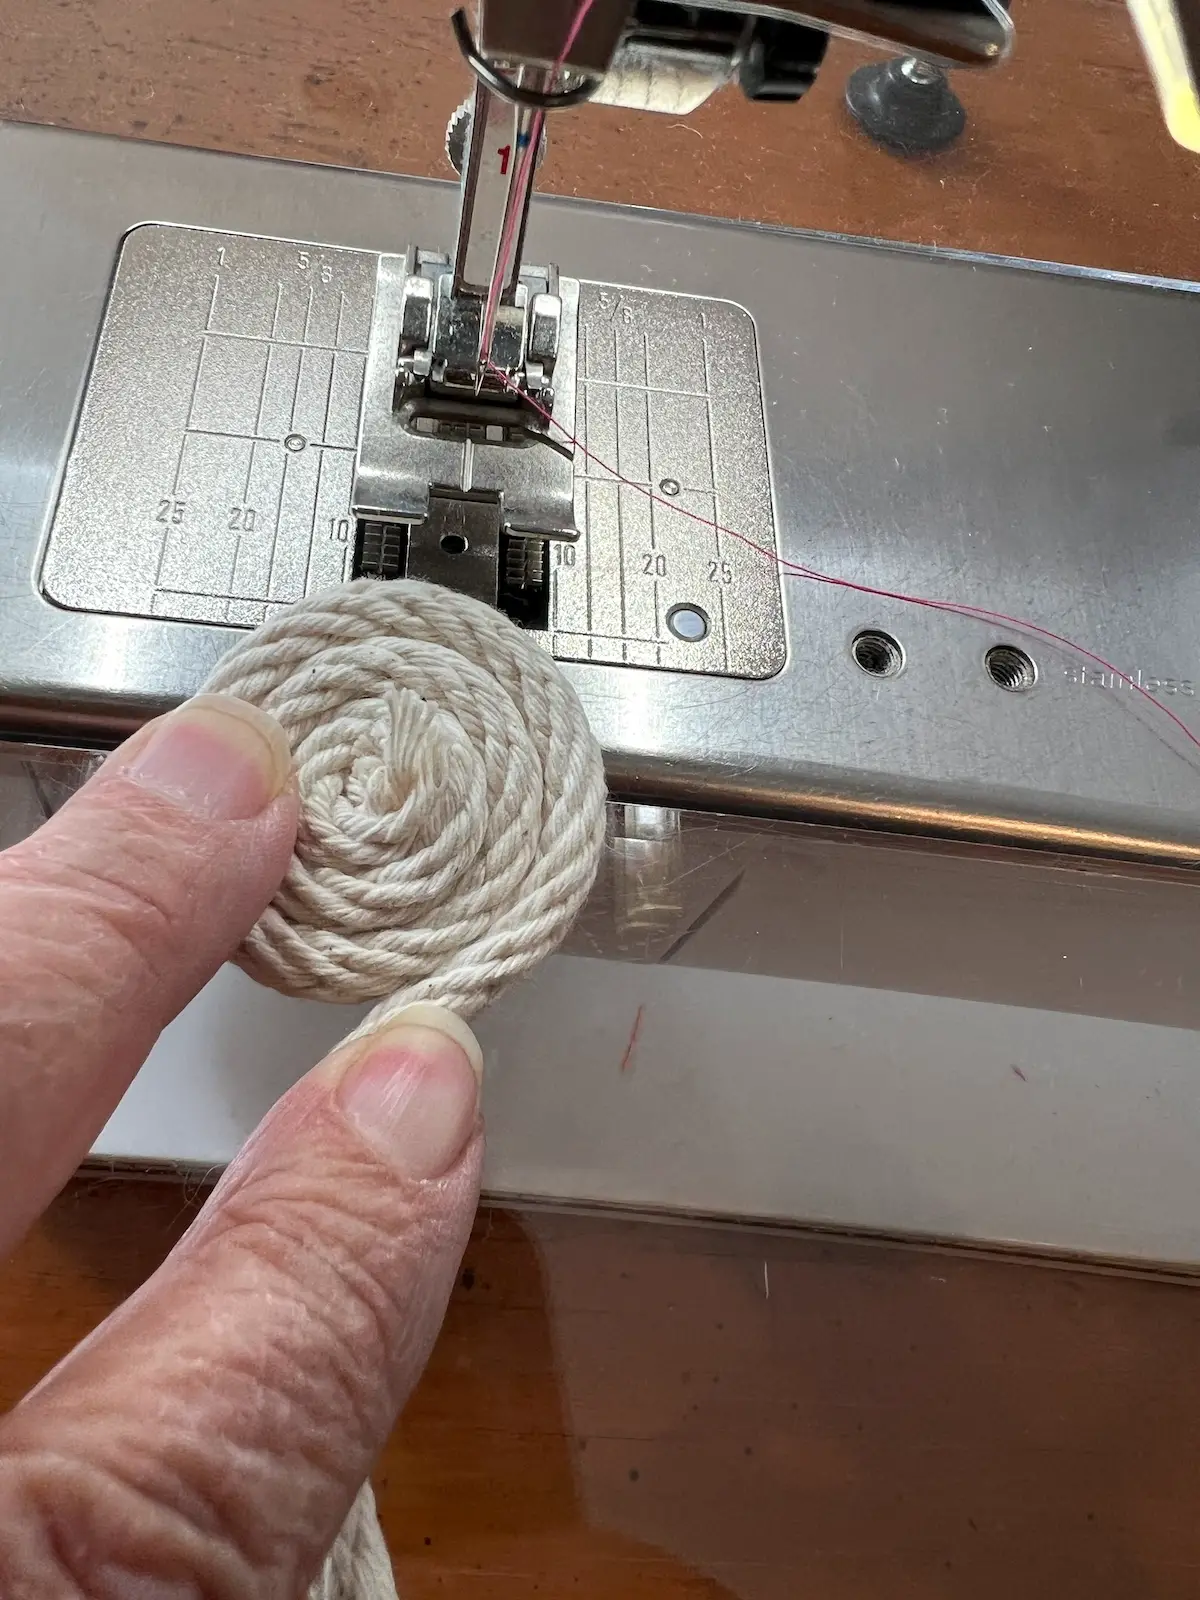
- Next, you'll sew the coil in place with some straight stitching to secure the center bottom of your basket. I like to make three (3) lines of stitching.
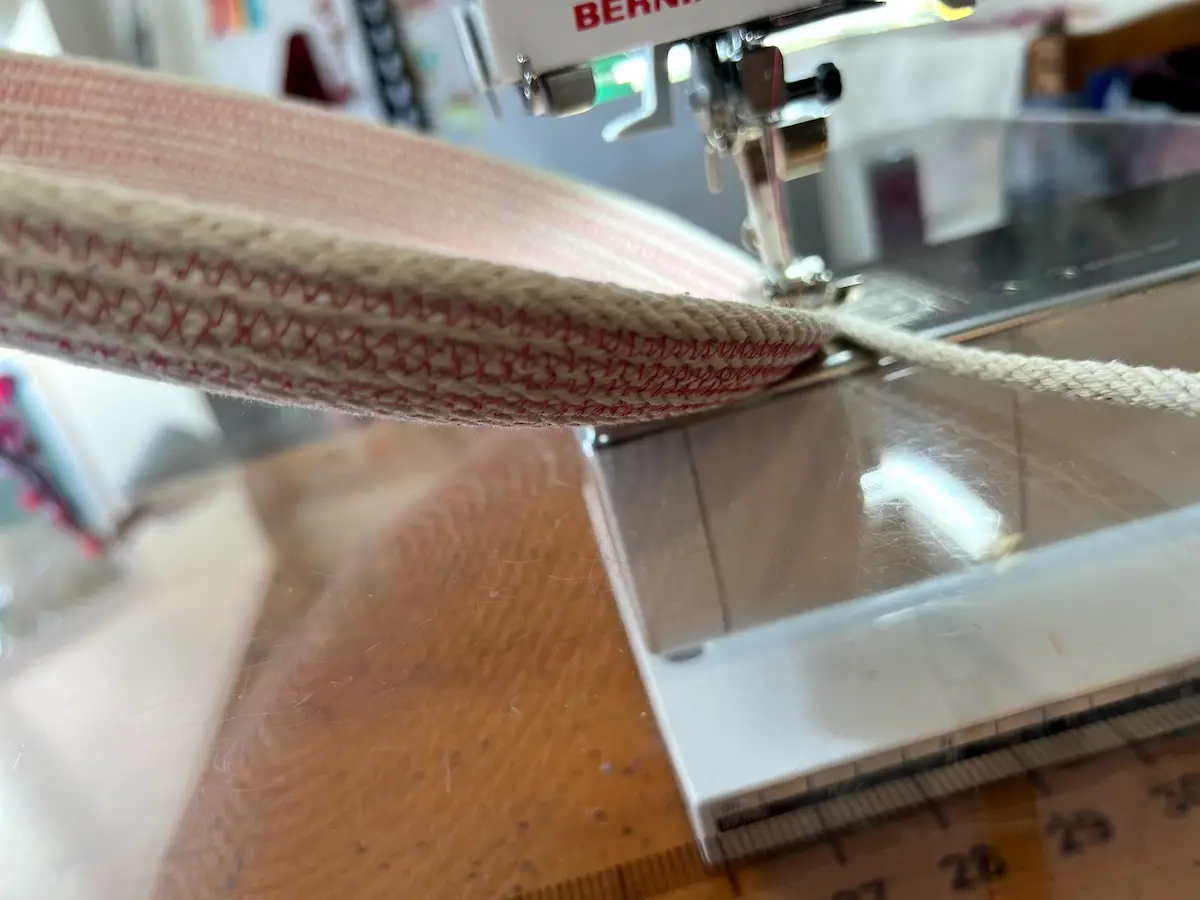
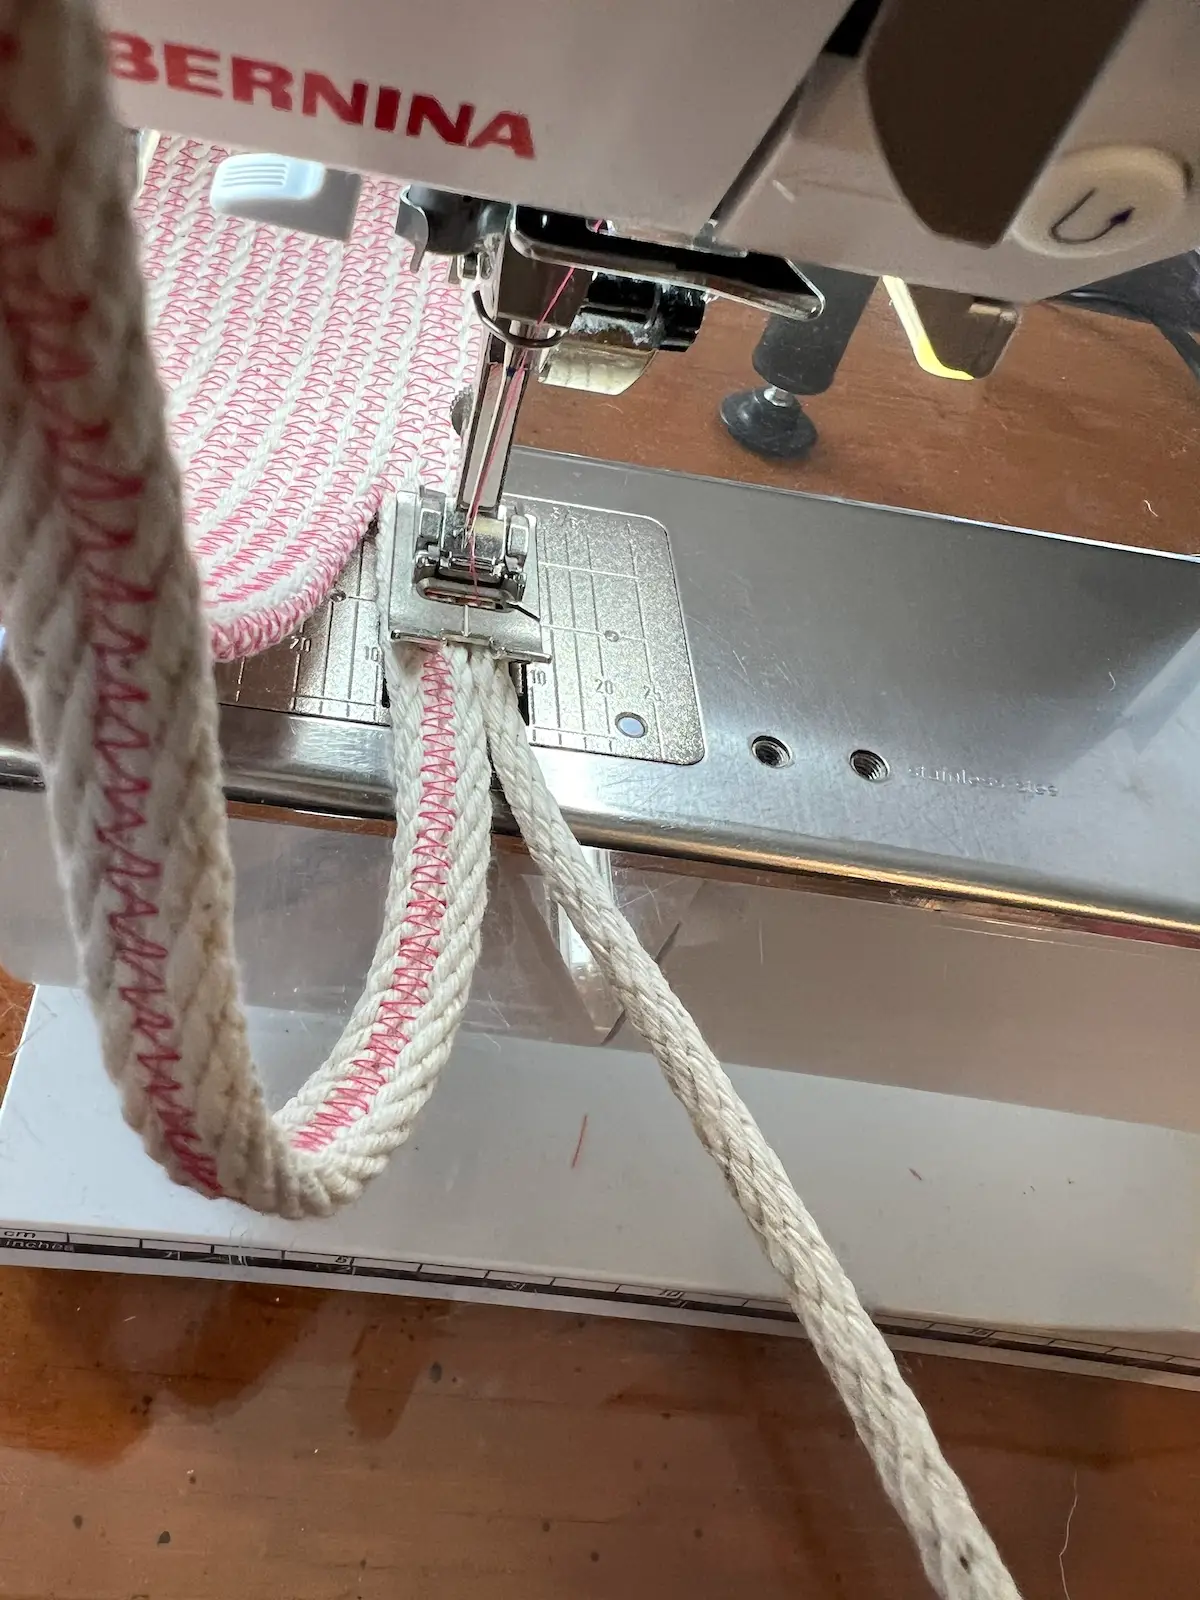
- When the center is secure with the straight stitch, switch to a zig-zag stitch. You'll want a wide and long zig-zag stitch that stitches through the middle of two ropes side-by-side.
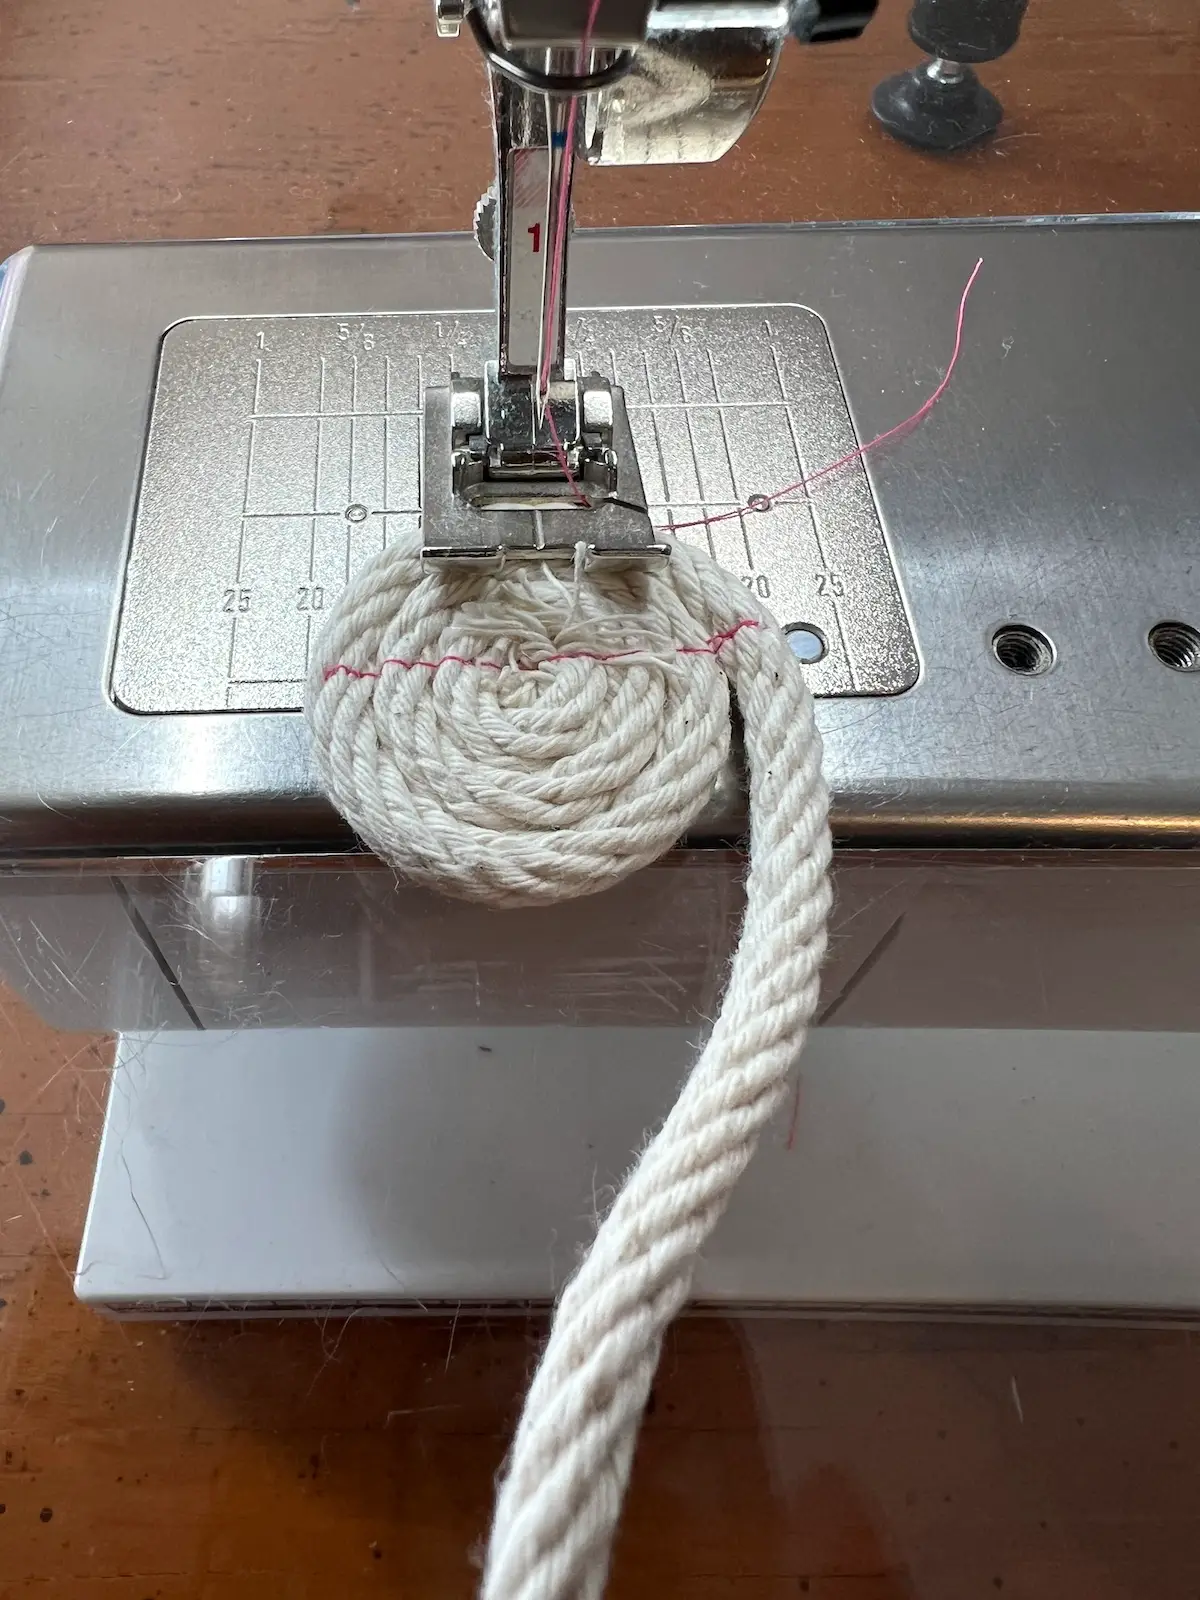
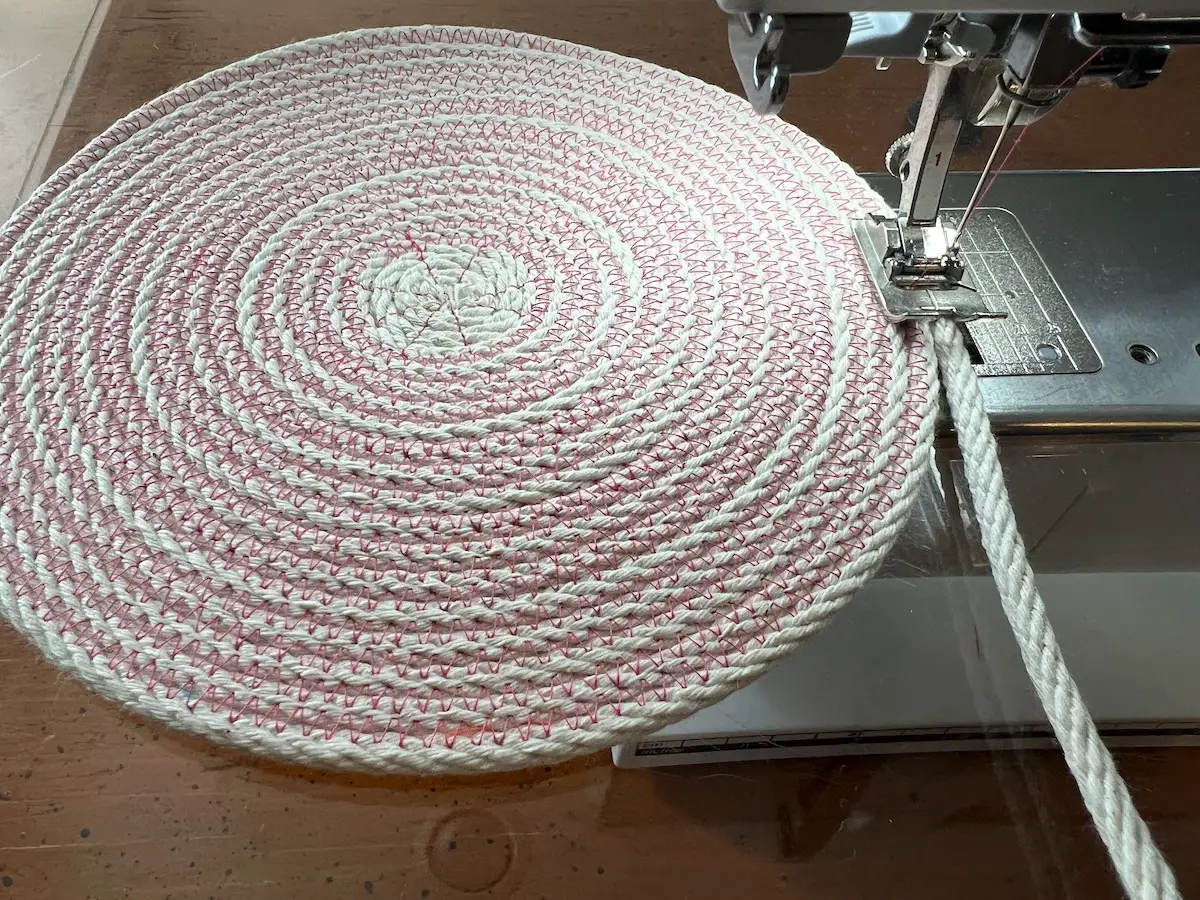
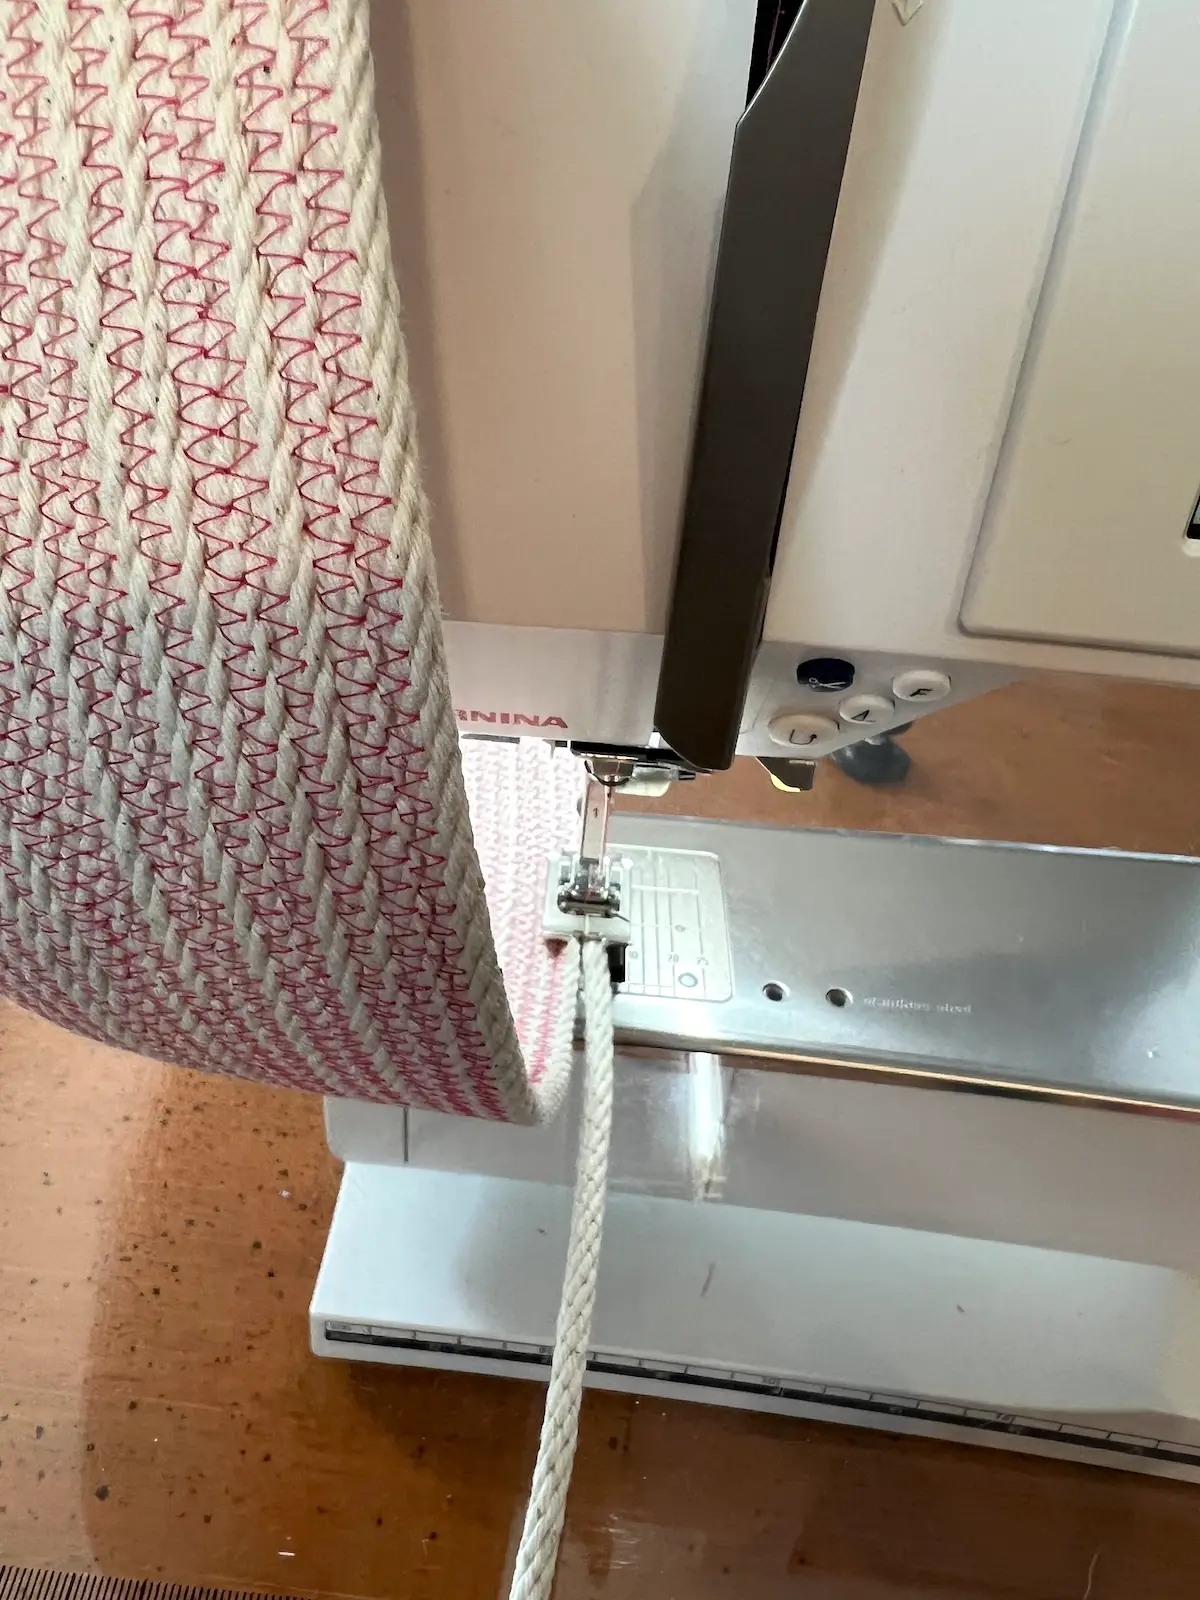
- Here is a picture showing the beginning of the zig-zag stitching. It is VERY important that you feed the rope to the right of the center. It should look like a '9' . If not, you'll need to cut your threads and flip it over before it gets too large.
You want the center line of your presser foot to line up where the two ropes are being joined.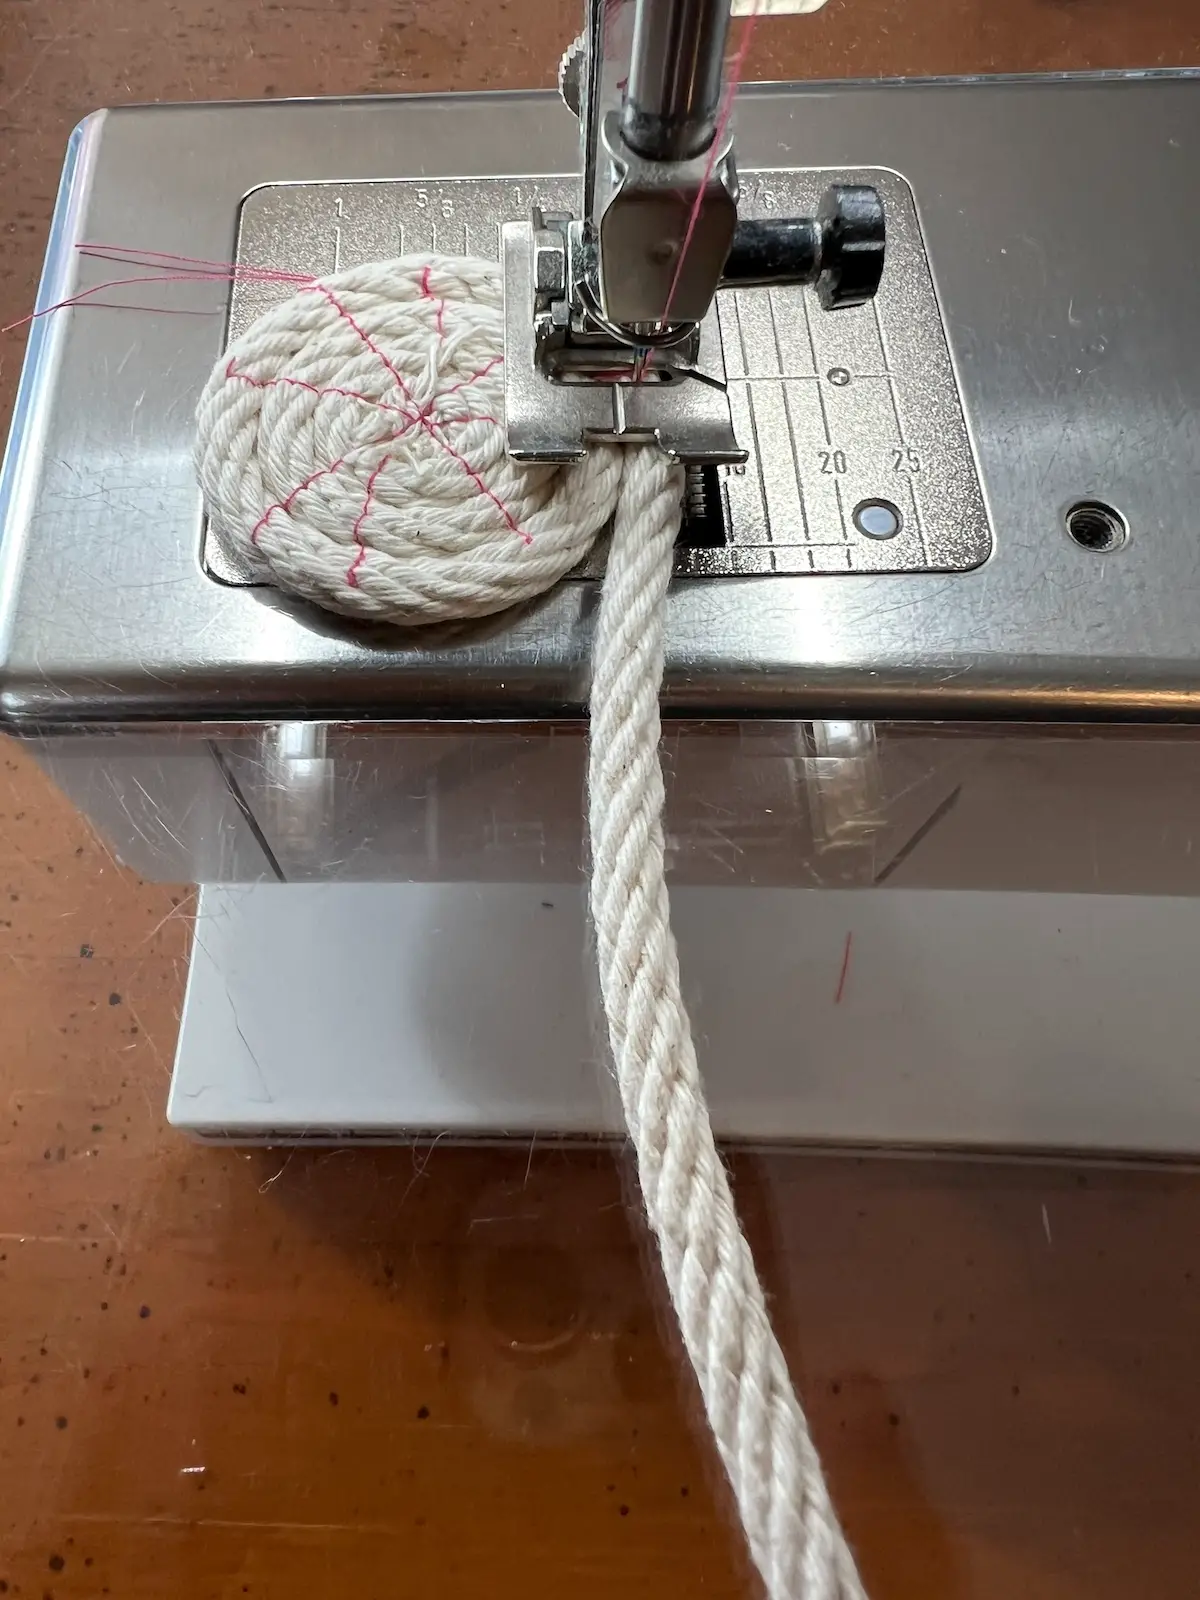
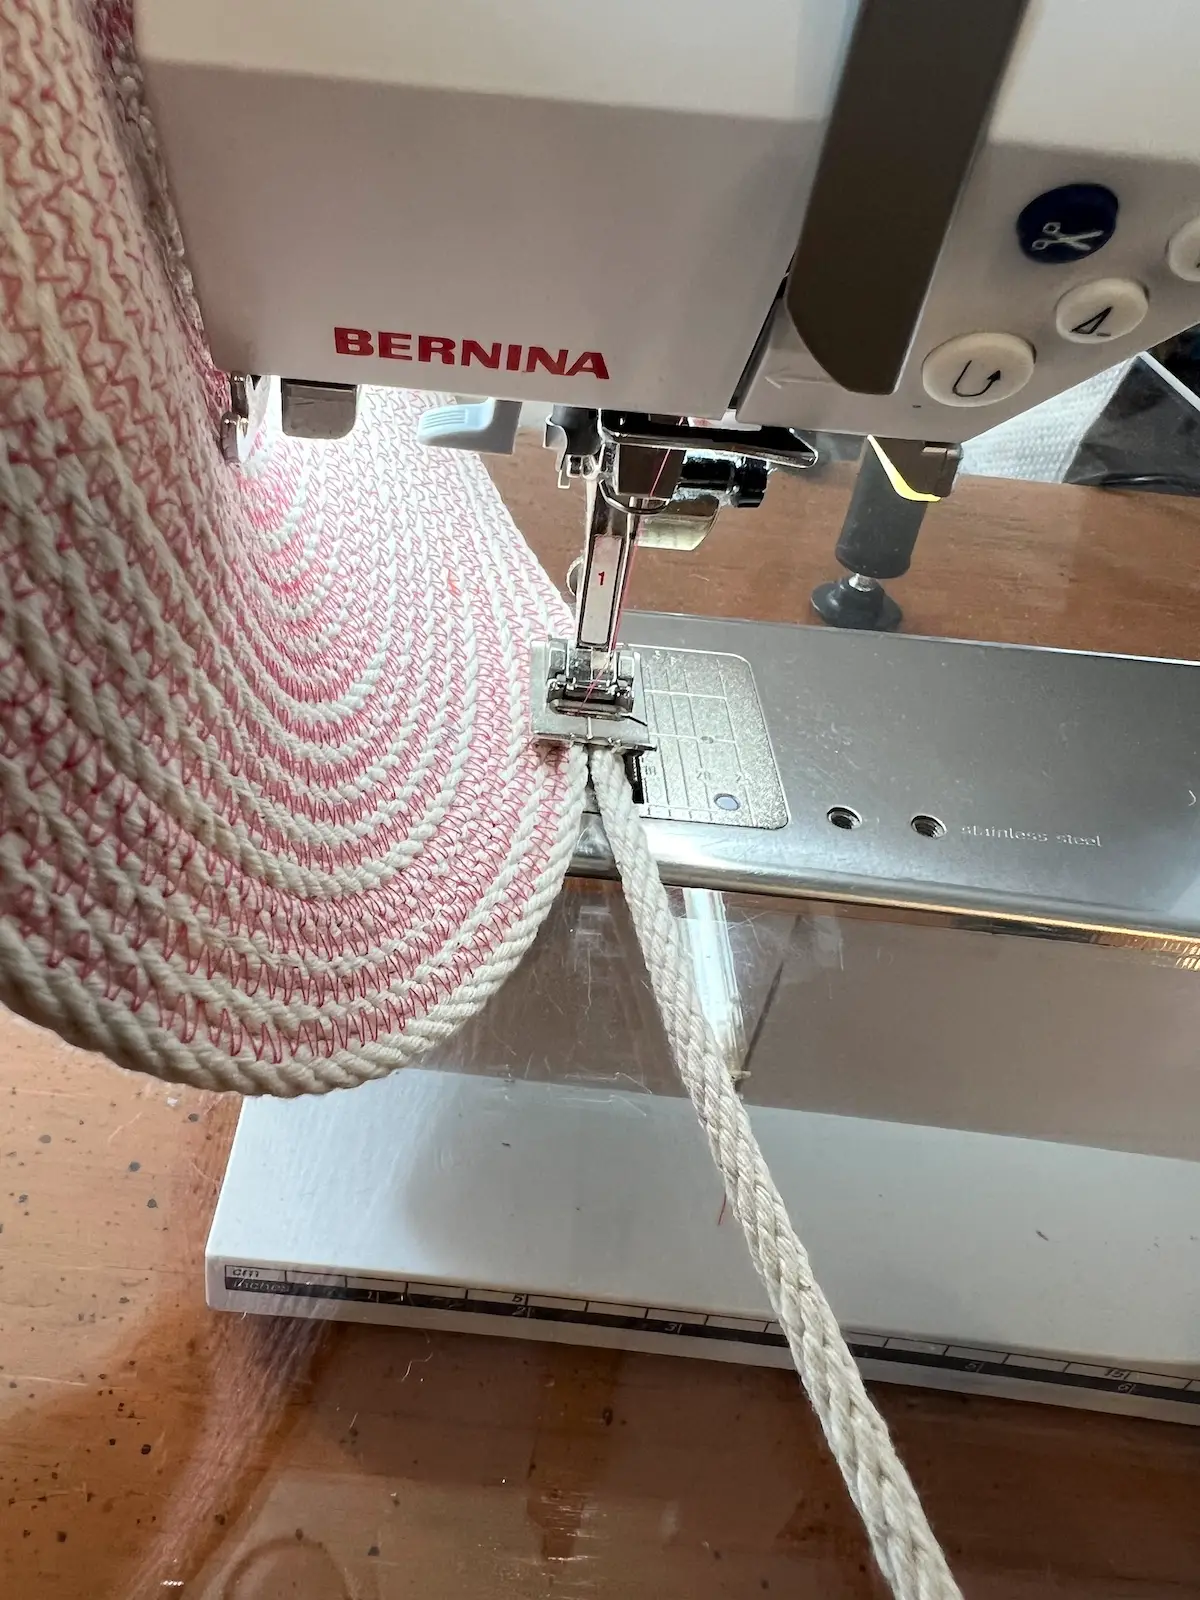
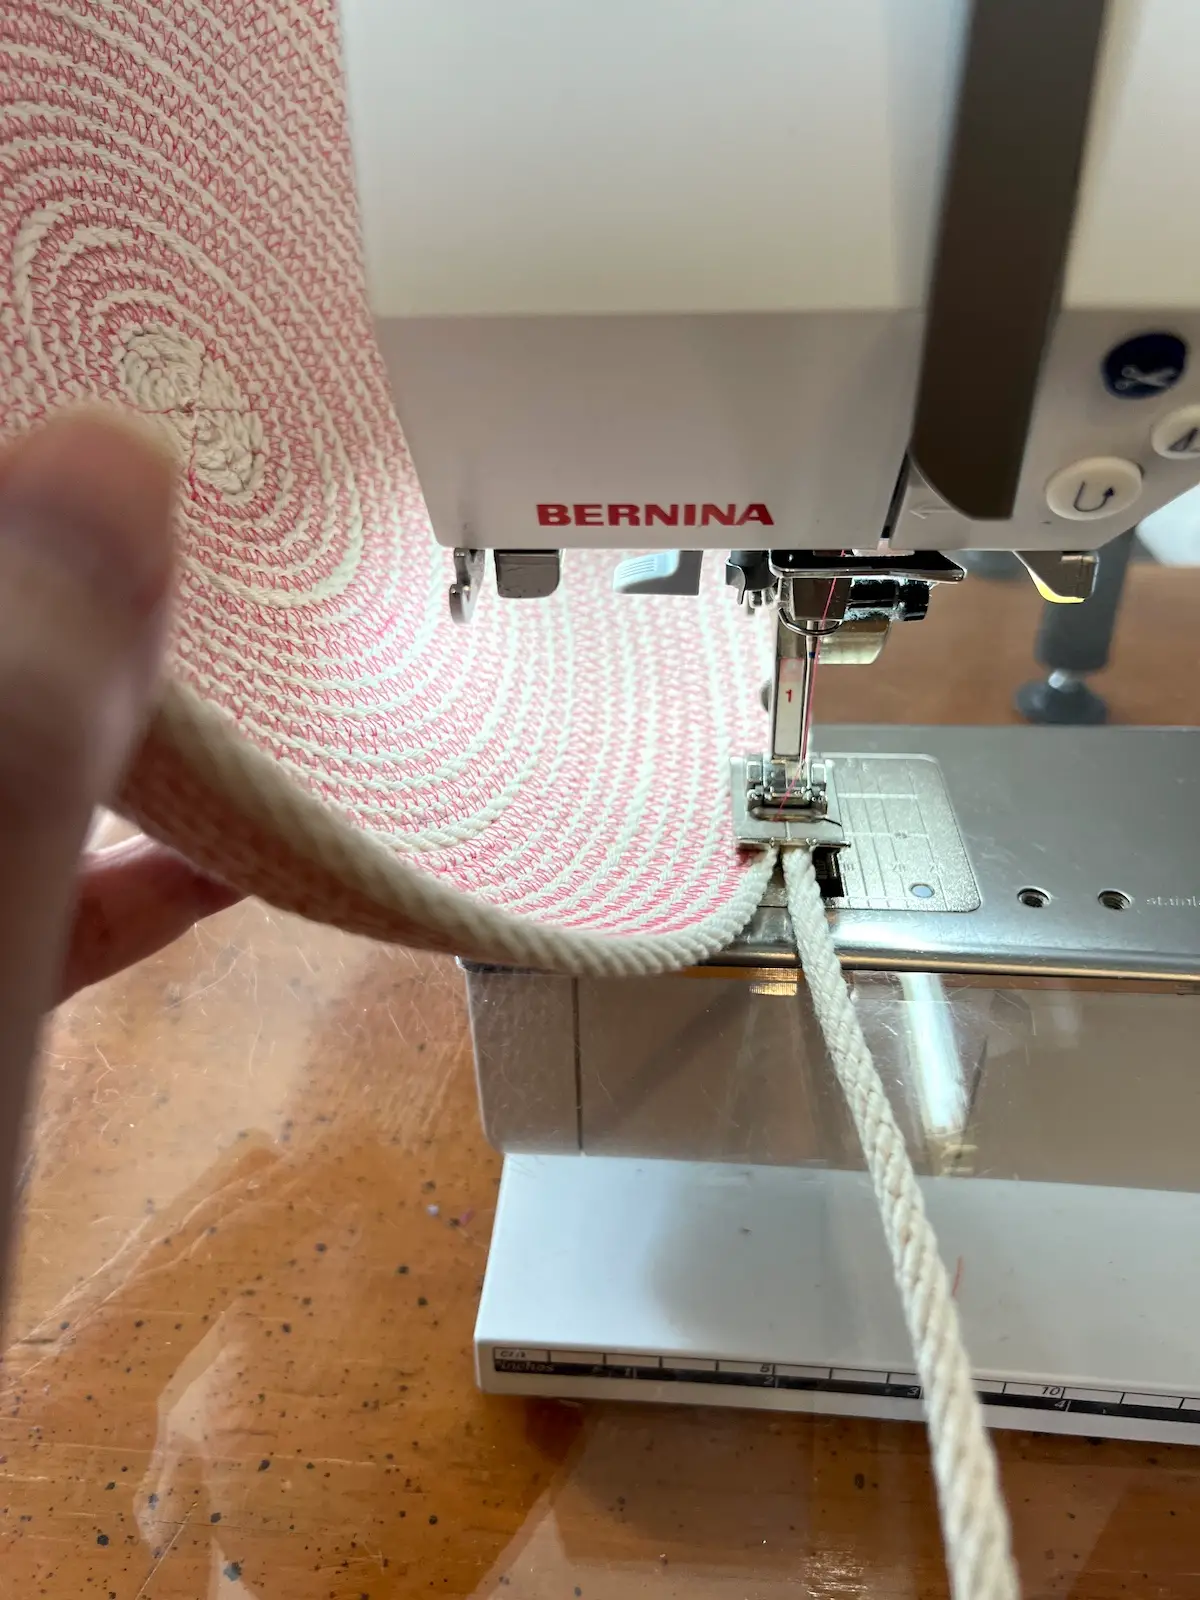
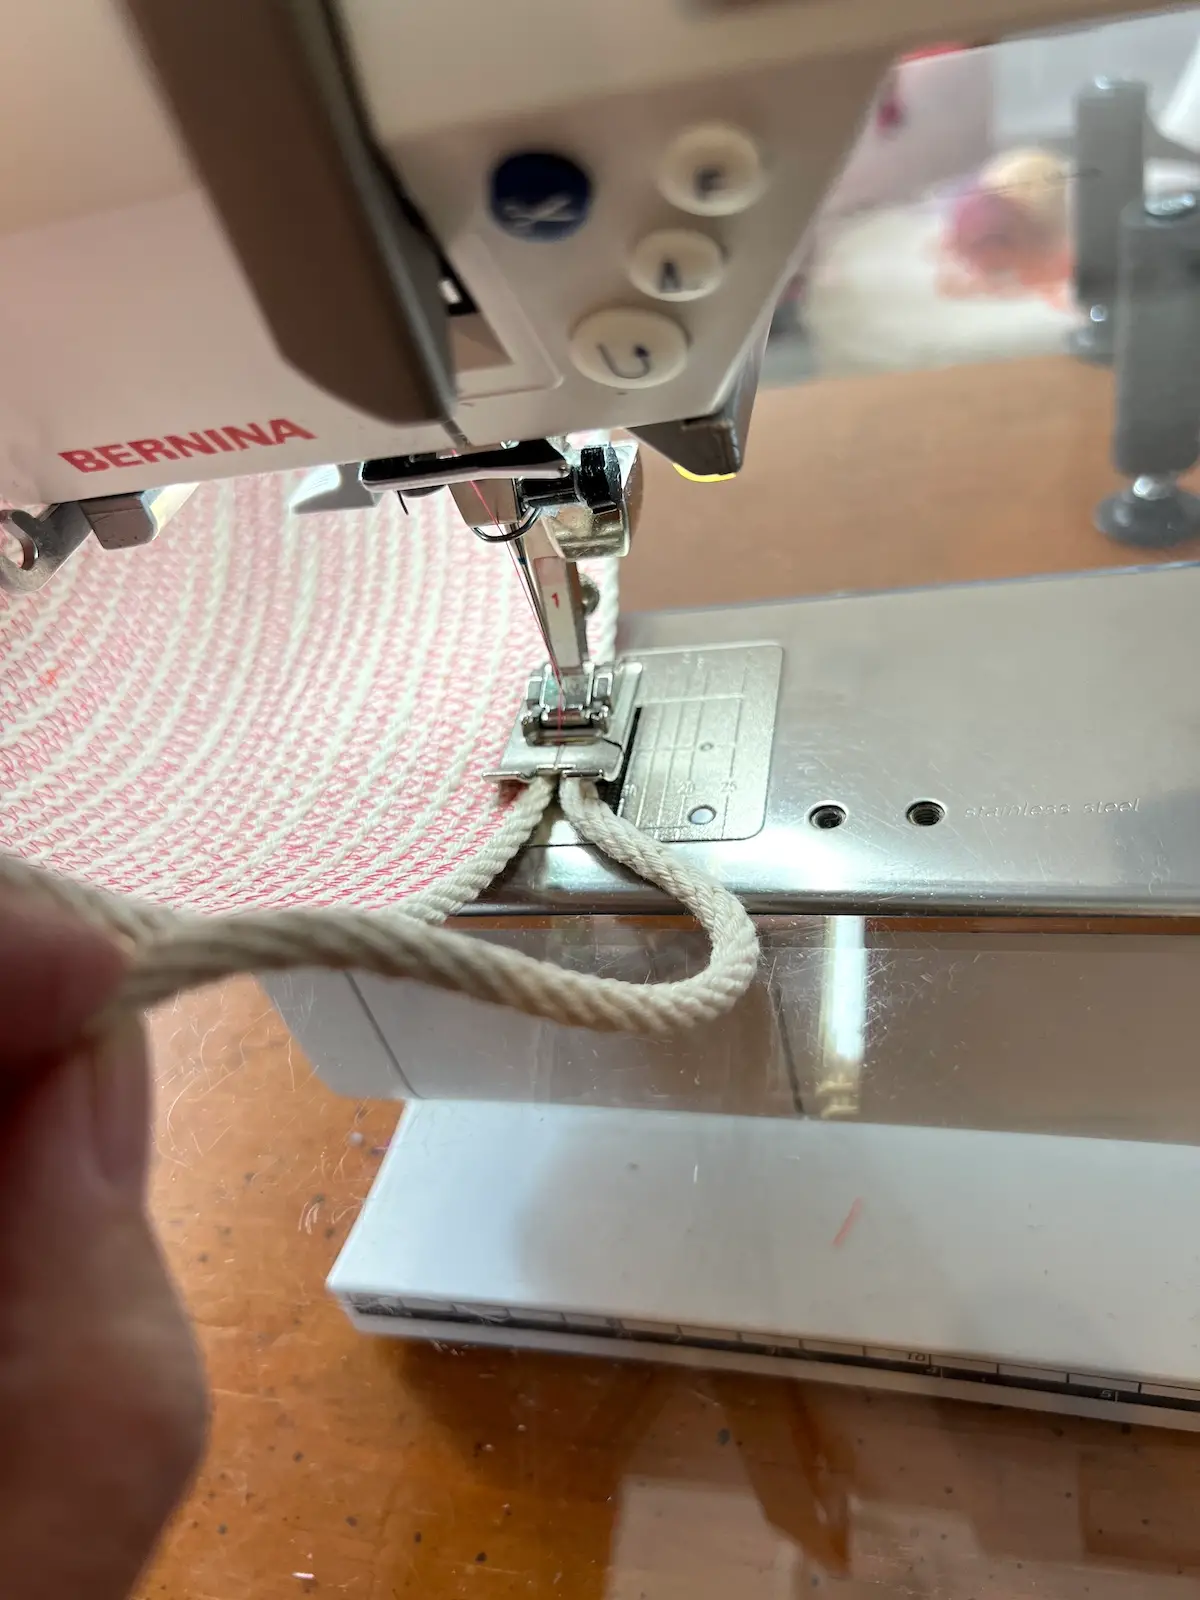
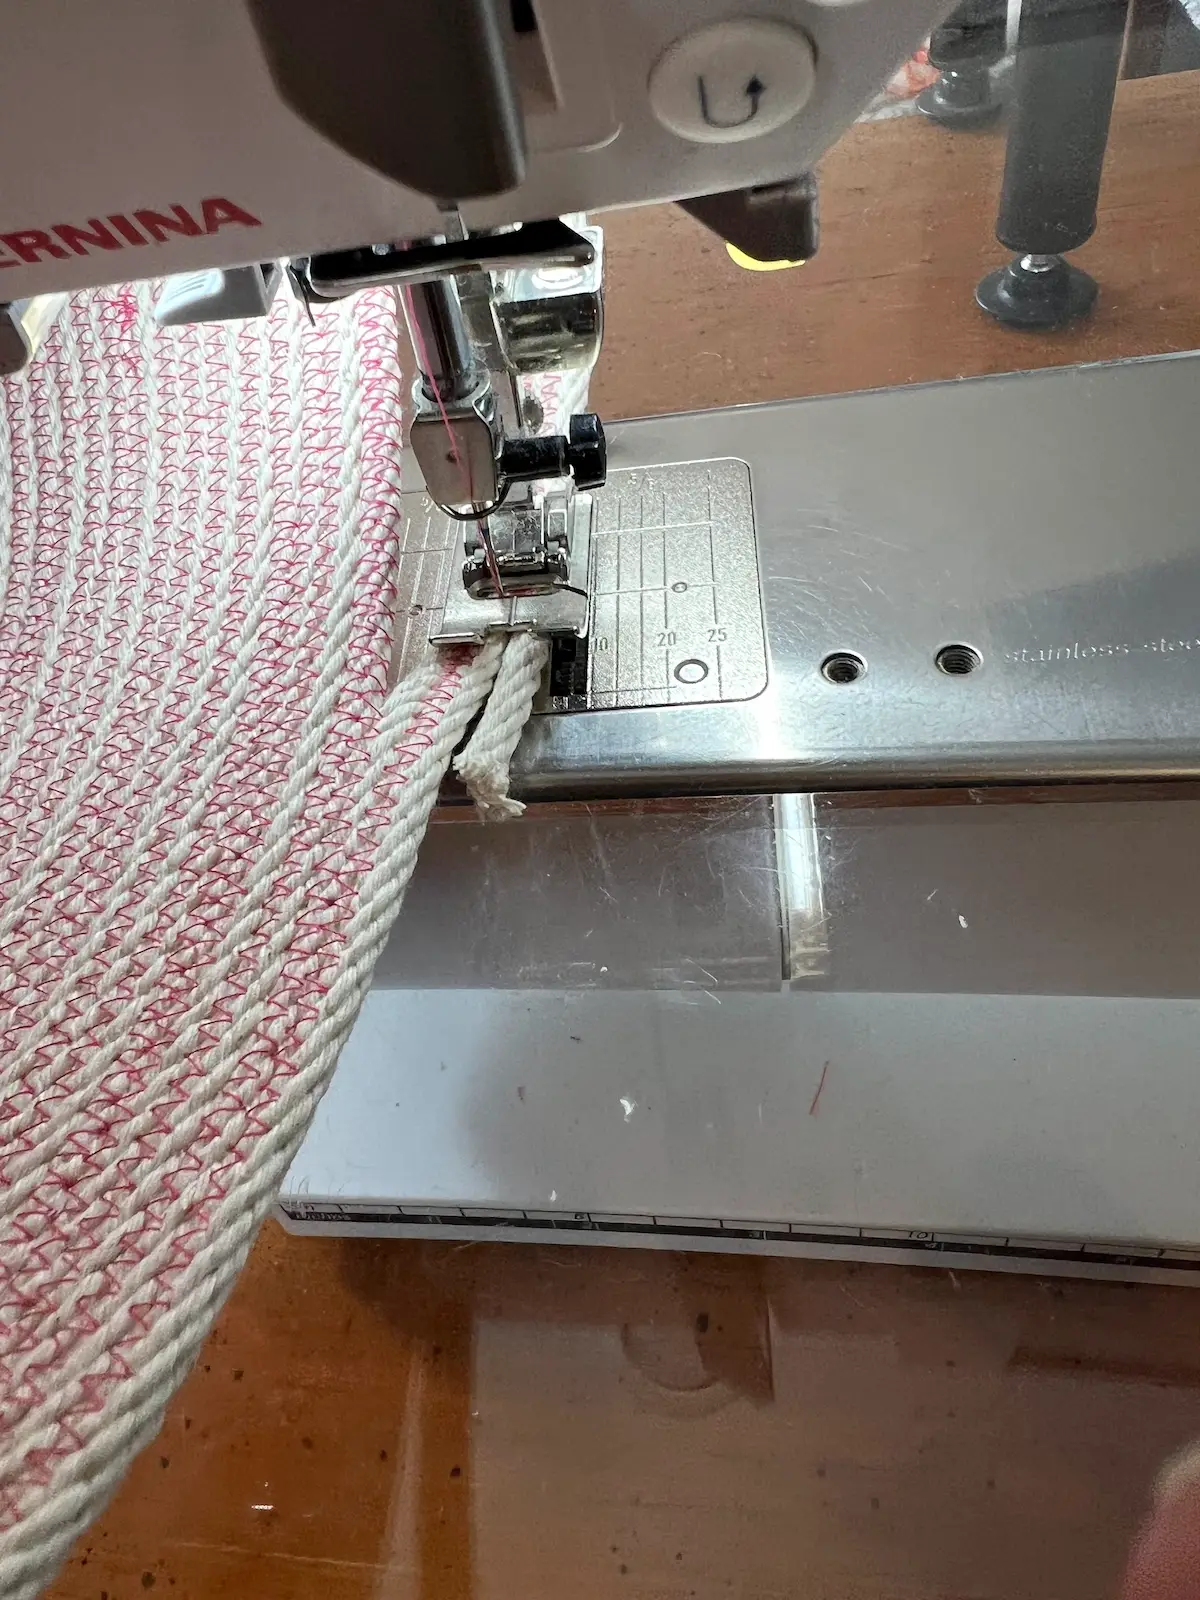
- Coil the loose end of the rope around the center of the basket bottom, keeping it flat. Don't lift the edges at this time - we'll do that when the bottom is done. Here it is in progress.
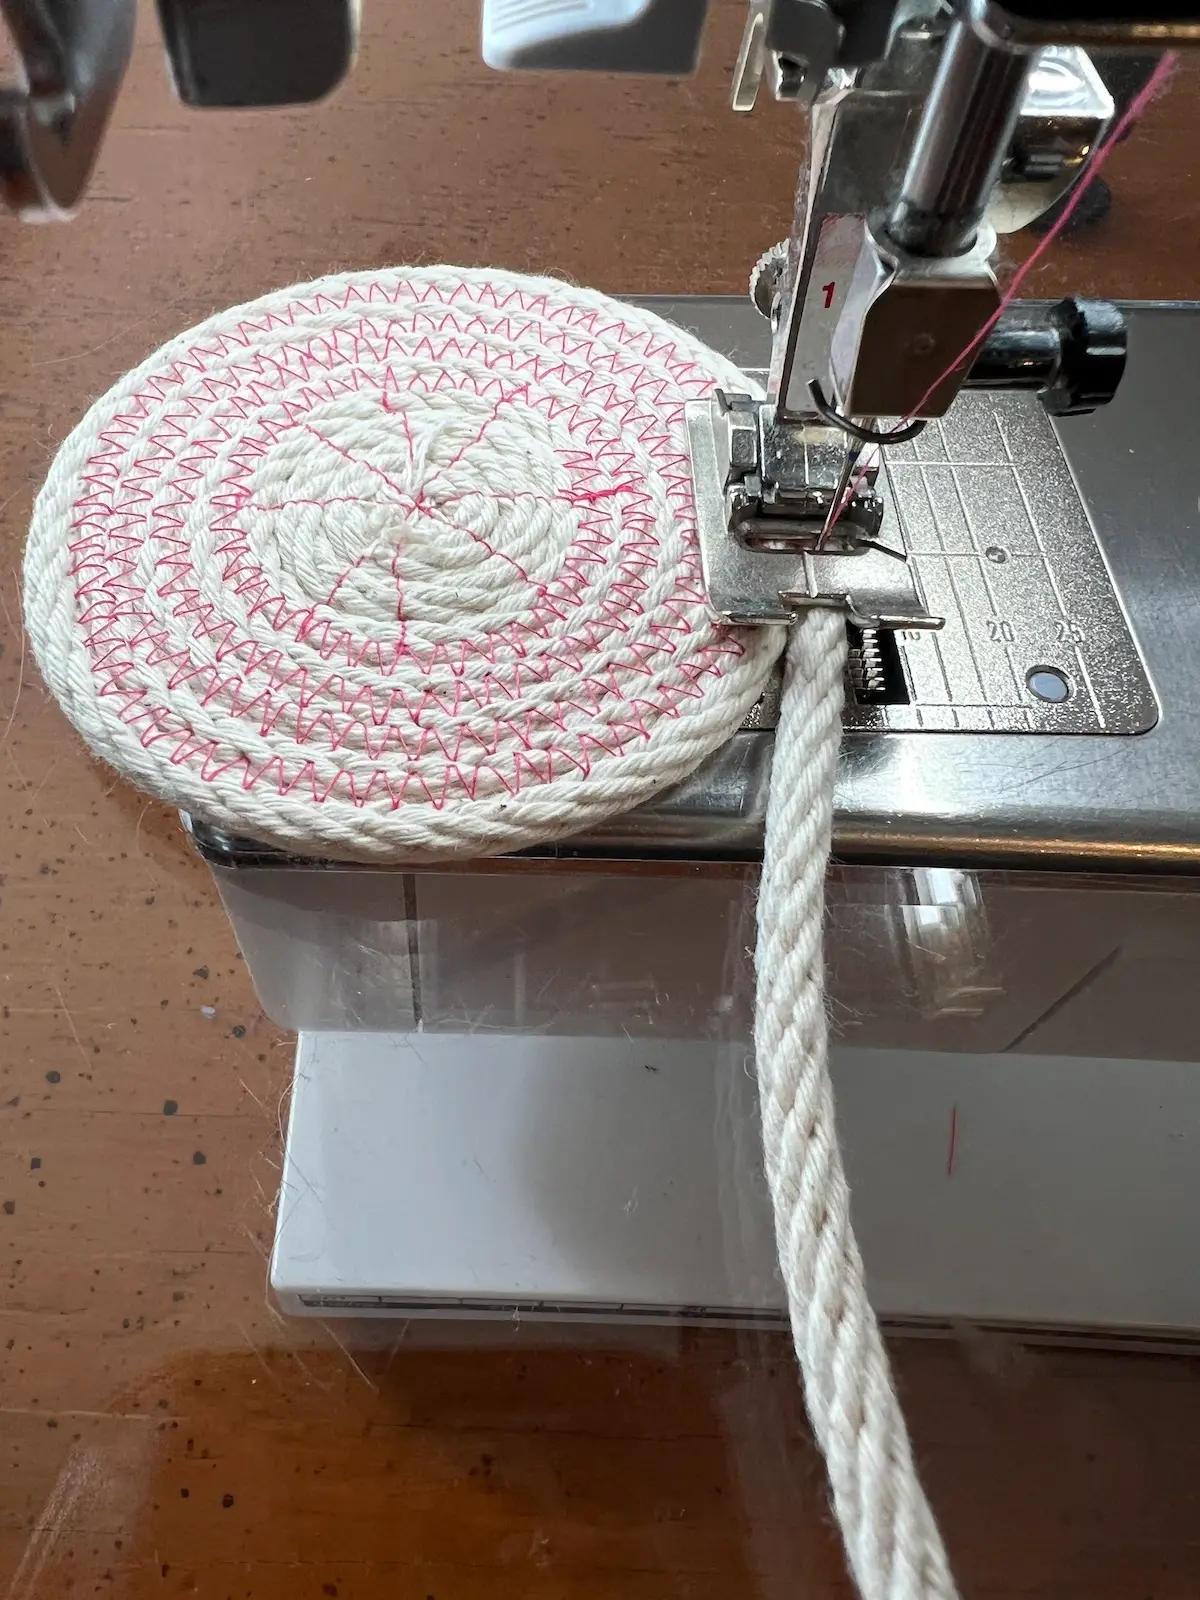
- Keep adding more rope with a zig-zag stitch until the bottom is the desired diameter you would like.
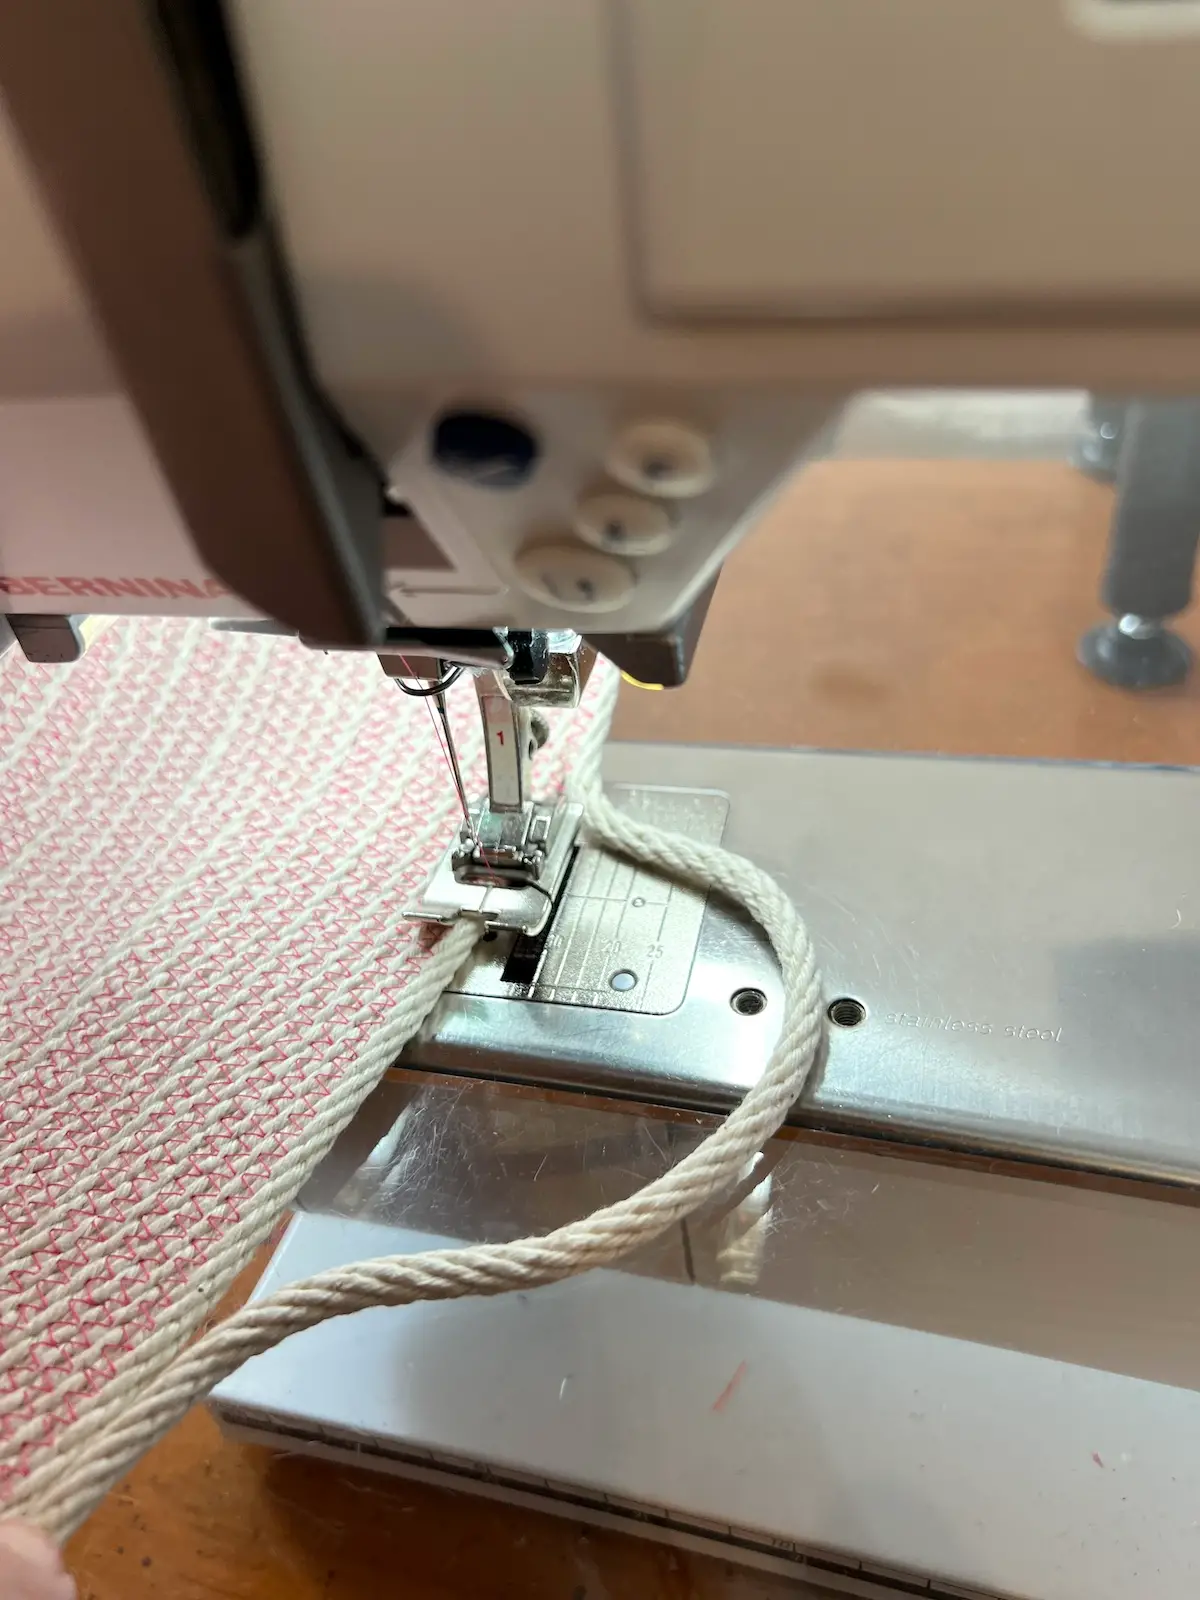
- When you are happy with the size of the bottom, begin lifting the left side of the bottom so that the rope you are adding is stitching to the top of the existing rope bottom, not to the side. If you can hold the bottom up at a 90 degree angle, that will give you a nice sharp edge for the sides of the bowl.
- It may not look like much - yet. Keep holding the base of the basket as vertical as you can and stitching the rope to form the sides.
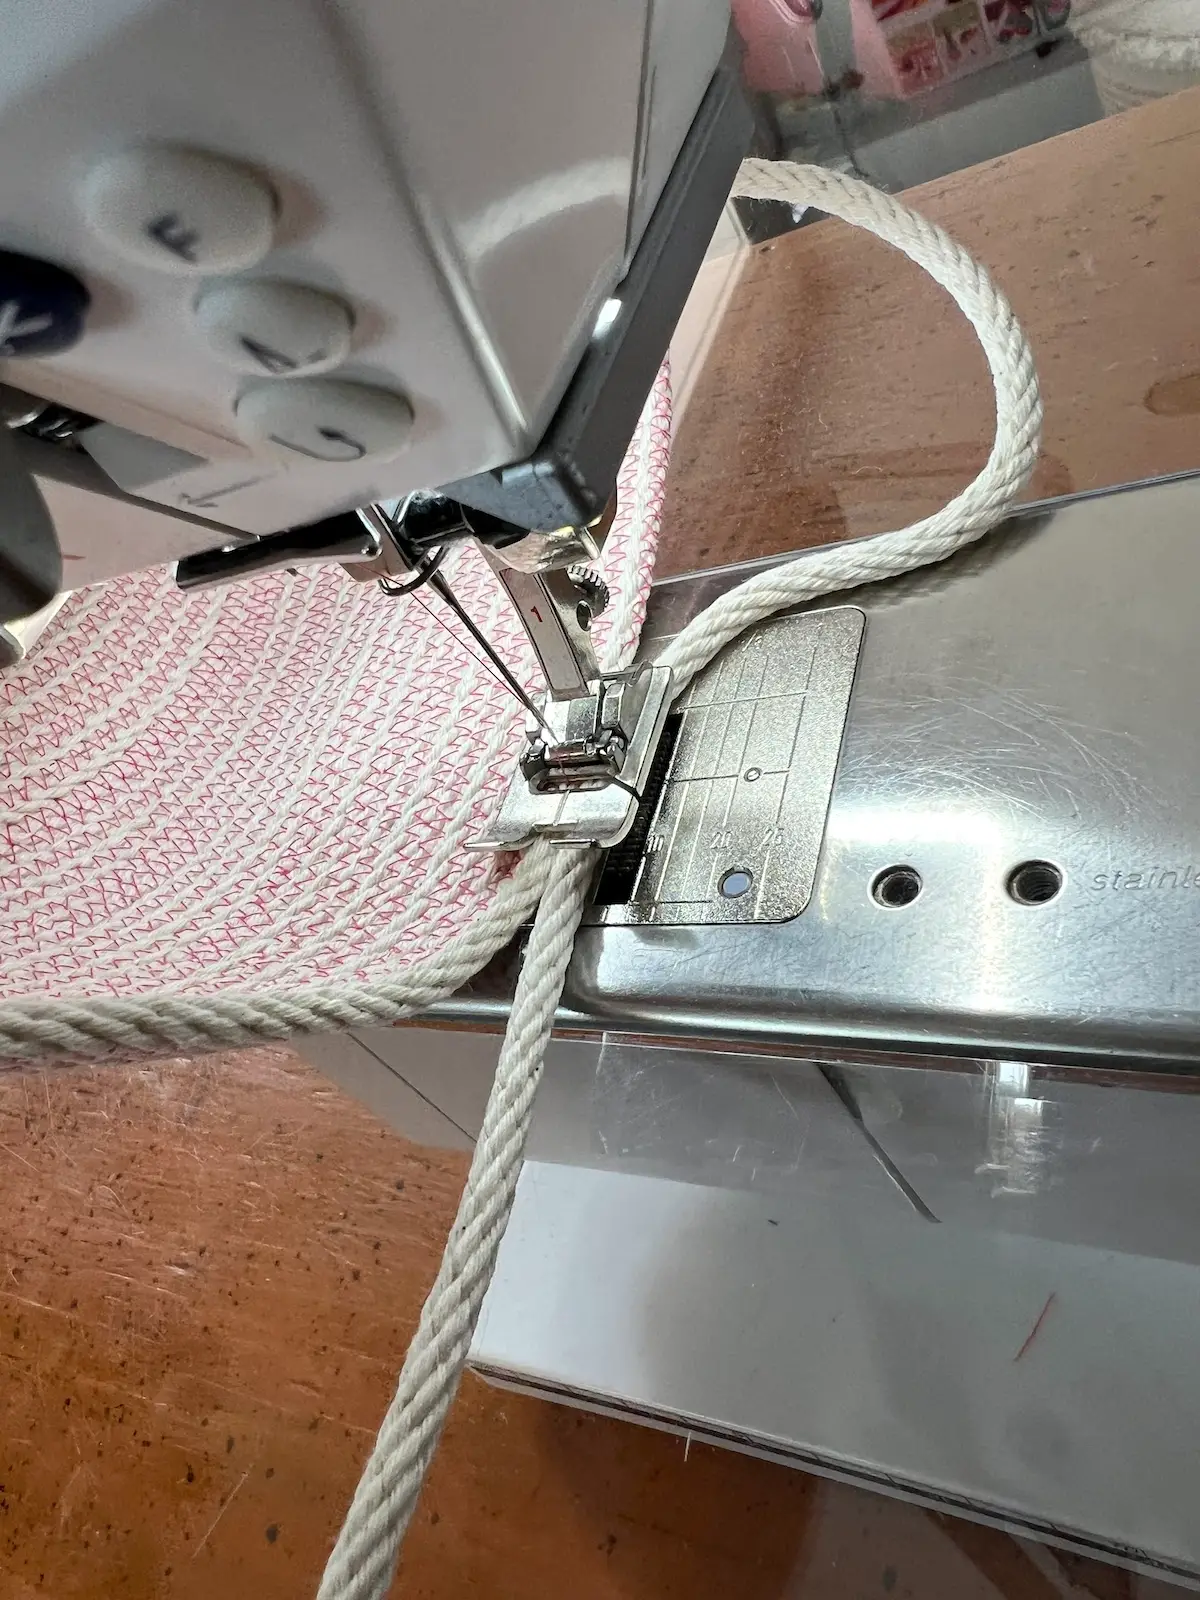
- Here is another angle of adding the sides to the coiled basket.
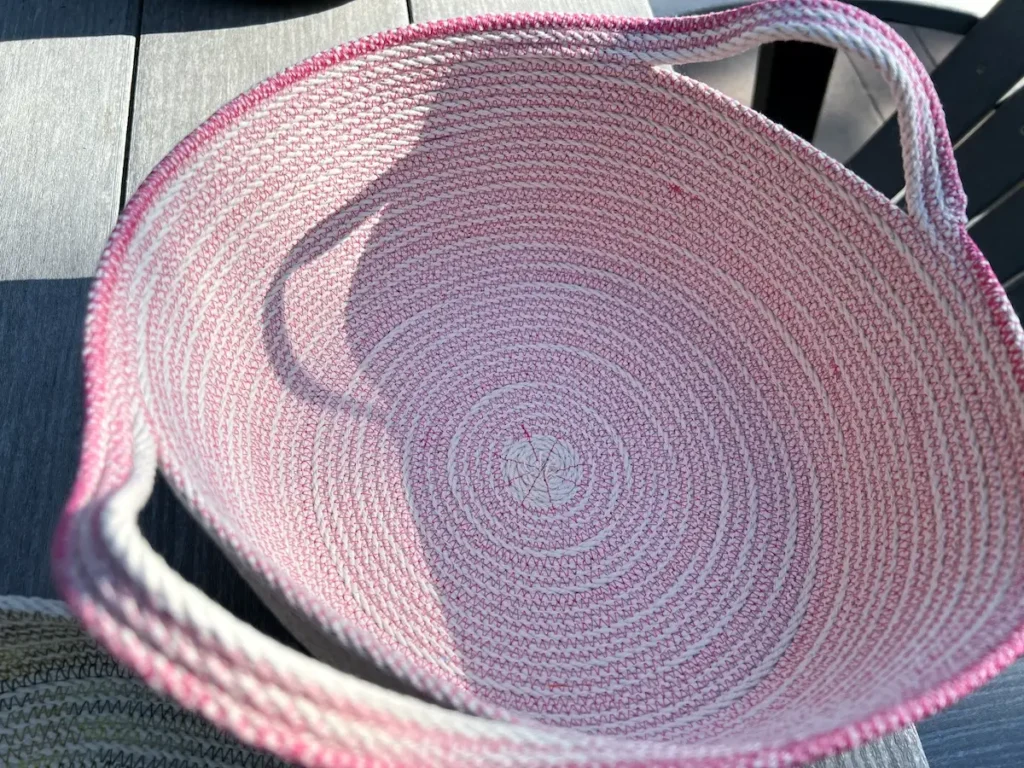
- When the sides are the height you like, you can either bind off the rope by stitching around the top several times, or made handles.
- To make handles, form a loop with the rope.
- Stitch across the top of the basket and then attach the other end of the handle loop.
- Here I'm attaching the other end of the handle loop to the top of the basket.
- I like to have two or three ropes to make my handles secure. Just keep adding more until the handle is the width you like.
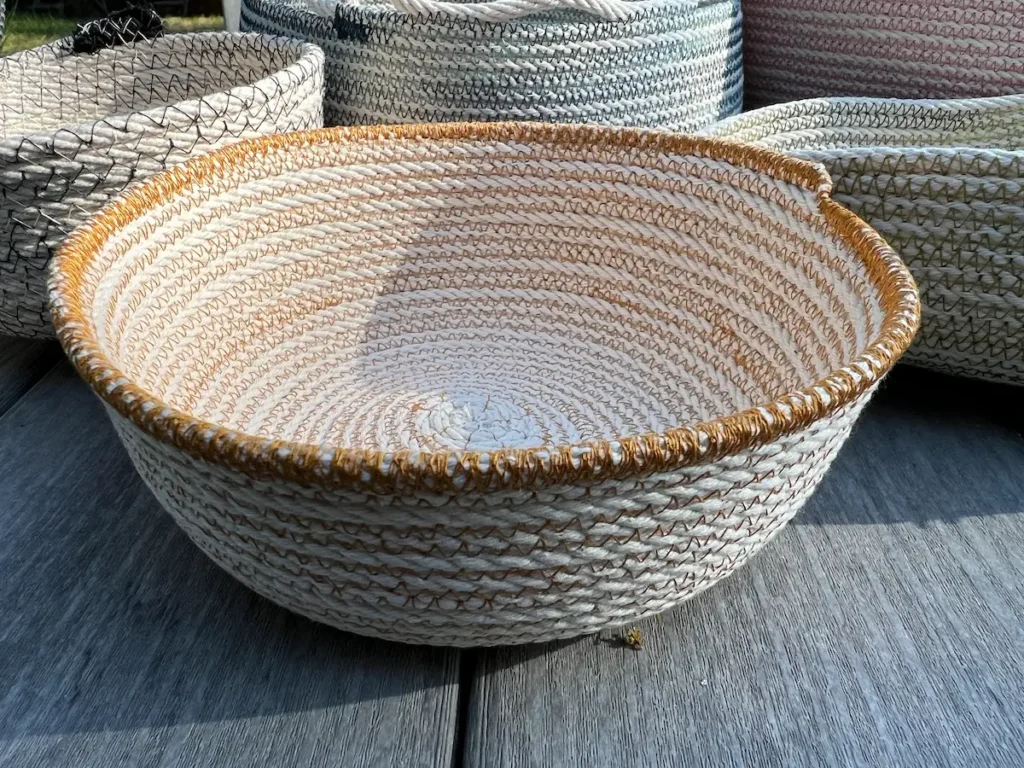
- One way to finish the edge of the rope is to just stitch it down.
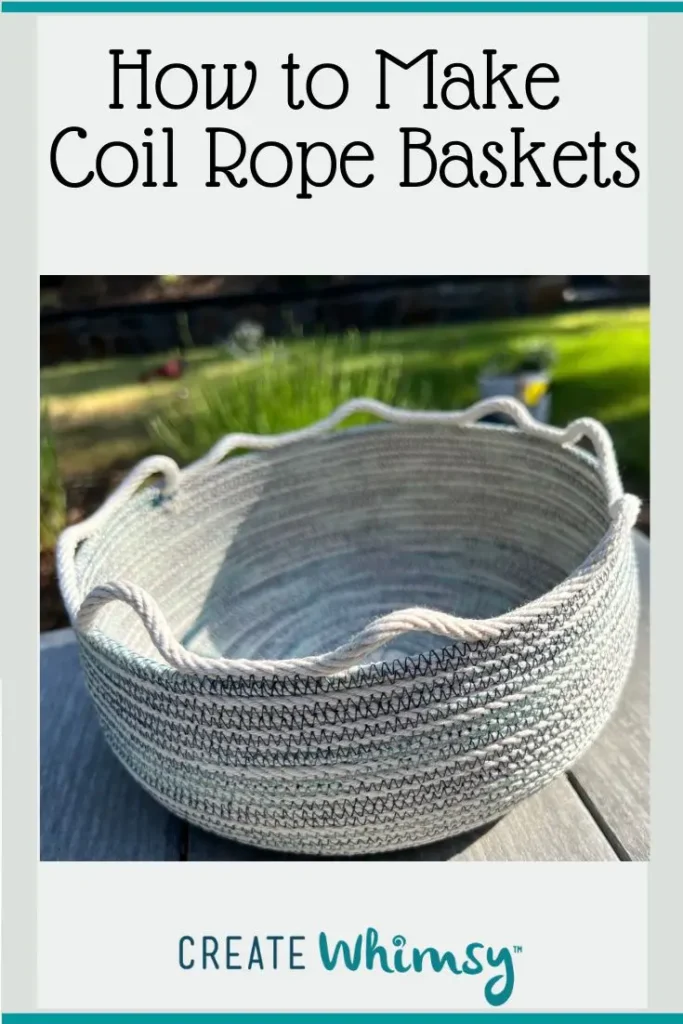
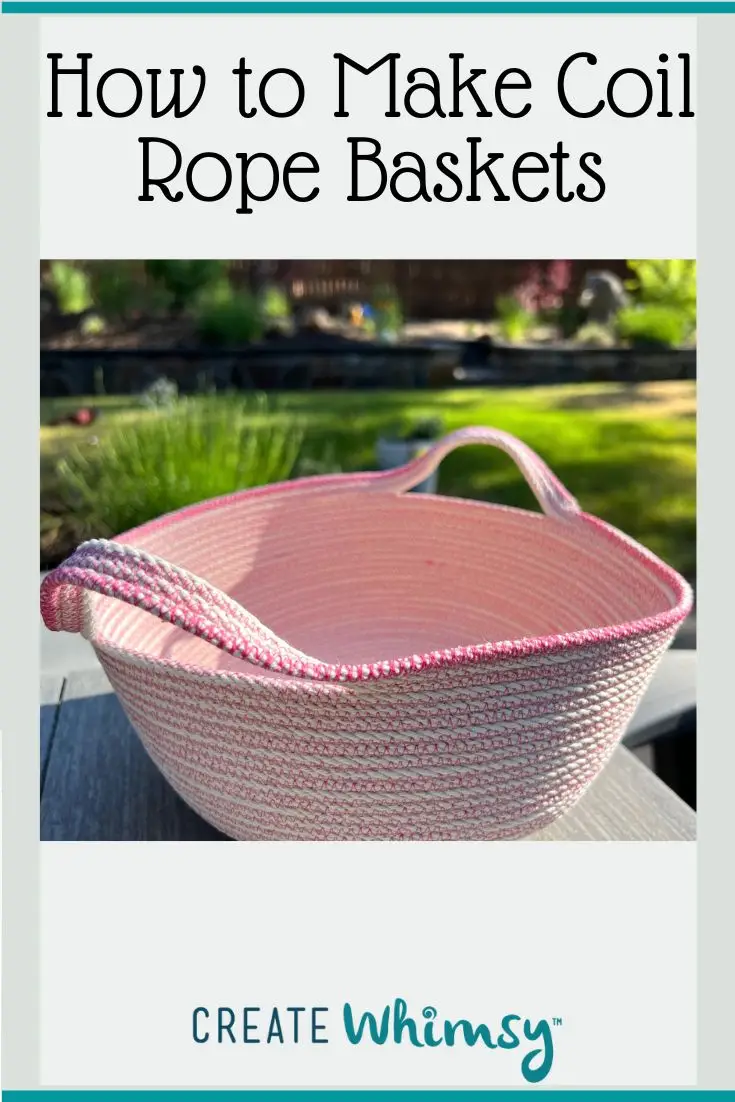
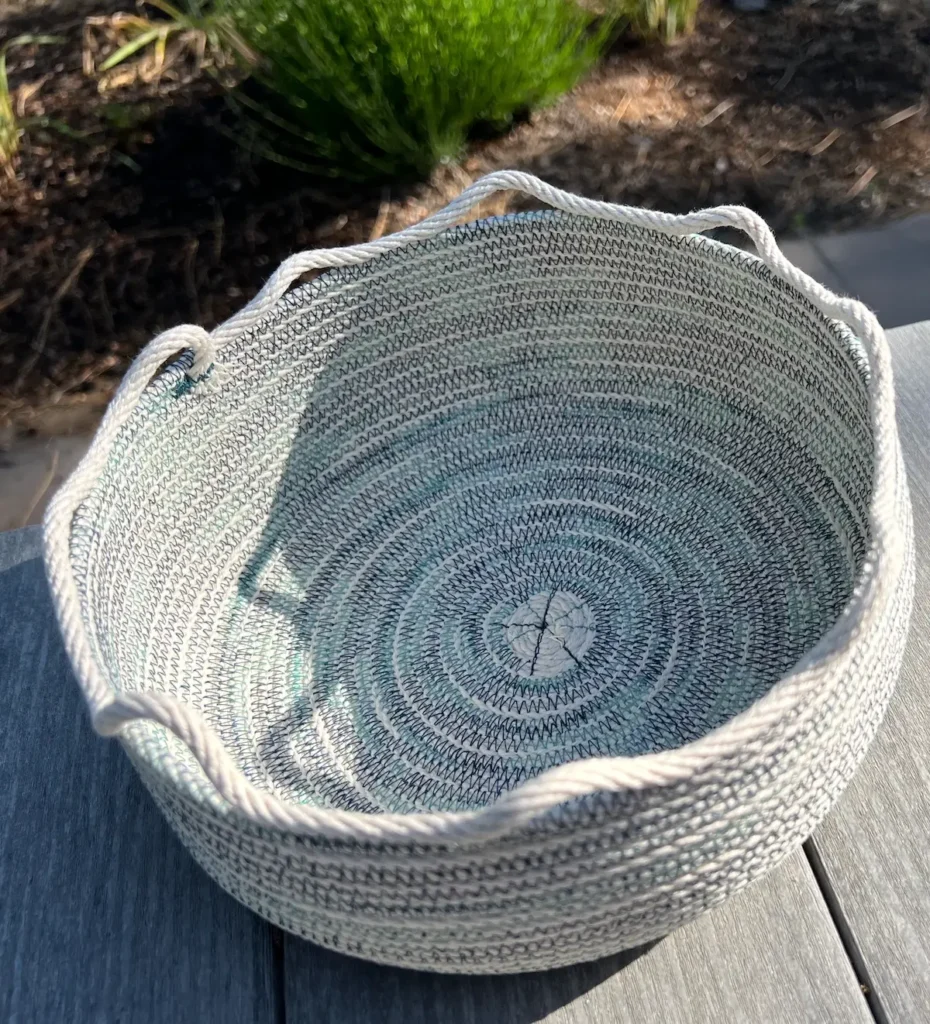
- Here is the finished rope basket.

Tips for making DIY Coiled Rope Baskets and Bowls
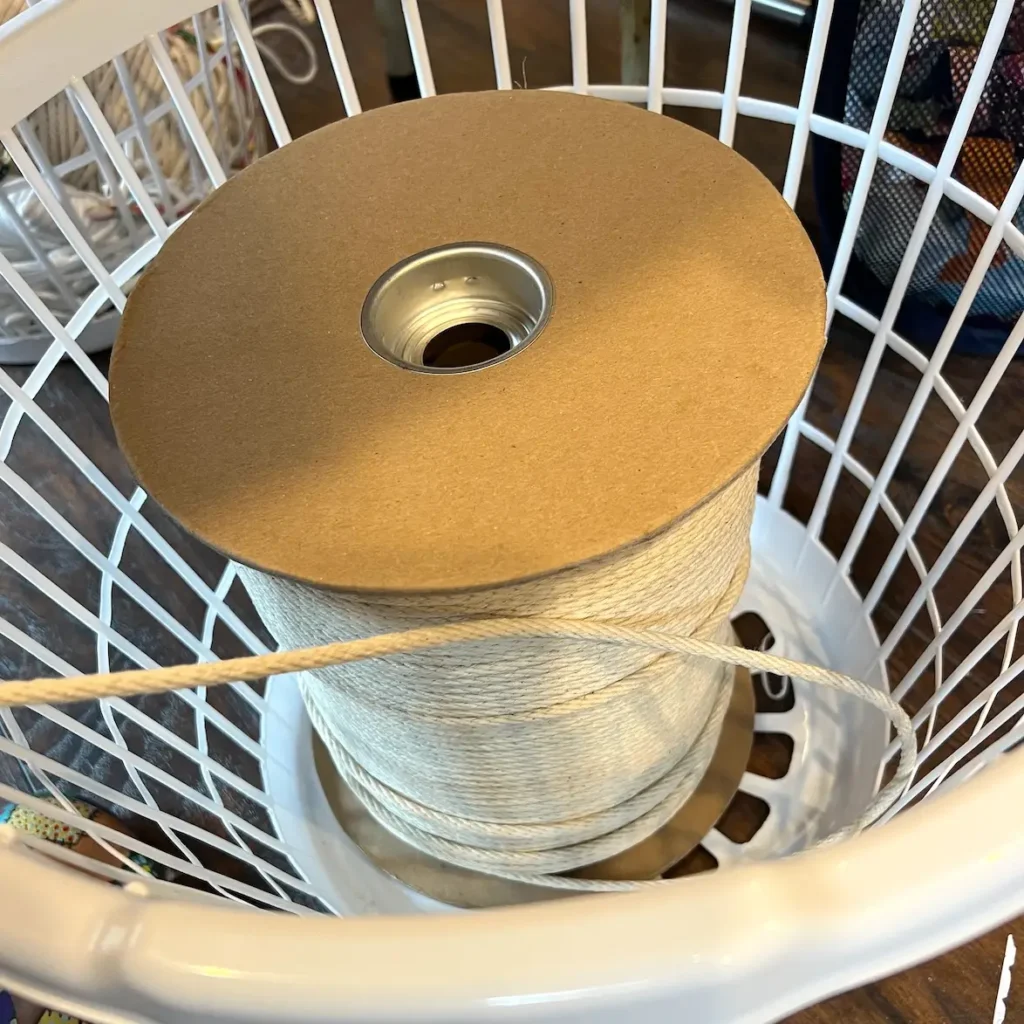
Place your rope in a basket under your sewing table. Otherwise, it ends up all over the floor. And, if it is on a roll like this, it can roll all over the room!
Use a jeans needle for stitching the rope together. It is a sturdy needle and will go through the rope smoothly.
Use a strong thread like a 100% poly or poly blend thread. You don’t want to put all of the work into a basket and then have the thread break.
Wind several bobbins before you start, unless you are making a really small bowl or basket. You’ll go through a lot of thread making the coil wrapped bowls!
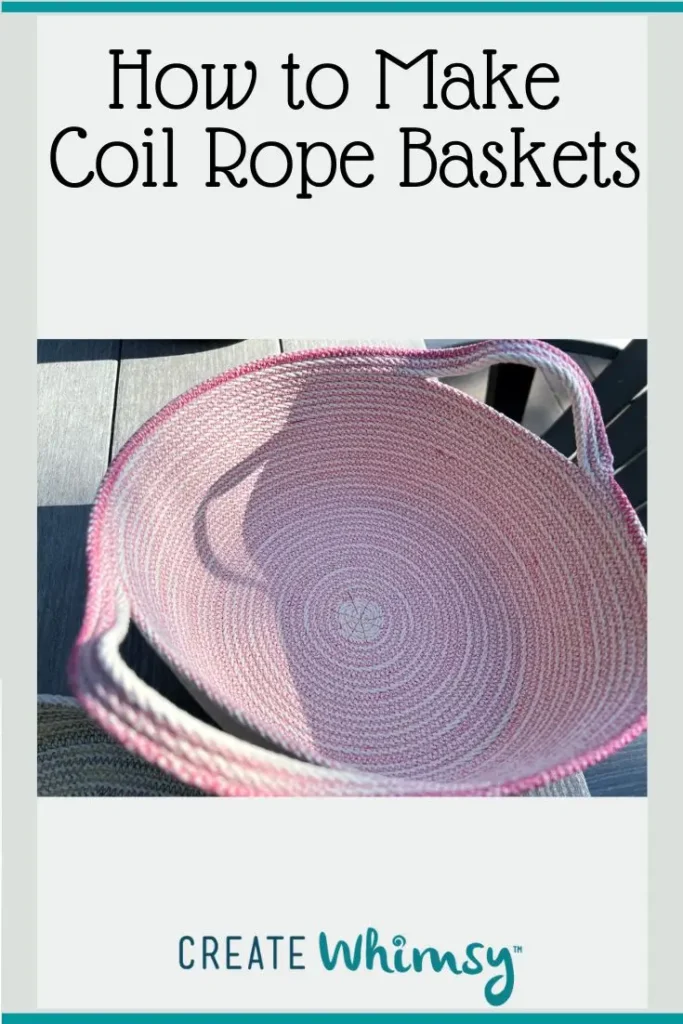
When starting, make the initial coil a tight circle and secure with straight line stitching. Here is a picture of the inside of a finished basket.
Make DIY rope baskets for Easter baskets! Use different colored threads for each of the littles in your life!

Have fun with different threads, making different sizes of bowls and baskets!


Check out our fabric wrapped clothesline bowls and baskets, too.