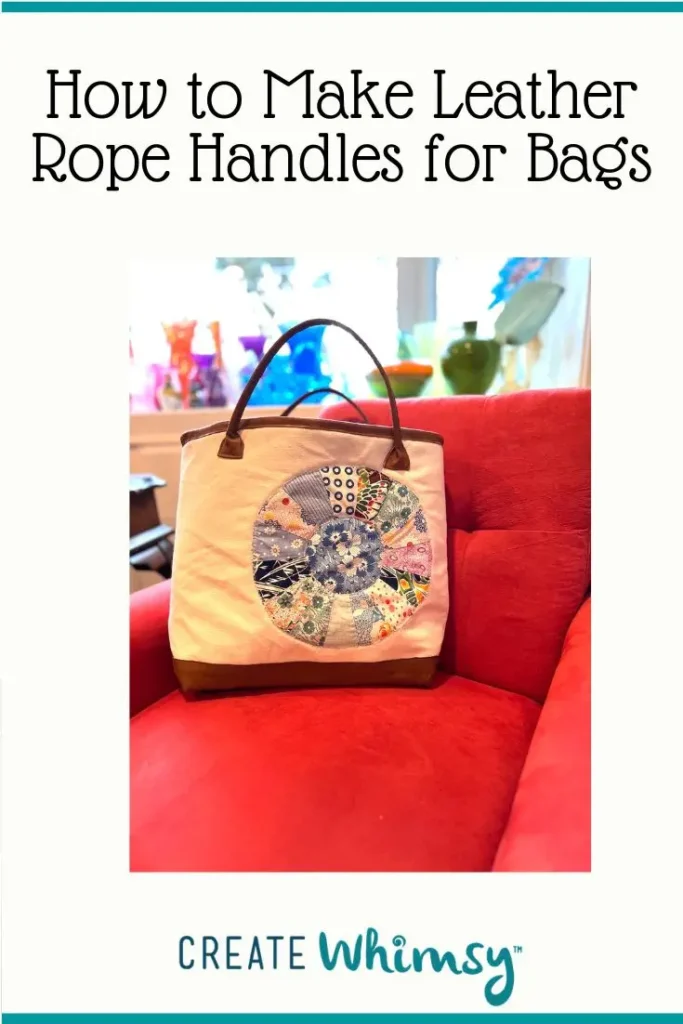
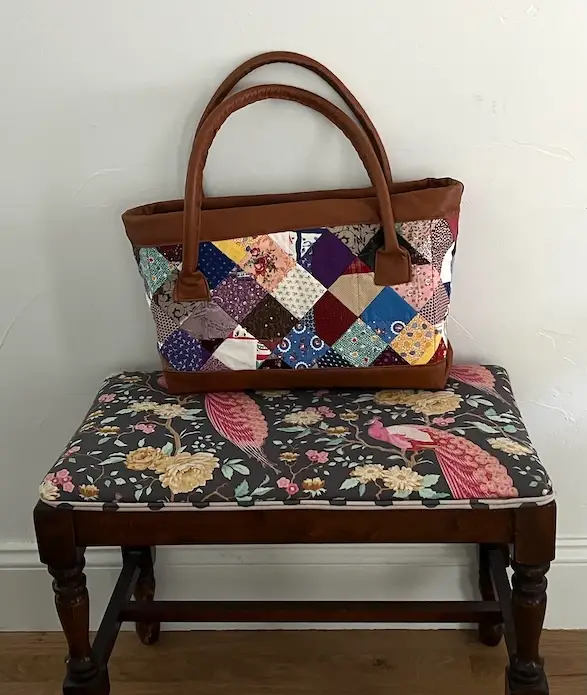
A leather-wrapped rope handle is the kind of detail that instantly elevates a handmade bag from simple to striking. It combines strength and softness, structure and style, giving your tote a polished, professional finish. In this step-by-step tutorial, you’ll learn how to wrap rope with leather for a durable, comfortable handle that looks beautiful and feels even better in your hand.
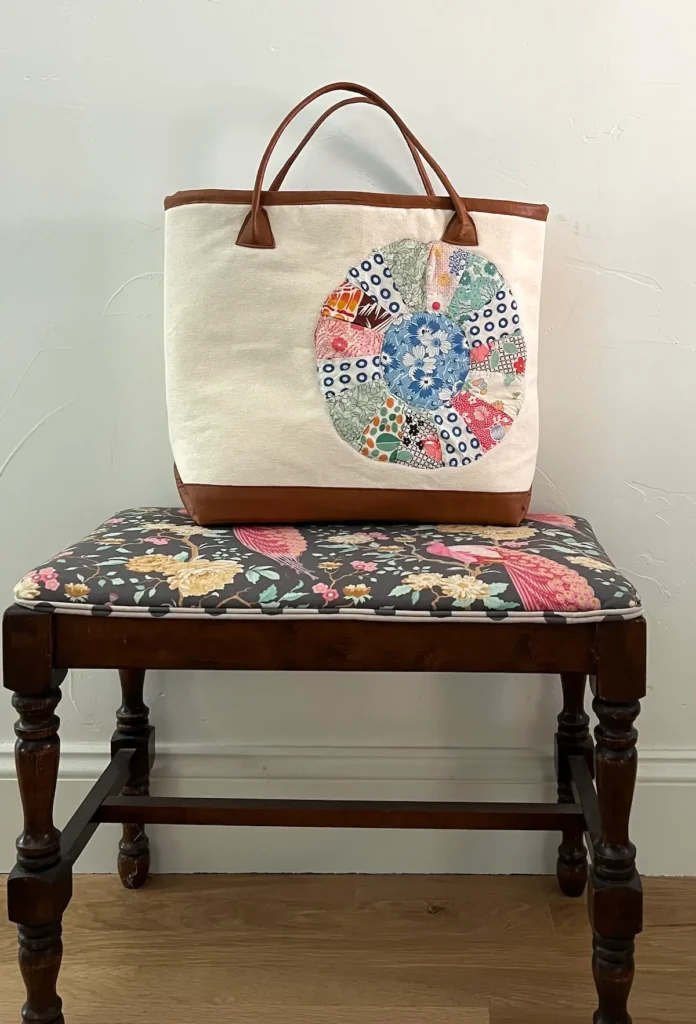
RELATED: How to Make a Patchwork Tote Bag
Using a rope core makes your handle stronger and more comfortable. I use a lightweight, 2 oz. leather because it is easy to sew on my domestic sewing machine. The lightweight leather isn’t strong enough on its own. With a rope center, the handles are strong, flexible, comfortable, and I like the look of them, too!
By using the rope in the center of the leather, your handle won’t stretch over time.
Leather doesn’t have a grain. You can cut the strips in any direction.
As an Amazon Associate I earn from qualifying purchases. Read more about our affiliate linking policy.
I’m lucky to have a leather shop in my town, so I can go look and feel the leather. You want a lightweight leather unless you happen to have an industrial leather sewing machine. 🙂 If you buy online, make sure your leather is 2-3 oz – no heavier, or you’ll have difficulty sewing it on your domestic machine.
I use a 90/14 needle in my machine, and it sews beautifully!
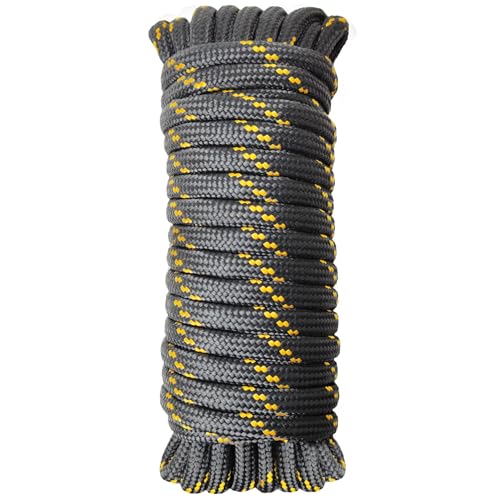
You can use any size rope you’d like. I like either a clothesline or a 1/2″ polyester or nylon rope. The clothesline is about 1/4″ in diameter.
I prefer synthetic ropes. They have more body than cotton ropes. And, they are less expensive. You can pick them up at your local hardware store. A large bundle will probably be a lifetime supply for bag handles, and is about $20.
How to Make Leather Wrapped Rope Handles
It's easy to make your own leather handles for your bags and totes.
Materials
- 2 pieces of 2 oz. leather 28" x 4"
- 2 pieces of 1/2" rope cut at 24"
- Coordinating thread
Tools
- Sewing machine
- Glue stick - I used a re-stick glue stick
- WonderClips
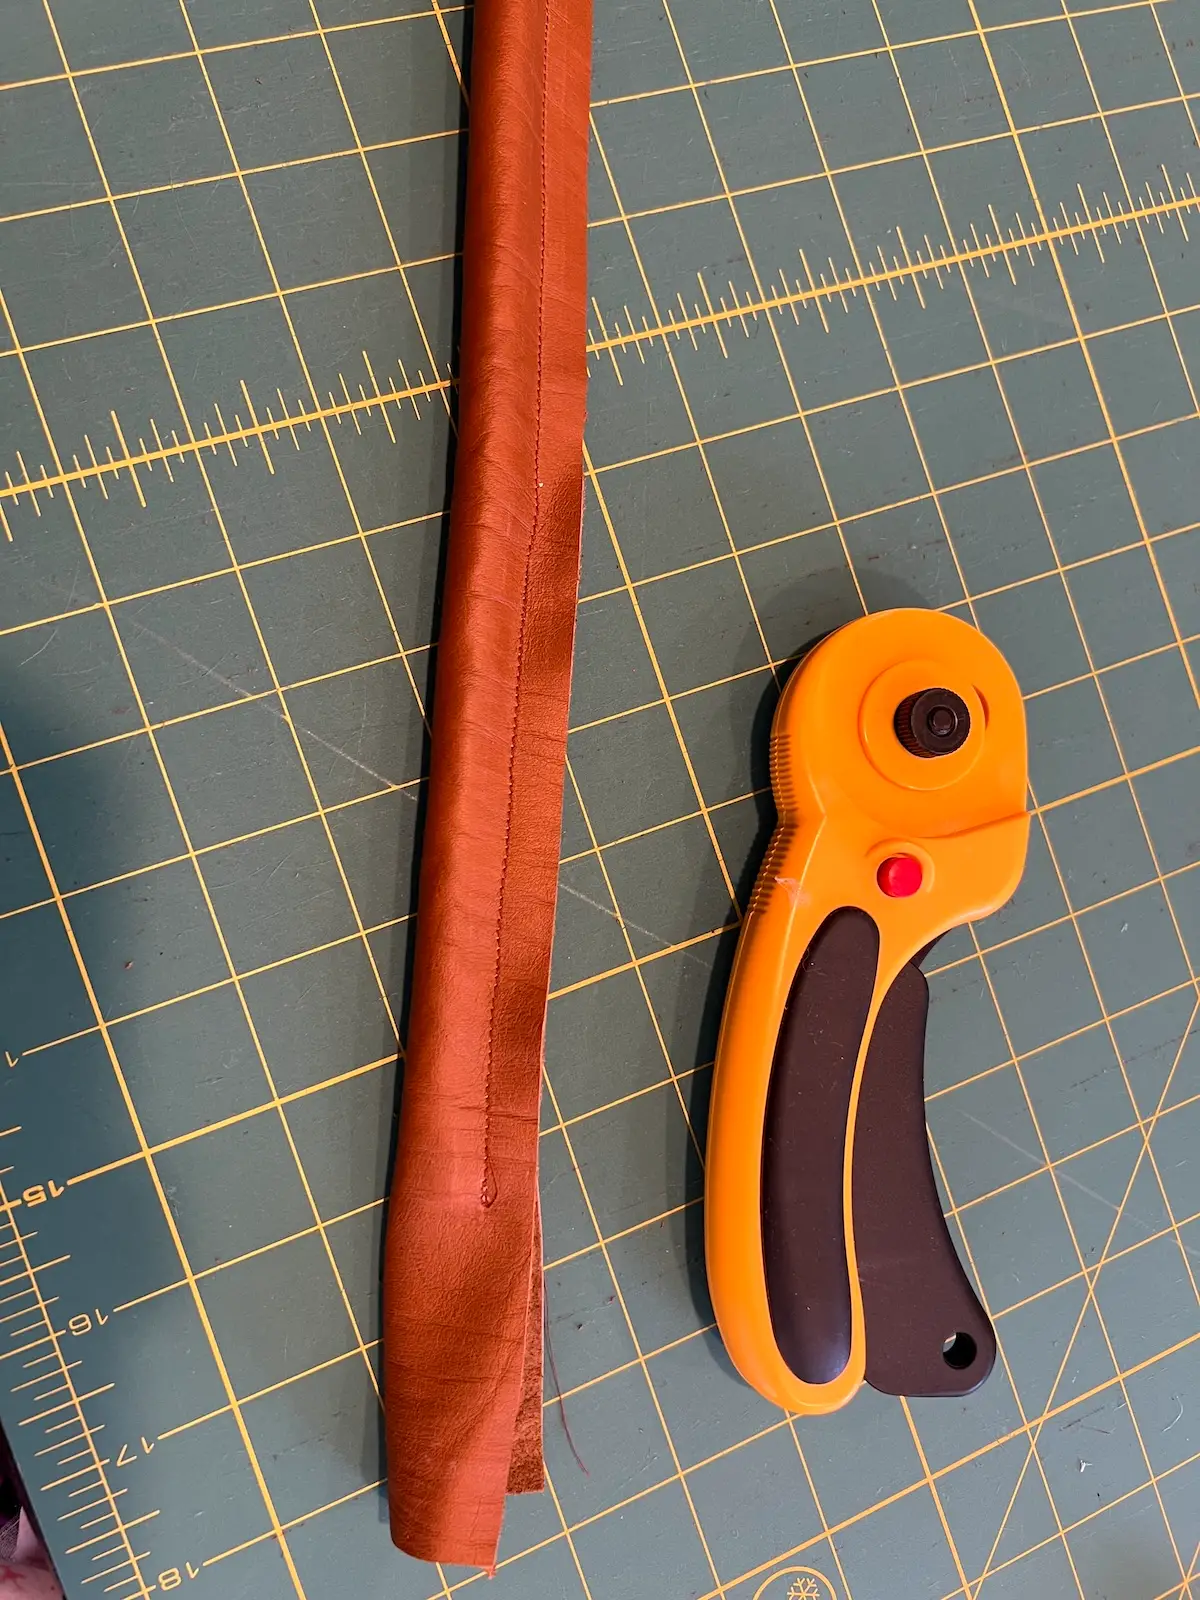
- Rotary cutter
- Cutting mat
Instructions
- Cut your rope and leather. If you want your handles to be shorter or longer, cut the leather 4" longer than your rope.
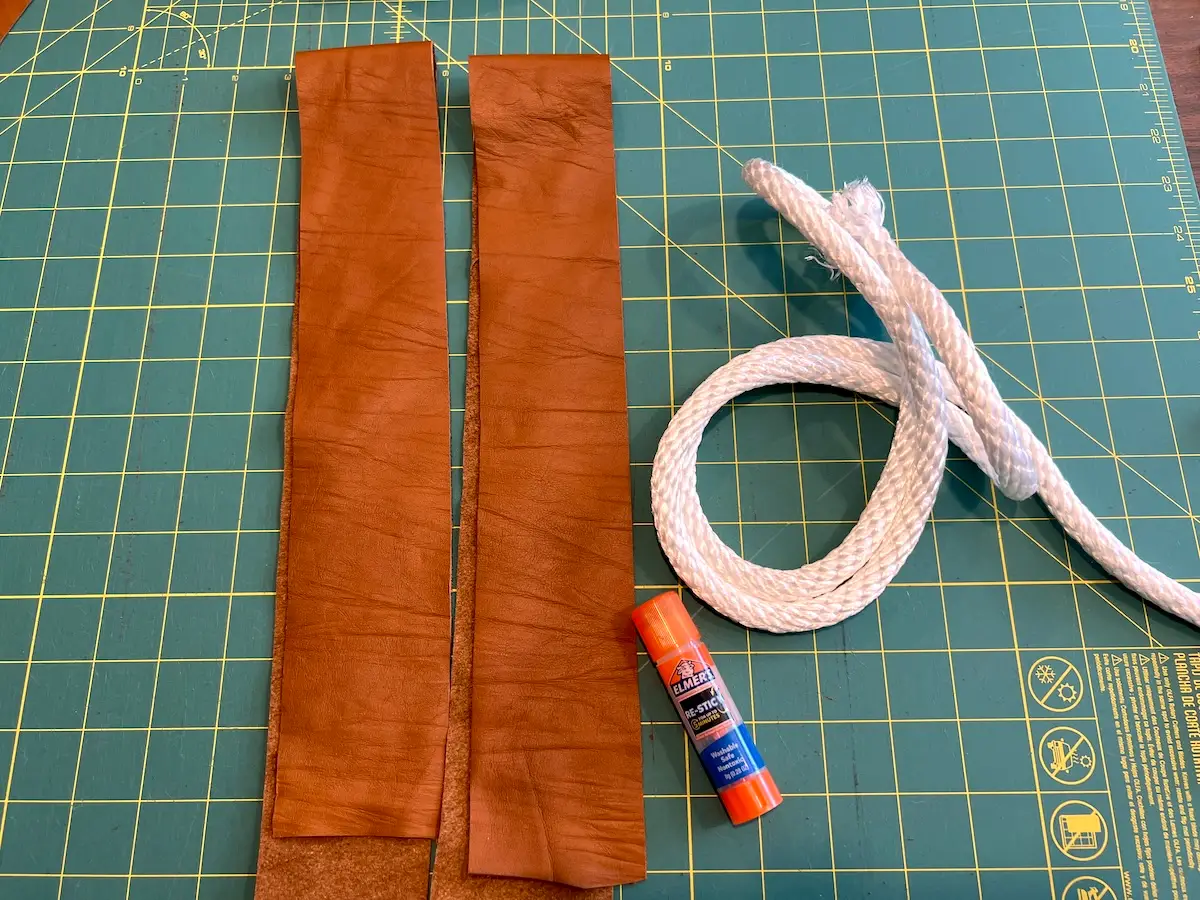
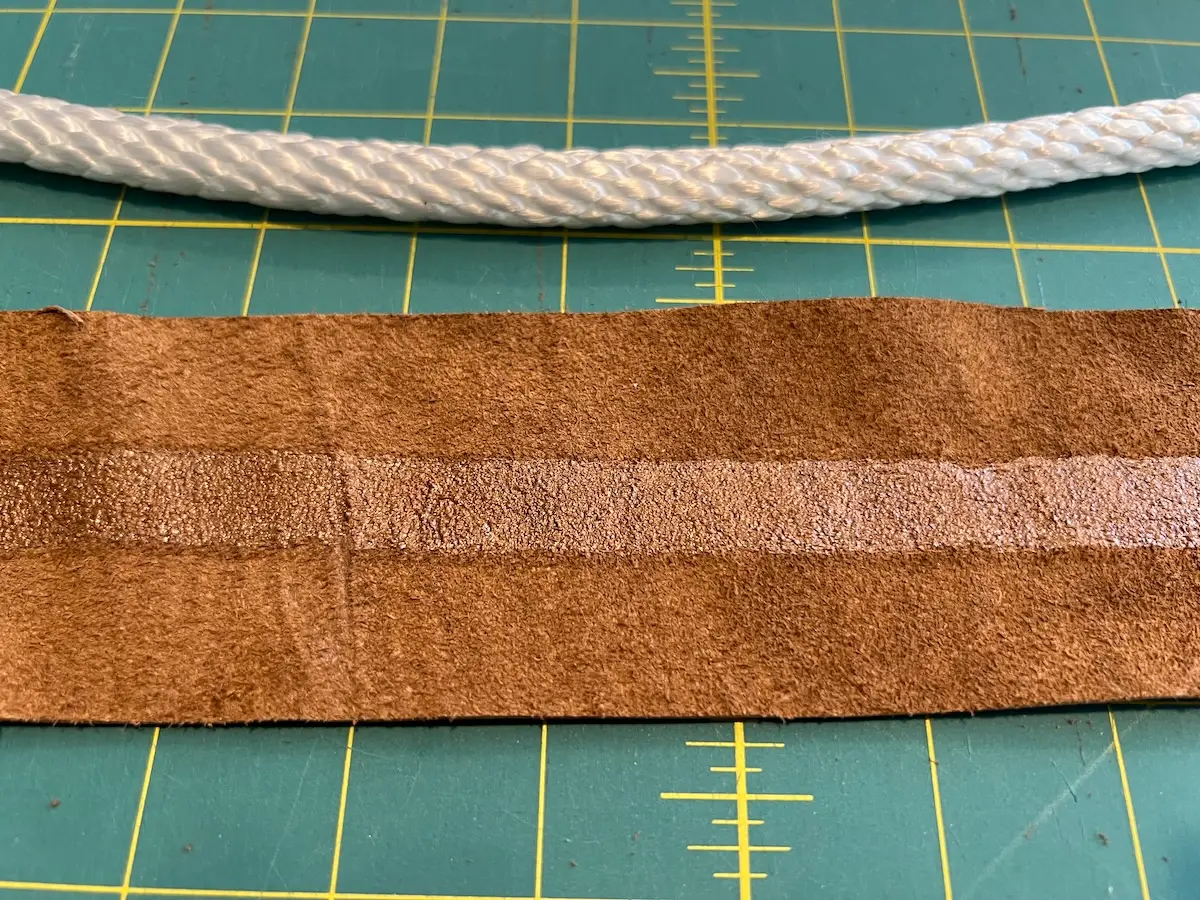
- Lay your leather on a flat surface with the wrong side up. Take your glue stick and put a line of glue down the middle of the leather.
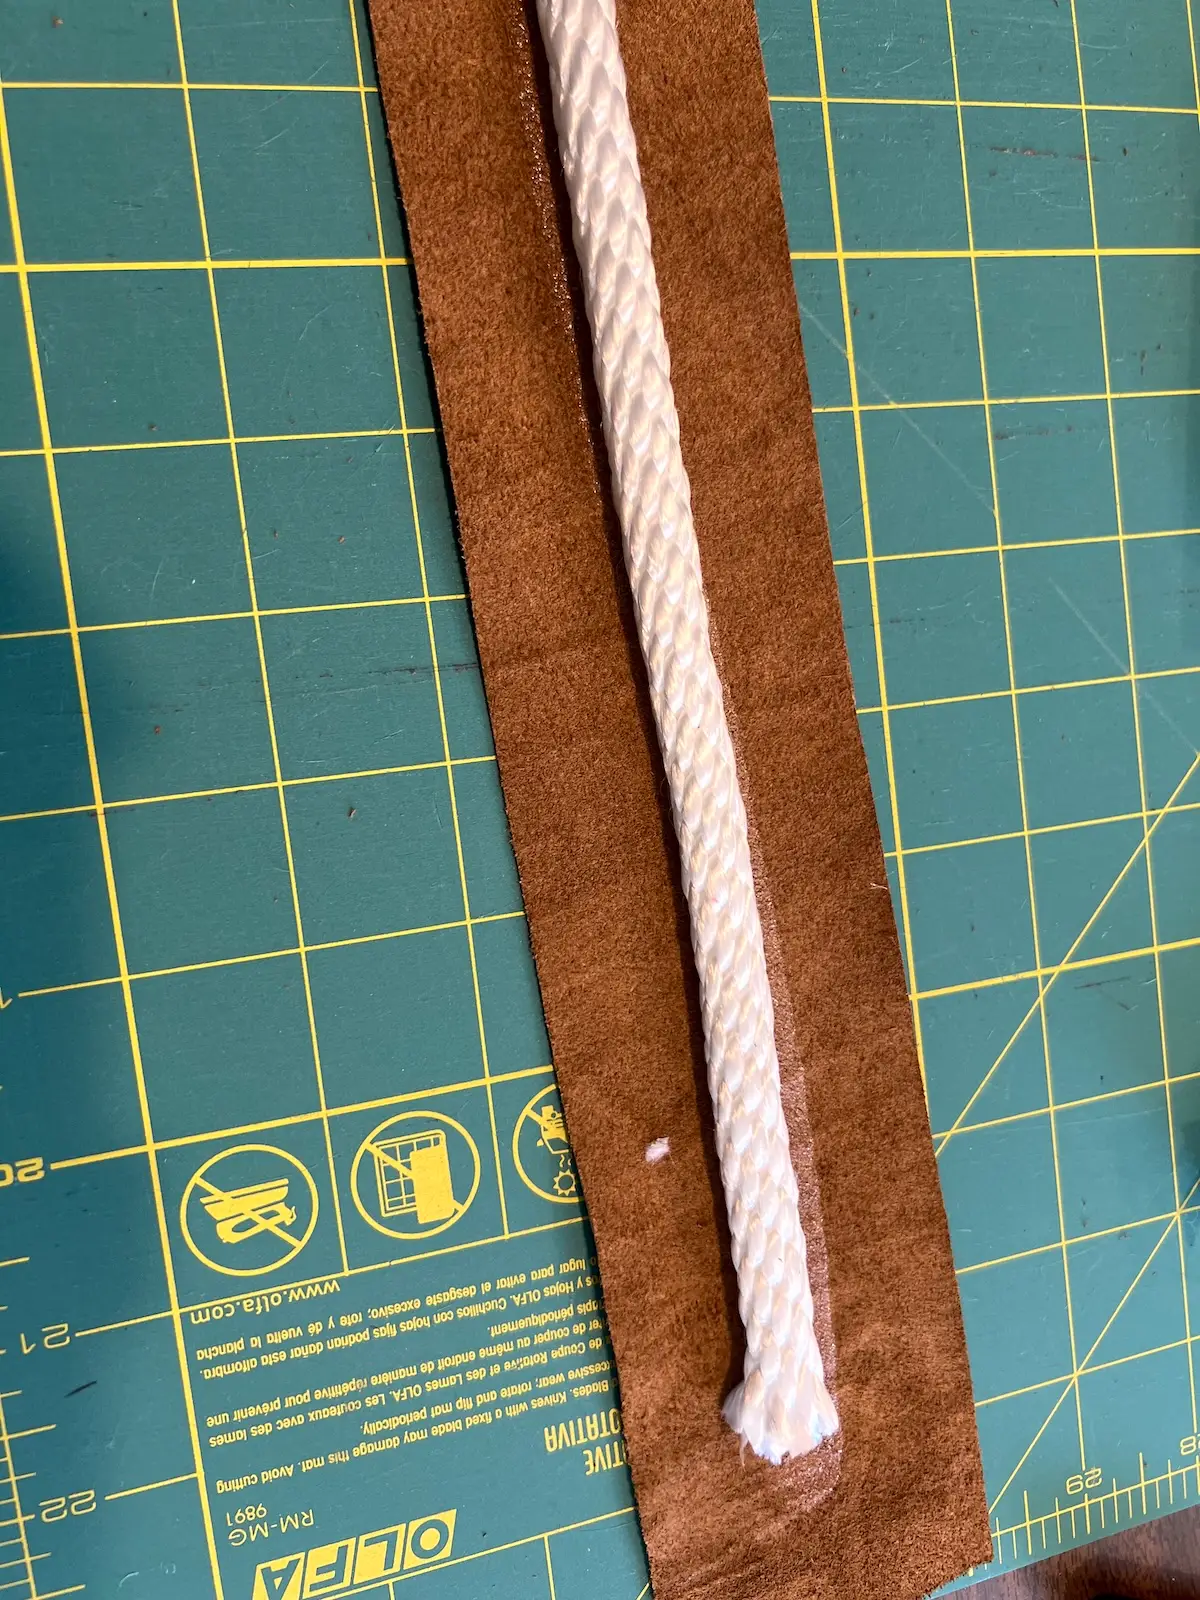
- Place the rope on the glue.
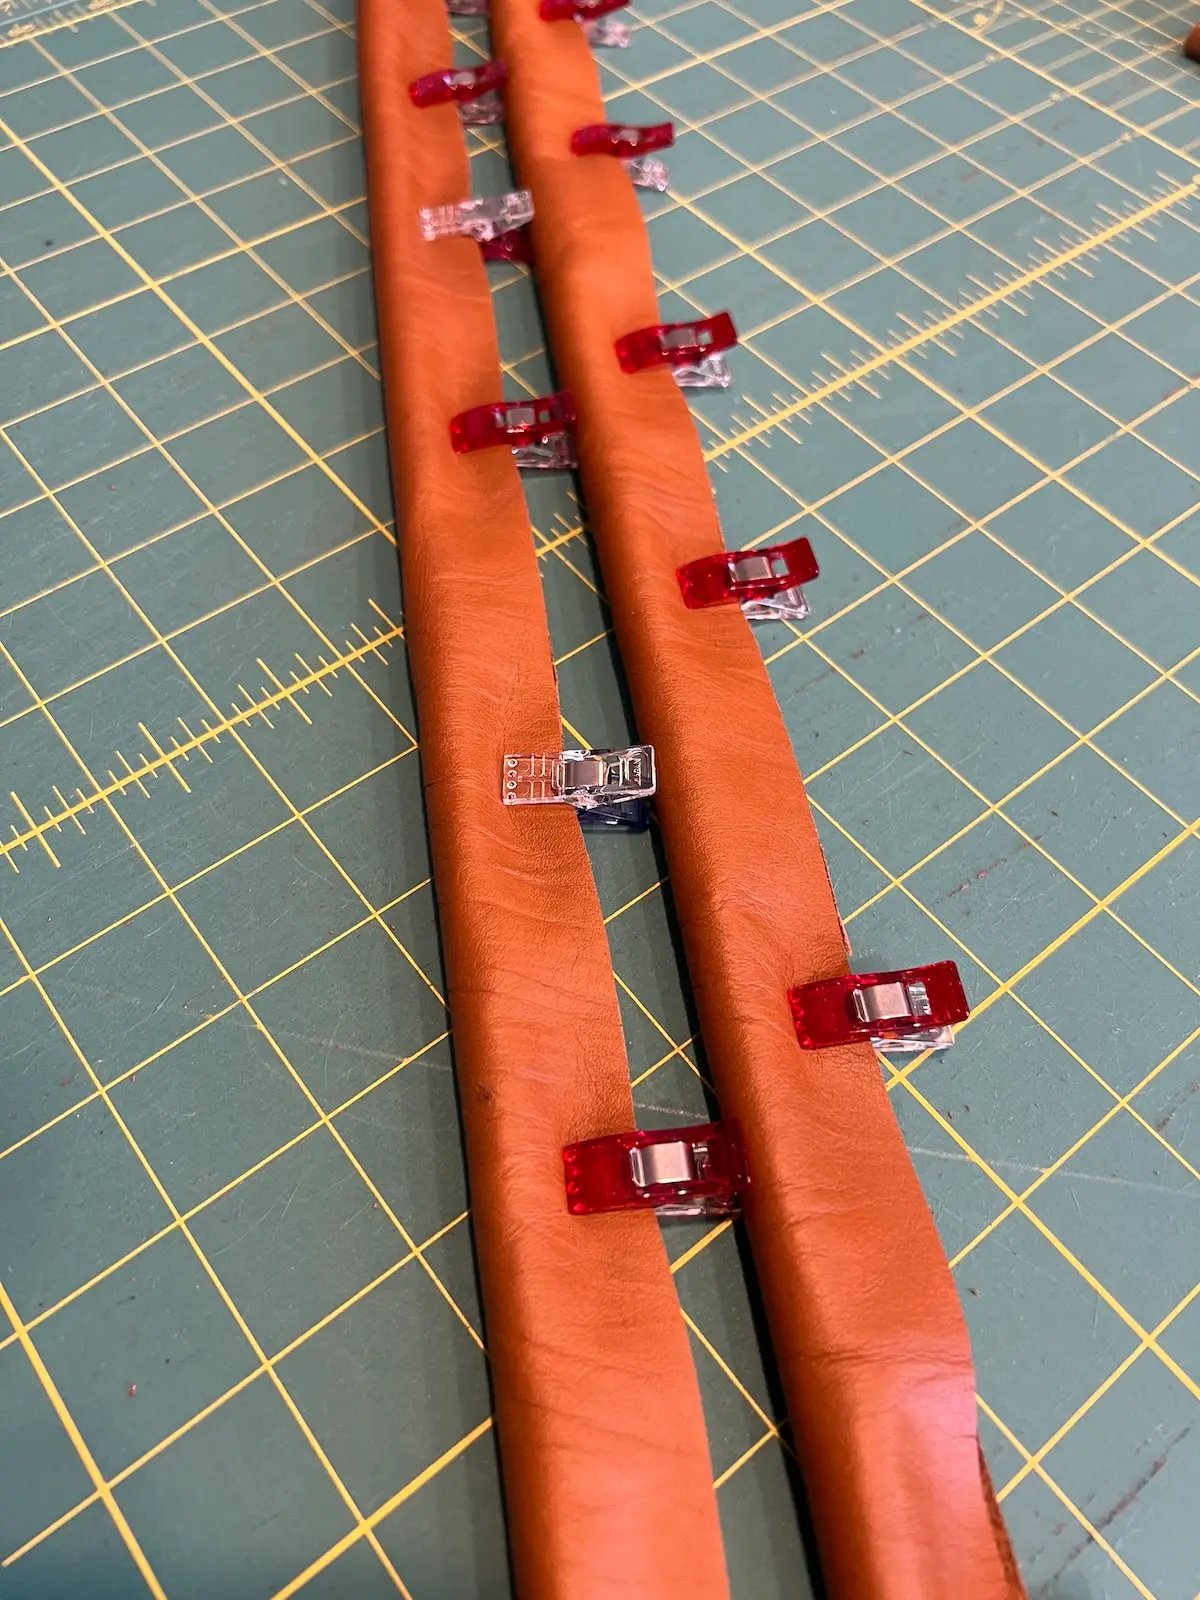
- Match the edges of the leather and secure with WonderClips.
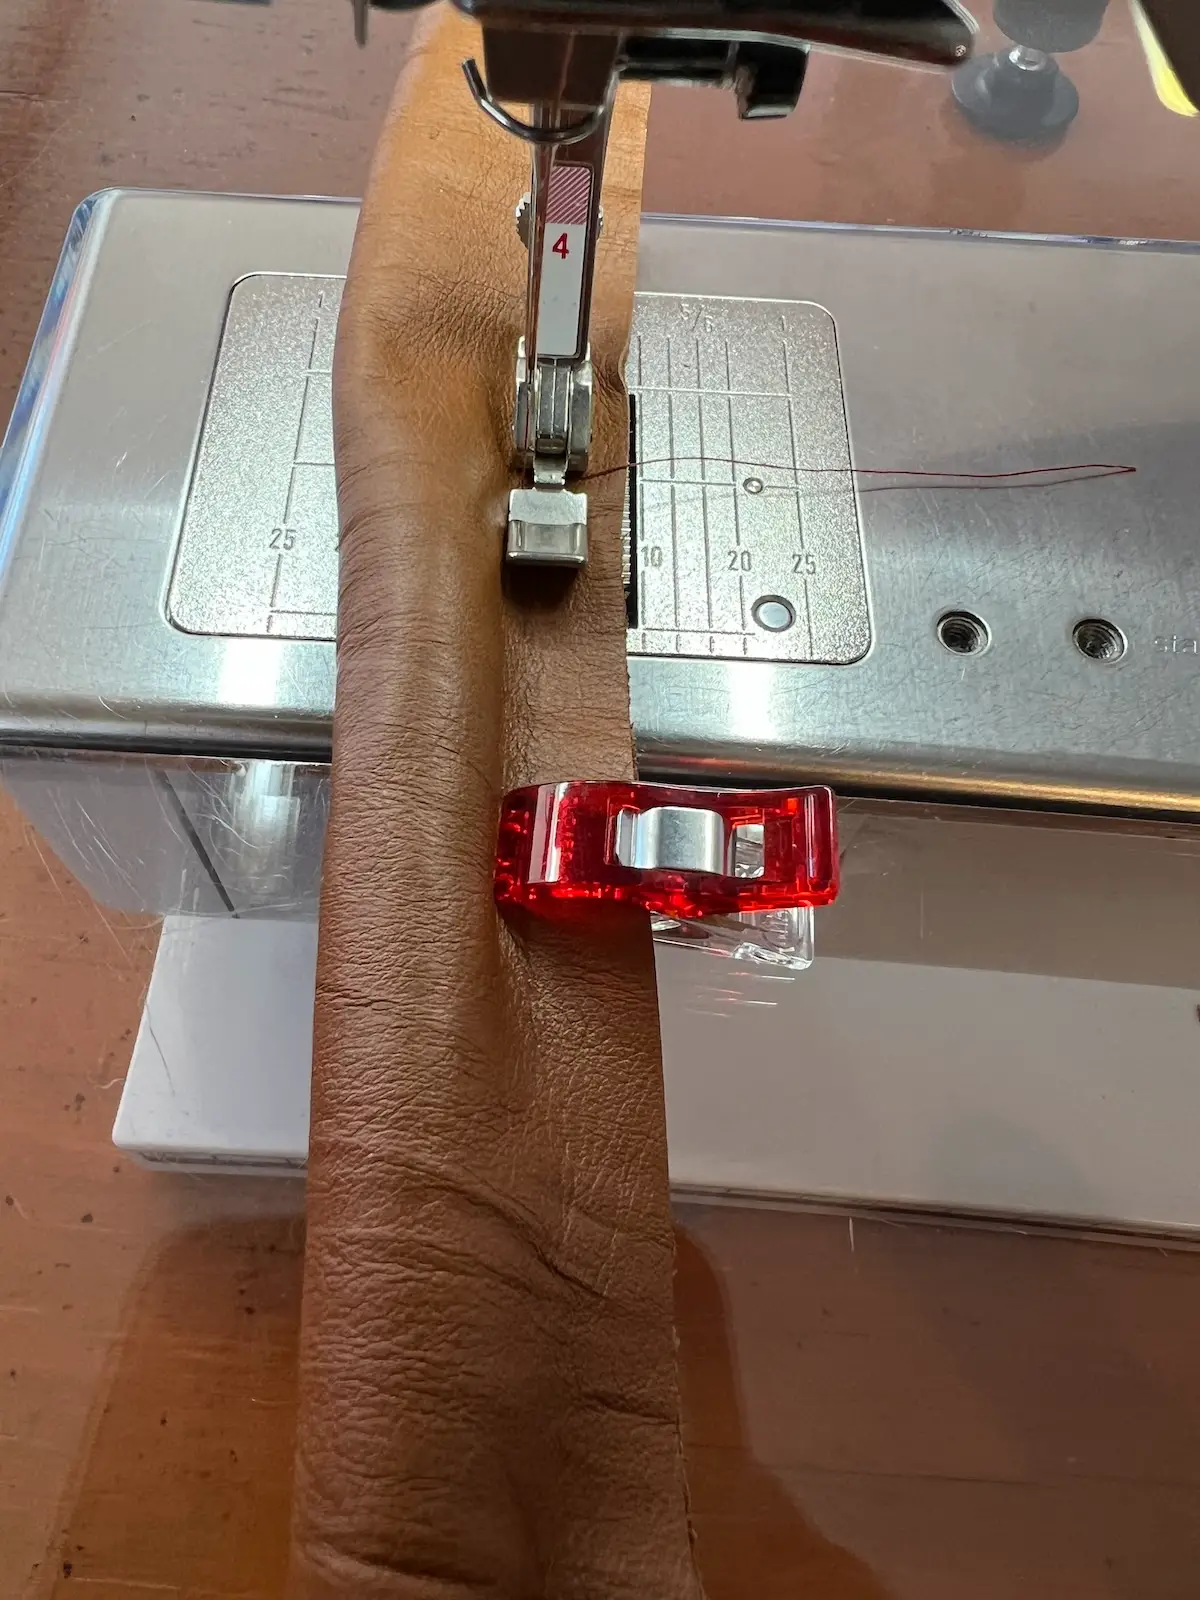
- Put your zipper foot on your sewing machine. Leave the 2" ends of the leather free. Start sewing where the rope and leather meet.
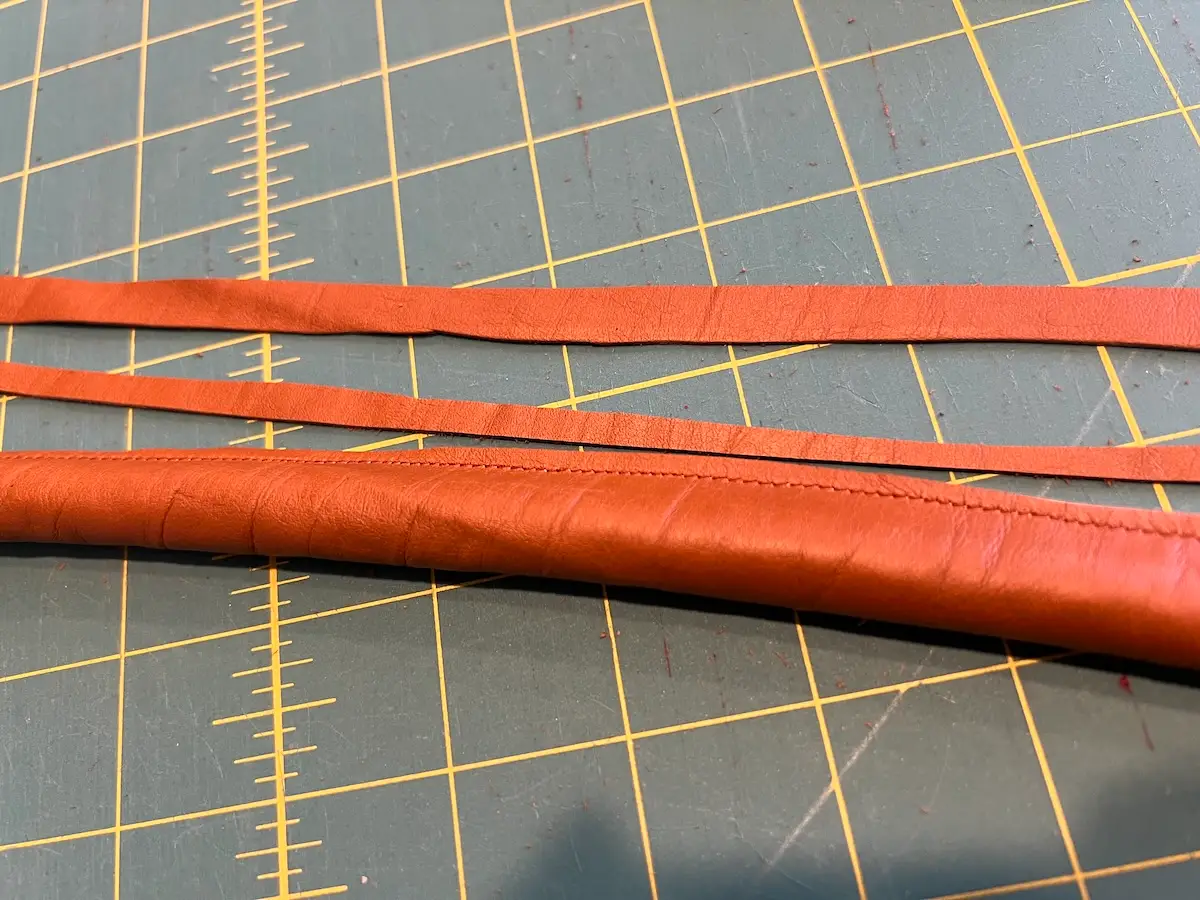
- Take your rotary cutter and trim the excess leather from the edge of the handle. I find the rotary cutter is easier to get a nice, straight cut than a pair of scissors.
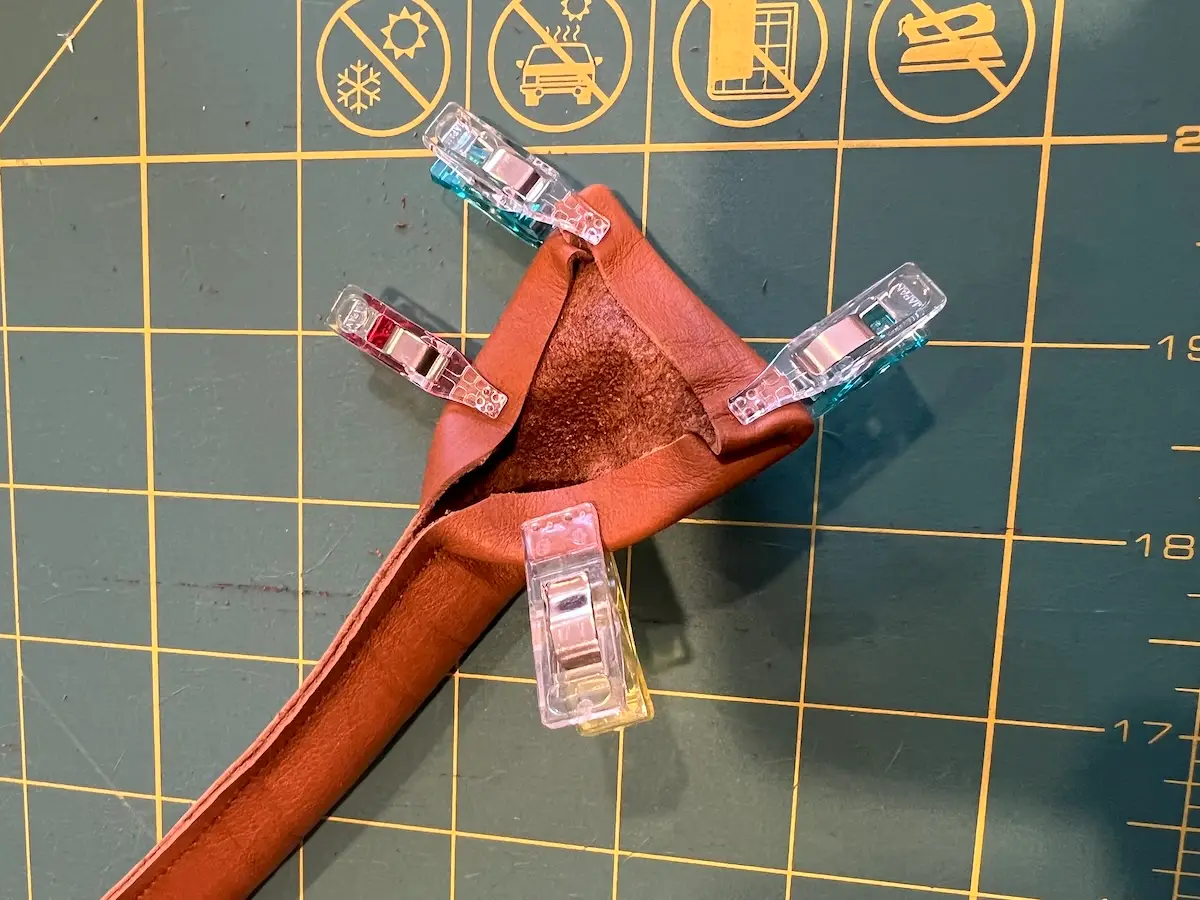
- Now, we'll finish the ends. Add a little more glue to the wrong side of the leather on the ends.
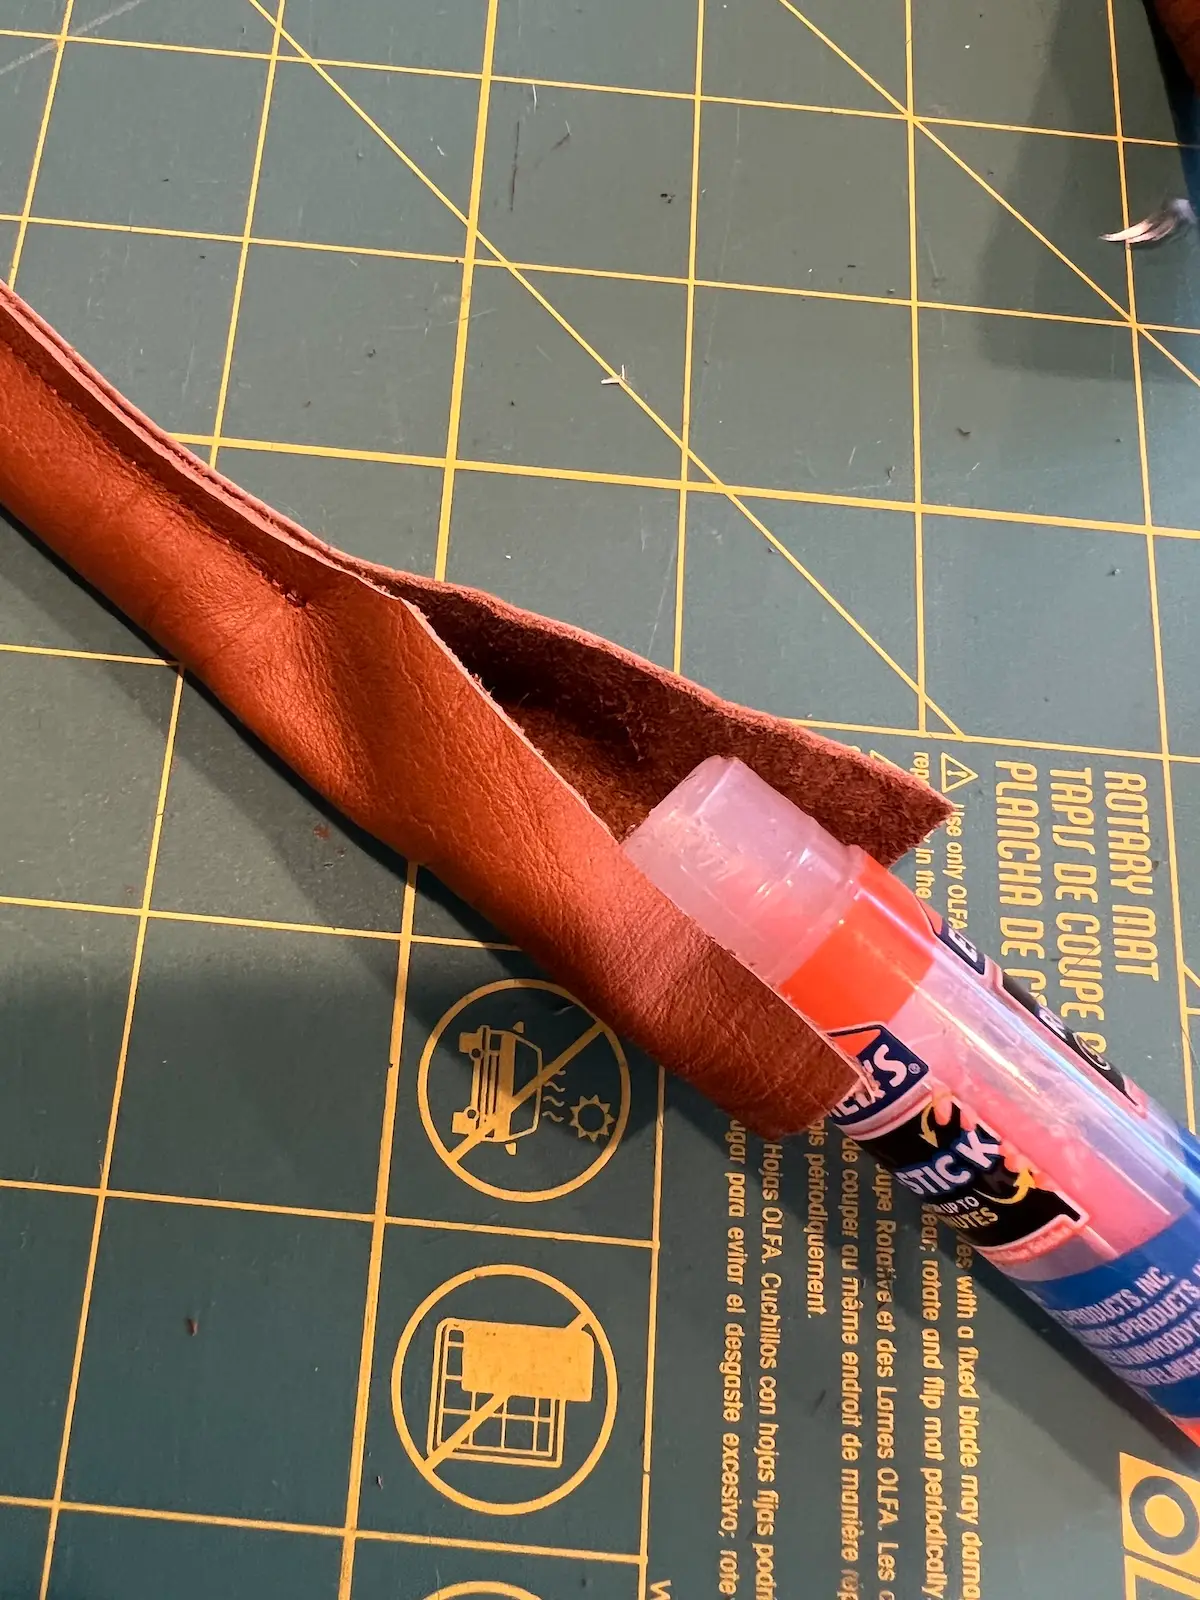
- Begin folding in the sides of the handle end. Secure with a WonderClip.
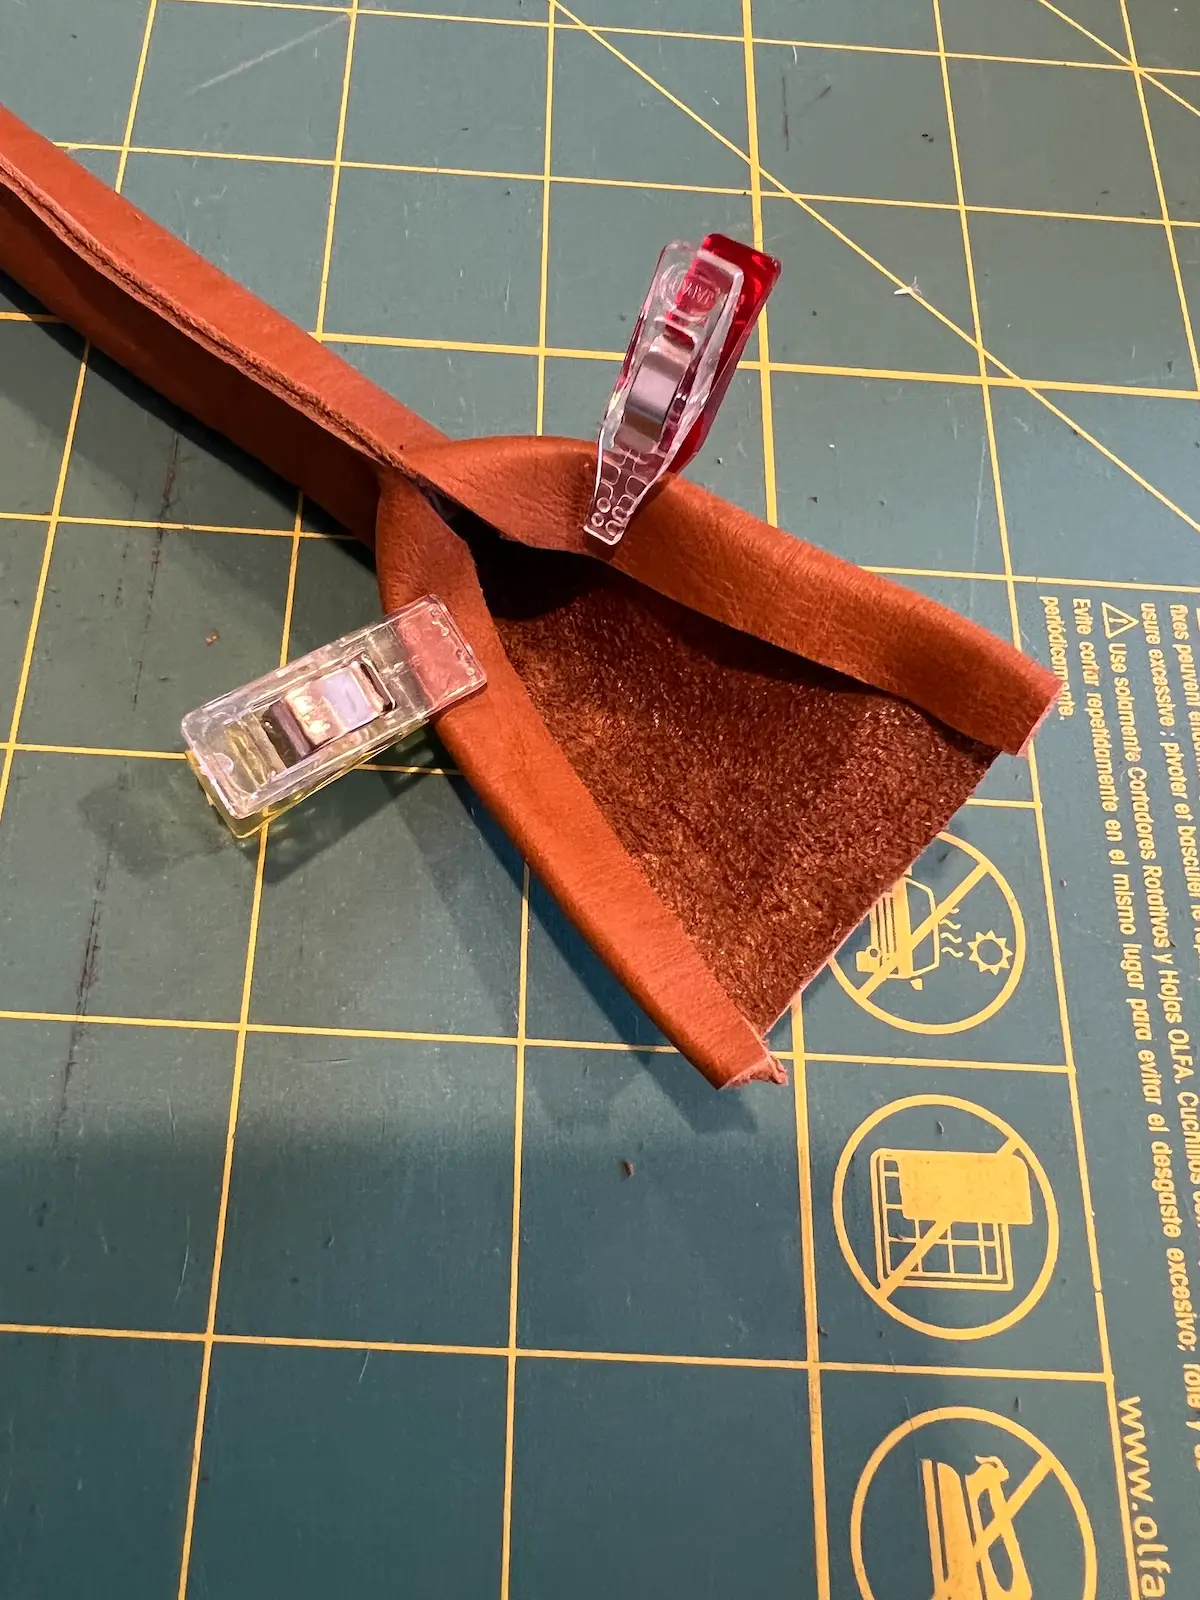
- Next, fold in the bottom of the handle end. Again, secure with WonderClips.
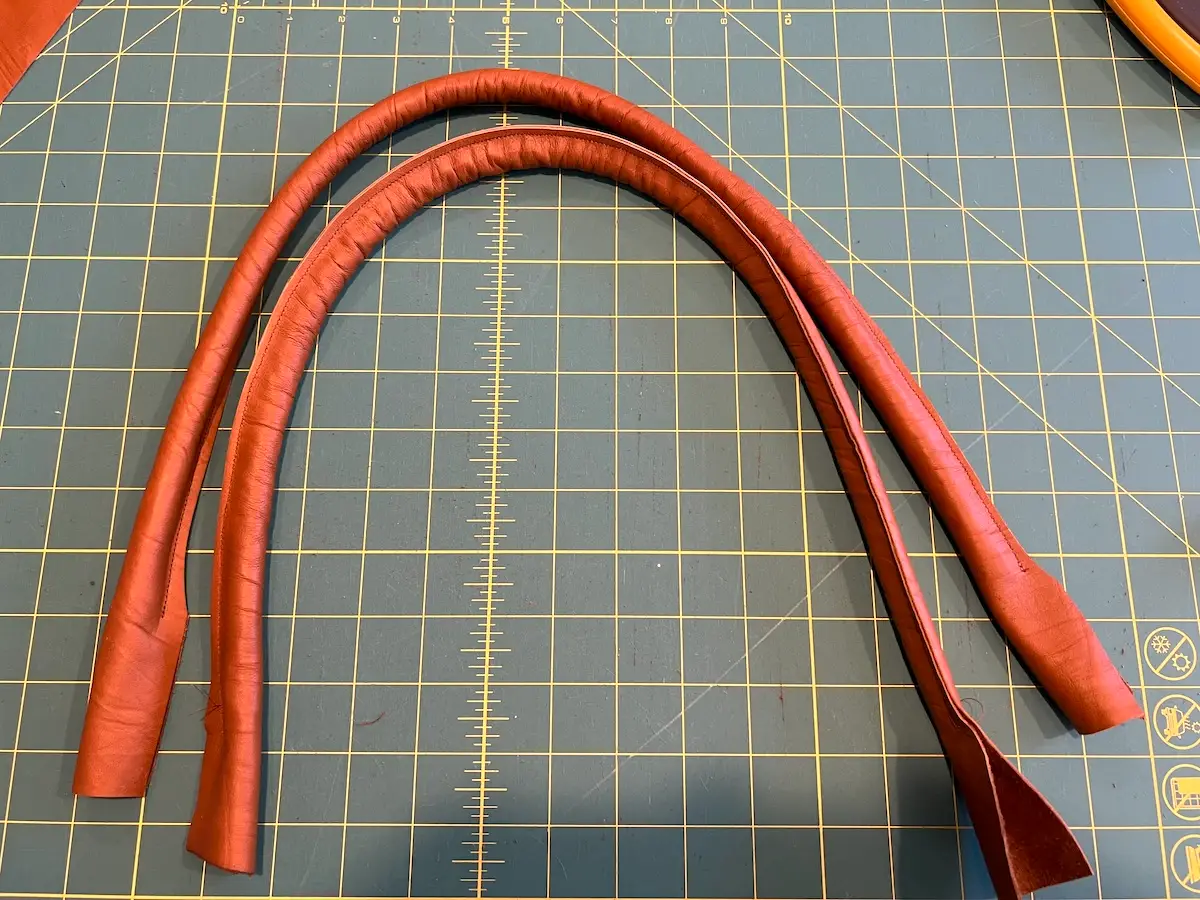
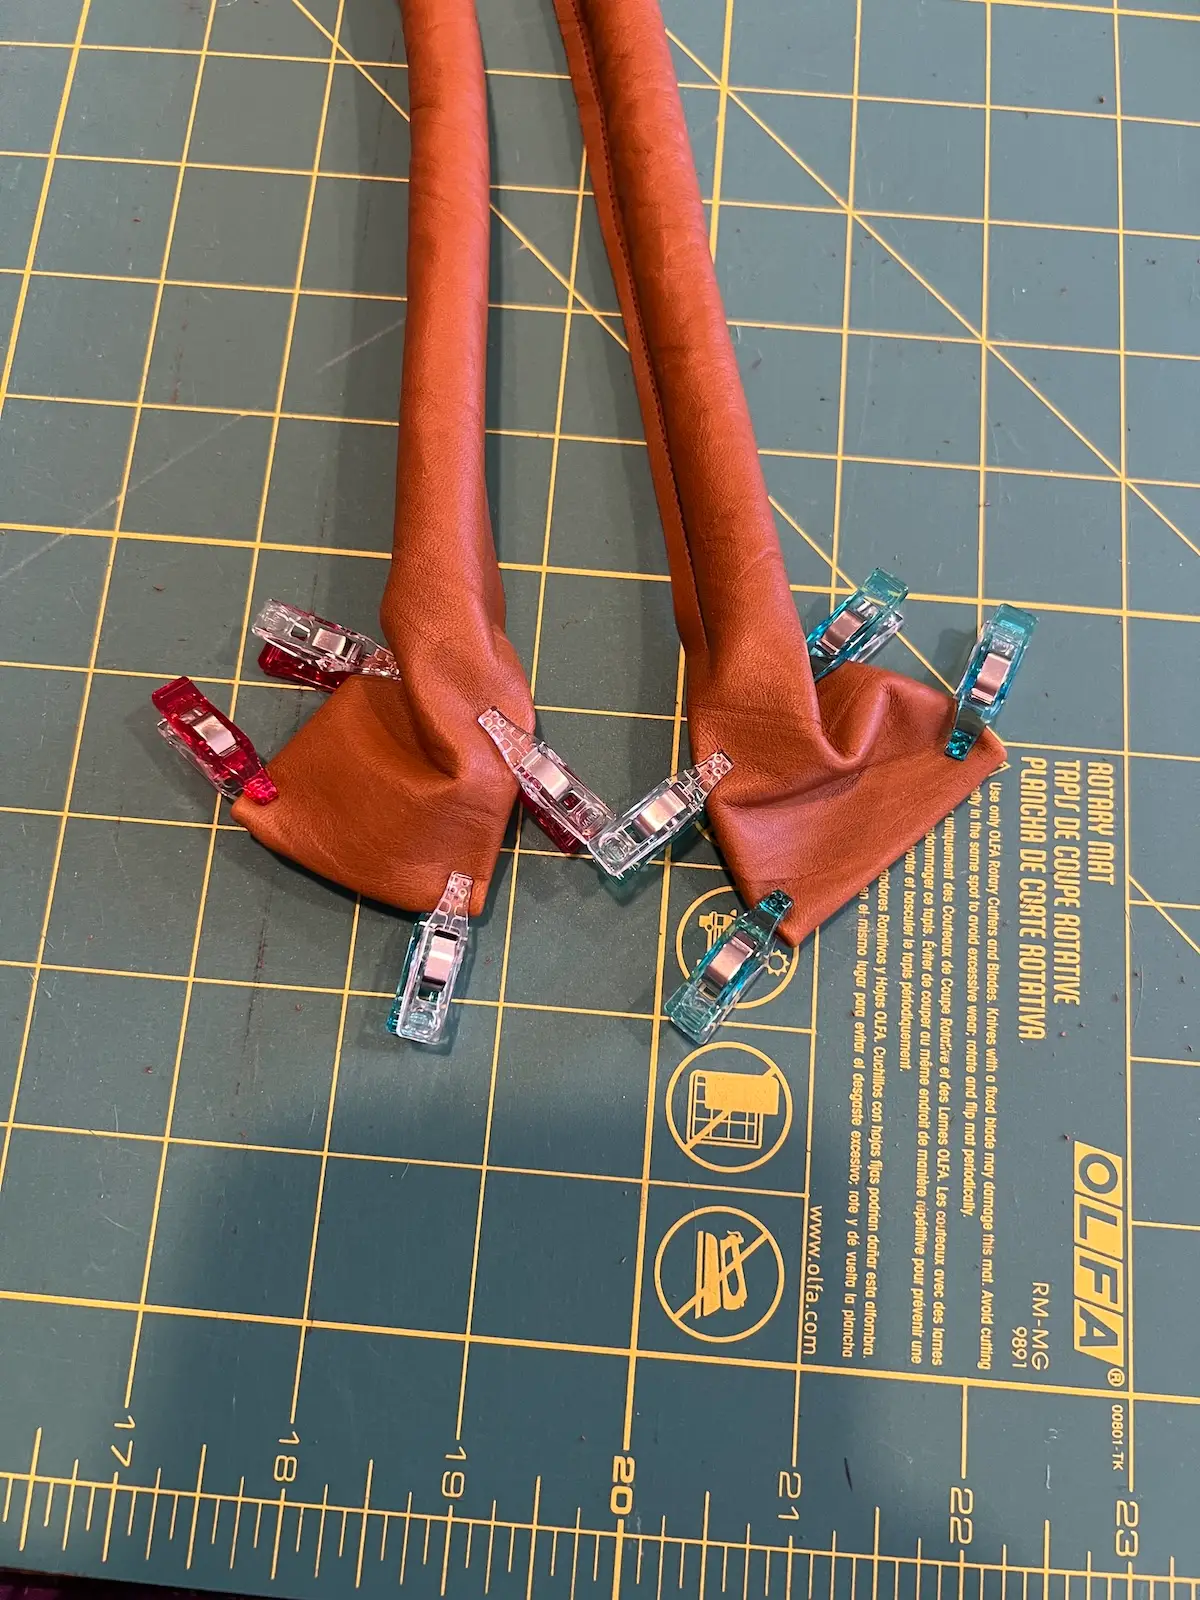
- Here is our handle ready to be sewn to your handbag or tote.
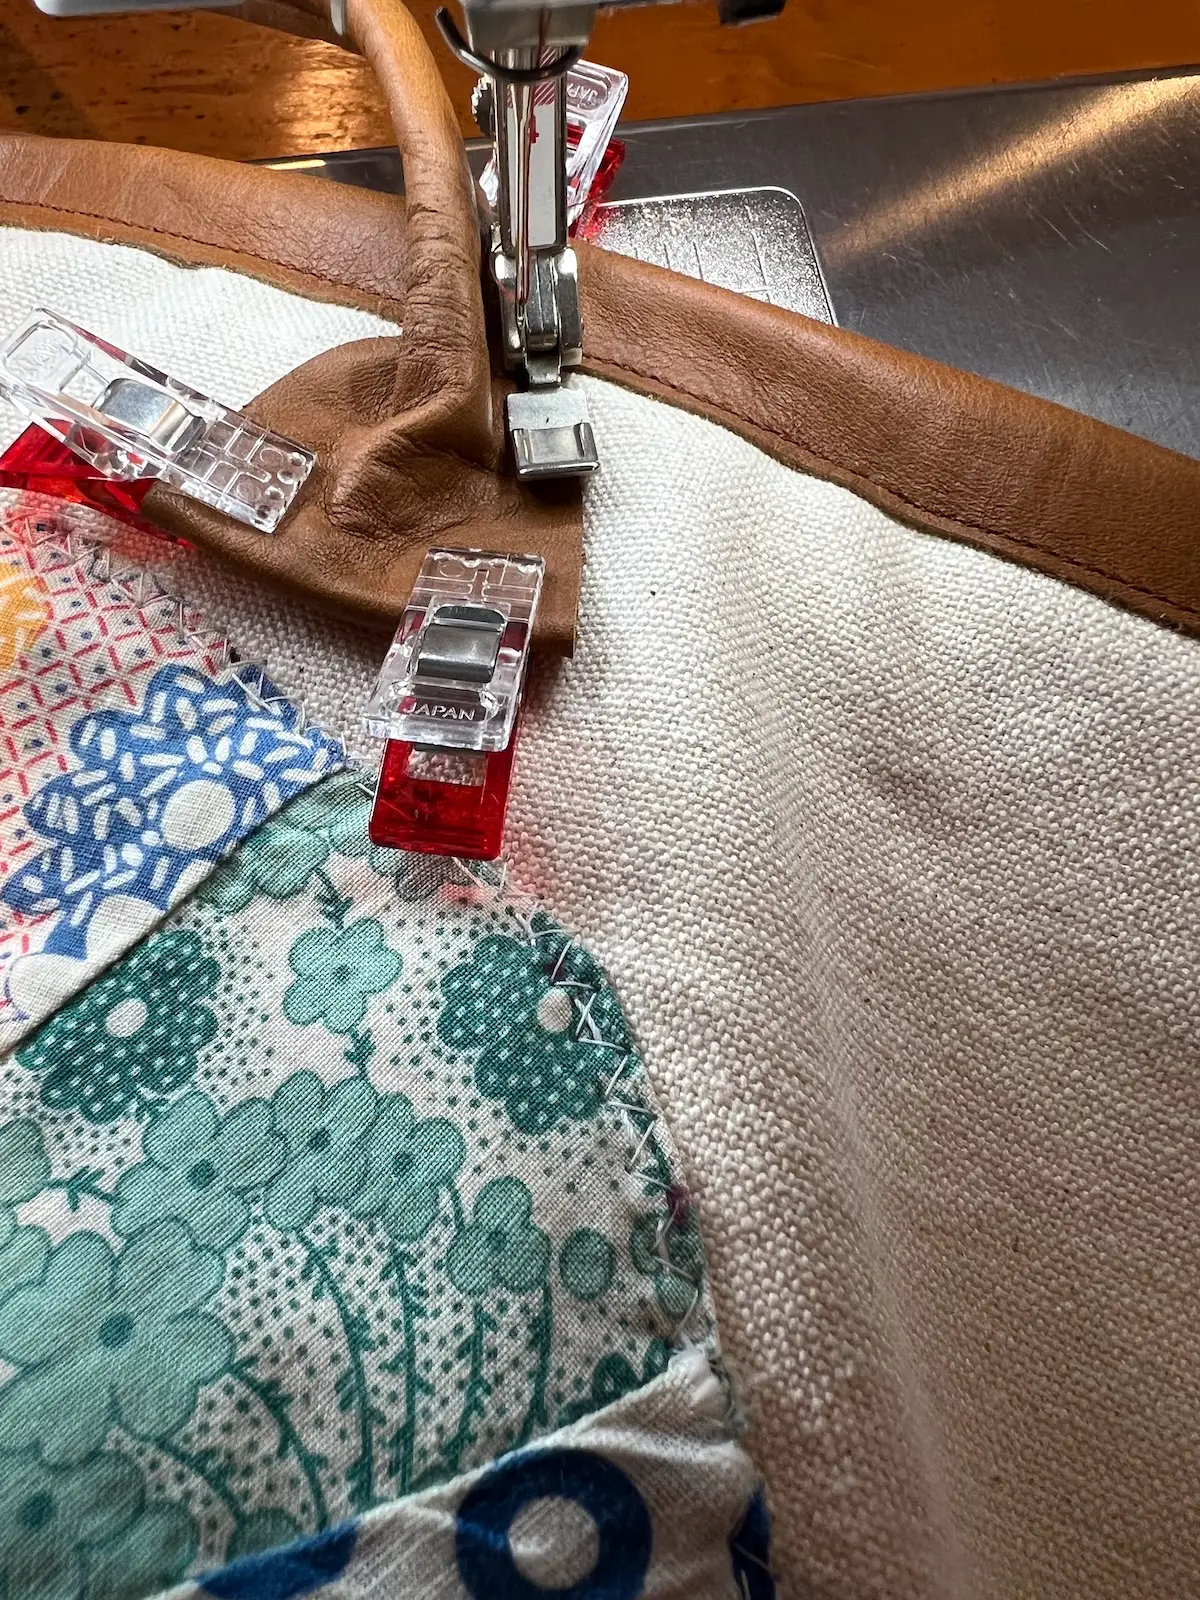
- Mark where you want your handles with a pin in the fabric or a clip on the upper edge of your bag. NOTE: You can sew the handles on before lining and finishing your bag. I finished the top edge of this bag with leather before sewing on the handles. This means the handle stitches through the lining of the bag, too.

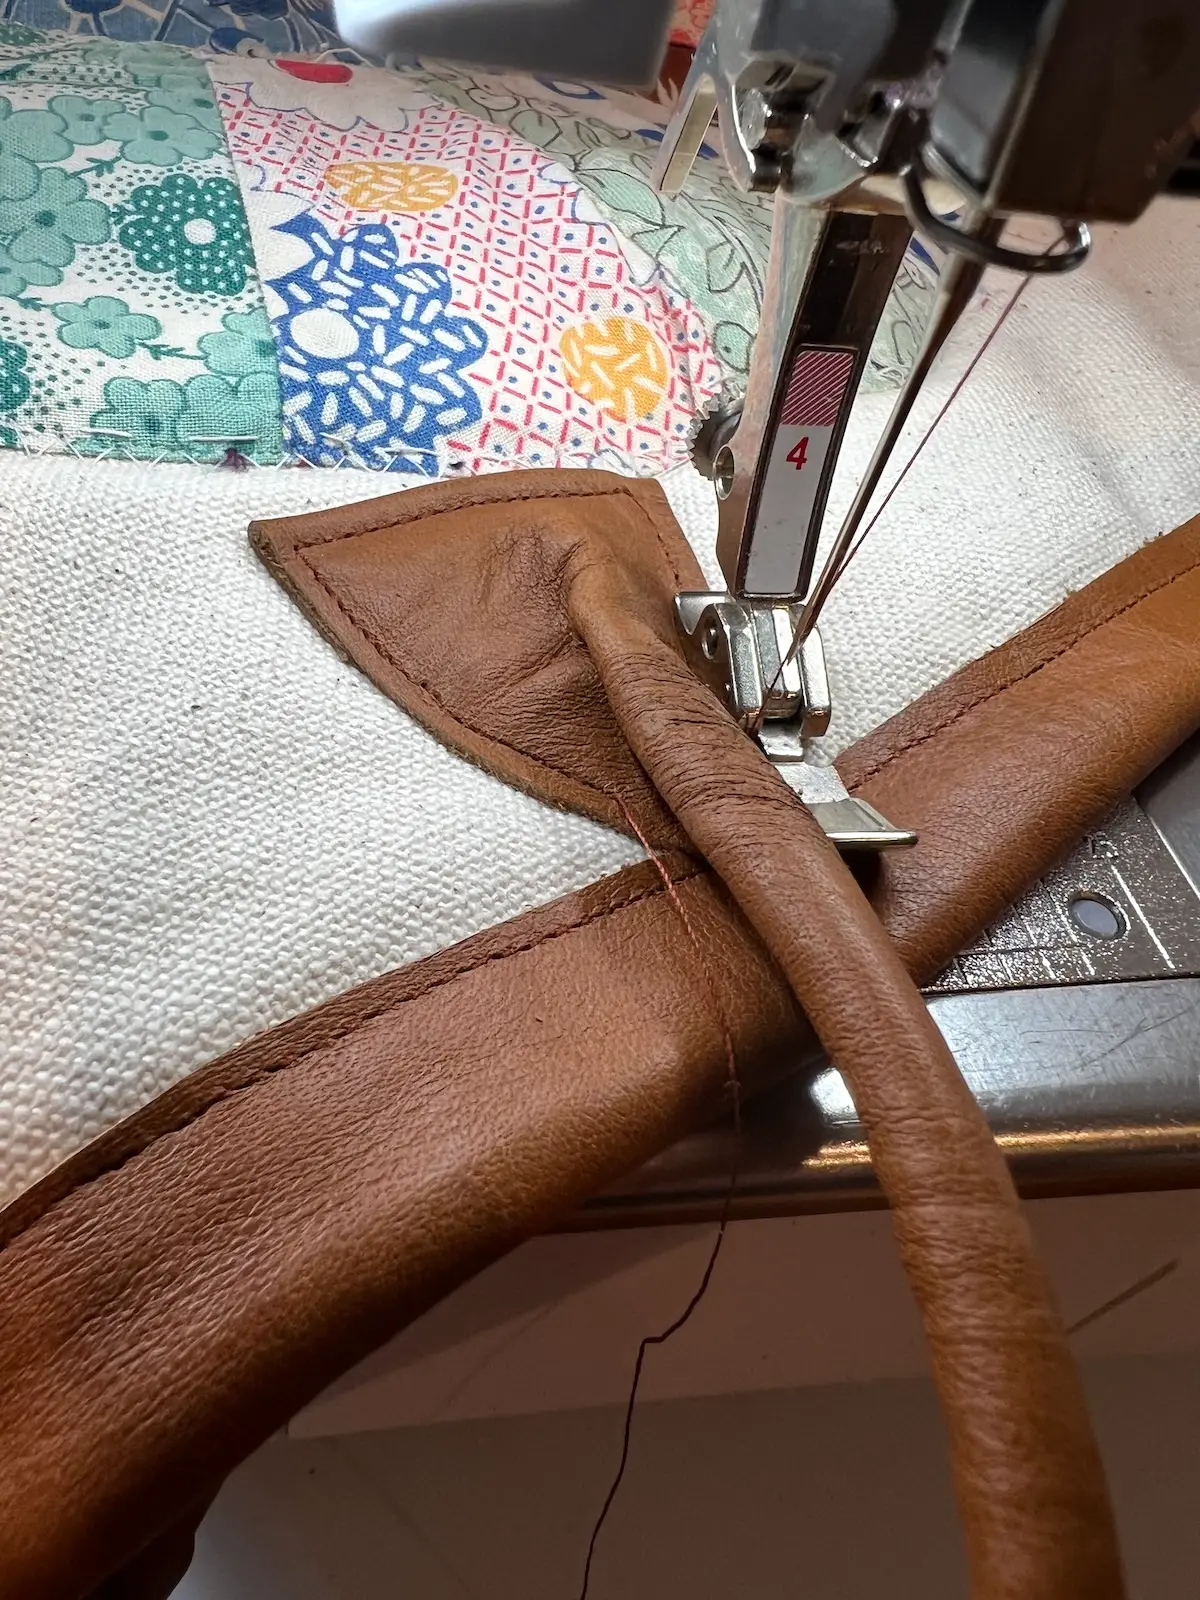
- Using your zipper foot, sew around the edge of the handle end, removing the clips as you reach them.
- Finishing sewing the handle to the bag.
Notes
TIP: I like to use a polyester or nylon rope. They seem to keep their shape better than cotton ropes. And, they are less expensive!
Recommended Products
As an Amazon Associate and member of other affiliate programs, I earn from qualifying purchases.


Tips and ideas for your handmade leather handles
Use a contrasting thread for your stitching.
Leather comes in a variety of colors and finishes. Have fun using embossed or metallic leathers.
Check out the scrap bins at your local leather shop. The leather handles don’t use much leather and you might find just what you need at bargain prices.
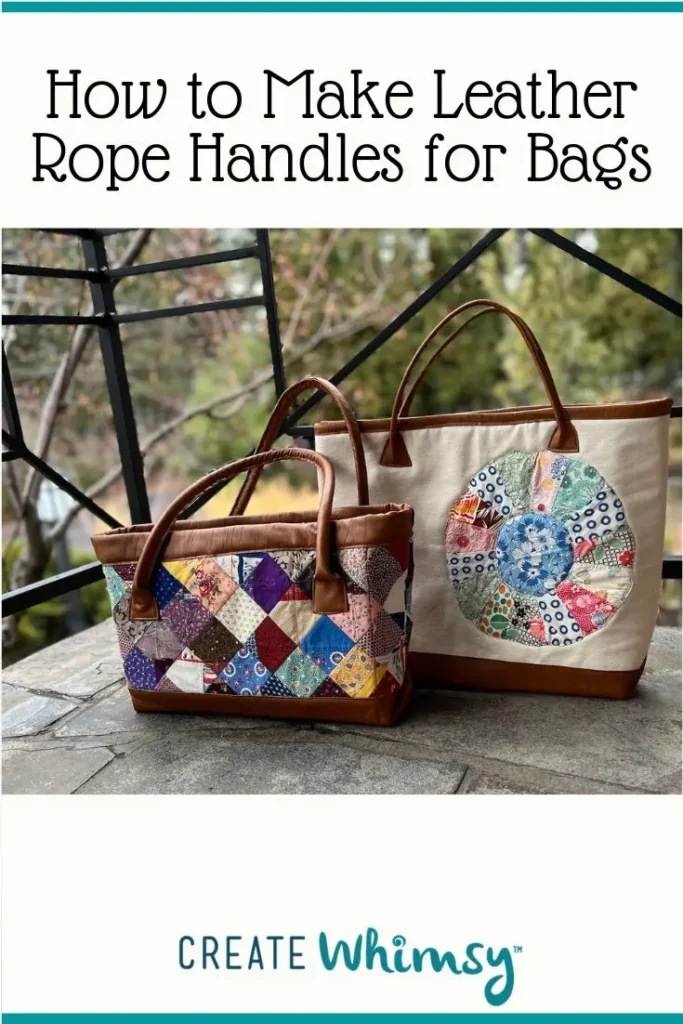
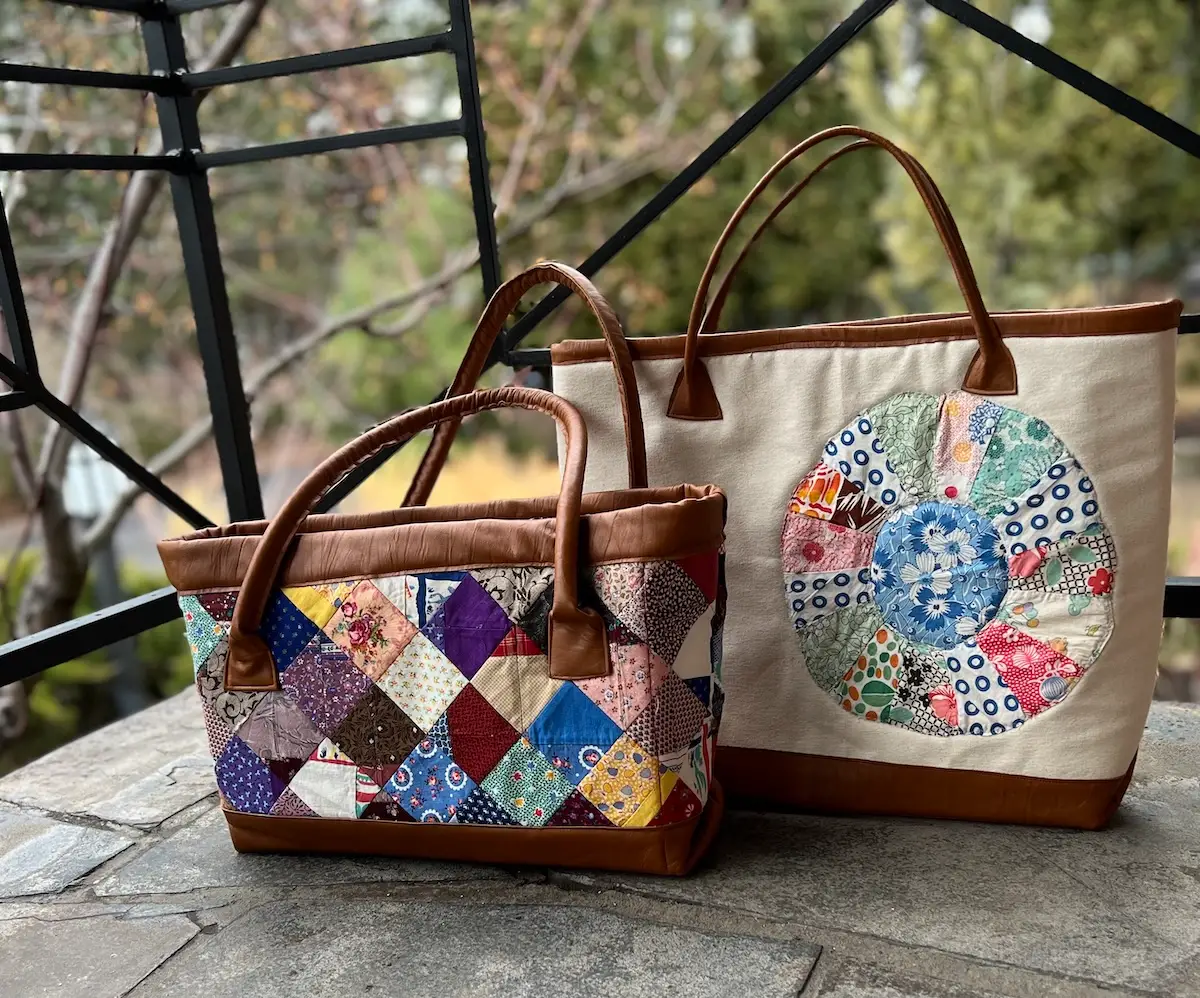
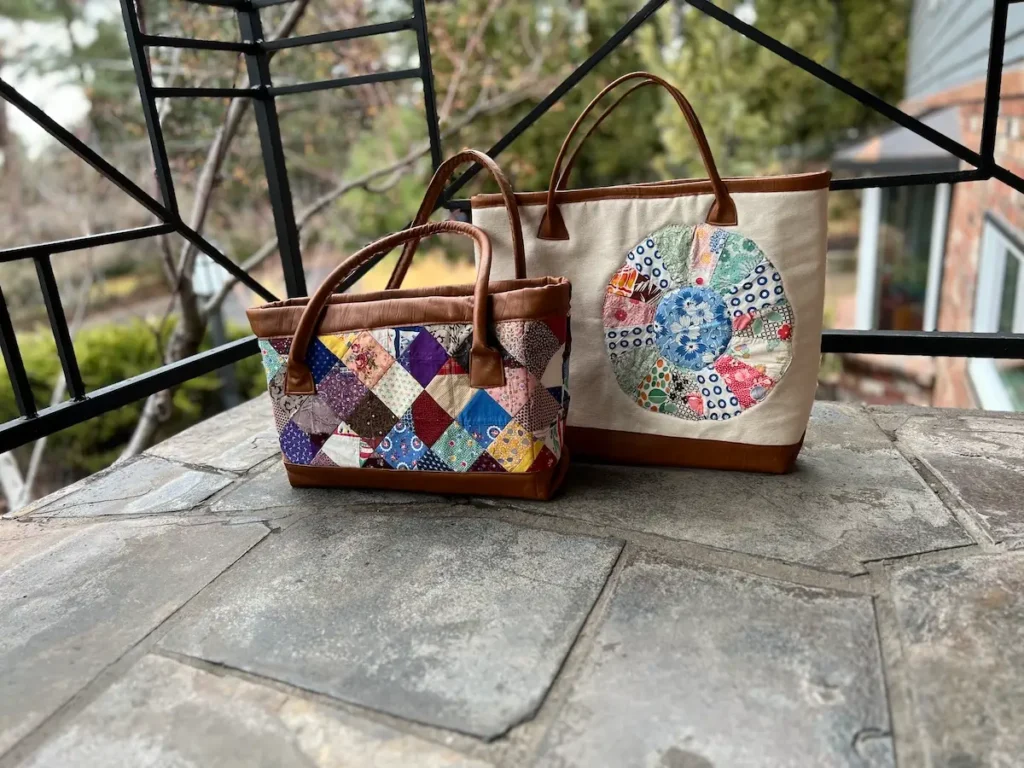
Here are a few bags with leather handles. The one on the left has a clothesline as the core of the handle, the one on the right has a 1/2″ rope I purchased at a hardware store.
Browse through all of our bag making projects and inspiration.