A quilted tote bag is the perfect blend of beauty and practicality, a small quilt you can carry everywhere. Whether you love bold patchwork, modern designs, or textured hand stitching, this project lets you showcase your favorite fabrics while creating a sturdy, everyday bag. In this tutorial, you’ll learn how to design and construct a tote that’s as functional as it is beautiful.
Learn how to make a patchwork tote bag with our step-by-step directions. Make it your own size, customize the inside pockets, and choose the handle type and length you like the best!
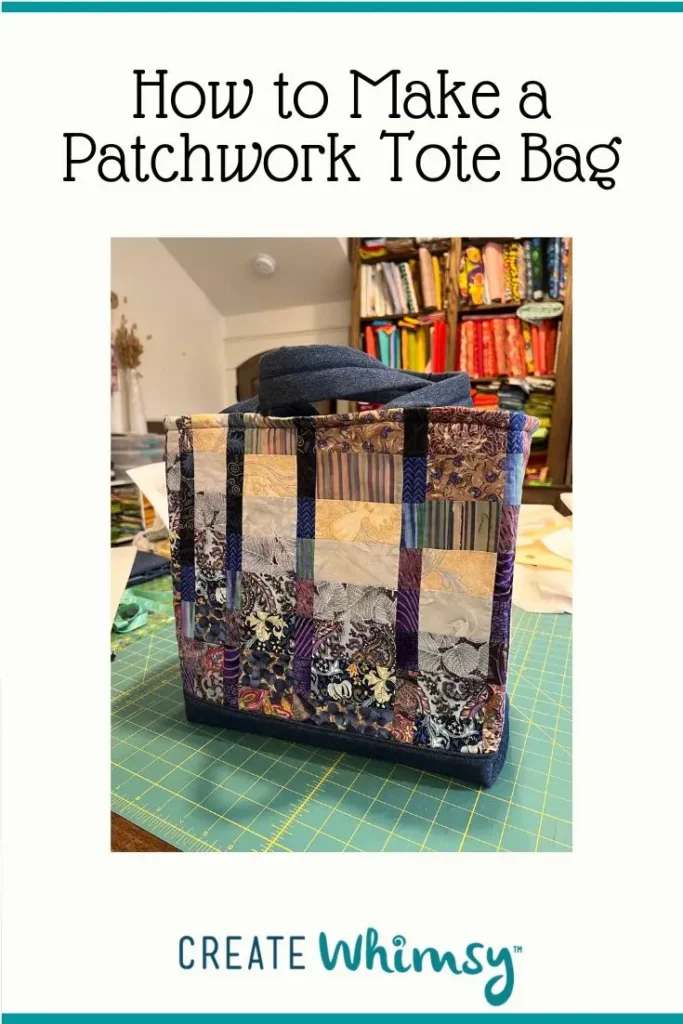
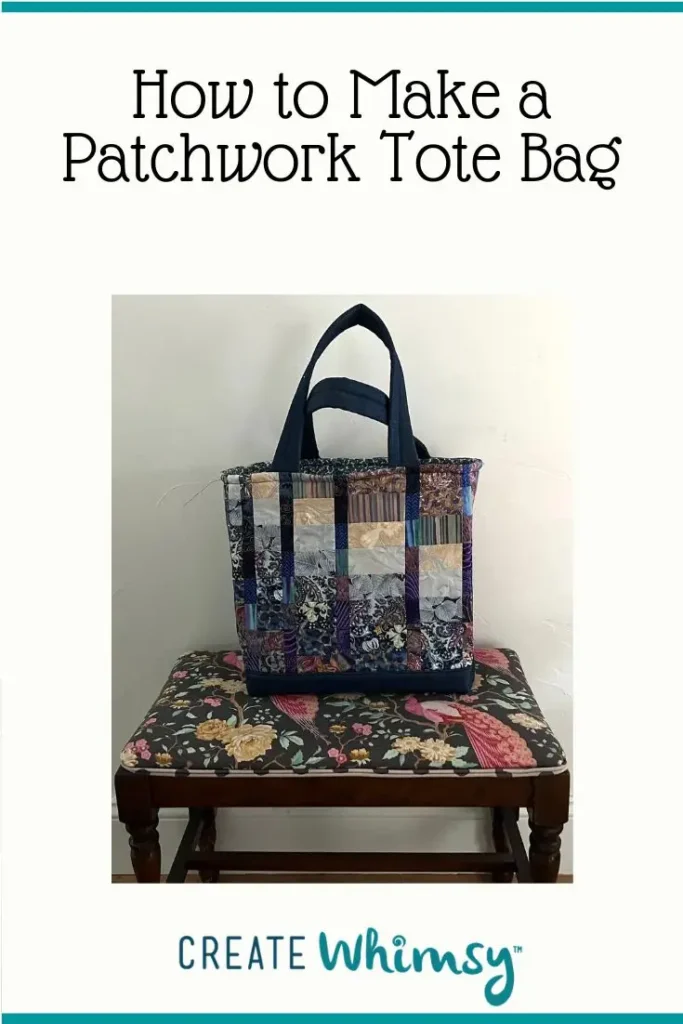
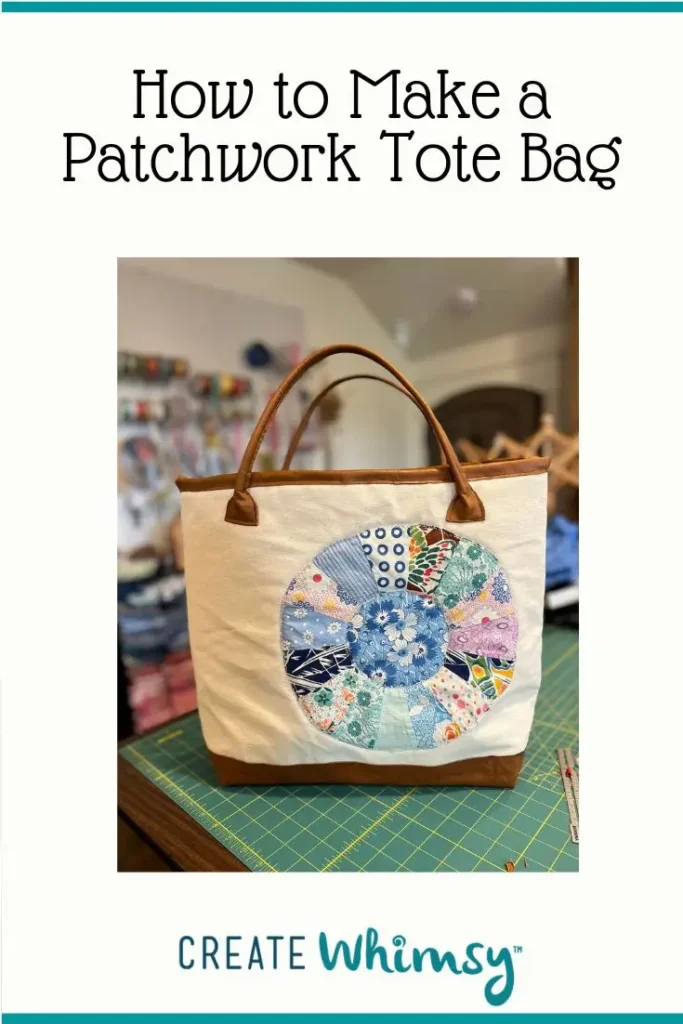
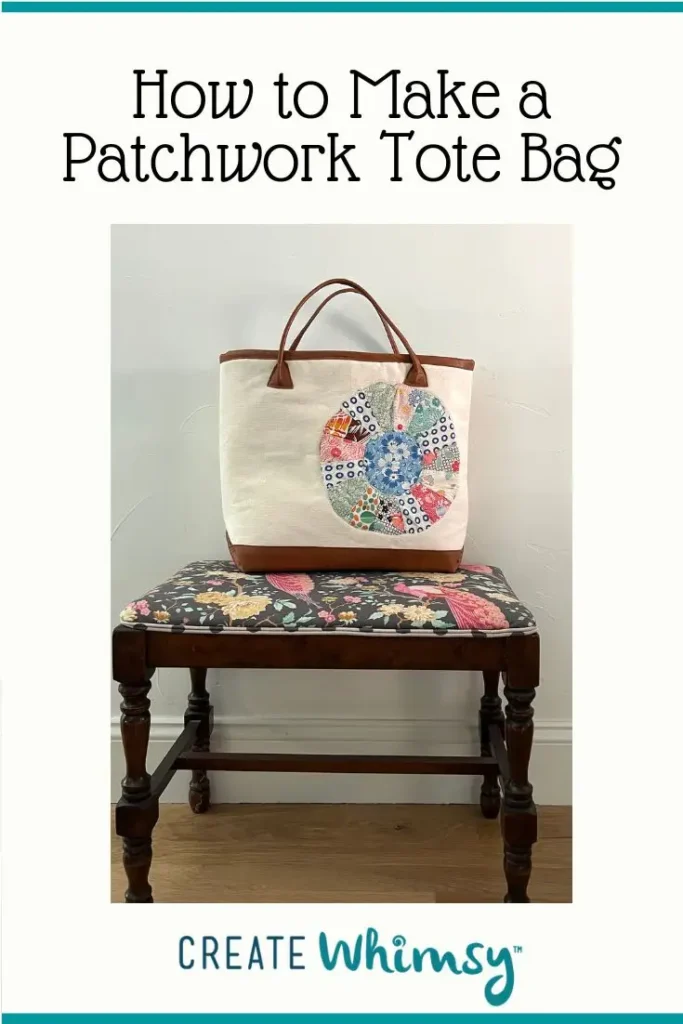
How to Make a Patchwork Tote Bag
Make your own tote bag with our step-by-step directions. You can start with an unfinished quilt top or piece your own patchwork to make a custom bag.
Materials
- 2 pieces of patchwork, 12" x 20"
- 1 piece of fabric for the bottom of the bag, 10" x 20"
- 2 pieces of fabric for the handles, 4" x 20"
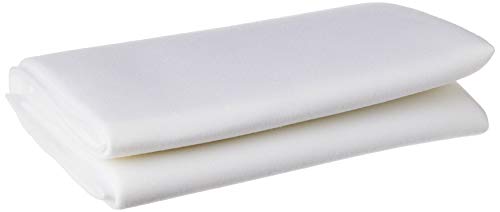
- 1 piece of foam stabilizer, like Annie's Soft and Stable, 32" x 20"
- 2 pieces of foam, 1-1/2" x 20 for the handles
- Lining fabric, 32" x 20"
- Scraps of fabric for inside pockets
- Coordinating thread
Tools
- Sewing Machine
- Scissors
- Rotary Cutter
- Cutting Mat
- WonderClip clips
- Fabric marking pen or pencil. I used a Chaco Liner for this project
Instructions
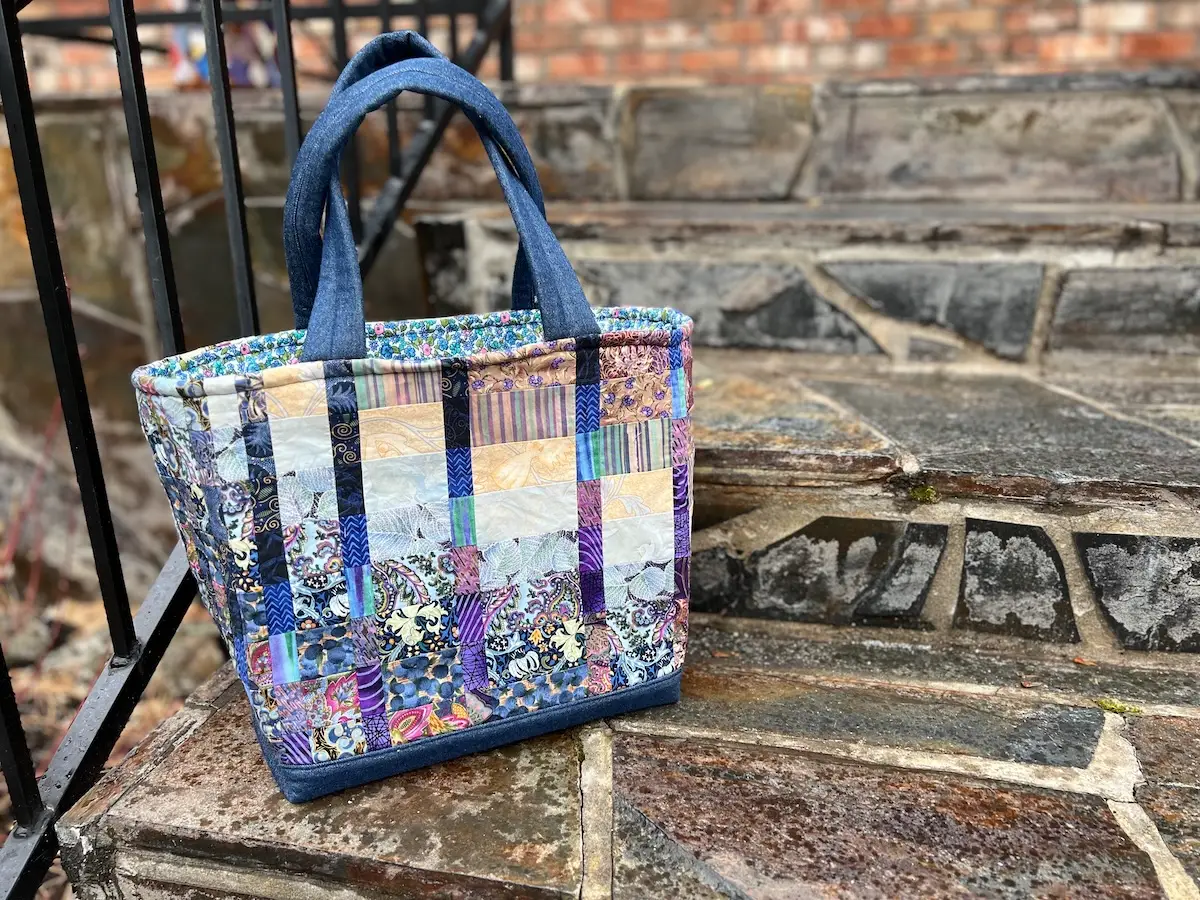
I started with a finished bargello quilt top. You can either piece fabrics for the main body of the tote, start with a single fabric, or do what I did and use up one of those quilt tops that never got finished into a quilt. Here is the quilt top before I cut into it: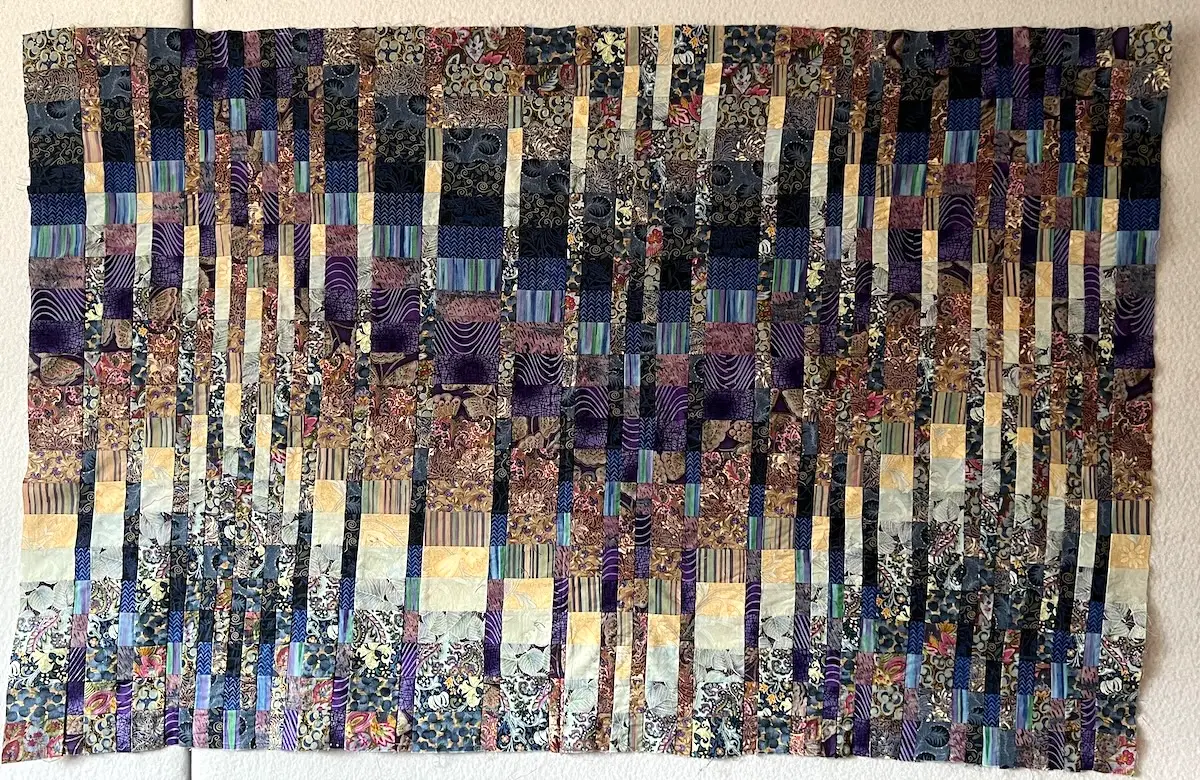
- Cut your fabrics and your stabilizer for the main body of the bag.
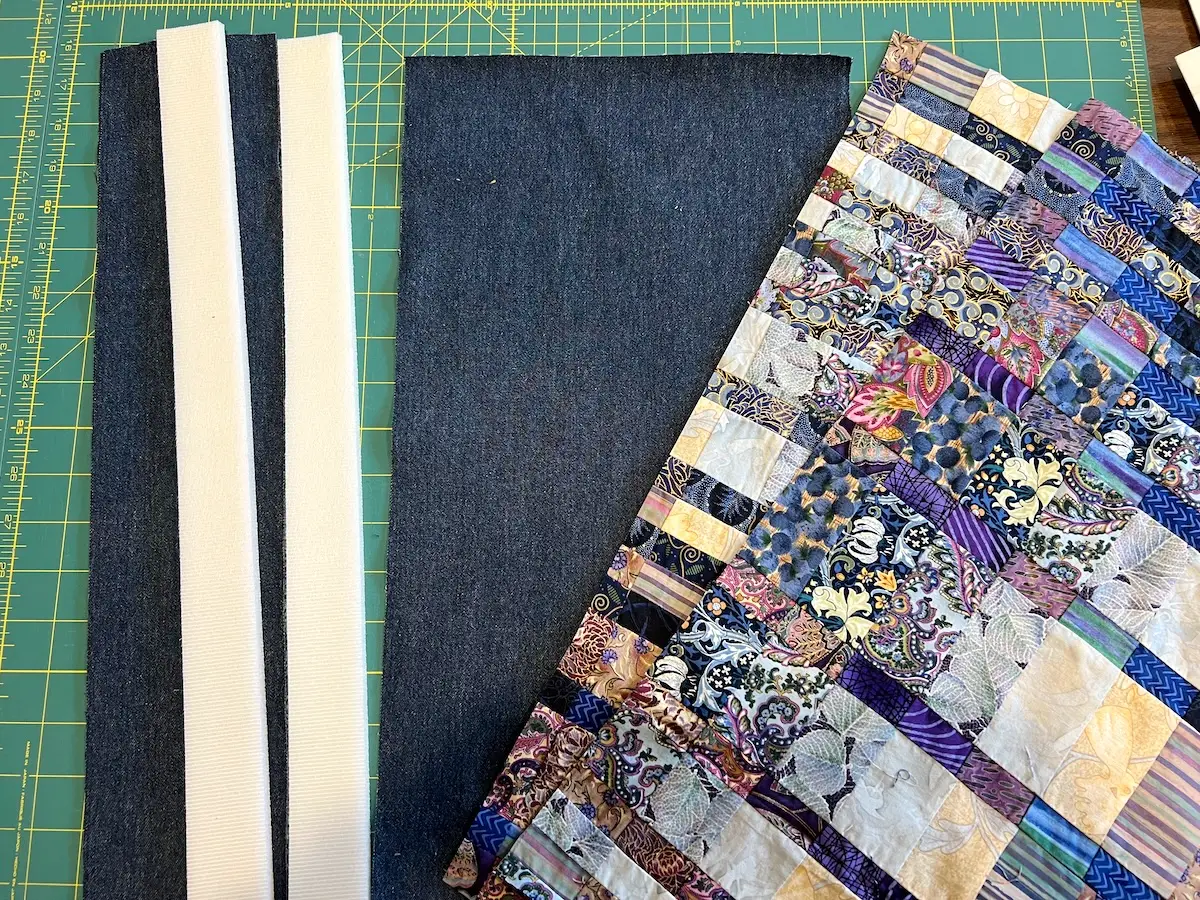
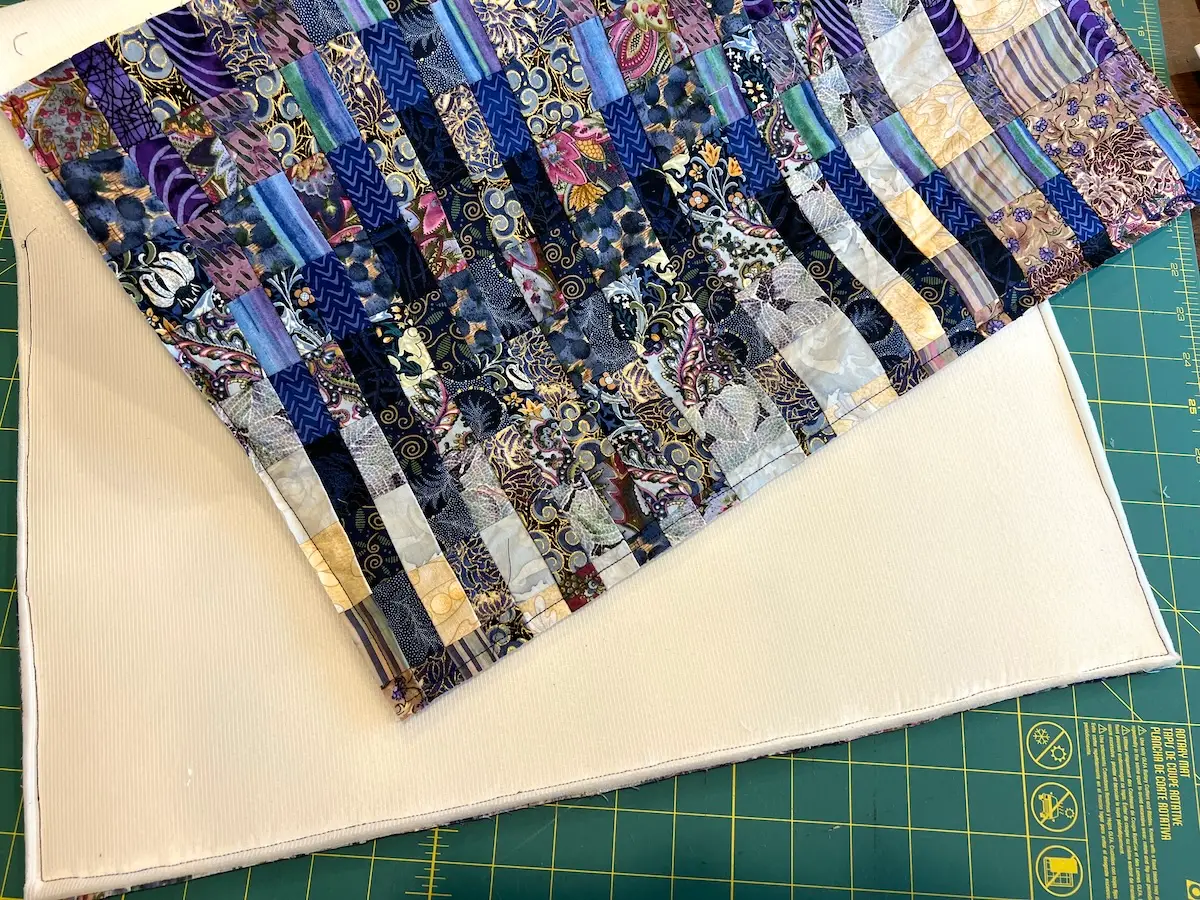
- Lay the two main pieces of fabric at either end of the stabilizer.
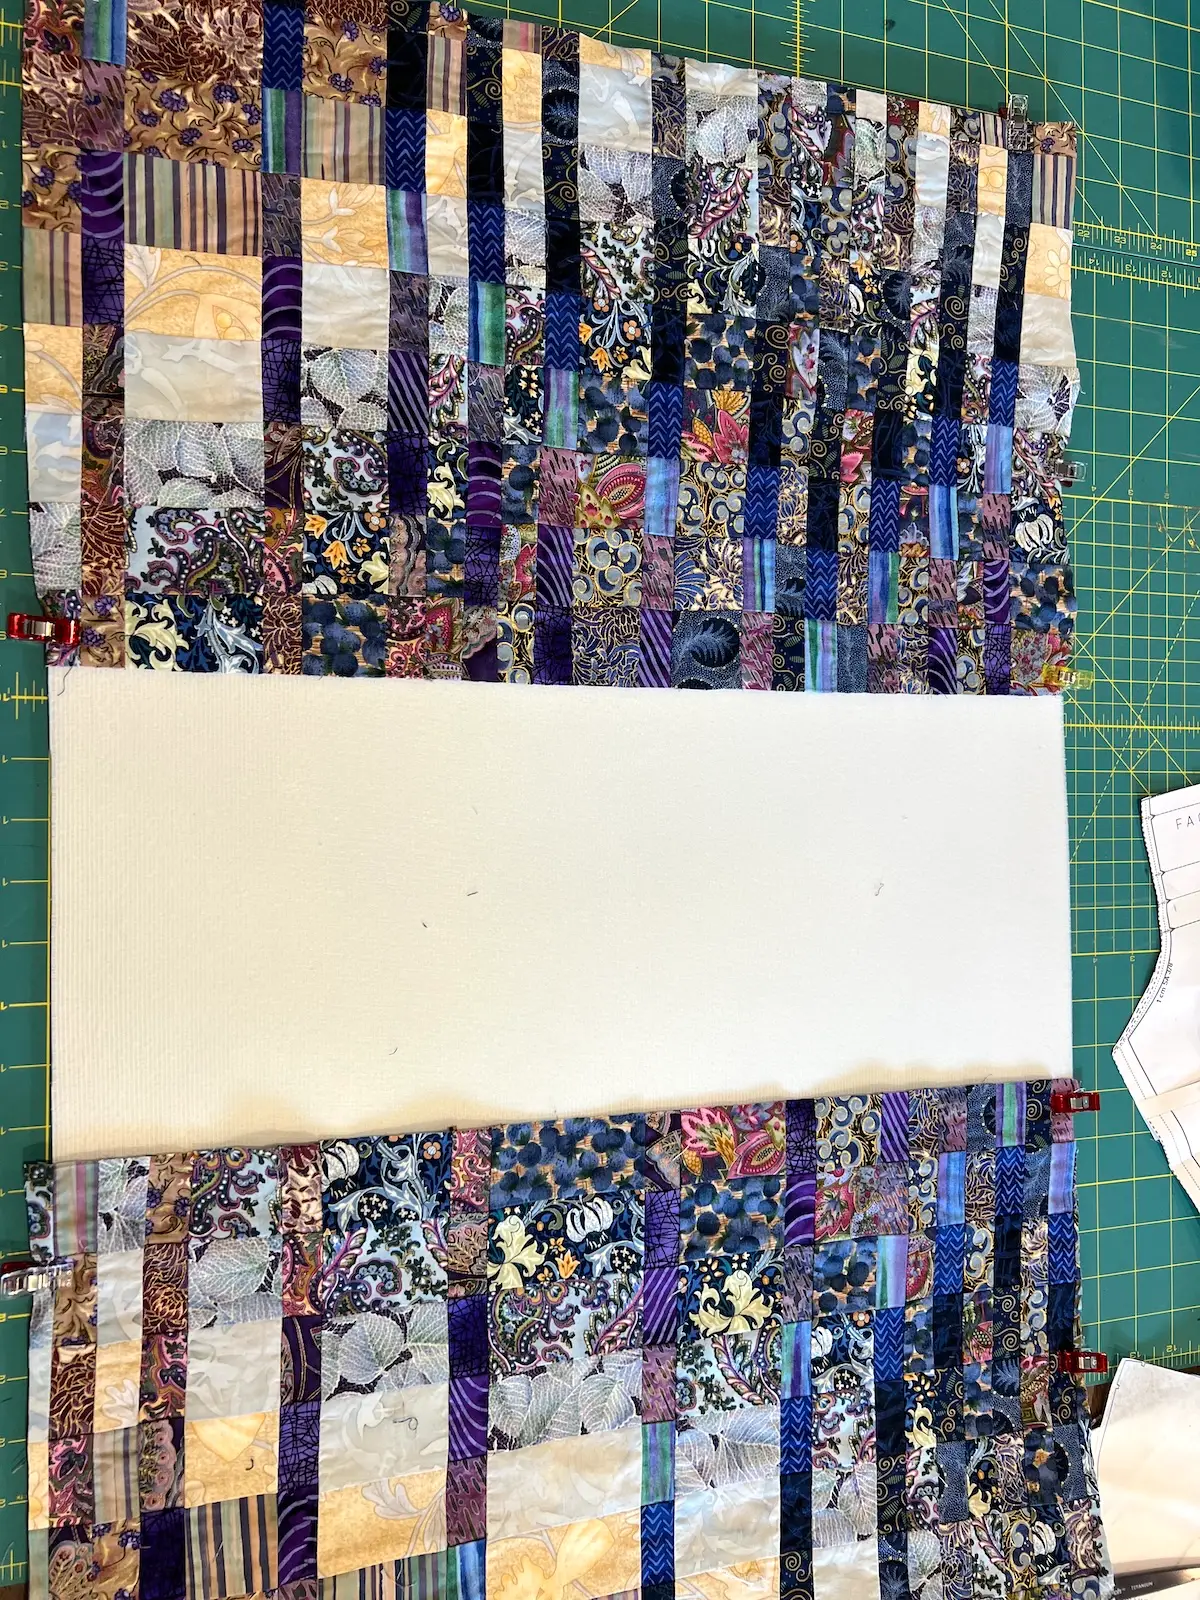
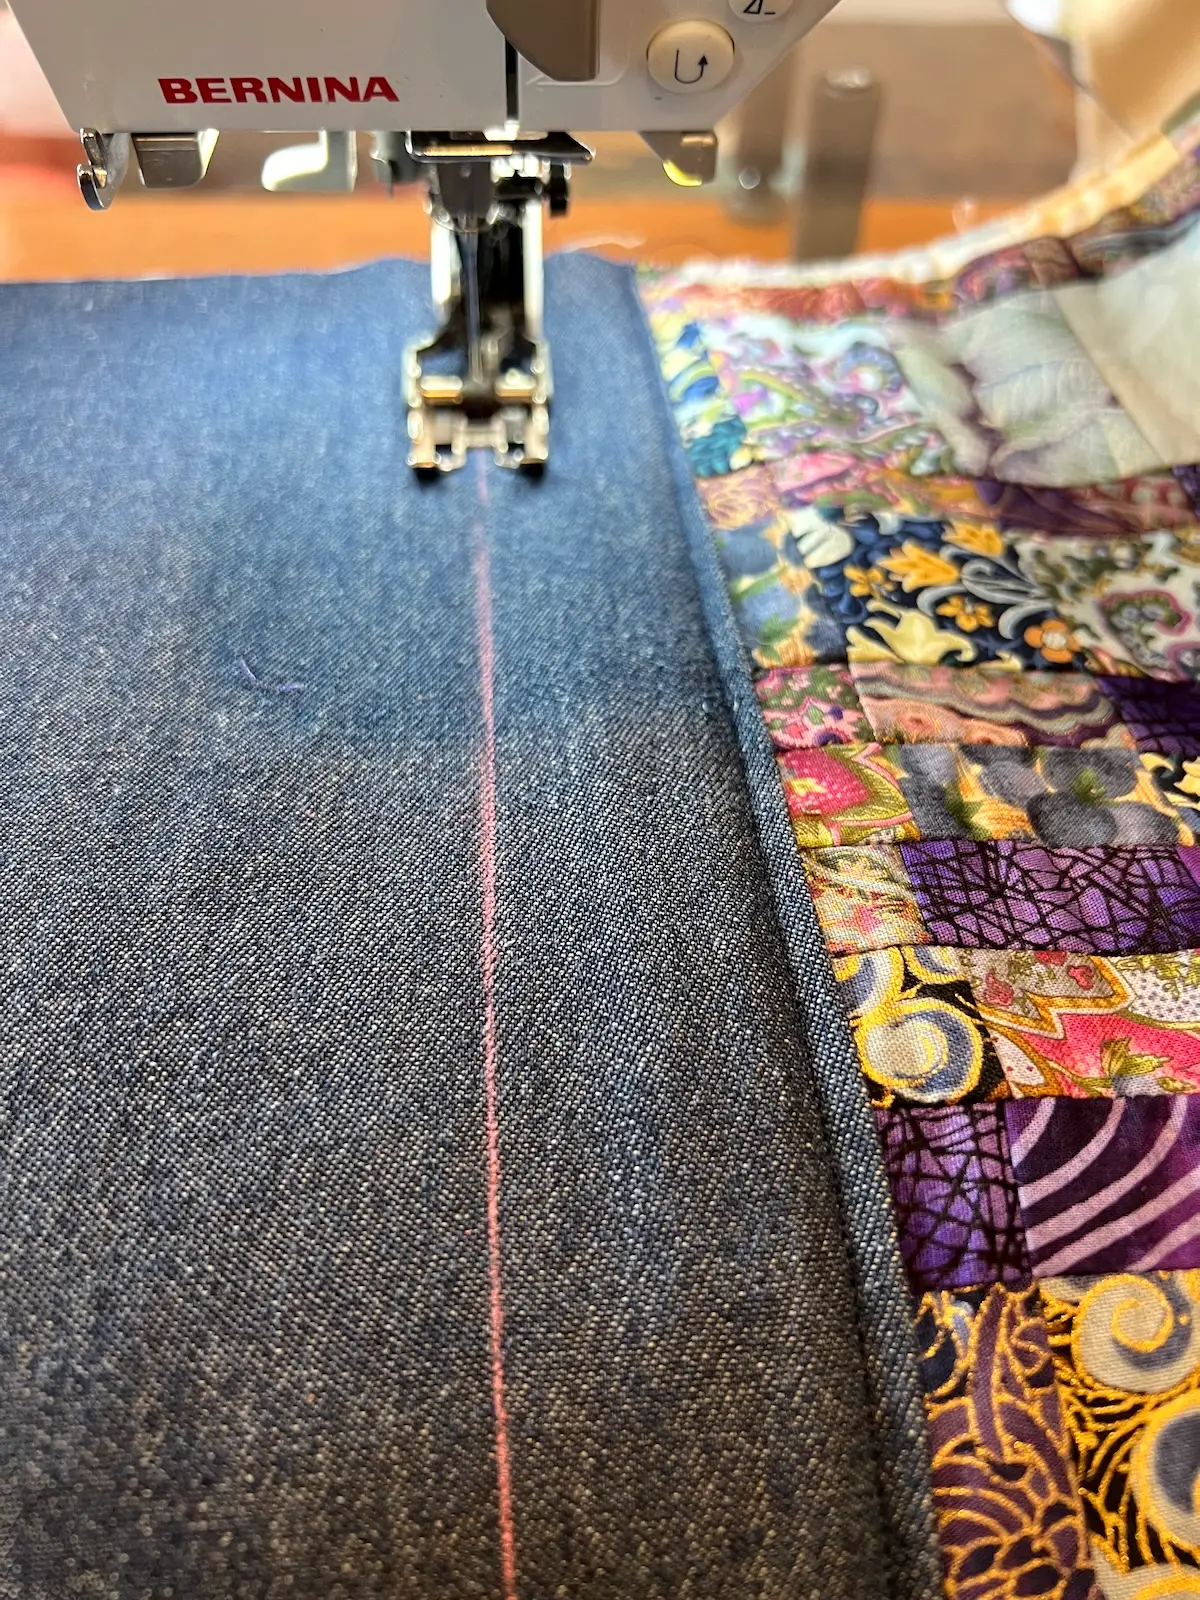
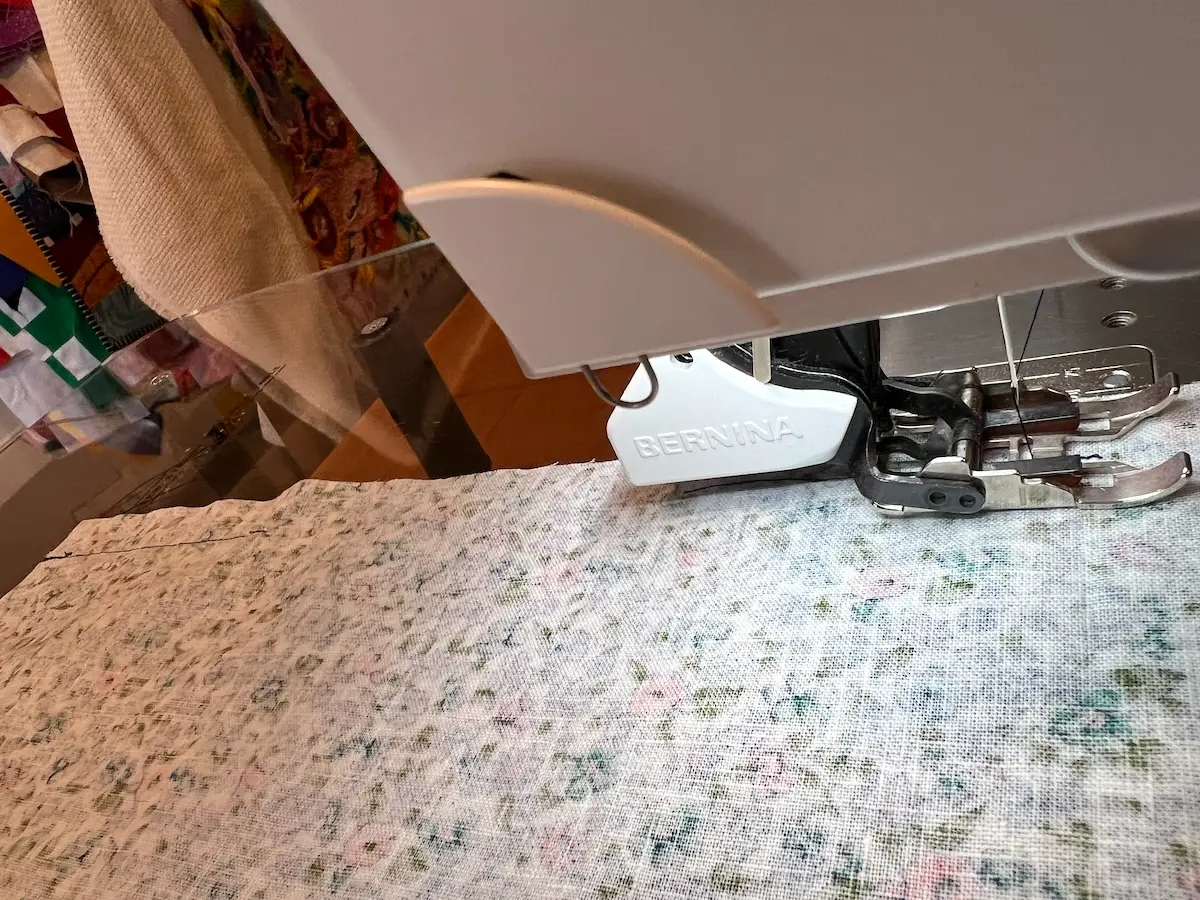
- I like to use my walking foot for sewing with the stabilizer. It keeps everything in place. Sew with a 1/4" seam allowance to secure your patchwork to the stabilizer. Here you can see both ends have been sewn.
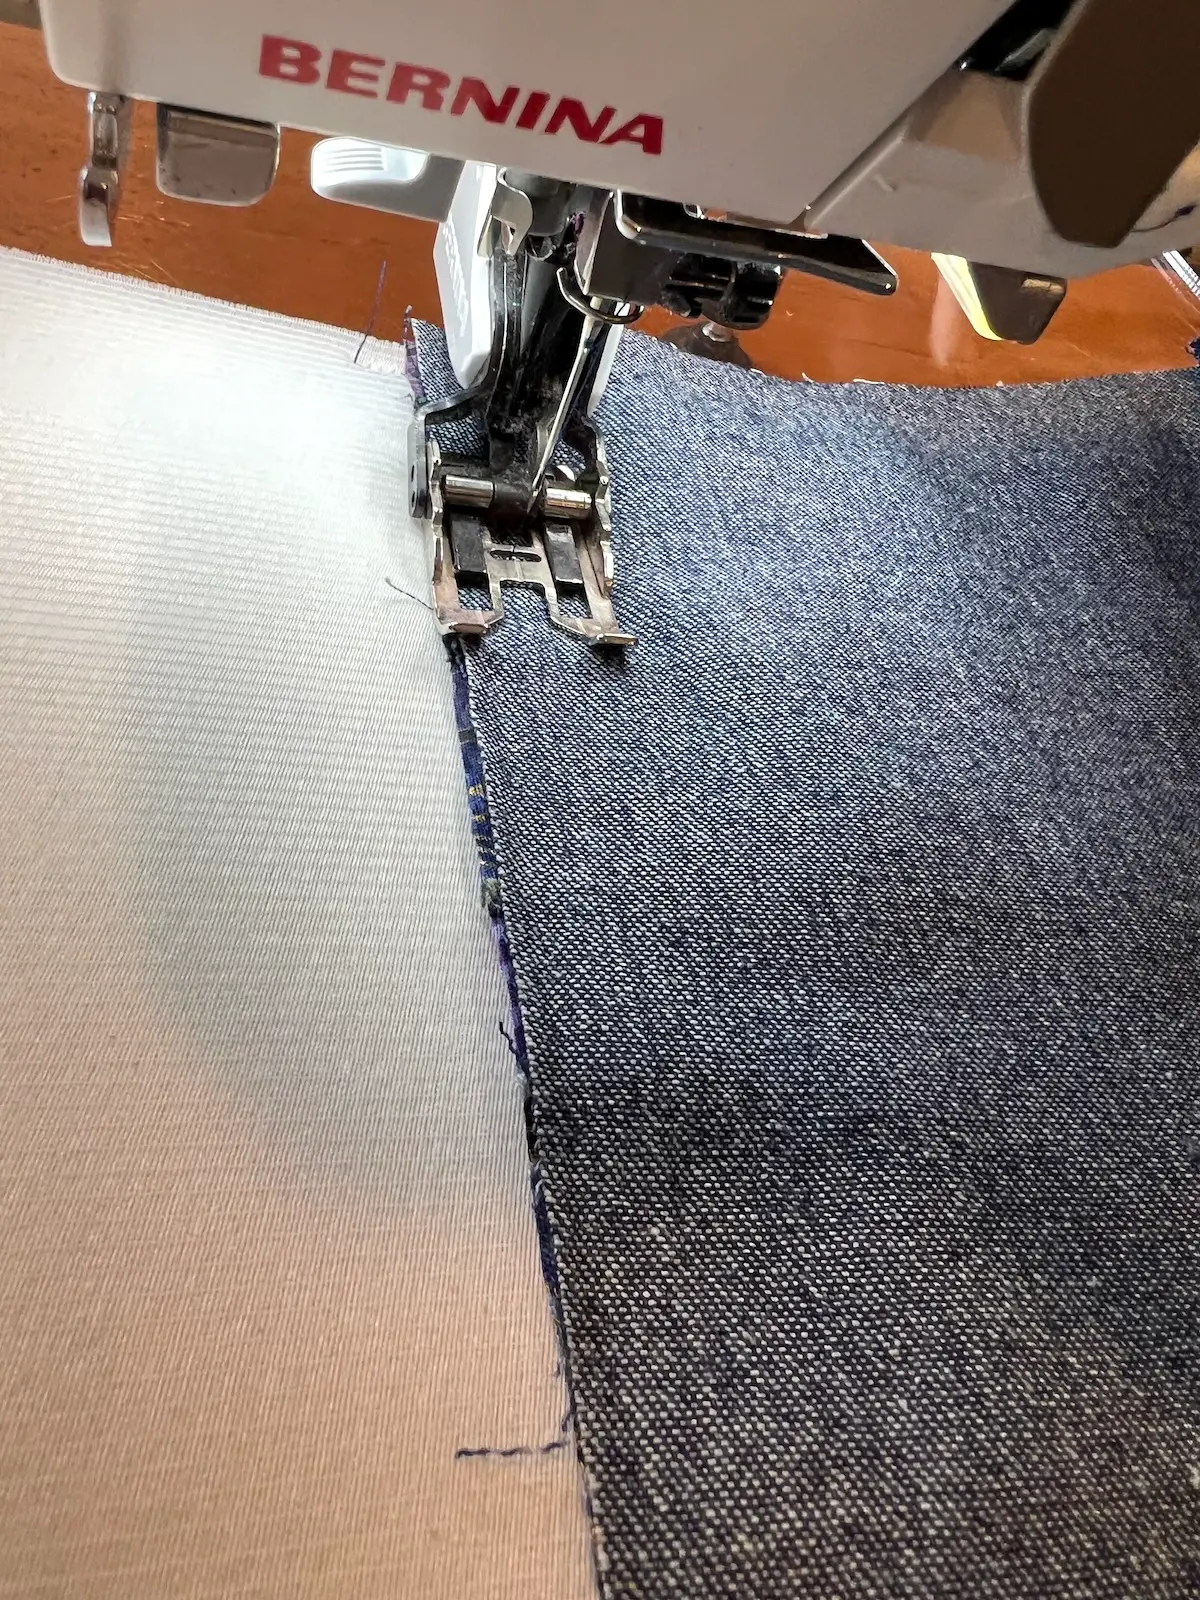
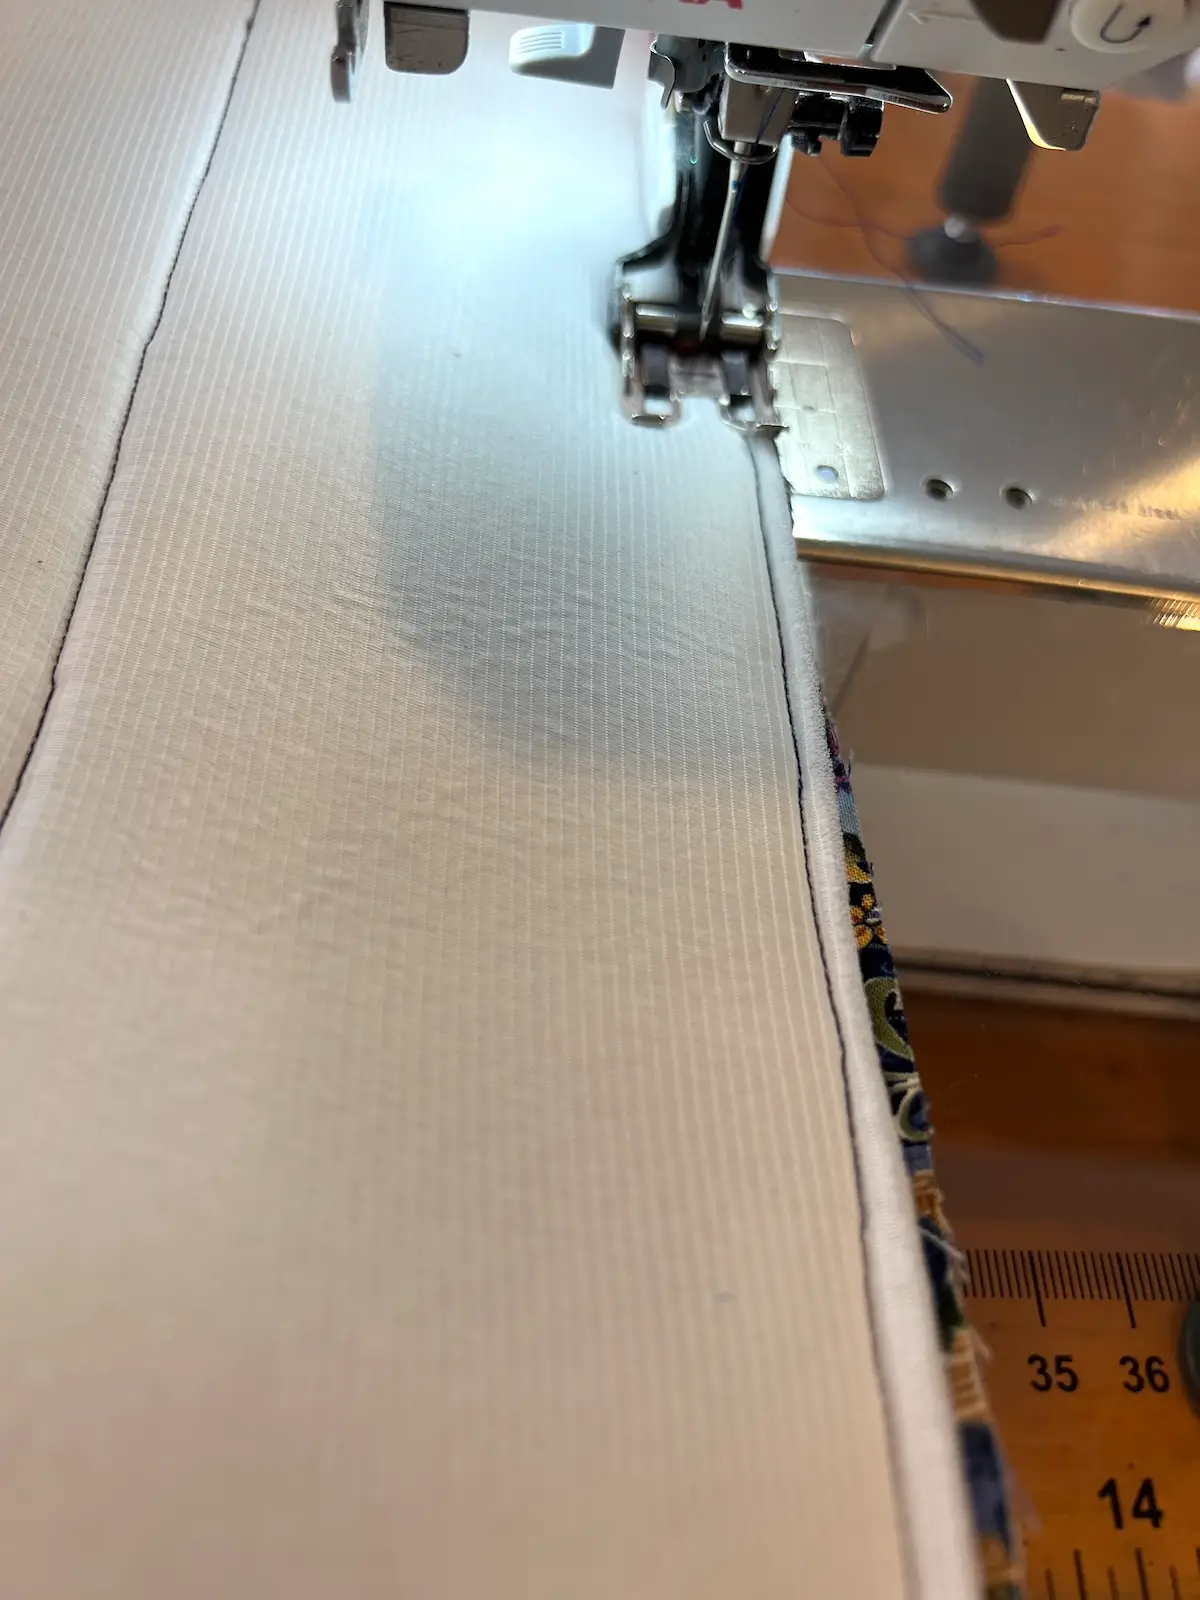
- Next, we'll add the bottom fabric. Press 1/4" on one long edge of the fabric. With the other edge that is unfinished, sew with right sides together with a 1/2" seam allowance to the bottom edge of one of the patchwork pieces. You'll sew through the stabilizer, too.
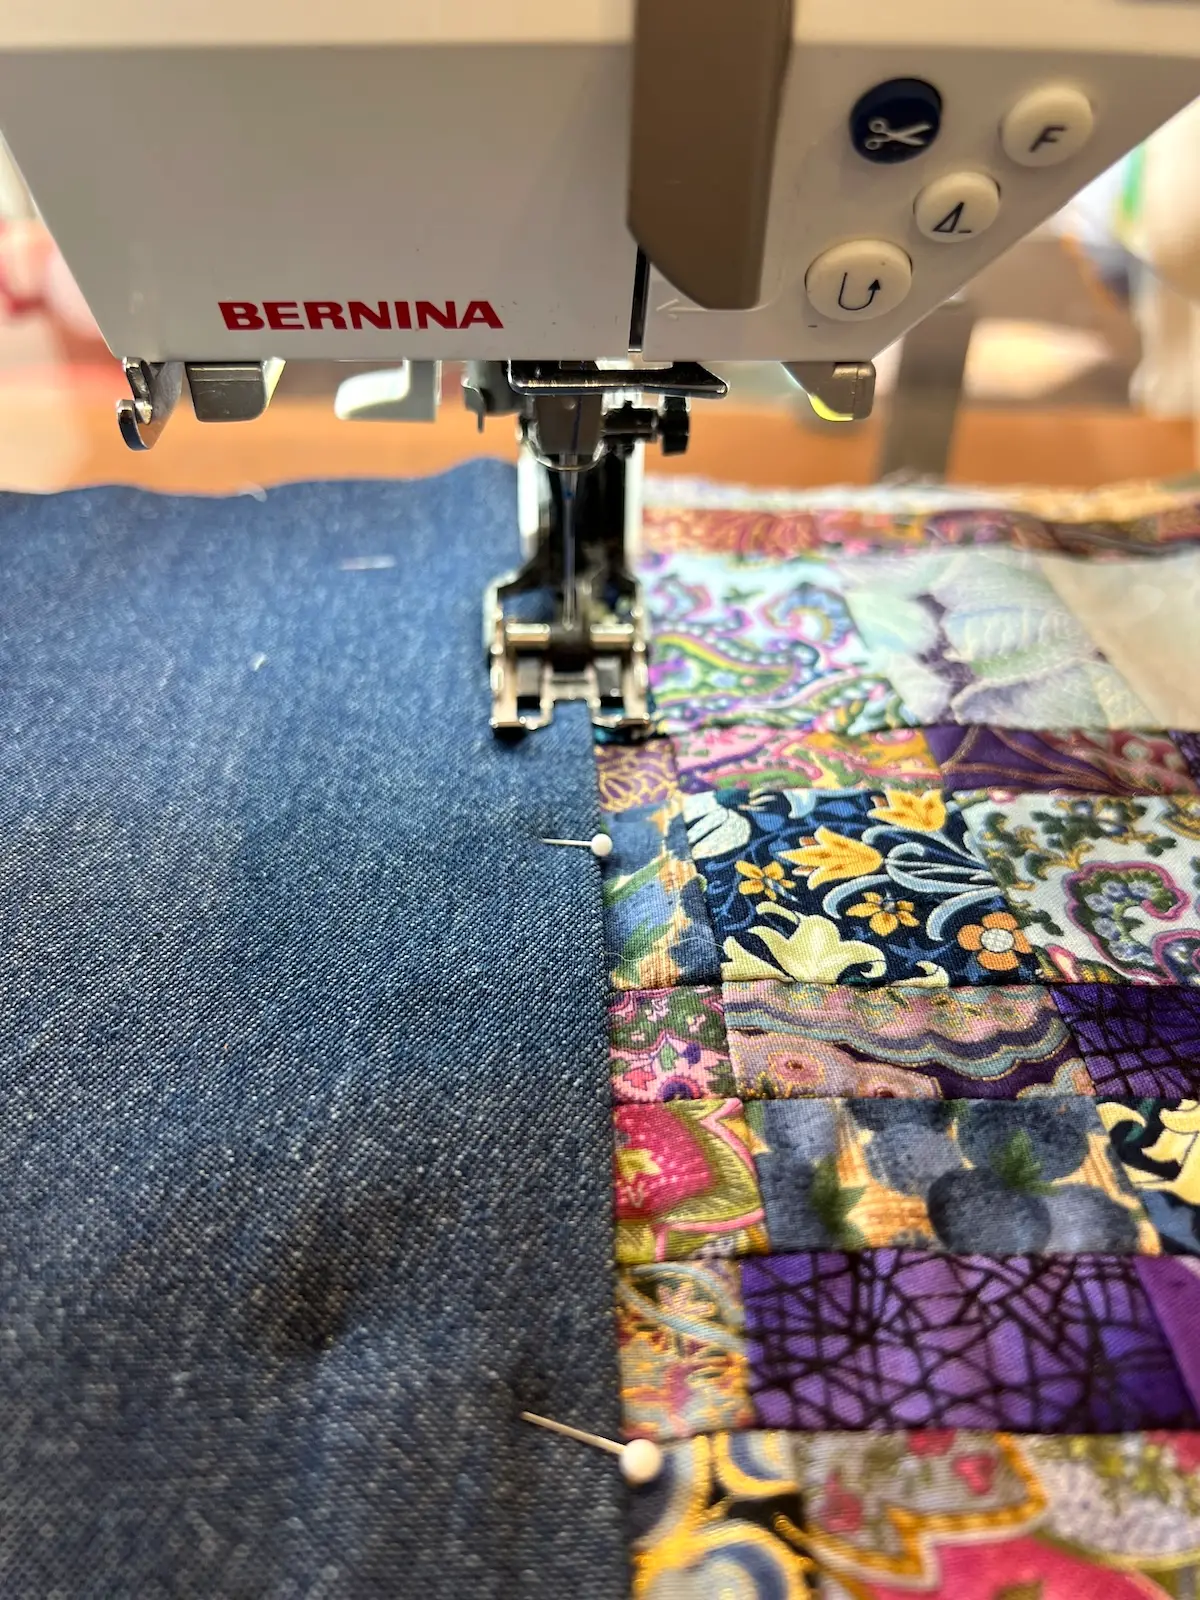
- Now, fold back the bottom fabric to cover the stabilizer and topstitch the folded edge to the bottom of the other patchwork piece.
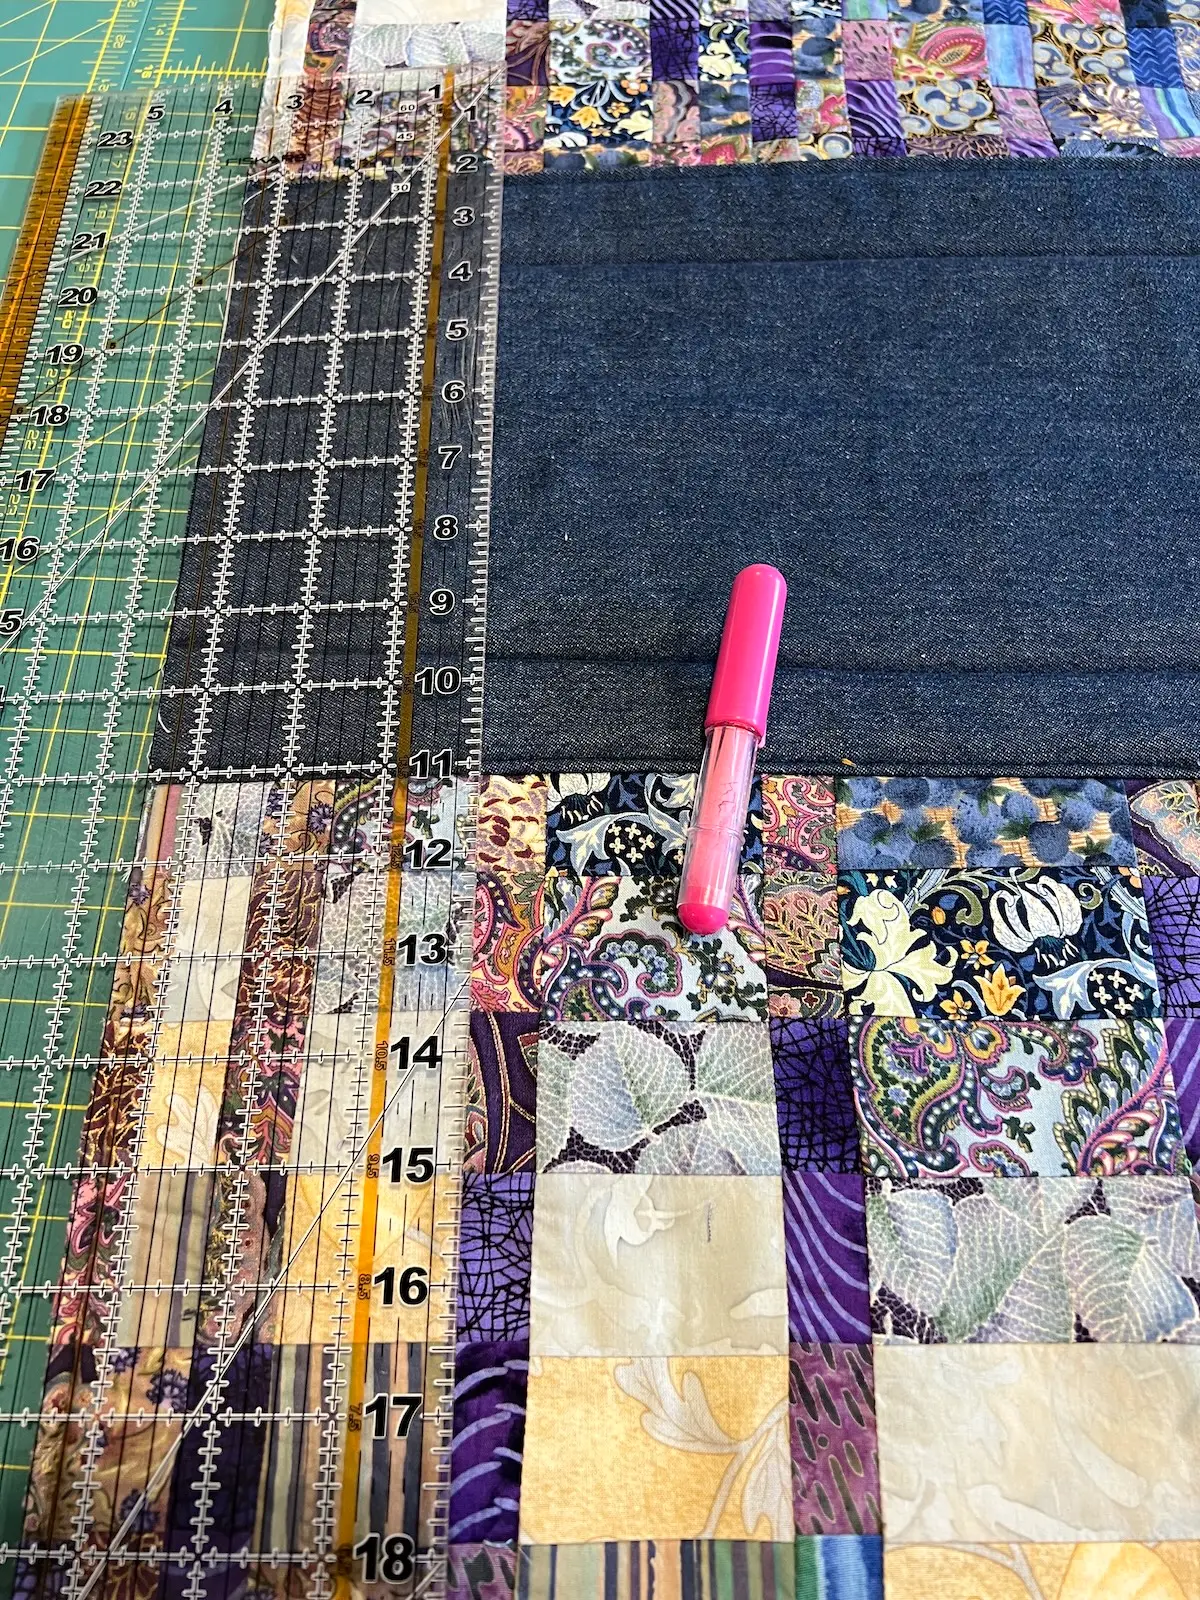
- Next, we'll mark sewing lines for forming the bag. When working with foam stabilizer for bags, the stabilizer will bend easily where it is stitched. These stitching lines make a nice squared-off bottom and nice sides to the tote.
Start by marking a line 1" from the topstitched lines on your bottom fabric. This will form the bottom of the bag and show 1" of your bottom fabric on the finished bag.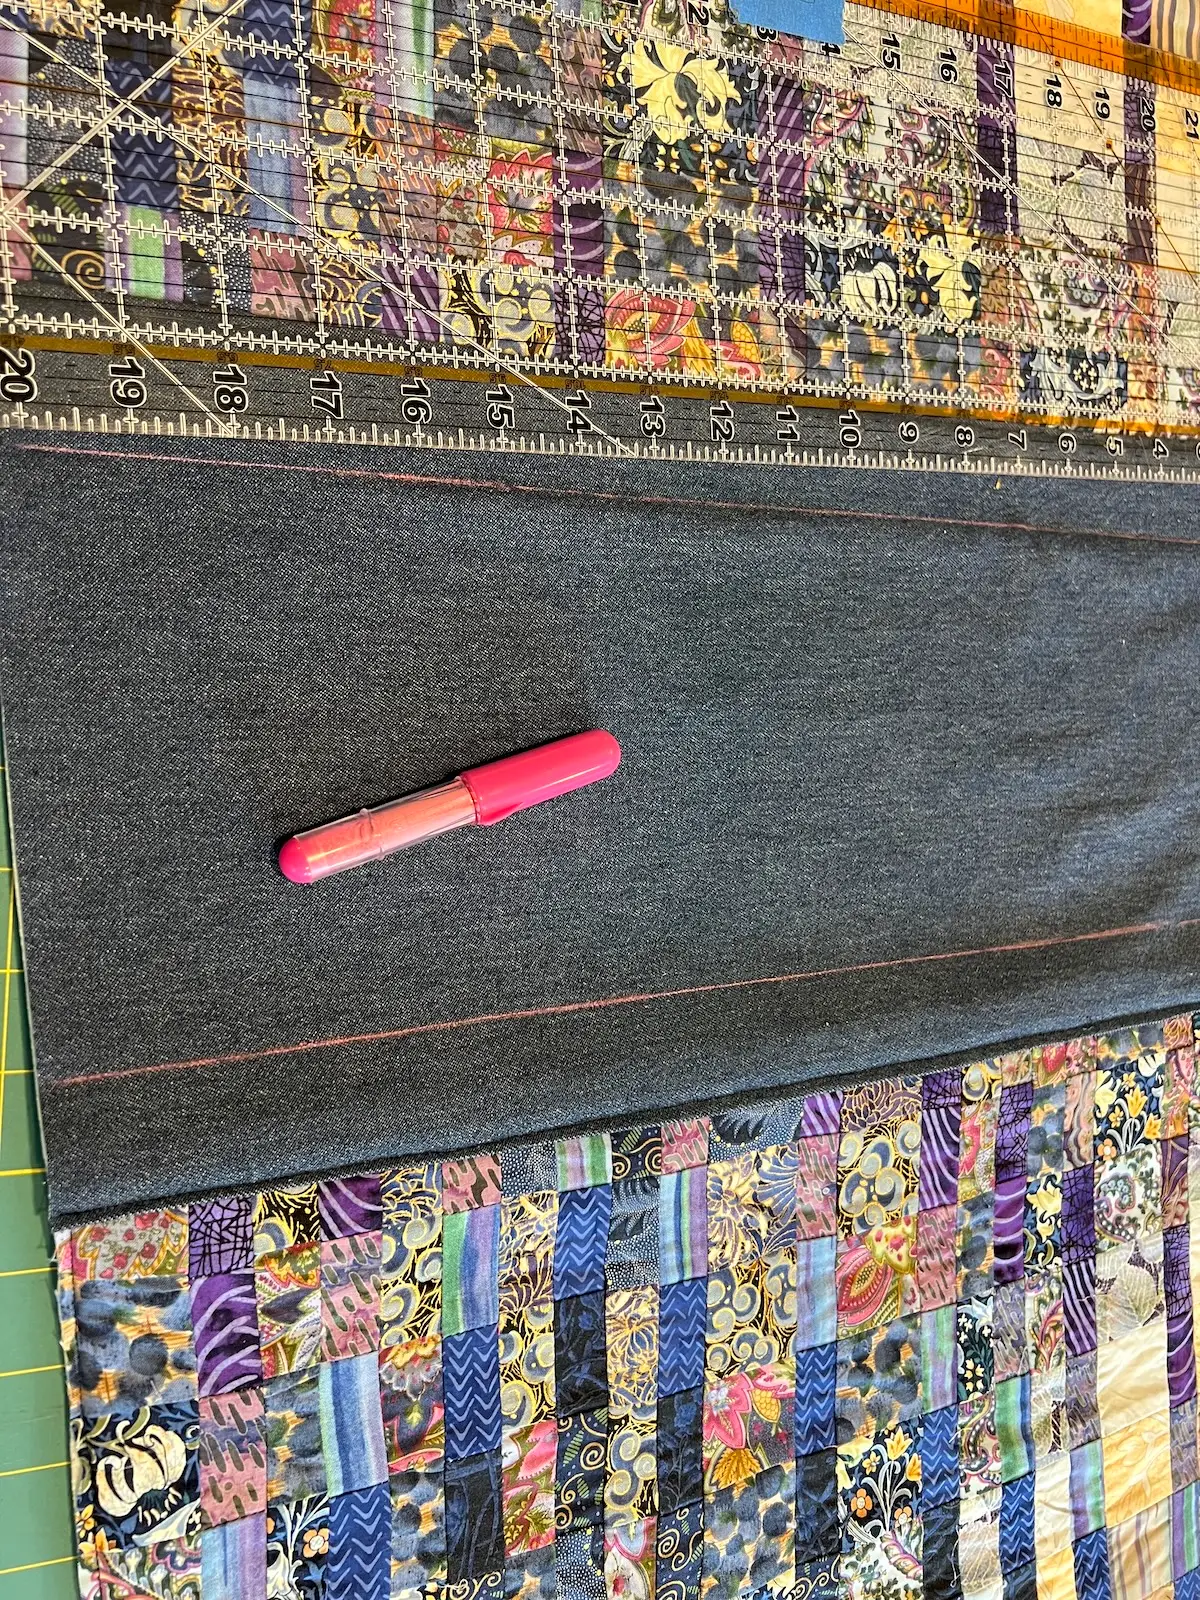
- Stitch along these lines.
- Next, mark a line 3-1/2" along both long sides and stitch along those lines.
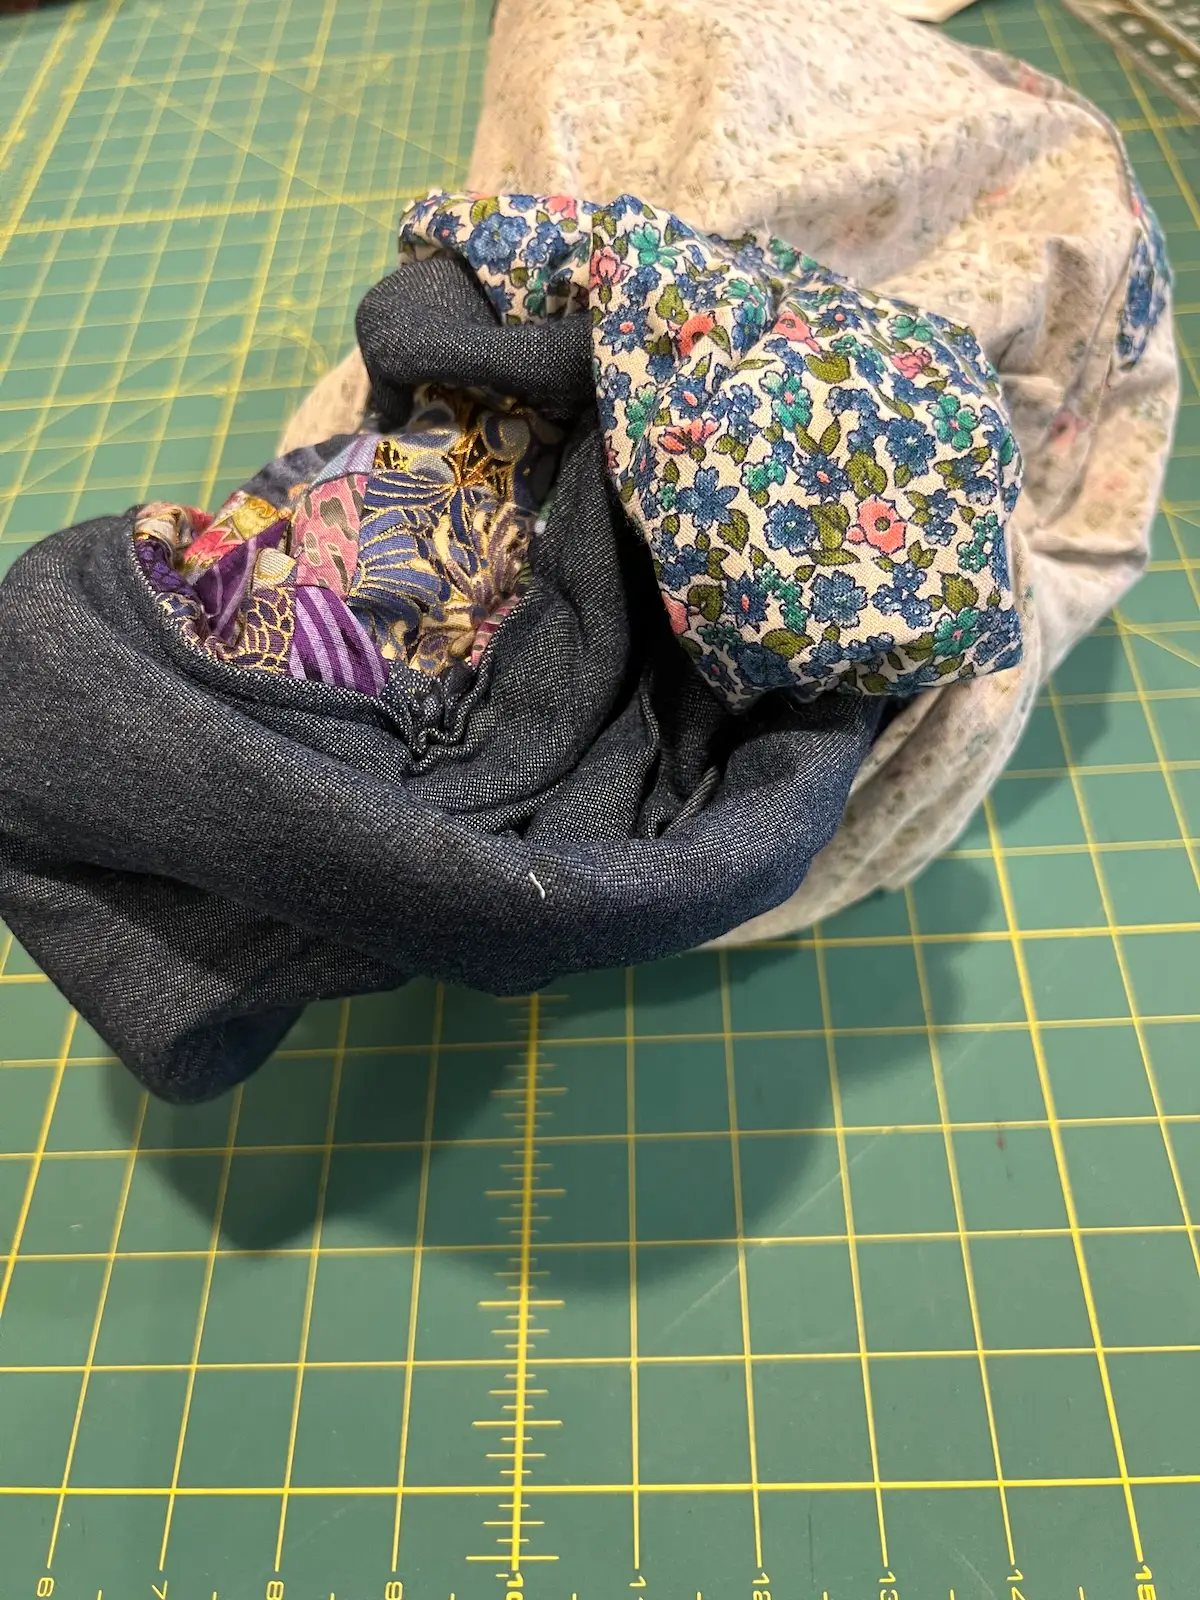
- Now, we're ready to form the bottom of the bag. There are several ways to 'box the bottom' of a bag. This is one of my favorite ways.
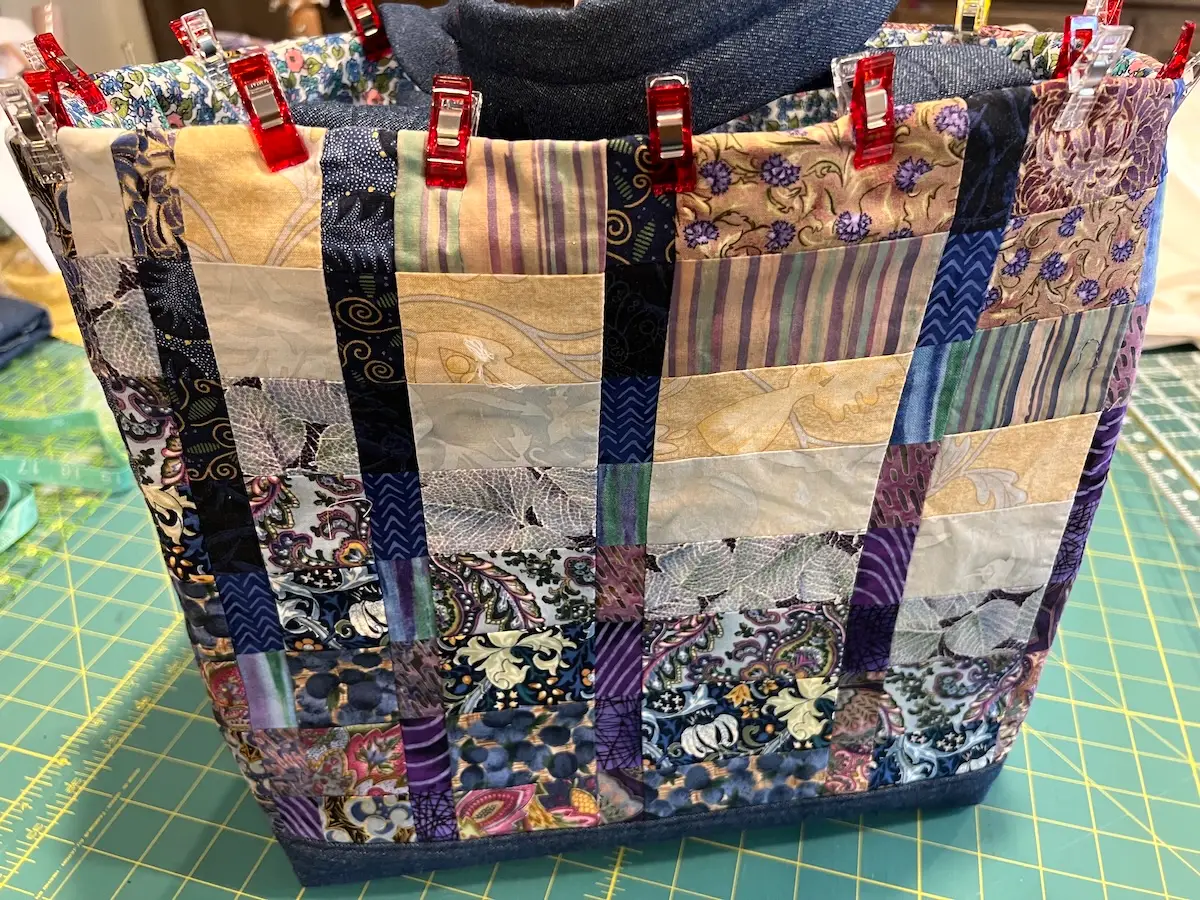
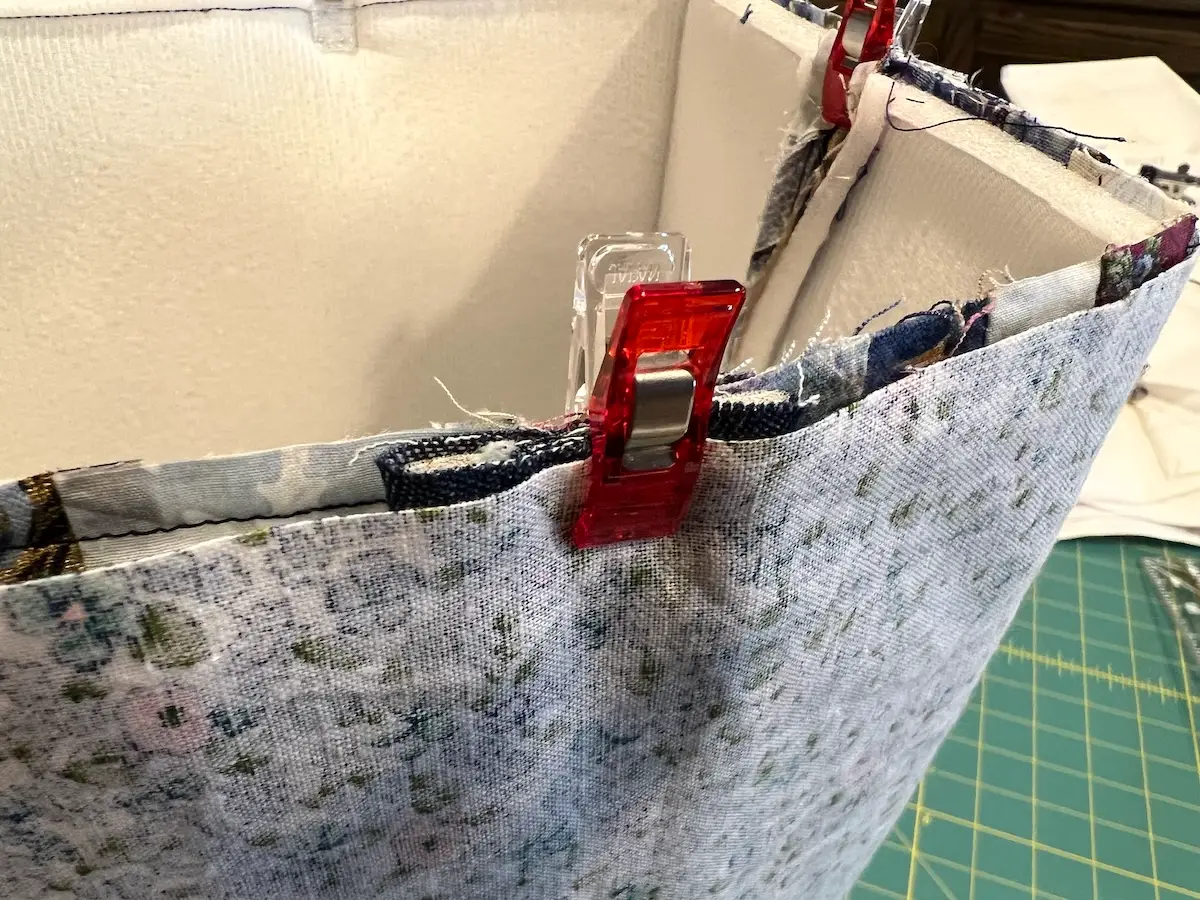
With right sides together, fold your quilt sandwich, lining up the tops of your bag. Next, line up your horizontal stitching lines at the sides. These will be the bottom edges of your bag.
Take the bottom fold and bring it up between the two stitched lines. Hold all of this in place with WonderClips. Pins won't work.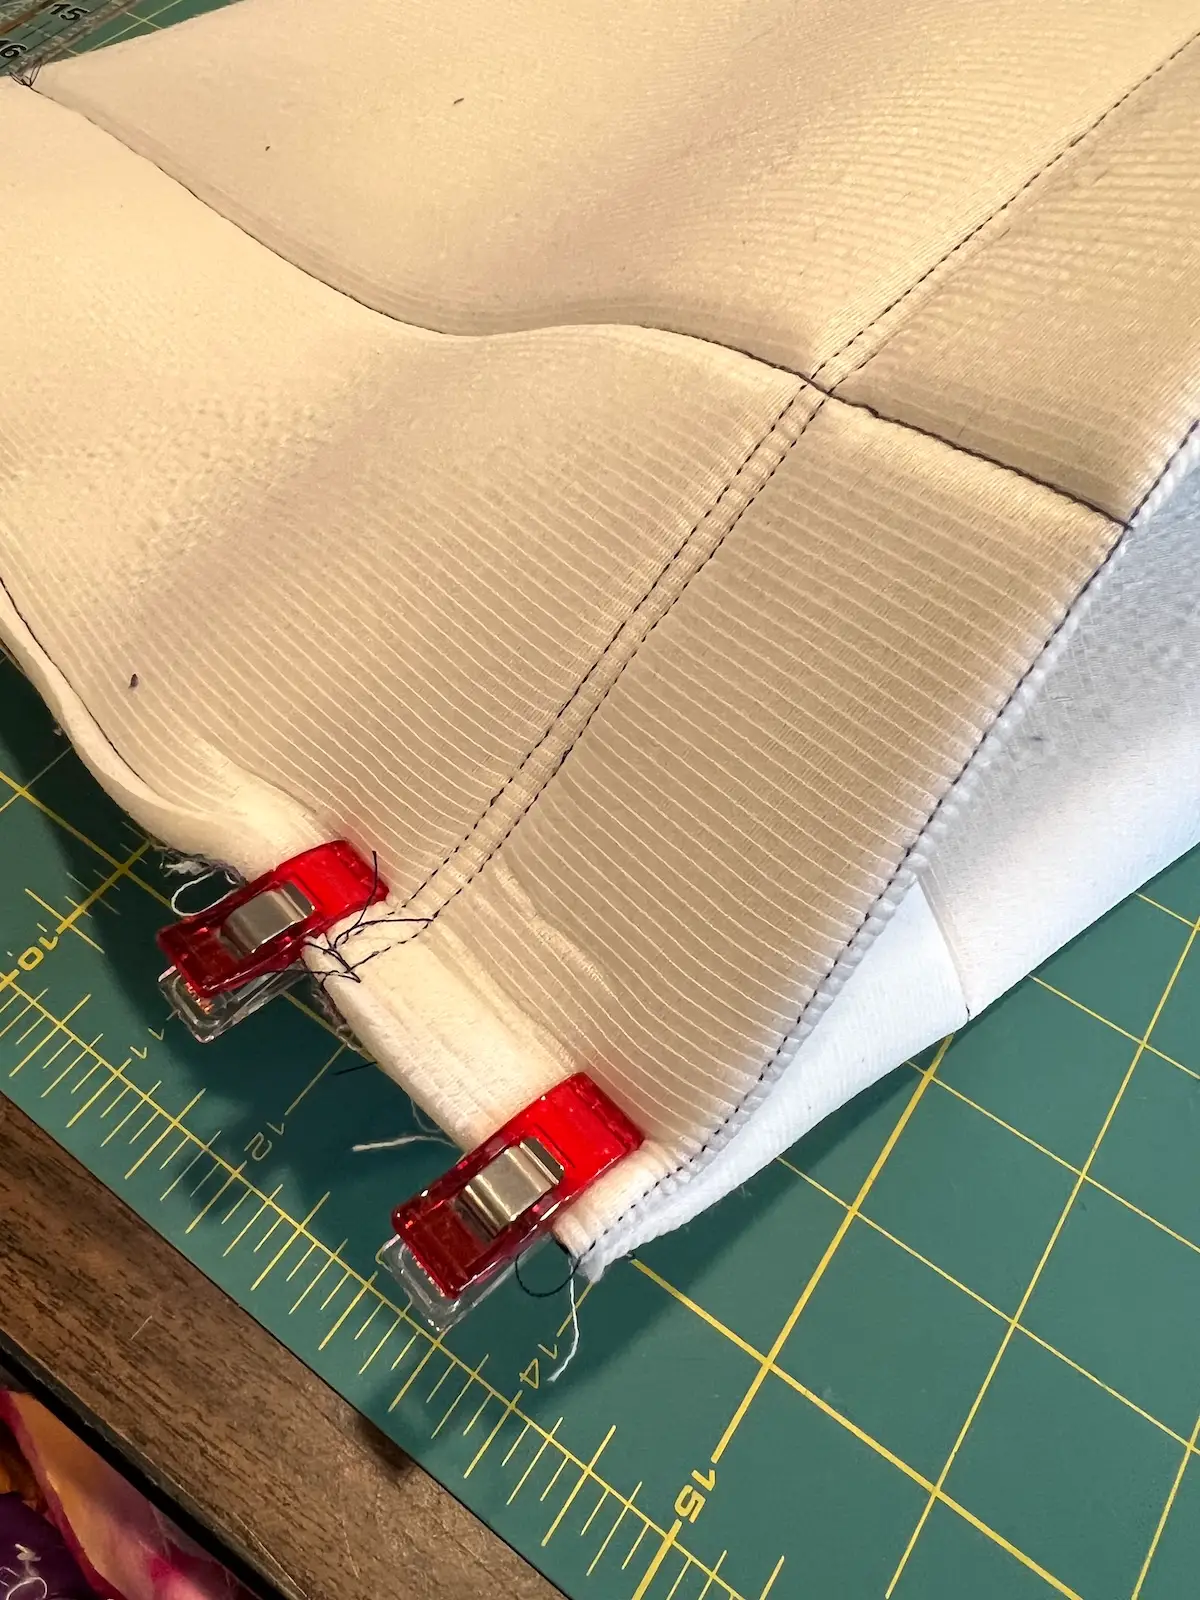
- Do the same fold on the other side of the bag.
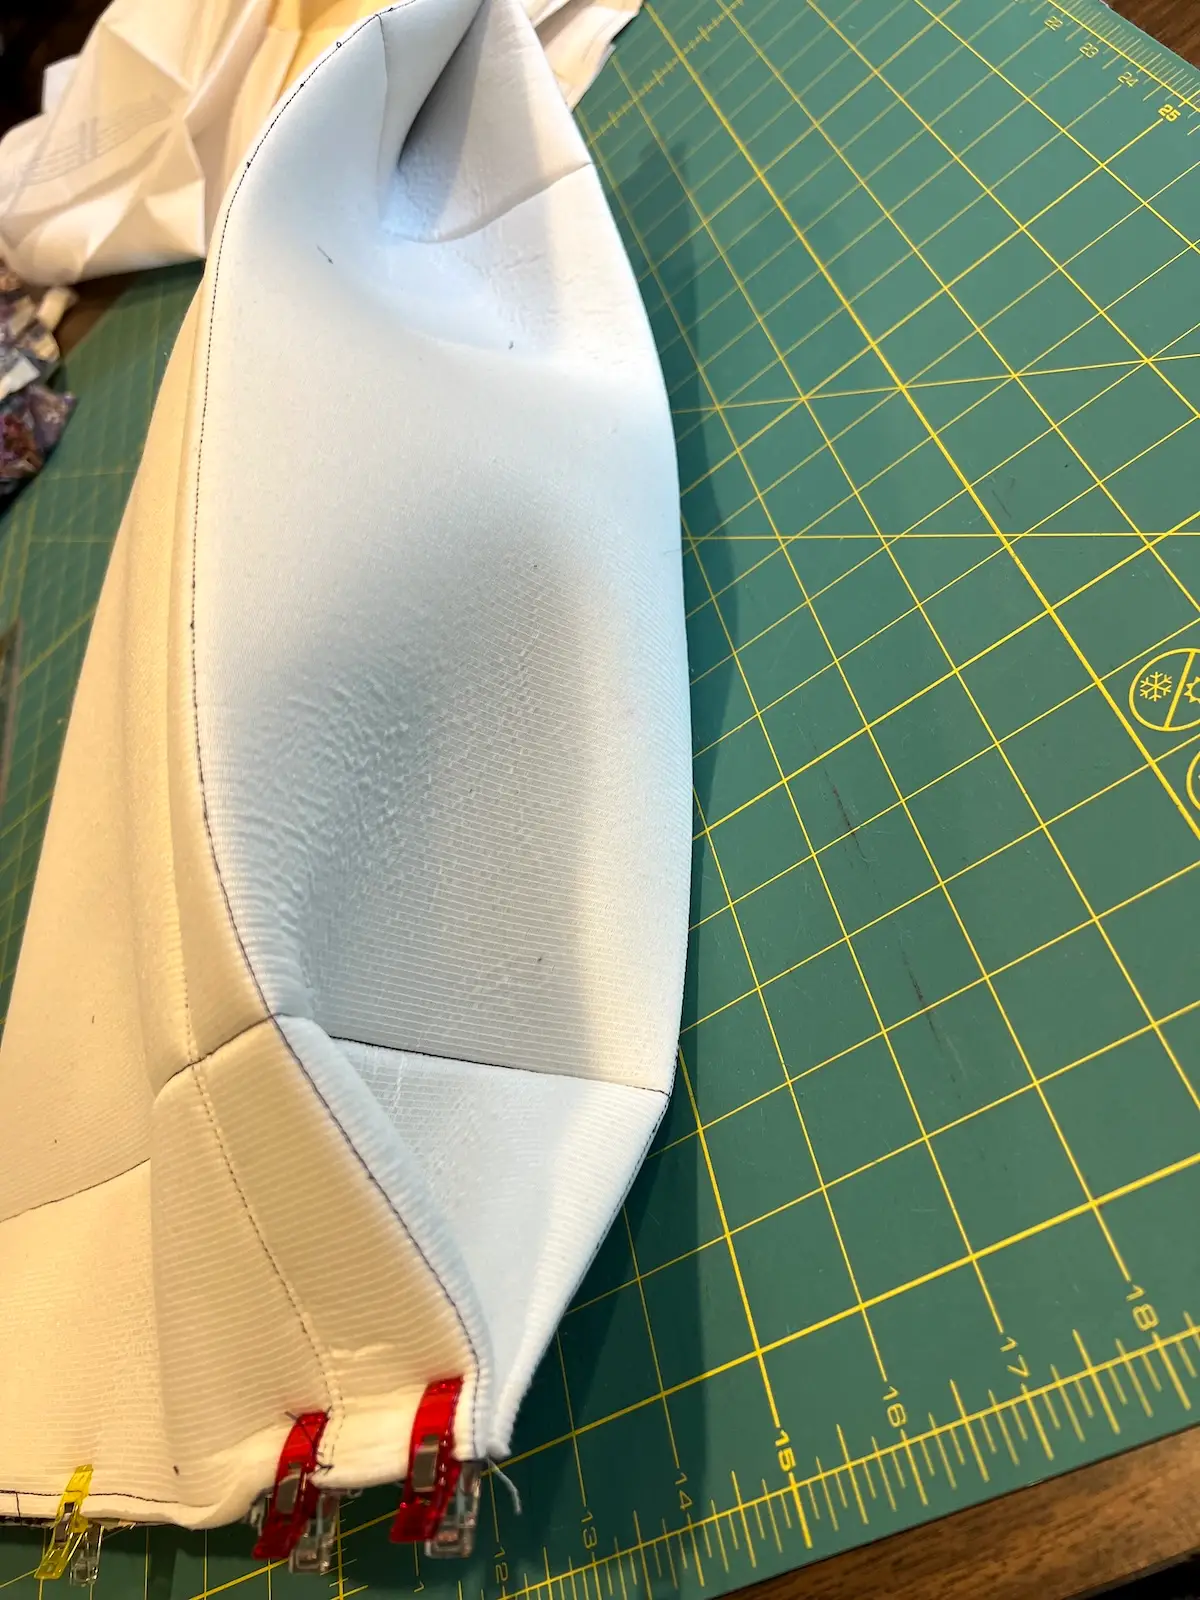
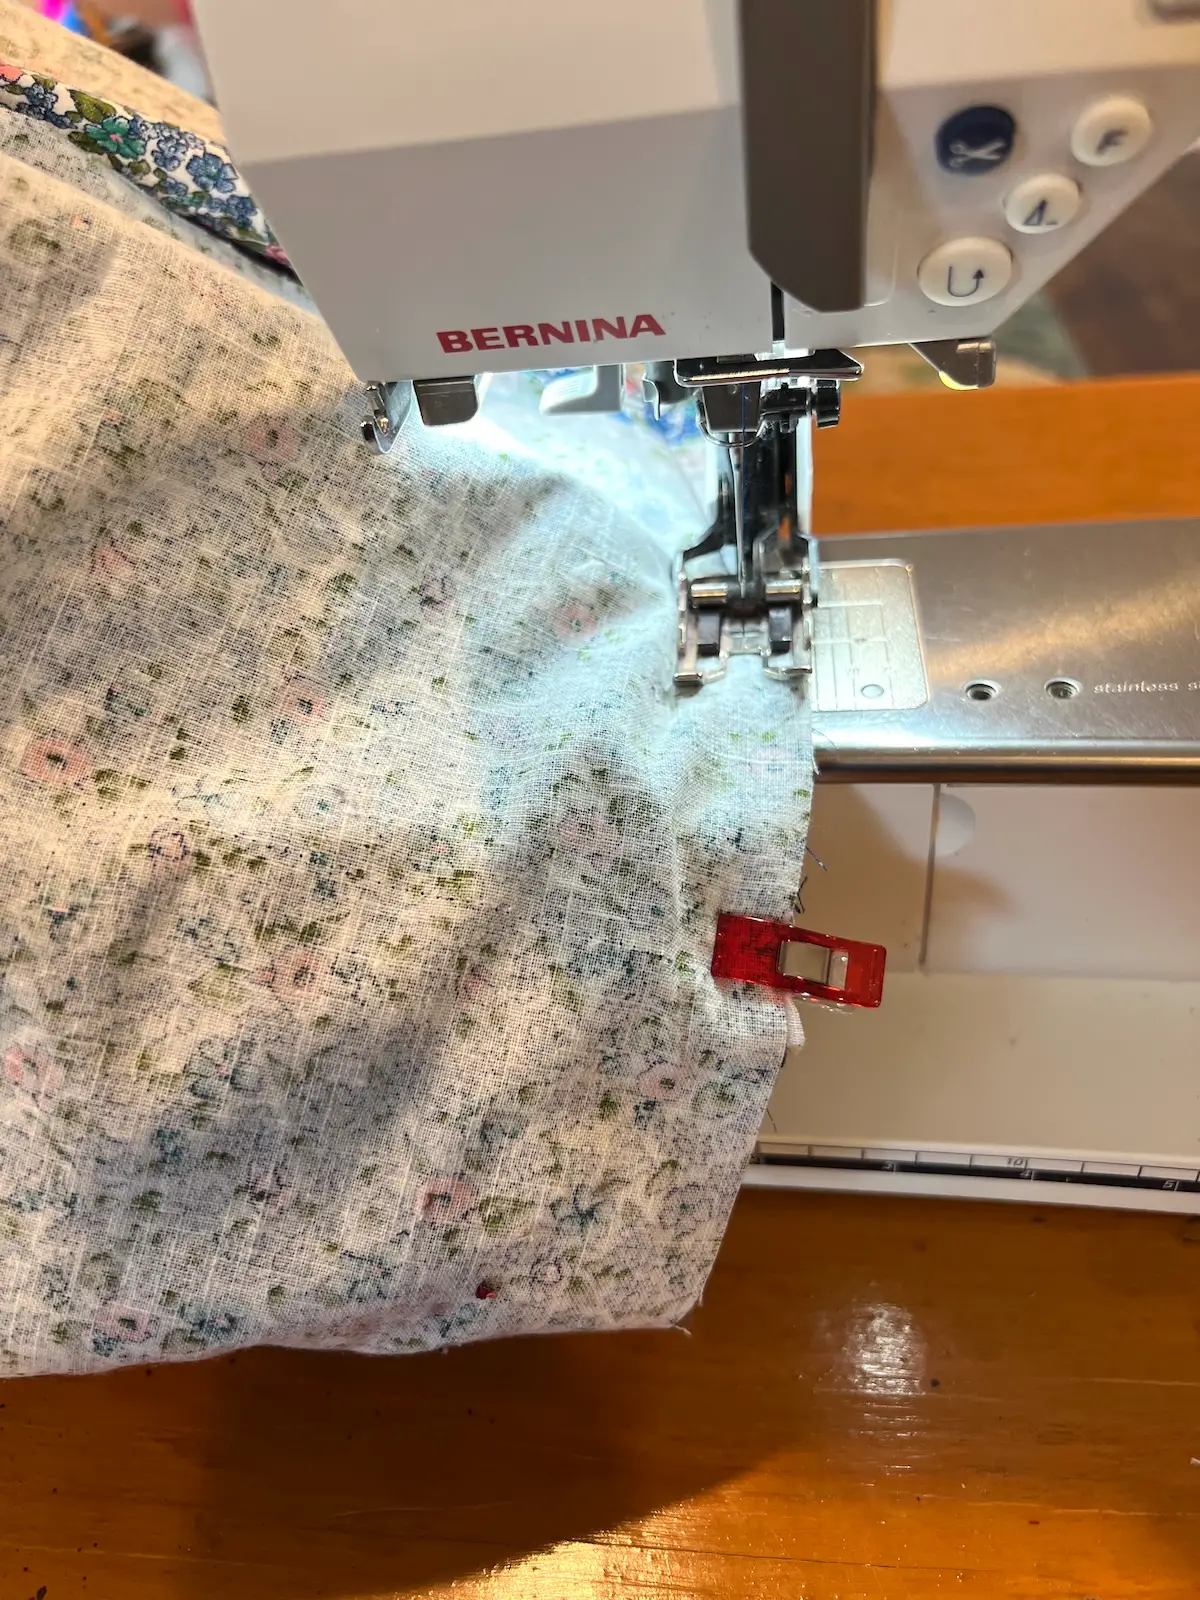
- Sew both side seams. Again, I used a walking foot.
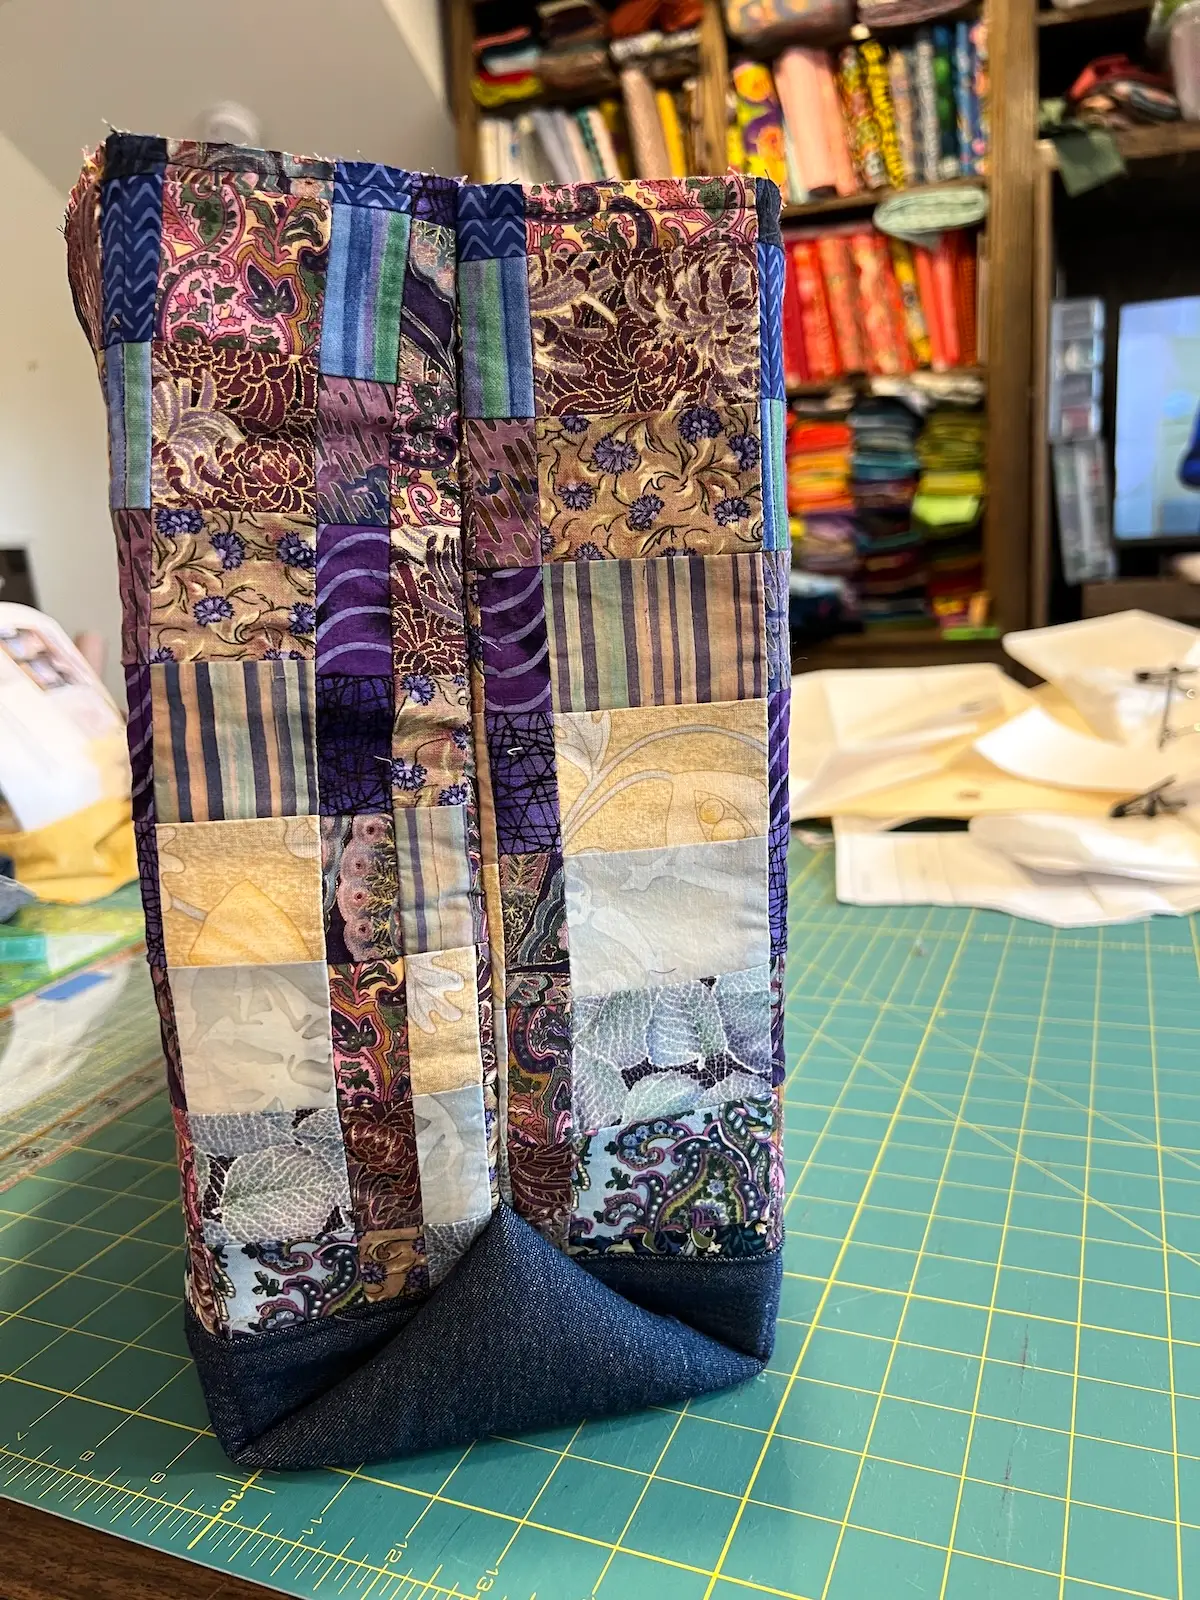
- Turn the bag right side out. The main body of the patchwork tote is done!
Next, we'll make the handles.
As an Amazon Associate I earn from qualifying purchases. Read more about our affiliate linking policy.
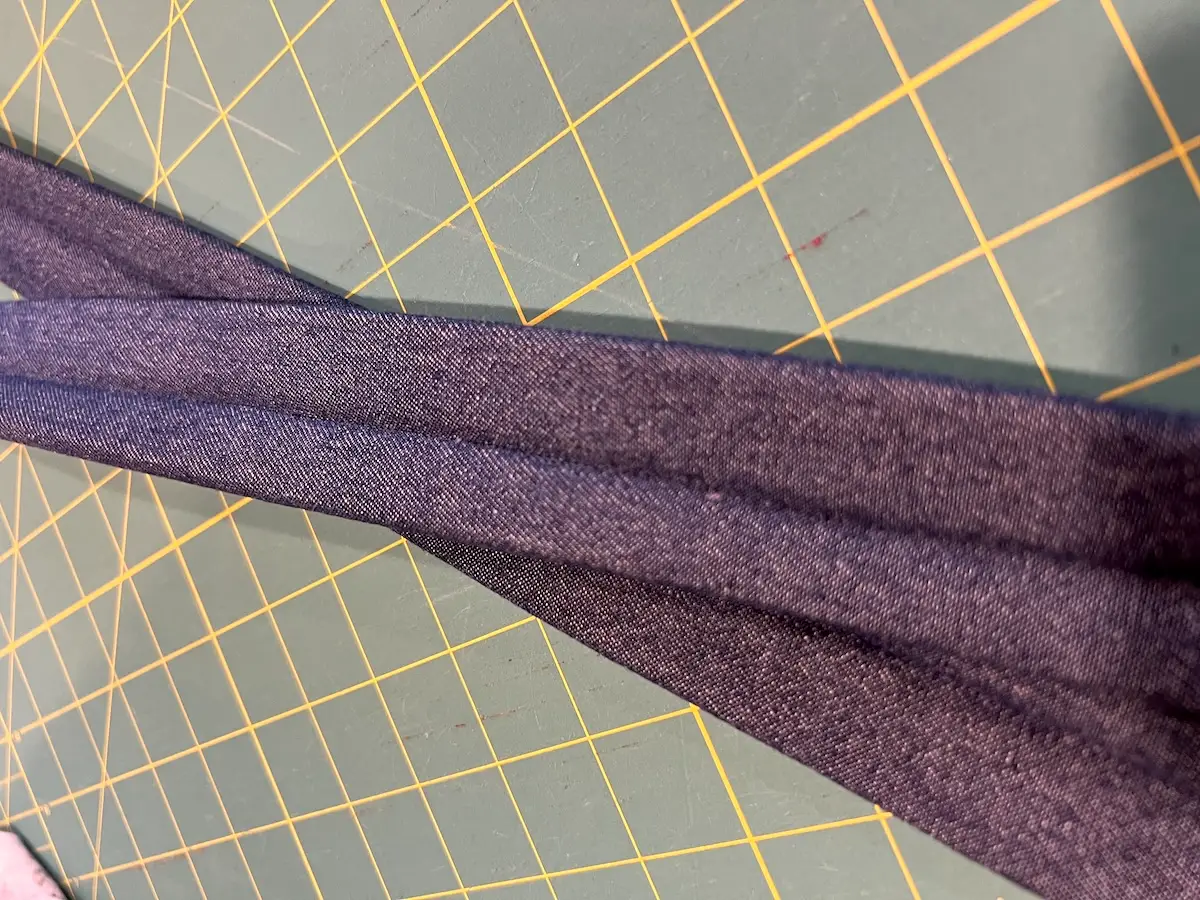
- Take your pieces of handle fabric and press 1/4" in along one of the long edges. Leave one raw edge.
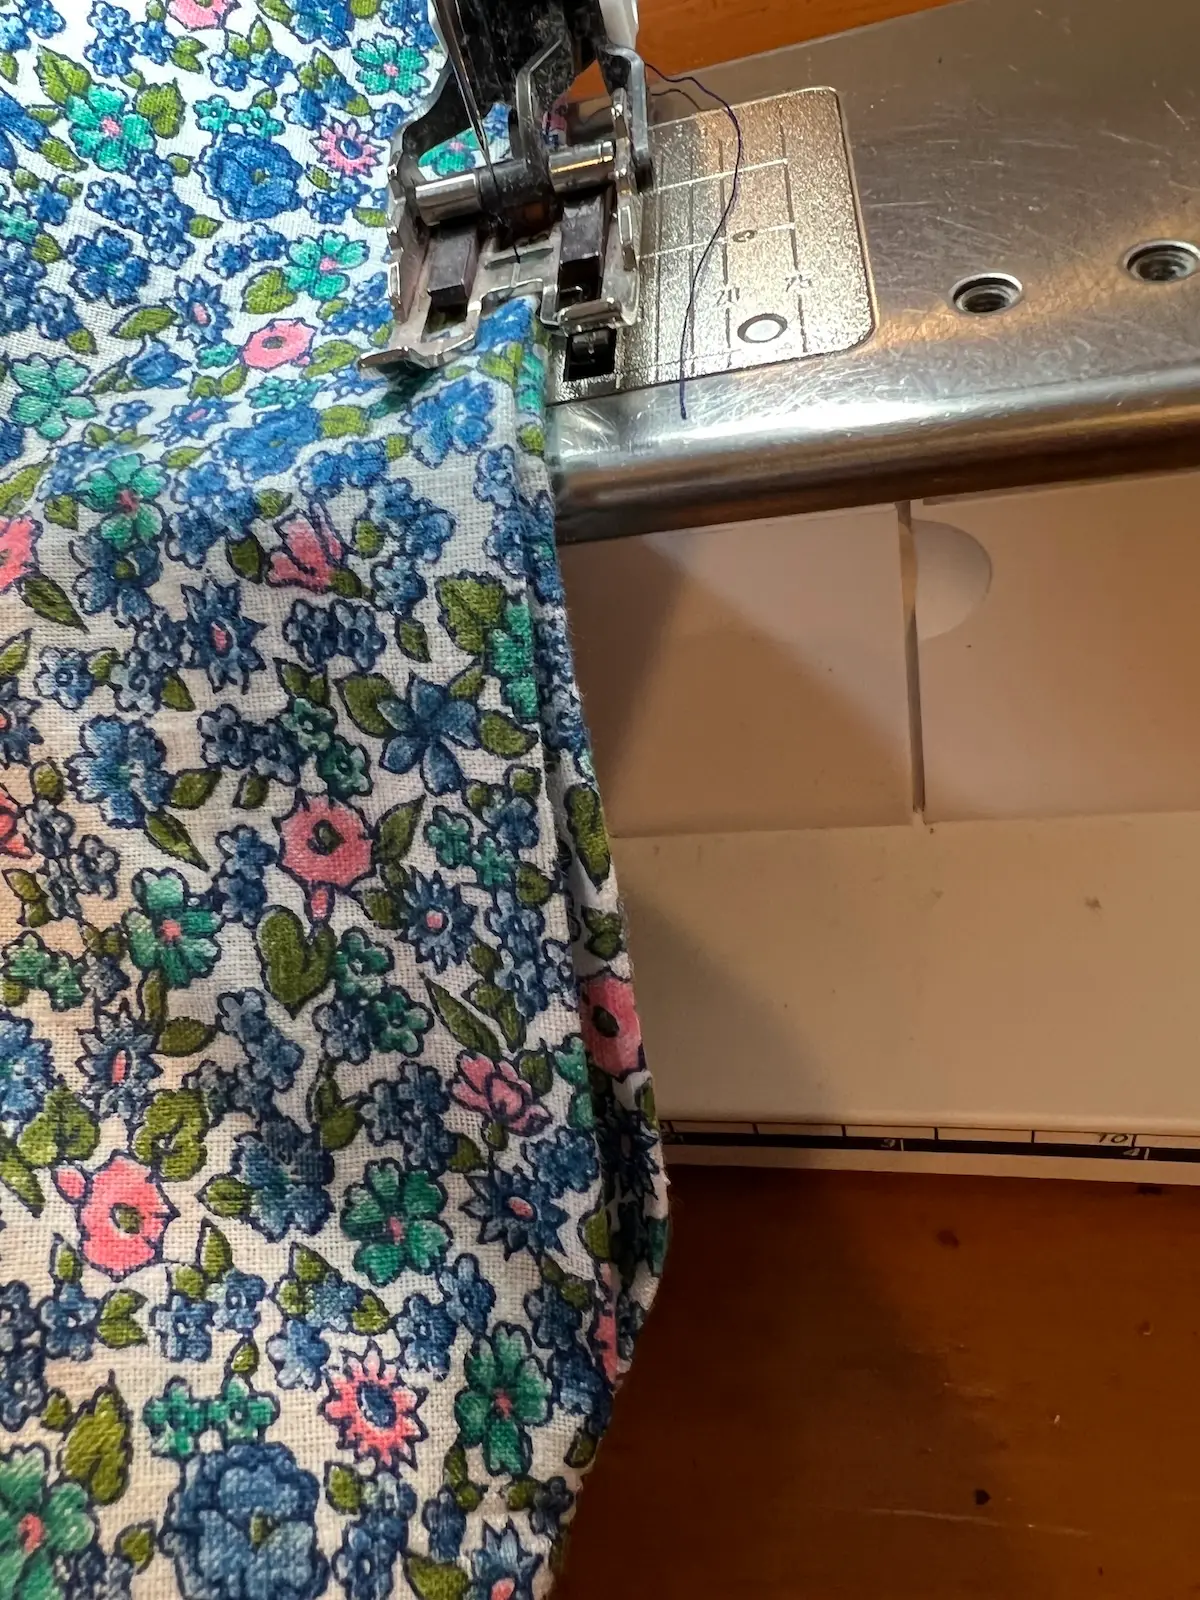
Take one of your stabilizer pieces and place the raw edge of one of your handle fabrics with the WRONG side of the fabric to the stabilizer. centered on the stabilizer. Stitch with a 1/4" seam allowance.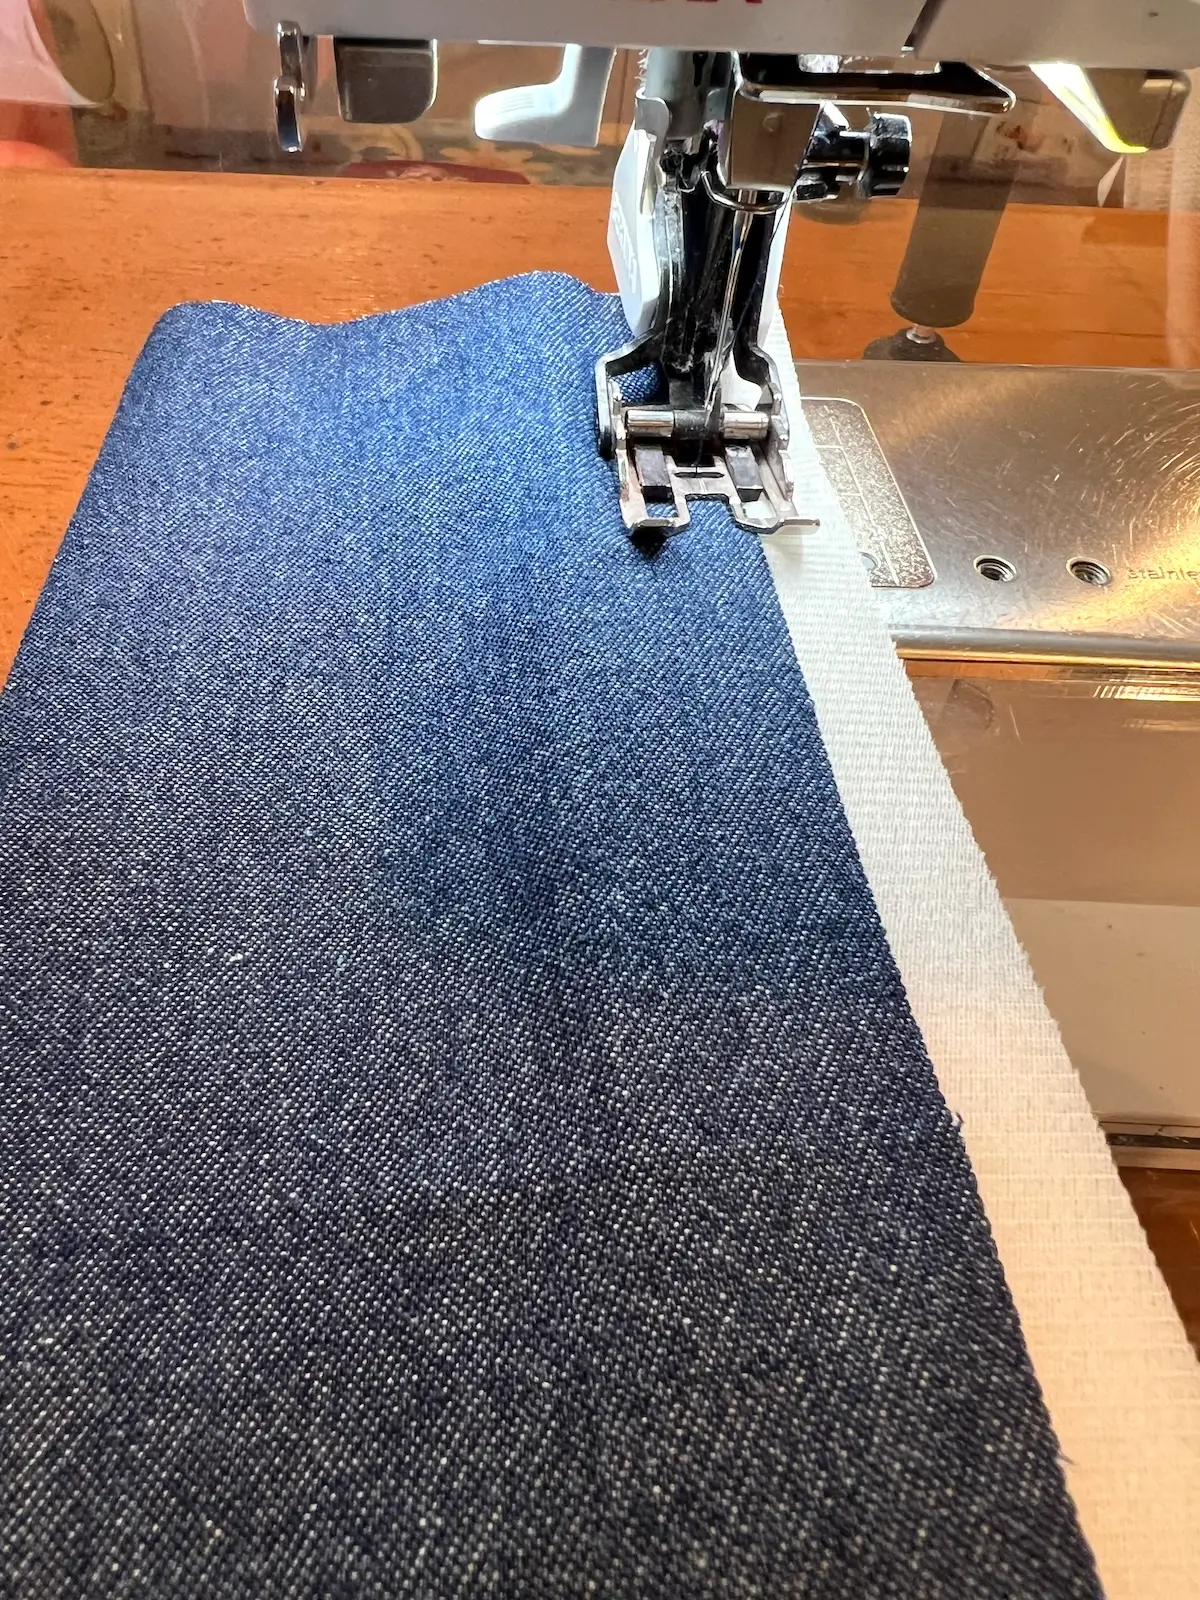
- Fold the handle fabric around the stabilizer and topstitch along the fold line.
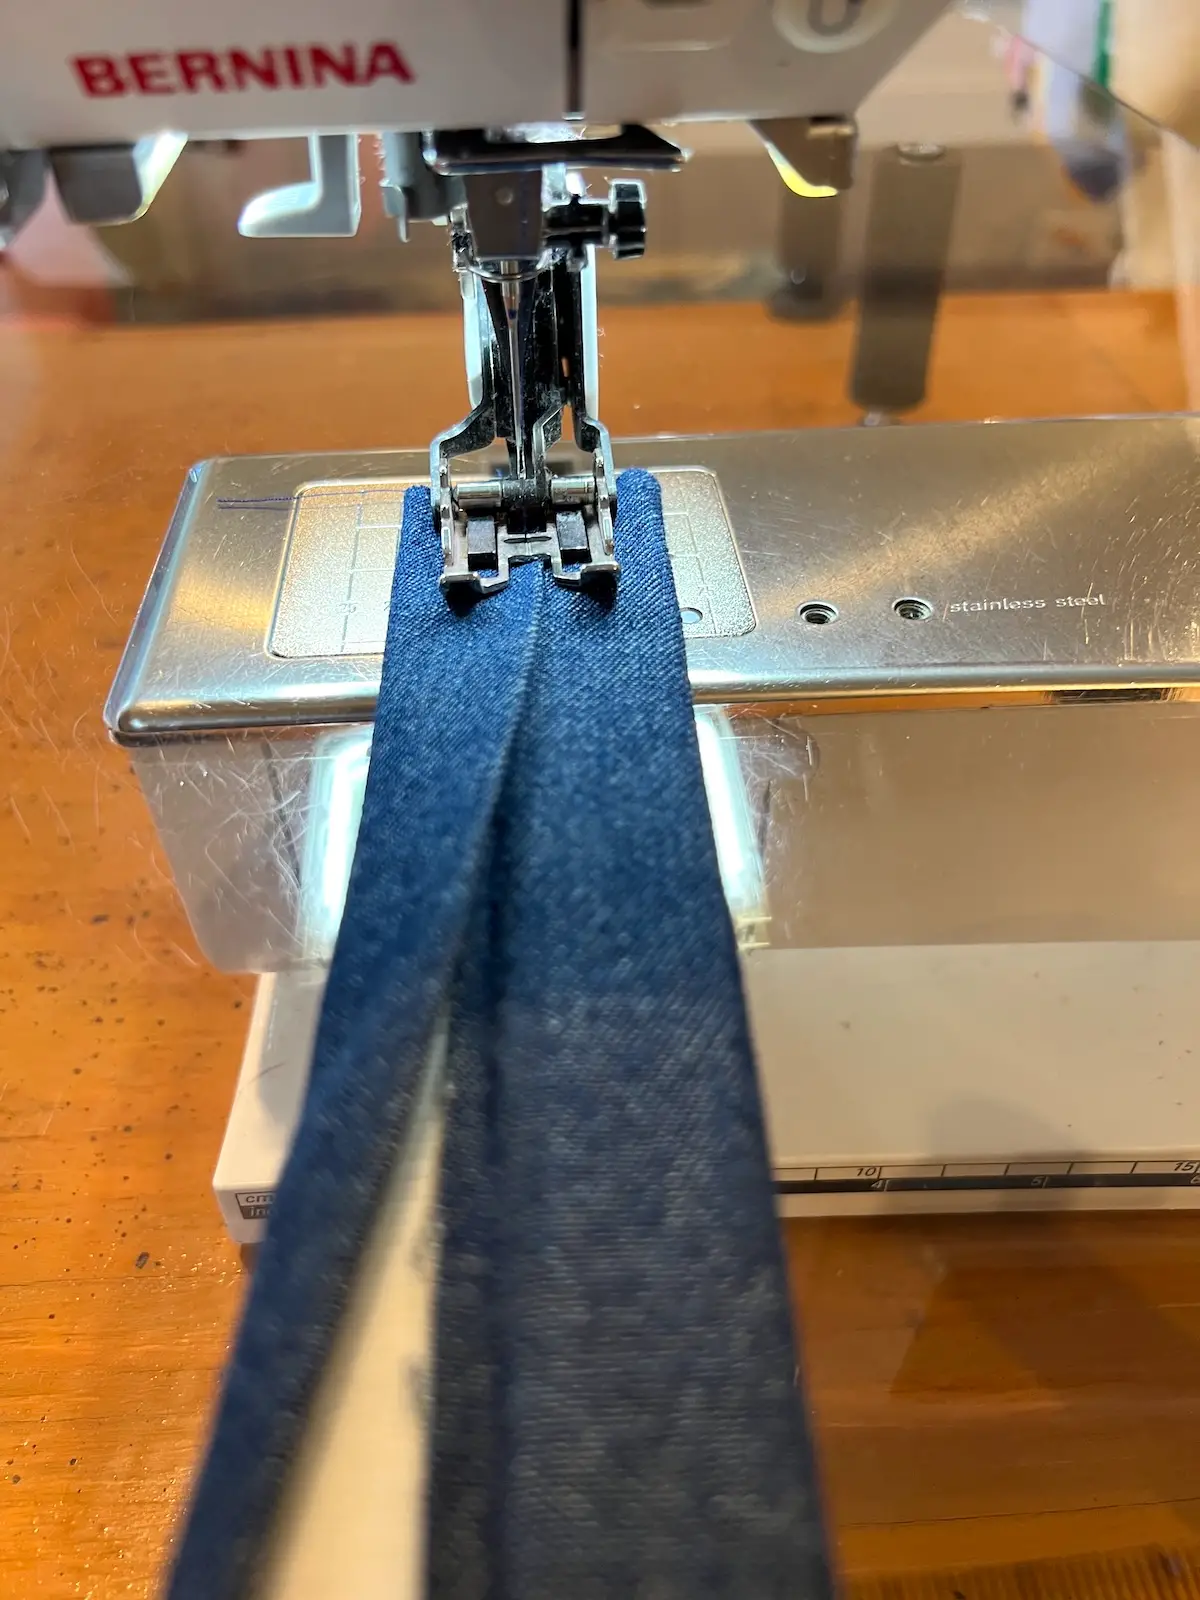
- Do this for both handles. Here are the finished handles.
Now, it's time to make the bag lining.
- If you want inside pockets, make them first. I like to find a coordinating fabric for the pockets. It makes the inside of your bag more interesting, and it's easier to find the pockets! If you've got a busy lining fabric, sometimes the pockets just blend in.
I cut a piece of fabric 9" x 9" for my inside pocket.
Fold the fabric in half. Begin stitching at the fold along one side, turn the corner, and stitch about 2".
Leave an opening. Then begin stitching again about 2" from the corner, turn the corner and stitch to the fold.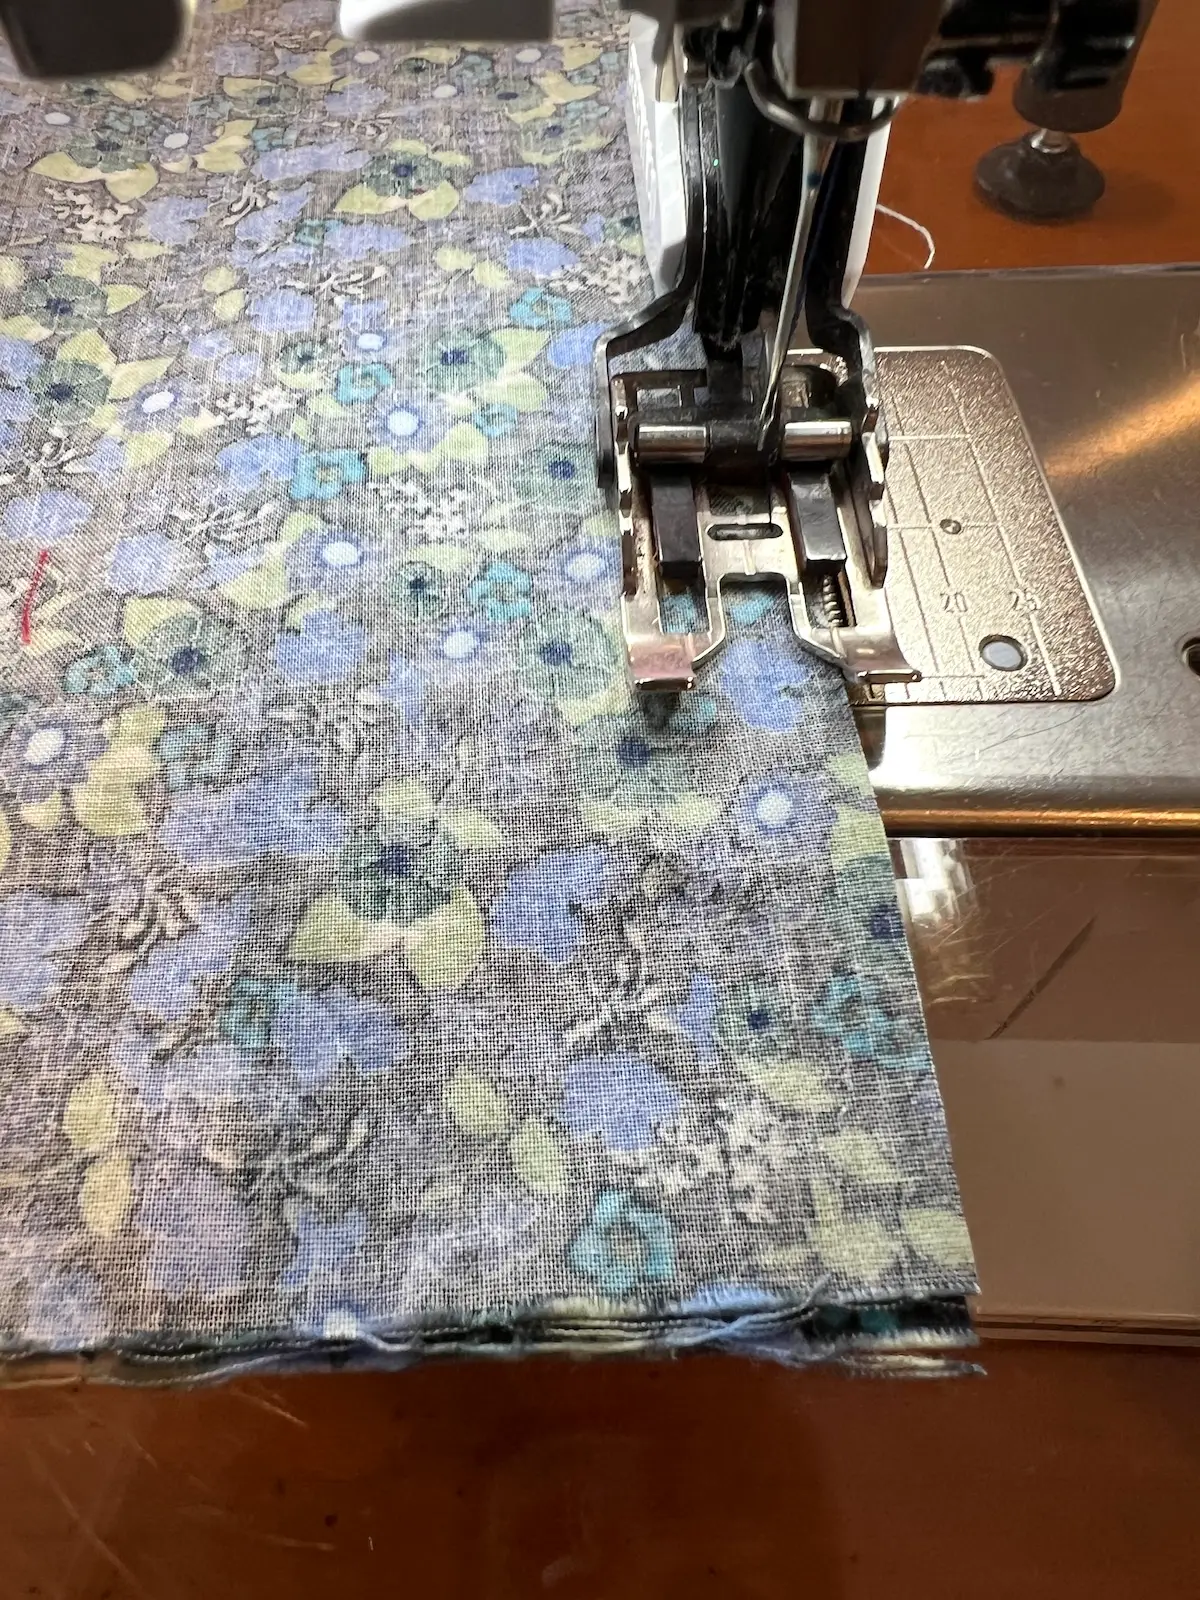
- Turn the pocket right side out.

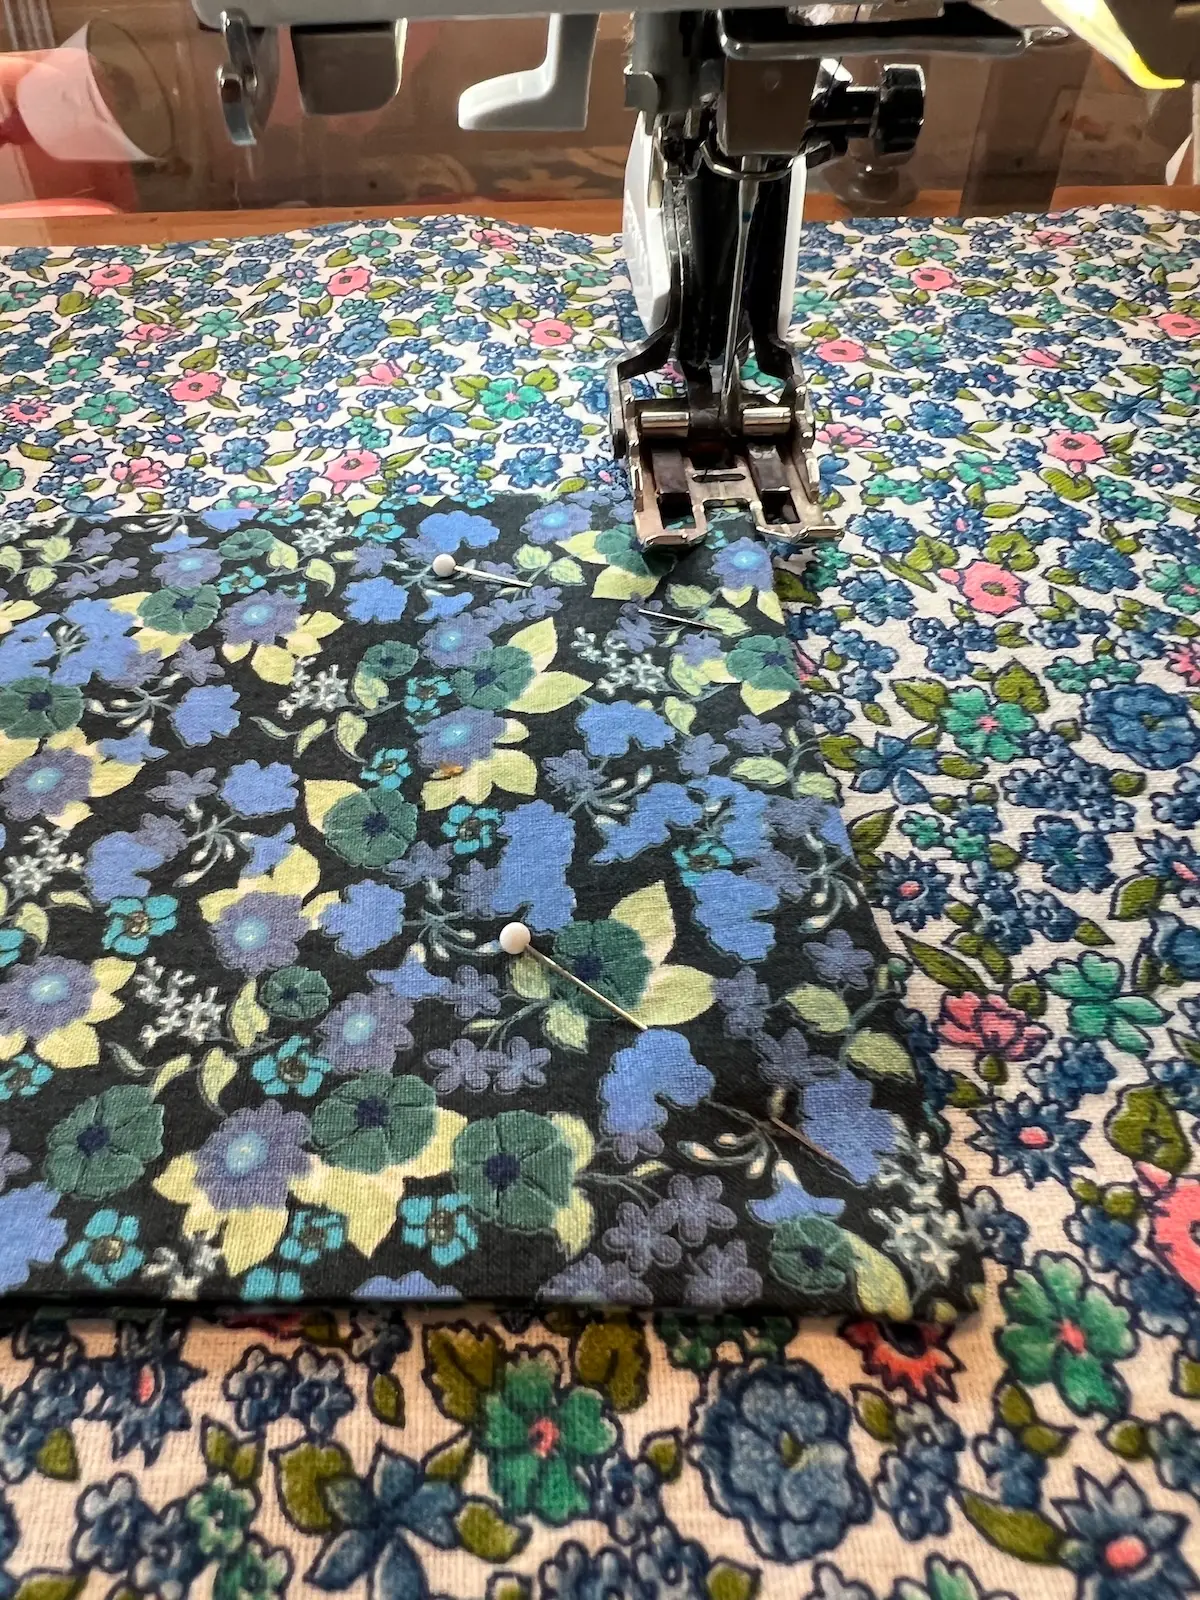
- Press the opening closed. Place the pocket where you'd like it on the right side of the lining fabric. The folded edge is the top of the pocket. Topstich the pocket in place.
- Next, we need to make the box bottom just like we did before. Measure from the top edges of the lining fabric down 12" and place a pin. Do this for both sides and both ends.
Match the pins along the side seams, like we matched the stitching lines above, and fold the fabric in, forming the box bottom. Do this on both sides.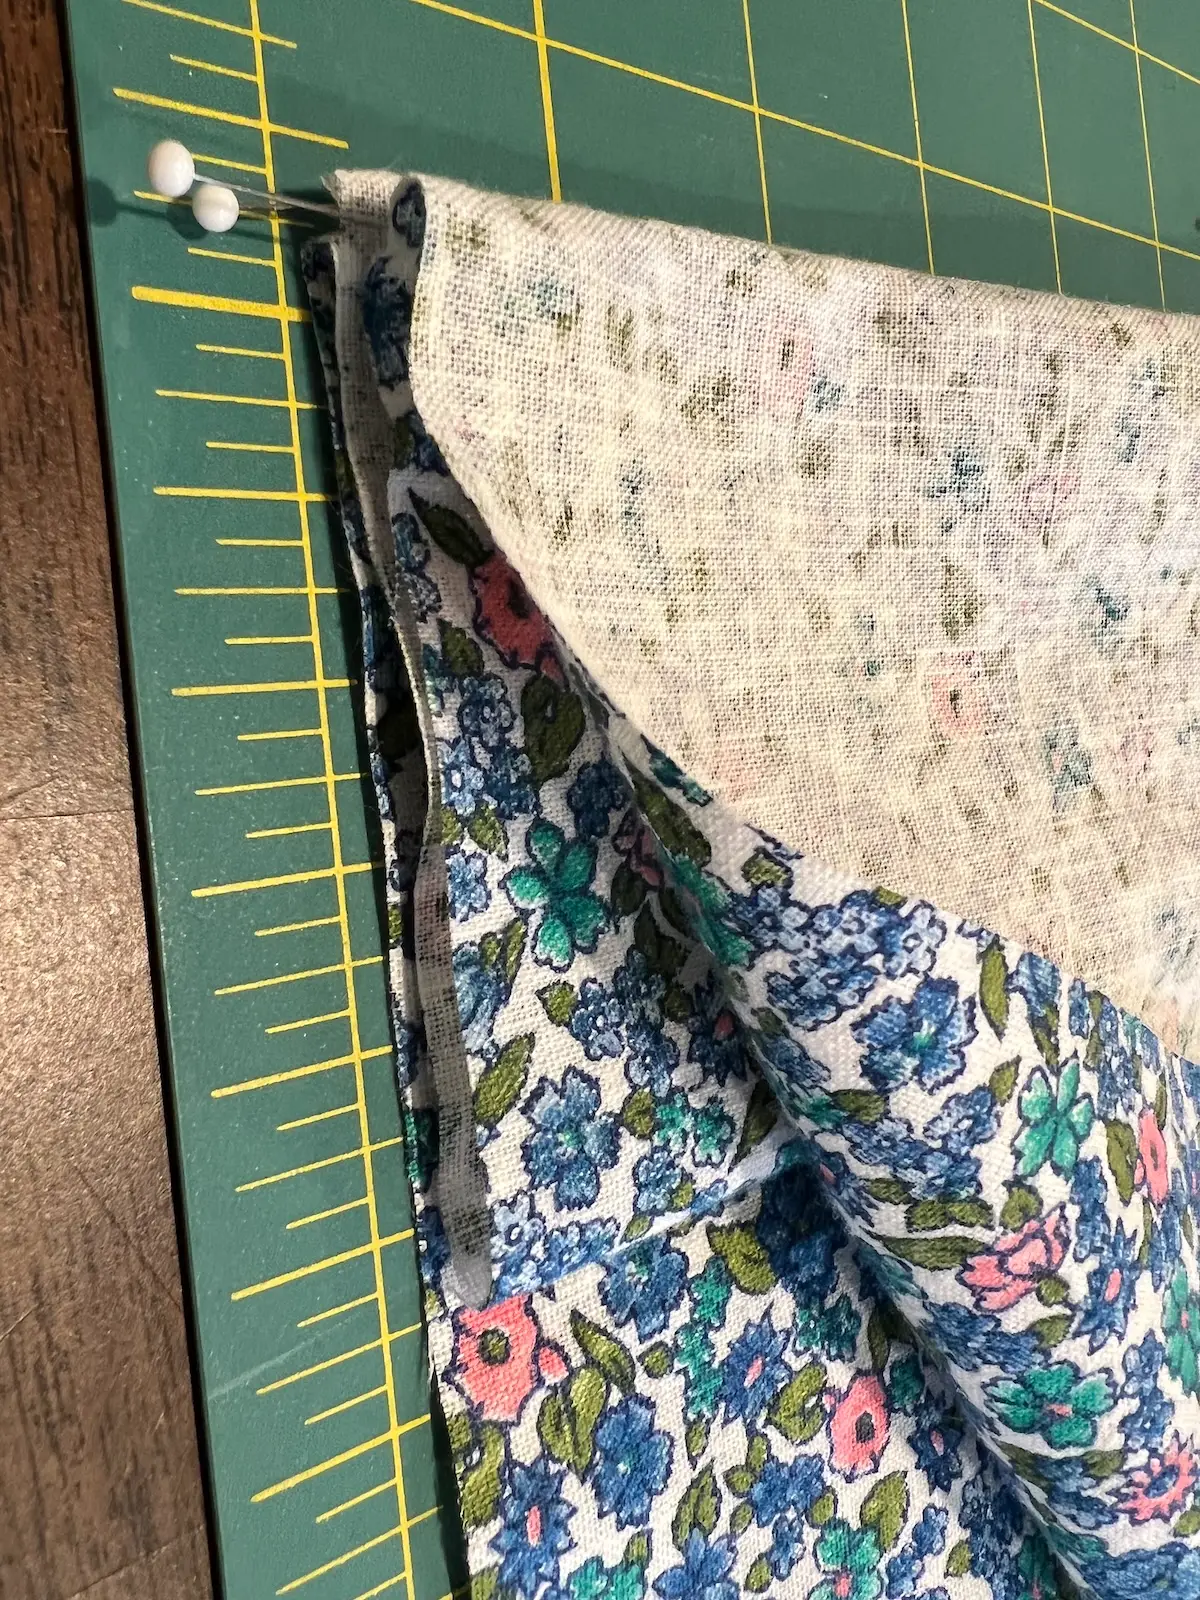
- Stitch one side seam fully, On the other side, stitch from the bottom, securing the bottom of the bag and up about 2-3". Leave an opening about 4", then sew to the top. This gives us an opening to turn the bag right side out.
Finishing your patchwork tote bag
- Place the main body of the bag inside the lining with right sides together. Use Wonderclips to hold the top edges together.
- Slip your handles in where you'd like them on each side, lining up the raw edges. Make sure your handles aren't twisted.
- Sew all around the top edge of the bag.
- Turn the bag right side out through the opening.
- Topstitch the opening in the lining closed.
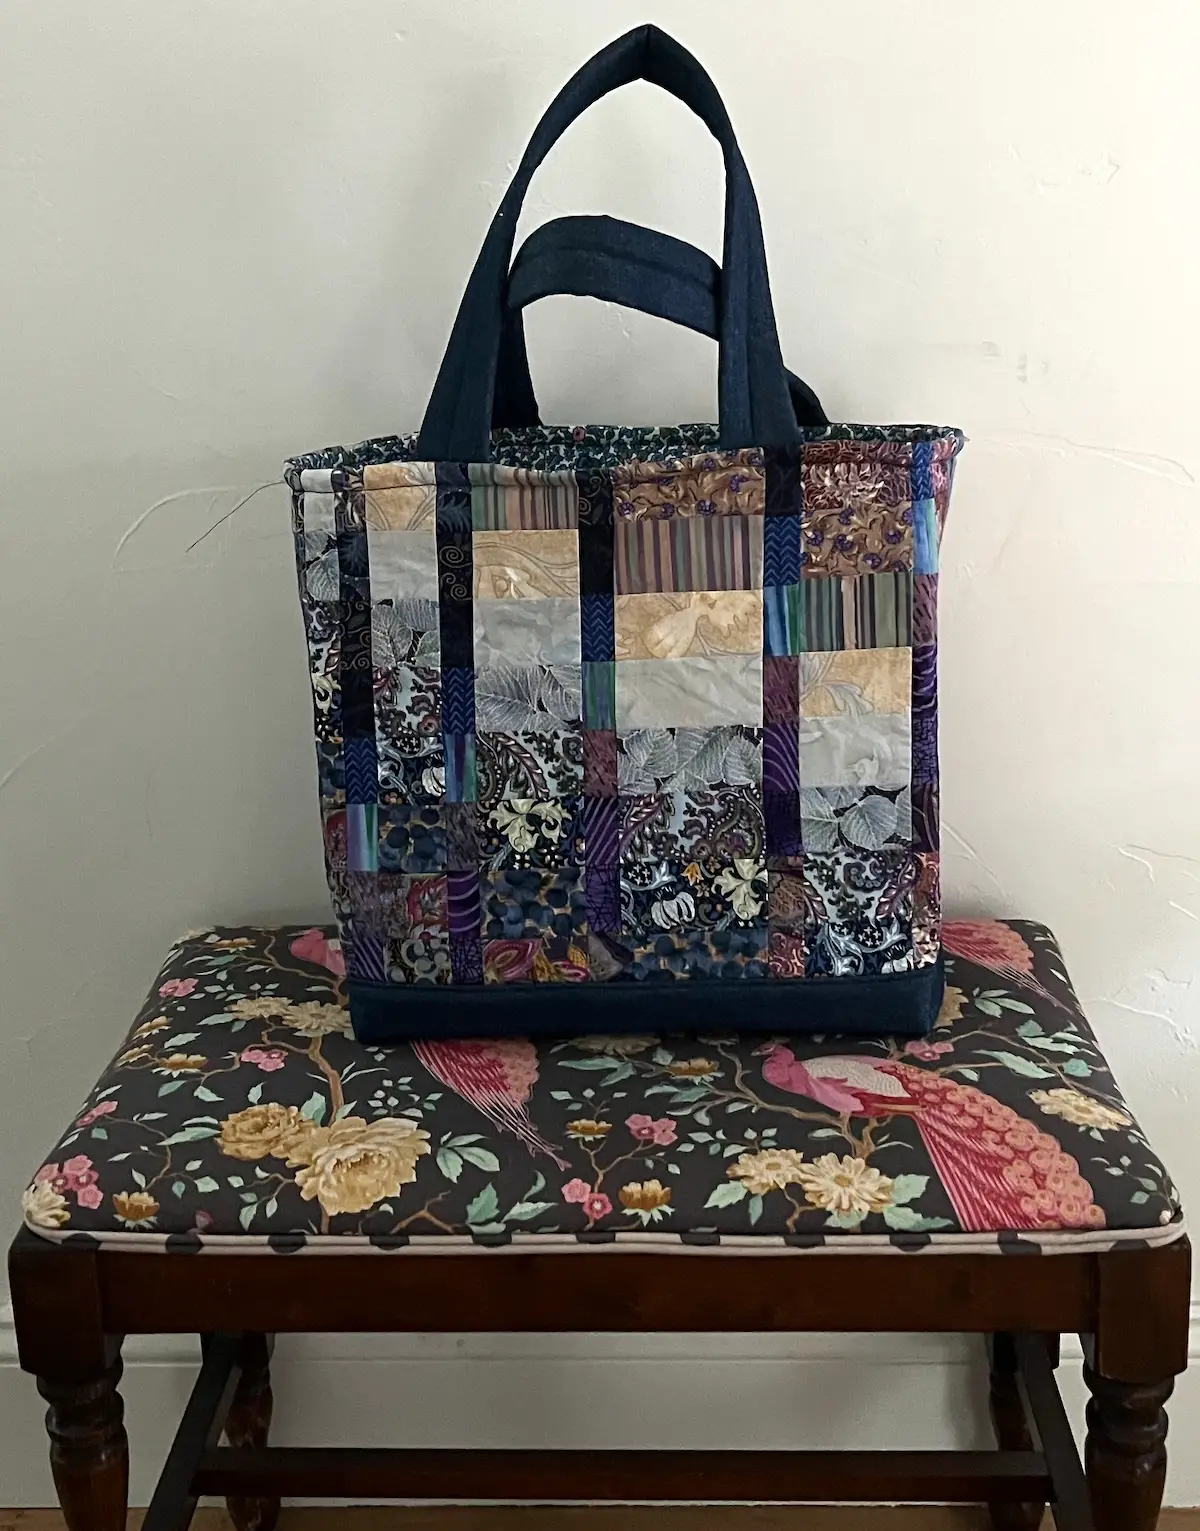
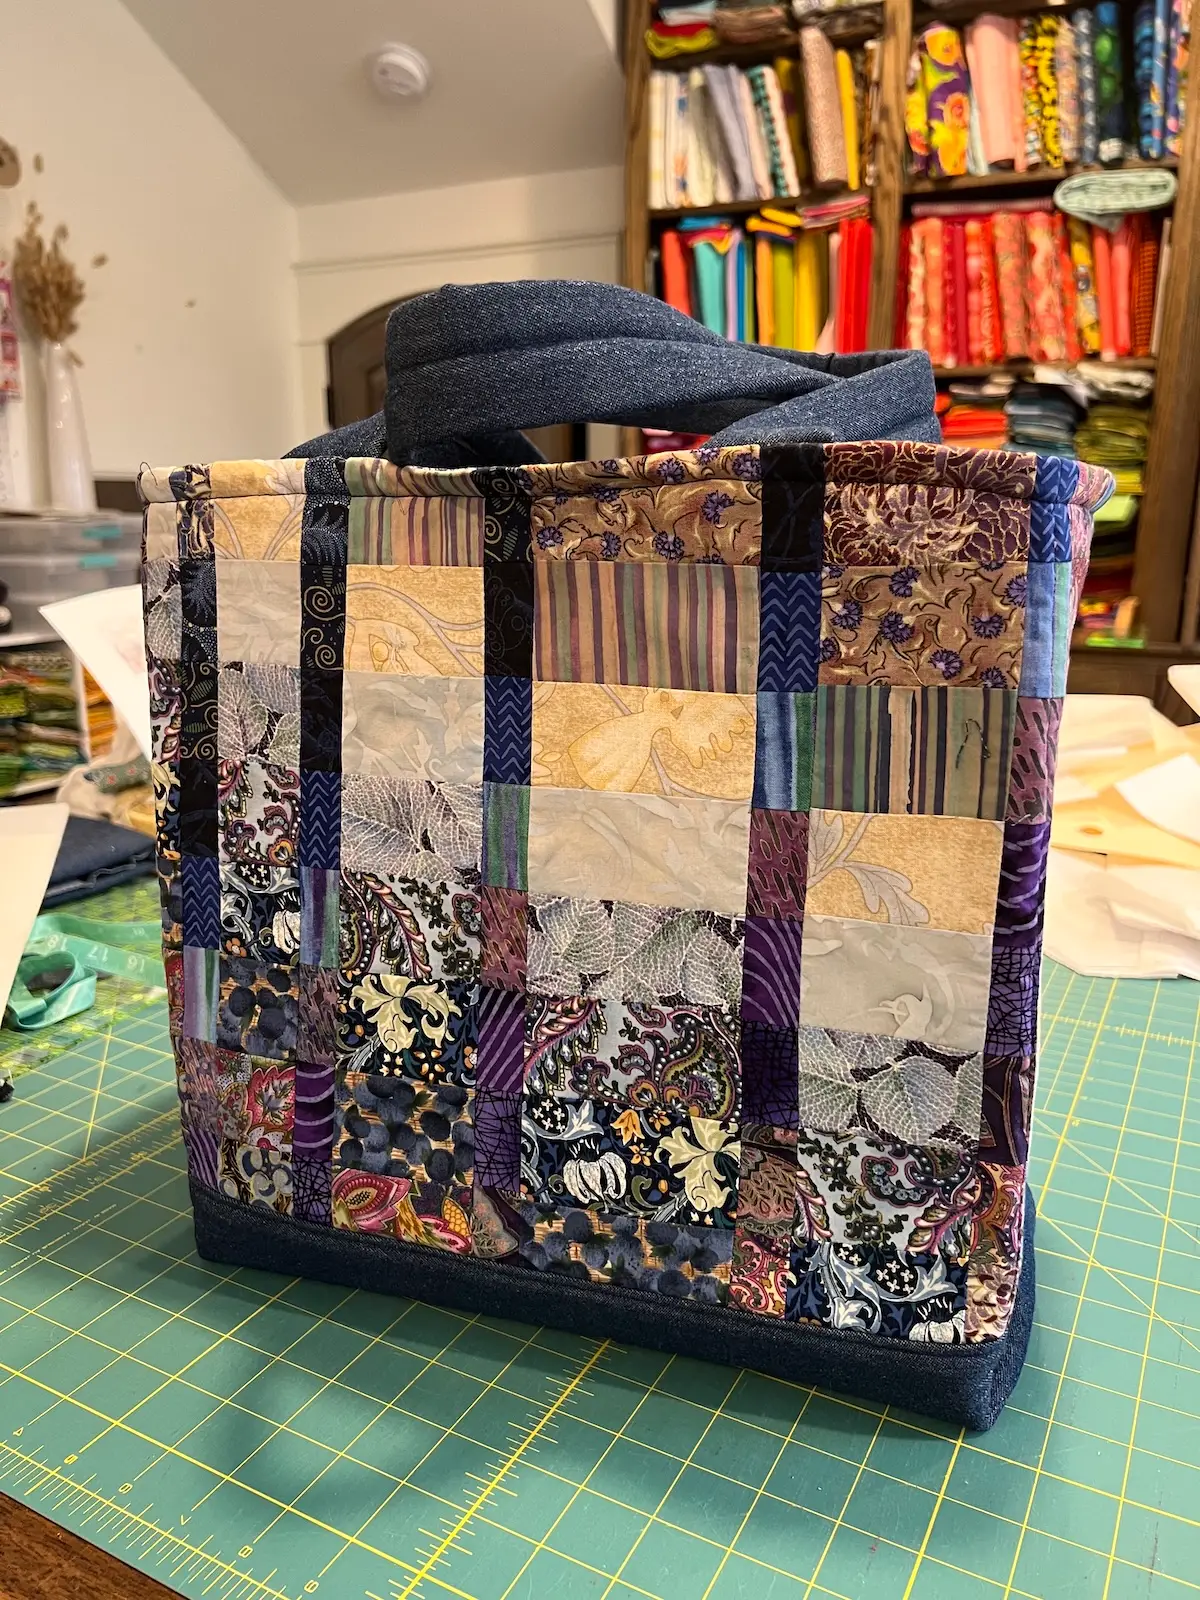
- Press the top edge of your bag, Then topstitch around the top edge of your bag to finish! And here is the finished bag. the finished size is 12" x 12" x 6".
Recommended Products
As an Amazon Associate and member of other affiliate programs, I earn from qualifying purchases.


Here is a quick video that show you one way to make boxed bottoms for tote bags:
Here is a quick video that shows you how to make the fabric handles for the tote bag:
Tips for making quilted tote:
Use stabilizers meant for bag making; they really help give the bag body, keeping it lightweight.
If you have a walking foot for your sewing machine, it helps keep all of the layers together so they don’t shift while sewing.
Pins are hard to use with the thick stabilizer. WonderClips make it much easier.
If you’d like, you can quilt your fabric or patchwork to your stabilizer before assembling your bag. Some great quilting ideas are to straight-line, crosshatch, or do some big stitch hand quilting.
Have fun with handles! You can use quilted fabric scraps, webbing now comes in a variety of modern designs and colors, make your own leather-wrapped handle, or purchase a preconstructed handle.
RELATED: How to make a leather wrapped handle
Add leather handles with rivets, for a no-sew handle!
RELATED: How to add leather handles with rivets
Pockets!! I made a simple slip pocket, but you can add zipper pockets, divided pockets, add a patch pocket to the outside of your tote and more!
Add a D-ring with a clip to the inside of your bag for your keys. No more fishing for your keys at the bottom of your bag!
To make a flat tote, just sew the side seams straight (don’t make the fold). Easy, peasy!
Add bag feet to the bottom of your bag before stitching the sides so that the bottom of your bag is more likely to stay clean.
Now is the time to go through your orphan blocks or unfinished quilt tops and have fun cutting them up and making something cute! It’s okay to cut them up! They were just sitting at the bottom of a drawer or closet!
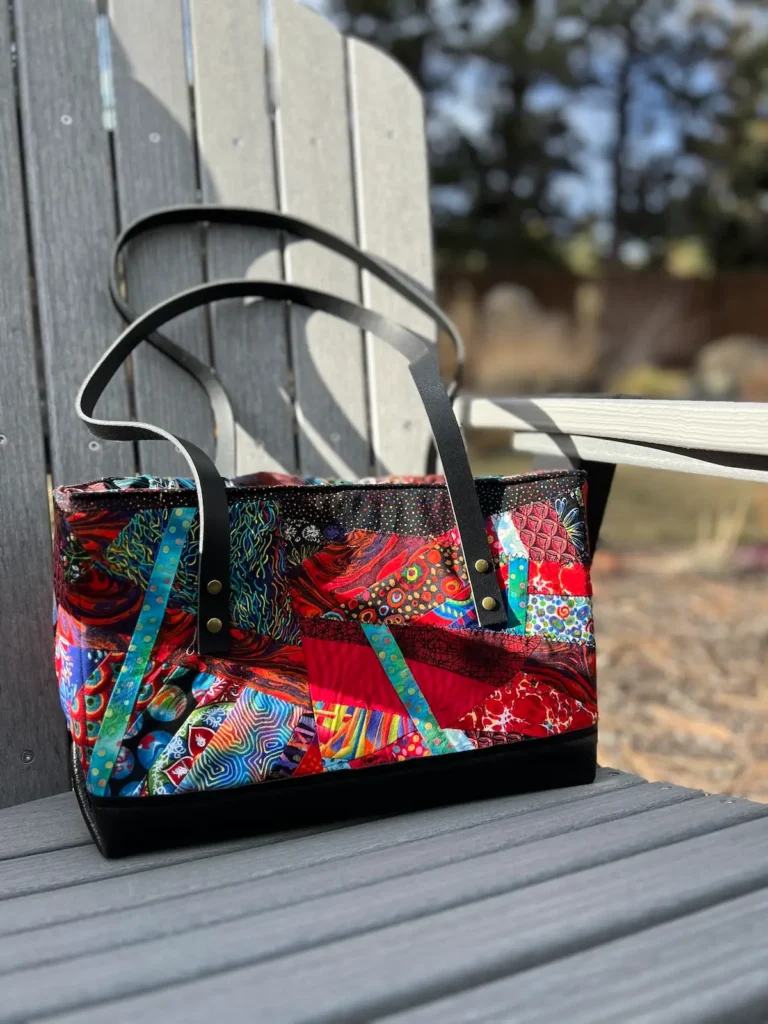
Ideas and inspiration for making a patchwork bag:
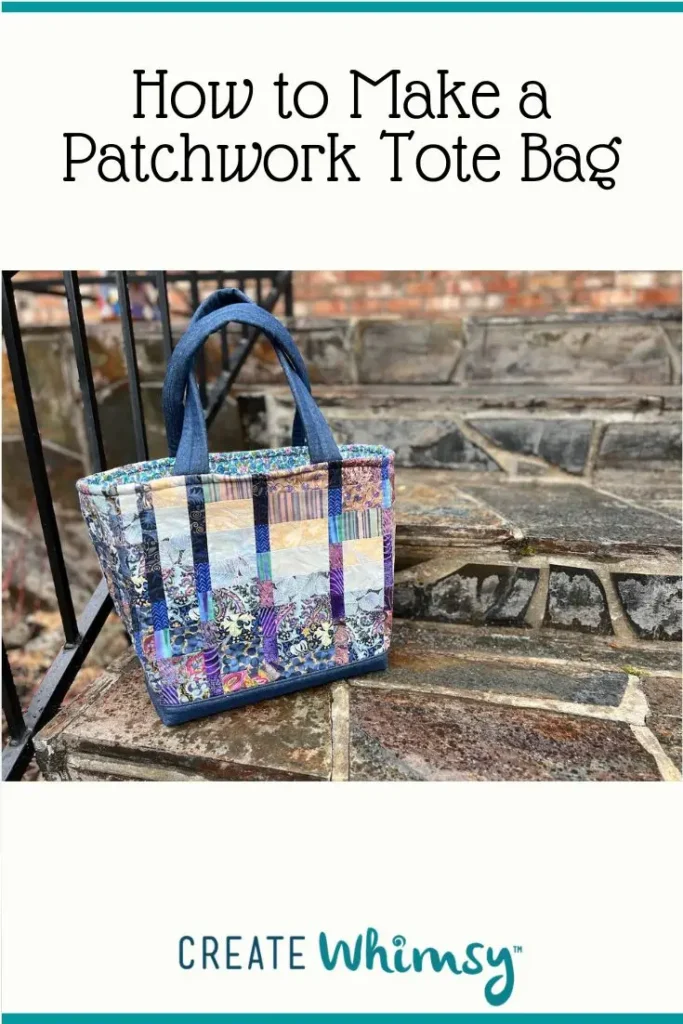
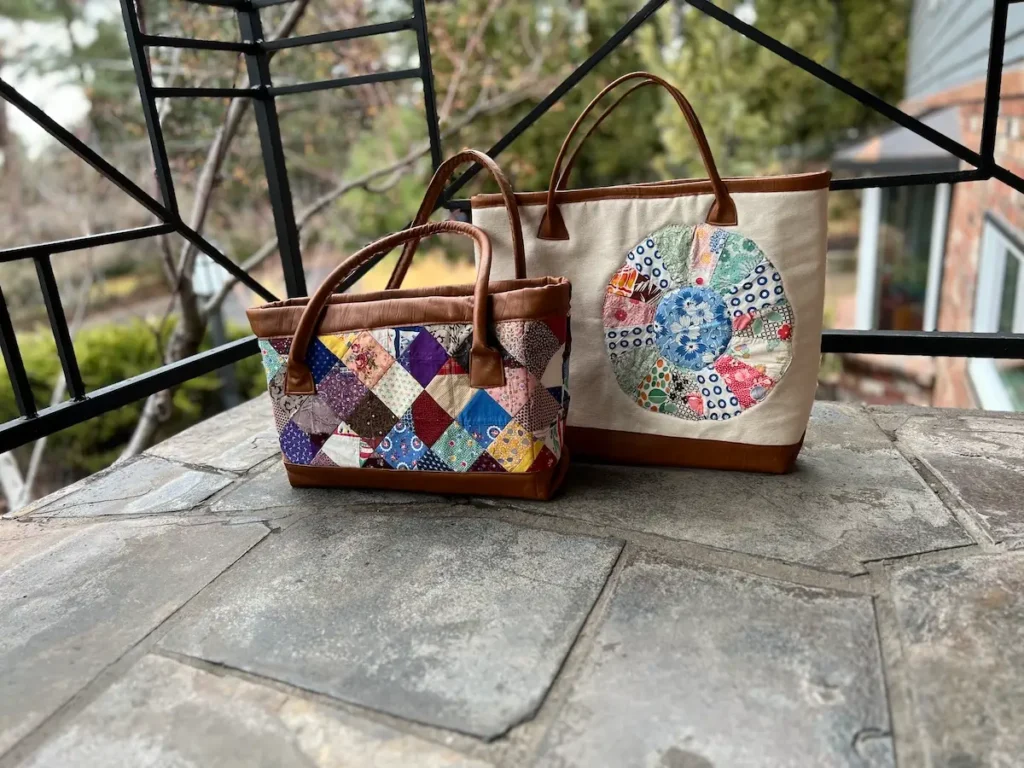
With the bag above, I took scraps from vintage quilts and used the Quiltsmart Pix Smart Grid 2-1/2″ On Point to make the patchwork. Then, I used a 2 oz leather for the bottom, handles, and to finish around the top edge.
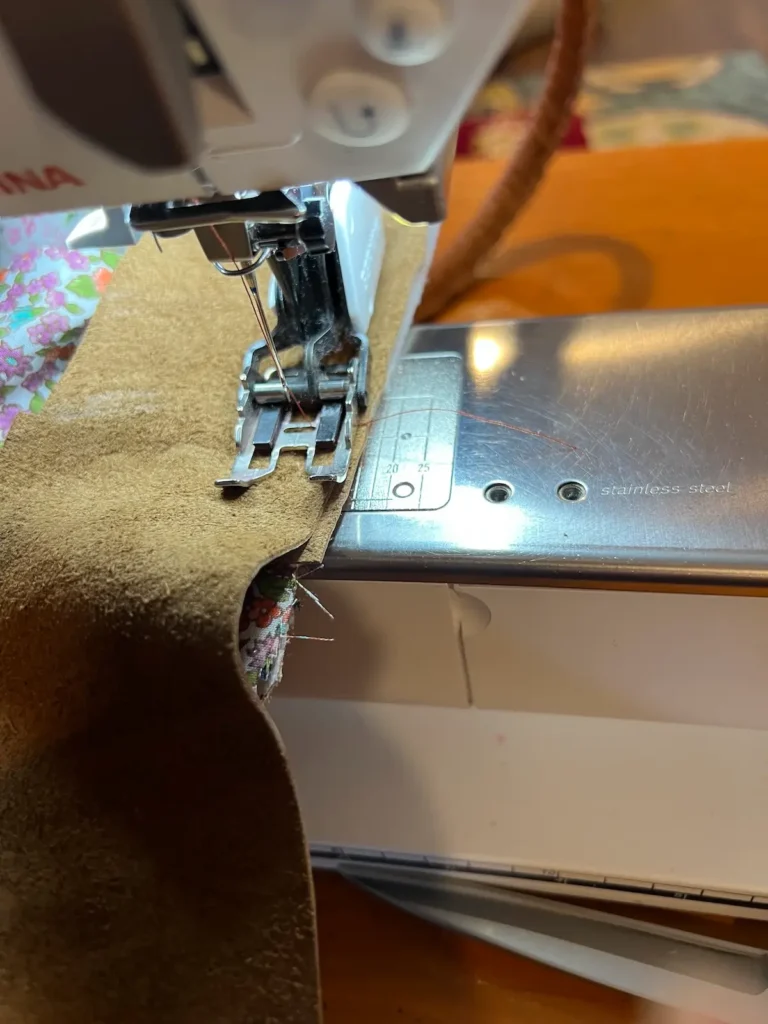
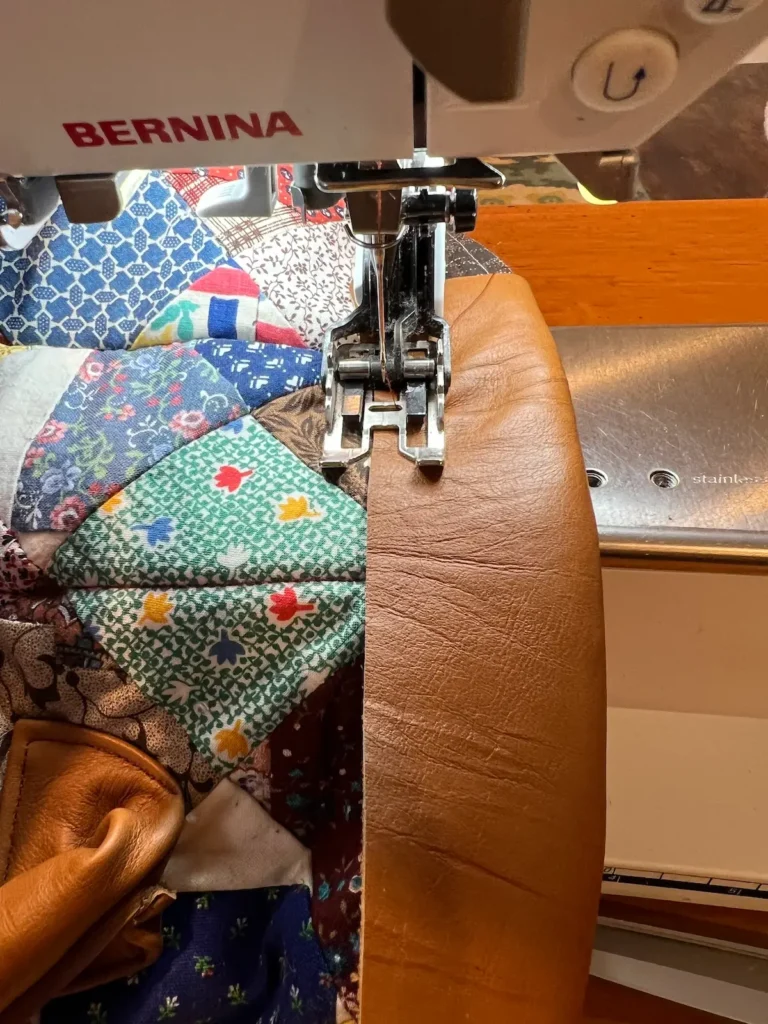
When finishing the top edge with leather, Ultrasuede, Kraft-Tex or Cork, sew right sides together from the INSIDE. Fold the leather around to the front and topstitch the edge. The raw edges of these materials don’t fray or ravel.
OPTION: Make a fabric top edge finish by cutting a piece of fabric twice the size as needed. Press in half. Line up the raw edges to the INSIDE of the bag and stitch. Bring the folded edge to the right side of the bag and topstitch in place.
RELATED: How to Make Leather-Wrapped Robe Handles
RELATED: How to Attach Leather Handles with Rivets
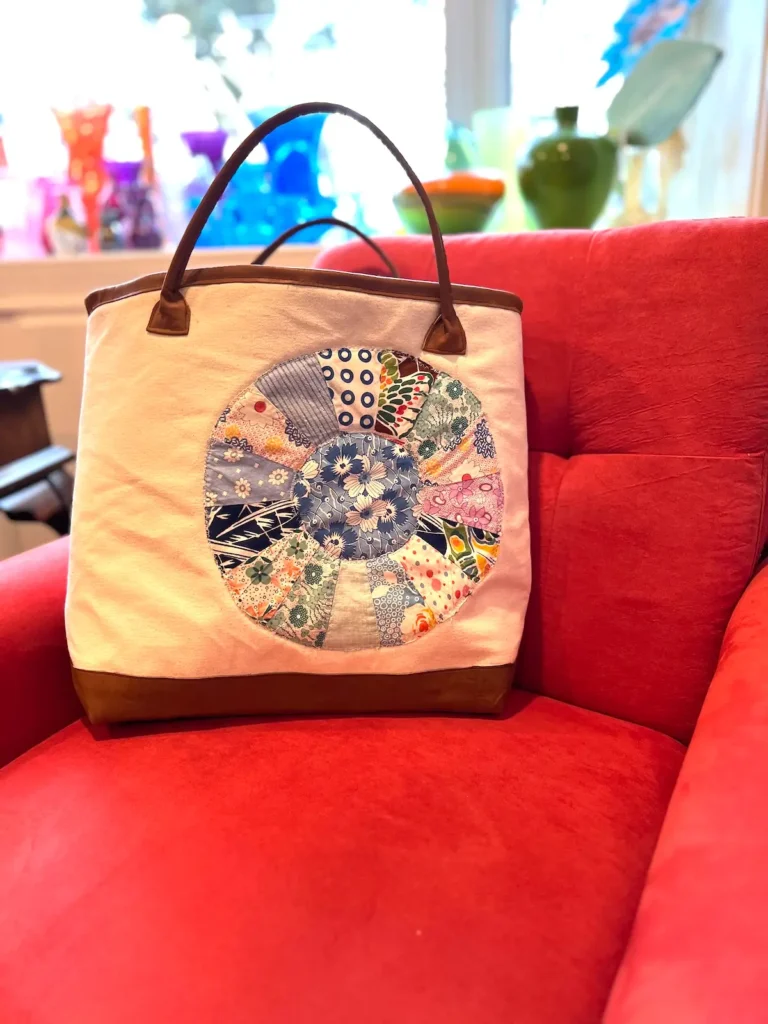
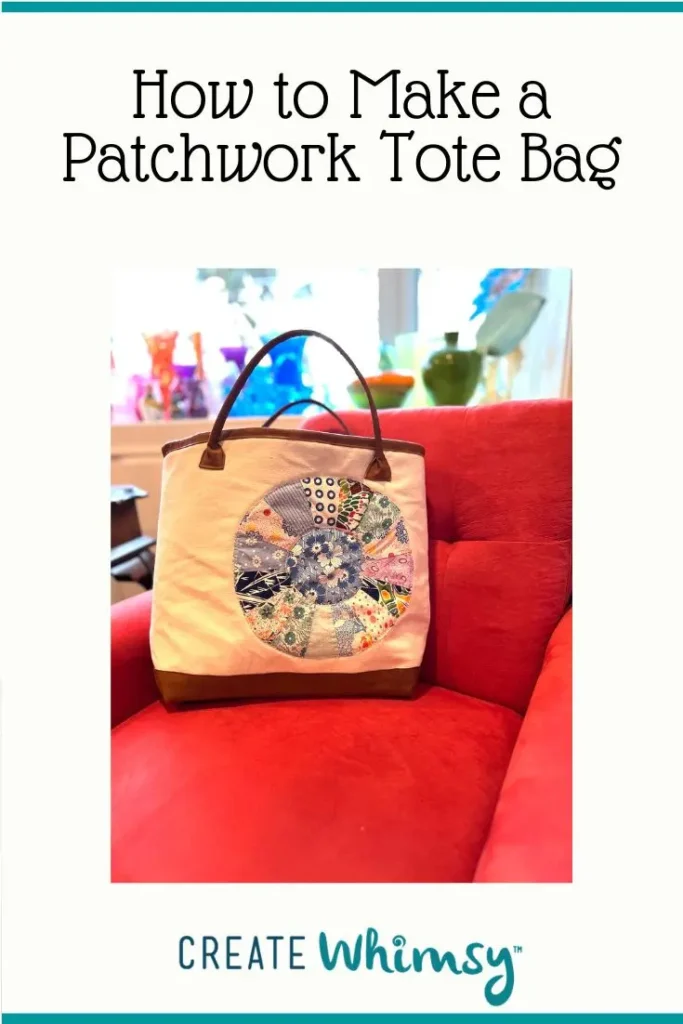
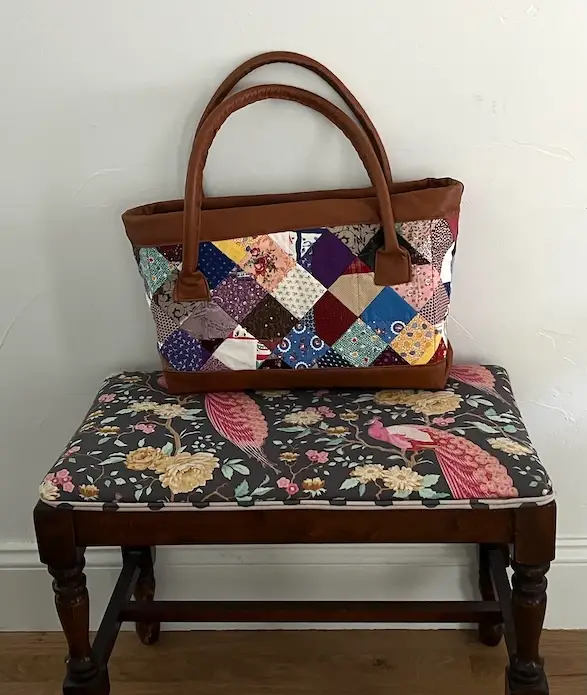
For the bag above, I appliquéd an orphan vintage Dresden plate quilt block to canvas. I used leather for the bottom, top trim, and handles. With this bag, I used a clothesline as the core for the handle.
Browse through more bag projects and inspiration on Create Whimsy.