Accent your modern wardrobe with a new twist on an ancient craft when you make a beaded Kumihimo bracelet. With this tutorial, we will take you through the finishing steps to add a clasp to your beaded Kumihimo. And if you just couldn’t stop braiding and end up with a longer beaded rope, you can use the same technique to finish a necklace.
New to Kumihimo? Check out our article on How to Kumihimo for Beginners. If you are new to beaded Kumihimo, check out How to Do Kumihimo with Beads for step-by-step instructions.
What do I need to make a kumihimo bracelet?
You’ll need a Kumihimo disk and bobbins, some nylon thread or string that is used for Kumihimo and a collection of beads. What is fun is to try different bead combinations. From all the same size and color for a basic Kumihimo bracelet, to using some fancy beads you’ve been collecting for a special project (or a good excuse to go buy more!). Try different color and size combinations. Each bracelet will look different!
Start here:
- Learn the basic braid → How to Do Kumihimo
- Gather your tools → Kumihimo Supplies for Beginners
- Add beads → How to Do Kumihimo with Beads
- Finish your jewelry → How to Make a Kumihimo Bracelet (this article)

How to Make a Kumihimo Bracelet
Accent your modern wardrobe with a new twist on an ancient craft when you make a beaded Kumihimo bracelet. With this tutorial, we will take you through the finishing steps to add a clasp to your beaded Kumihimo.
Materials
- Bracelet-length braid of beaded Kumihimo
- Glue-on type clasp to fit the finished braid diameter
- Nylon beading thread
- Hypo-Cement glue
- E-6000 glue
Tools
- Sharp scissors to cut braided cord
- Toothpicks to apply E-6000 glue
Instructions
- Gather your tools and supplies. To make the bracelet-length braid of beaded Kumihimo, our article How to do Kumihimo with Beads has step-by-step instructions.

- With nylon beading thread, tie a tight surgeon's knot around the Kumihimo cord very close (about 1/8 inch) from the beaded portion of the braid.

- Wrap the thread around the braided cord to fit the opening of the clasp. The length of the wrap will be different for each clasp, so check your measurements and tightly wrap the thread to that length. Wrap again until the ends of the thread meet. Tie another tight surgeon's knot. Repeat for the other end of the bracelet.

- Secure the knot with a thin layer of Hypo-Cement. Set aside until glue is dry.

- Taking care to not cut the wrapping threads, use sharp scissors to cut the braid as close as possible to the thread wraps. Trim the thread ends close to the knots.

- Apply E-6000 to the thread wraps. Be sure to cover the ends, too. I use a toothpick to apply the glue to the sides and dip the ends into the glue.

- Place the clasp ends over the glue, covering the wrapping threads. (This is a magnetic clasp. Other styles, such as toggles, are available.) The clasp components should fit snugly. Now comes the hard part: leave it alone! Do not fasten the clasp. Let the adhesive set and cure overnight.

- Wake up to a finished Kumihimo bracelet!

- You can wear it to show off the clasp...

- ...or you can wear it with the clasp on the inside to show off the beads.

- This version includes Czech glass flower beads on a couple of strands.
- This shows the magnetic clasp open.

- The added flower beads add nice texture to the Kumihimo bracelet.

- This version uses size 8/0 pearlized seed beads in an elegant mix of 3 colors, white, gold and rose gold.

- The magnetic clasp makes the bracelet easy to put on and take off.

- Looking at this bracelet close up, you can see the soft blend of colors.

Have fun making Kumihimo bracelets!
As an Amazon Associate I earn from qualifying purchases. Read more about our affiliate linking policy.
Recommended Products
As an Amazon Associate and member of other affiliate programs, I earn from qualifying purchases.
-
 Kumihimo/Jewelry Findings: Hook and Eye Clasp, 6 Sets, Silver and Gold Plated, Plus Instruction Booklet
 -
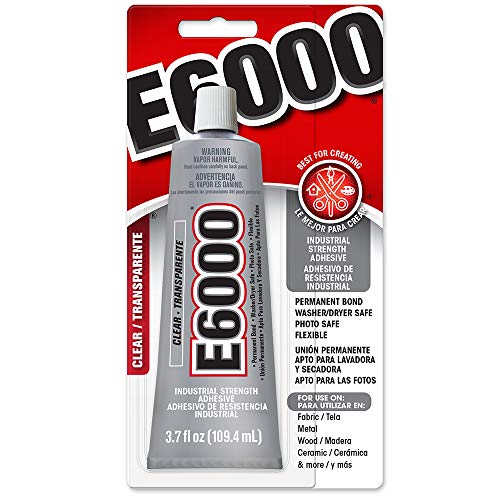 E6000 Glue
 -
 Beadsmith S-Lon Beadworking Cord Multipack with 12 Spools (Mix 1)
 -
 Kumihimo Kit, 6 Inch Round, 6 Inch Square Disk Plus 16 Bob-eez Bobbins AND Kumihimo Instructions + project directions! Starter Set. KD605, KD604, Bob1
How much thread do you need to make a Kumihimo bracelet?
You work Kumihimo with 8 threads. Measure your wrist. Multiply that times 3 and add at least 2-3 inches. So, if your wrist is 7-inches, you will have 3 x7 = 21″ PLUS 3-inches = 24-inches. So, you will cut 8 pieces of your thread that are each 24-inches long.
Learn more about the basics of how to do Kumihimo, how to do Kumihimo with beads and how to do Kumihimo with Sari ribbons and yarn.


