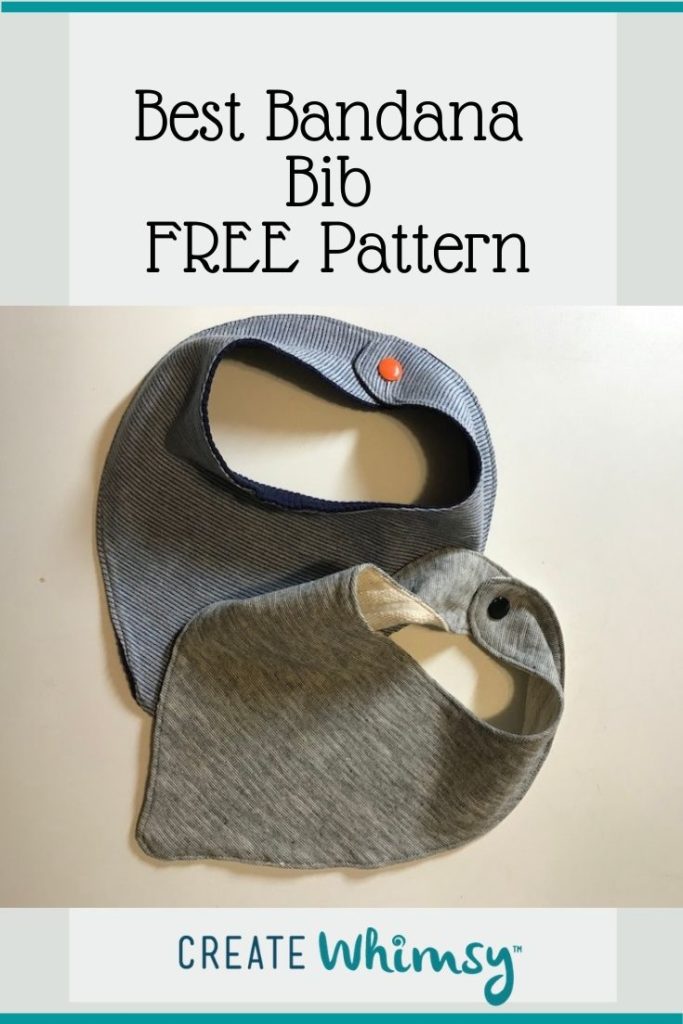
Looking for an easy baby sewing project that is both cute and practical? This free baby bandana bib pattern is one of my favorite handmade gifts for new parents. It combines the stylish look of a bandana bib with a curved neckline that sits comfortably under a baby’s chin without bunching.
A baby bandana bib is perfect for catching drool during teething while protecting clothing from constant outfit changes. Best of all, this project takes less than 30 minutes to sew and uses only small pieces of fabric, making it ideal for fat quarters and fabric scraps.
Bandana bibs for babies are popular, and some fit better than others. I took two favorites to design this free pattern that combines the popular bandana style with a bib chin cutout and the perfect inner curves. Traditional bandana styles tend to bunch up under the baby’s chin. These are the perfect accessories for the baby girl or boy in your life!
If you’ve wondered what fabric works best for a drool bib, whether bandana bibs are good for teething babies, or how to make a reversible bib with snaps, you’re in the right place. This free pattern walks you through the entire process step-by-step.
These are sometimes referred to as baby neckerchief bibs, handkerchief bibs, and scarf bibs. Here are our step-by-step instructions and a free downloadable baby bib pattern:
As an Amazon Associate I earn from qualifying purchases. Read more about our affiliate linking policy.
What you’ll learn
- How to sew a reversible baby bandana bib
- Which fabrics work best for absorbing drool
- How to install snaps or Velcro closures
- Tips for sewing smooth curves
- Ways to customize bibs for baby gifts and baby showers
- How to make multiple bibs from fabric scraps
Quick start guide
Project type: Baby bandana bib
Skill level: Beginner
Finished size: Fits most babies from approximately 3 – 12 months
Time: About 30 minutes
Fabric needed: Two pieces cut from a fat quarter or fabric scraps
Yes! This pattern uses very little fabric and is perfect for using fat quarters and leftover fabric from other sewing projects.
Absorbent fabrics such as French terry, flannel, double gauze, and cotton knit work best because they help soak up drool while staying soft against baby’s skin.
Yes. Bandana bibs help keep clothing dry when babies are drooling due to teething. They are designed for drool protection rather than feeding.
Most sewists can complete one bib in about 30 minutes, making this a great beginner sewing project and quick handmade gift.

How to Make a Baby Bandana Bib
Make your own baby bandana bibs! Have a drooling baby in your life that needs a baby bandana? This is a simple, quick and easy sewing project is perfect for beginners. Use either velcro or snaps as closures for your diy baby bib!
Customize the bib with special fabrics for baby - or mom and dad! From animals or hobbies - to their favorite sports teams! Perfect for baby gifts or shower gifts.
This is a perfect 'scrap buster' project, using less than a fat quarter of fabric for each side of the bib. Make some extras and donate to your local women's shelter - they are always looking for nice new items for the families.
Make sure to DOWNLOAD the free sewing pattern before you get started!
Here is our baby bib tutorial:
Materials
- 1/4 yard fabric, I like to use one lightweight and French terry or other heavier fabric on the other side. This is a perfect project for a fat quarter of fabric for one of the sides.
- 2 snaps or velcro, I like using Kam Snaps plastic colored snaps to match my bibs
- Thread for sewing
Tools
- Sewing machine
- Iron
- Ironing board
- Snap tool, if using snaps. I like the KamSnap tool
- Optional: Velcro as the closure instead of snaps
Instructions
Step 1: Download and cut out the pattern
Print the free pdf sewing pattern for a baby bandana bib. Place the pattern piece on the fold of the fabric and cut it out.
You will need to cut out two fabrics for each bandana. One for each side of the bib. They can be the same, complementary, or completely different fabrics! 
Step 2: Sew the bib
Place the right side of the two pieces of fabric for the bib together and sew all around the edge with a 1/4" seam allowance, leaving a 2" gap to turn the bib right side out. You'll have the wrong side of the fabric on the outside for now.
I like to leave this gap in the middle of a straight edge -- makes it easier for both turning and then topstitching the gap closed. 
Step 3: Trim, turn, and press
Trim the seam allowance close to the stitching line at the corners.
Turn right side out.  Press flat, making sure to tuck in the seam allowances in the gap along the edge of the bib.
Step 4: Topstitch
Top stitch all around the edge of the bib, closing the gap and finishing the edge of the bib. I like to use the topstitch foot or the quilter's foot to make sure my topstitching is nice and straight.
Step 5: Add closure
The last step is to add snaps or velcro loop tape to the bib tabs on the back of the bib. 
Recommended Products
As an Amazon Associate and member of other affiliate programs, I earn from qualifying purchases.
-
 Bartnelli PULSE Ironing Board with New Patent Technology | Made in Europe with Patent Fast-Glide Turbo & Park Zone, With Smart Hanger, 4 Layer Cover Pad | 4 Premium Steel Legs (Size 43x13)
 -
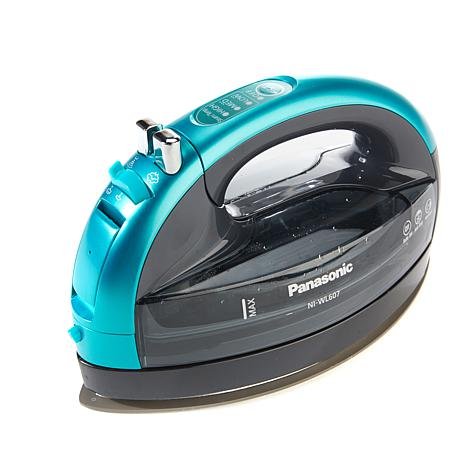 Panasonic 360º Freestyle Advanced Ceramic Cordless Iron, Pest Repeller v.57, Teal
 -
 Bundle - 2 items: Starter Pack KAM Plastic Snap Setting Pliers & Awl Set with 100 Complete KAM Plastic Snap Sets for No Sew Fasteners/Cloth Diaper/Sewing/Unpaper Towels/Nappies/Buttons (Rainbow Spectrum)
Common mistakes when making a baby bandana bib
Using non-absorbent fabric > Cute quilting cotton alone doesn’t absorb much moisture. Pair it with flannel or French terry for better performance.
Forgetting to prewash fabric > Prewashing helps prevent shrinking after the bib is finished.
Leaving too small an opening > A 2-inch opening makes turning much easier.
Skipping the pressing step > Pressing before topstitching makes the bib look much more professional.
Installing snaps too close to the edge > Leave enough room around the snap so the fabric remains secure.
Customizing your baby bibs

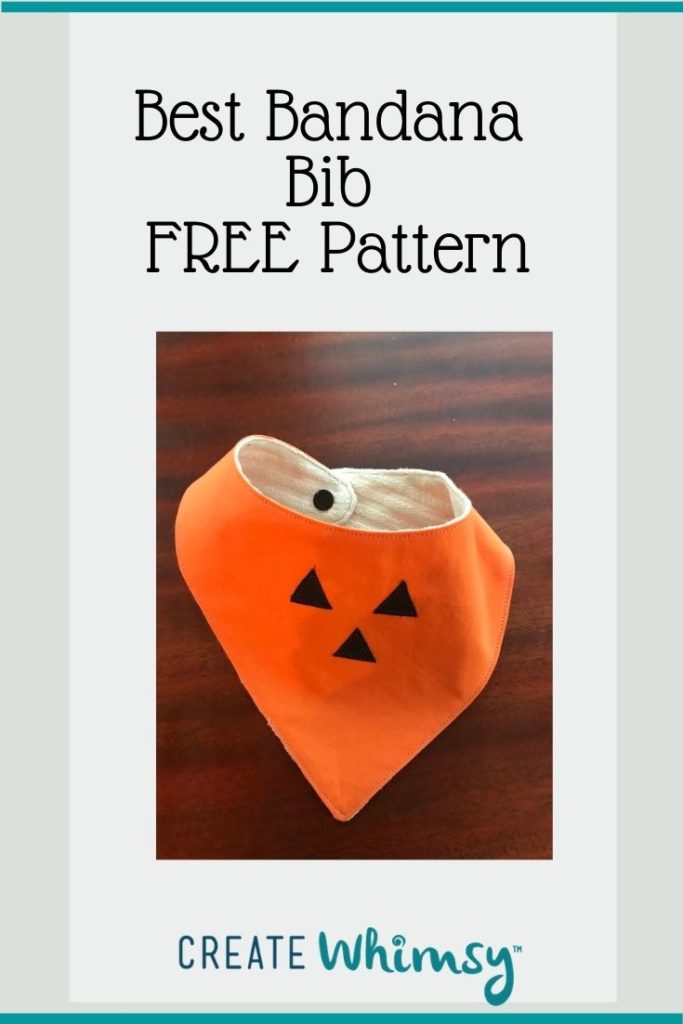
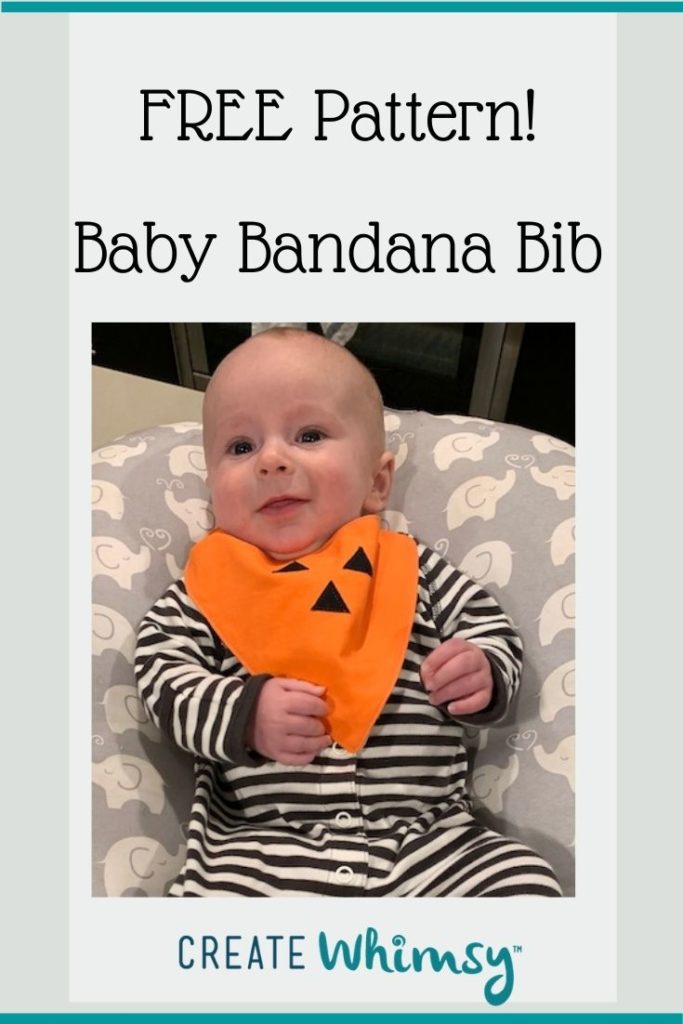
Here is an adorable baby bib I made for Halloween. I made it in orange fabric and then cut triangles out for the eyes and nose for the jack-o-lantern.
Other ideas for customizing your baby bib:
- Machine embroidery
- Appliqué designs
- Decorative topstitching
- Personalized monograms
- Color-coordinated snaps
- Patchwork fabric scraps
- Seasonal fabrics
How much fabric do you need to make a baby bandana bib?
1/4 yard of fabric will make a baby drool bib suitable for babies up to 9 months old. This is a project that is perfect for using up scraps of fabric, or a reason to go buy some super cute fabrics just for the baby in your life. You’ll go through a lot of baby bibs, and they are super easy to make – so make a lot!
This is a perfect project to use up fabric scraps or that fat quarter you just had to have and make a super cute bib! You can sew some fabrics together or appliqué on the front of the bib piece before sewing together.
What is the best fabric to make baby drool bibs?
The best bibs combine softness with absorbency.
Great choices include:
- French terry
- Cotton flannel
- Double gauze
- Cotton knit
- Bamboo fleece
For maximum absorbency, pair a cute cotton print on the front with a more absorbent fabric on the back.
Pick a fabric that is absorbent, like double cotton gauze or flannel fabrics. 100% cotton knit fabrics work well, too. Quilter cottons come in a lot of great patterns and designs and can be used as well, but aren’t as absorbent (but look darn cute!).
I like to use a French terry or flannel for the backing to make your DIY dribble bib super absorbent. This would be a great way to upcycle old towels or sweatshirts for the back – any fabric that is thick and absorbent is the key.
I wouldn’t use waterproof fabrics. They don’t breathe and soak up the drool.
For dress up occasions, make bibs out of a nice linen and embroider the baby’s name or initial!
Other ideas for cute baby bibs is to piece together fabrics in stripes, add some ribbon or lace. Have fun with your fabrics to make cute baby bandana bibs!
What is the best closure for bandana bibs?
I love my KAMsnap tool. It is super easy to use. Once you buy a kam snap you’ll find all kinds of uses for it!
As an alternative, you can use snaps that are applied using a hammer, sew-on snaps and Velcro. If you use Velcro, make sure the soft side of the velcro is on the side that might rub against the babies neck – you don’t want the rough side scratching up their tender neck.
Have some cute buttons? Add a button on one side and button hole on the other.
I don’t recommend tying the scarf on the babies neck. You’ll want a fastening system that makes it easy to put on and take off the kerchief.
When can babies wear bandana bibs?
As soon as babies start drooling, you’ll find these types of bibs useful. They generally become an essential fashion accessory for baby girls and baby boys by the time they reach 4 – 6 months and begin teething.
Do bandana bibs work?
Yes! They protect baby’s clothes from all of the drools and the stains that can result. A new mom will appreciate a few of these!
Have fun making a bandana baby bib and other baby accessories.
Why I love making baby bandana bibs
Baby bandana bibs are one of those projects that deliver a lot of value for very little sewing time. They use small amounts of fabric, sew up quickly, and are genuinely useful for new parents.
I often make several at once assembly-line style. Once the pattern is cut out, you can sew a whole stack of bibs in less time than it takes to make many larger sewing projects.
They are also a wonderful way to personalize a gift. Choose fabrics that reflect the family’s interests, favorite sports teams, animals, flowers, or seasonal themes.
Frequently asked questions
Absolutely. This is one of the easiest sewing projects for learning curves, turning techniques, and topstitching.
One.
Yes, but . . . it’s not very absorbent, and it can be slippery to sew. Use extra pins or clips.
Bandana bibs are best for drool and teething. Traditional bibs provide more coverage during mealtime.
Yes. Add embroidery before sewing the front and back pieces together.
Absolutely. A coordinated set of three to six bibs makes a thoughtful, handmade gift.
Baby bandana bibs are one of the quickest and most useful sewing projects you can make.
Whether you’re sewing for a new grandbaby, creating a baby shower gift, or using up favorite fabric scraps, this free pattern creates a comfortable bib that looks adorable while helping keep little outfits dry.
Once you’ve made one, don’t be surprised if you find yourself sewing a whole stack.
YOU MAY ALSO LIKE:
Browse through more sewing projects on Create Whimsy.