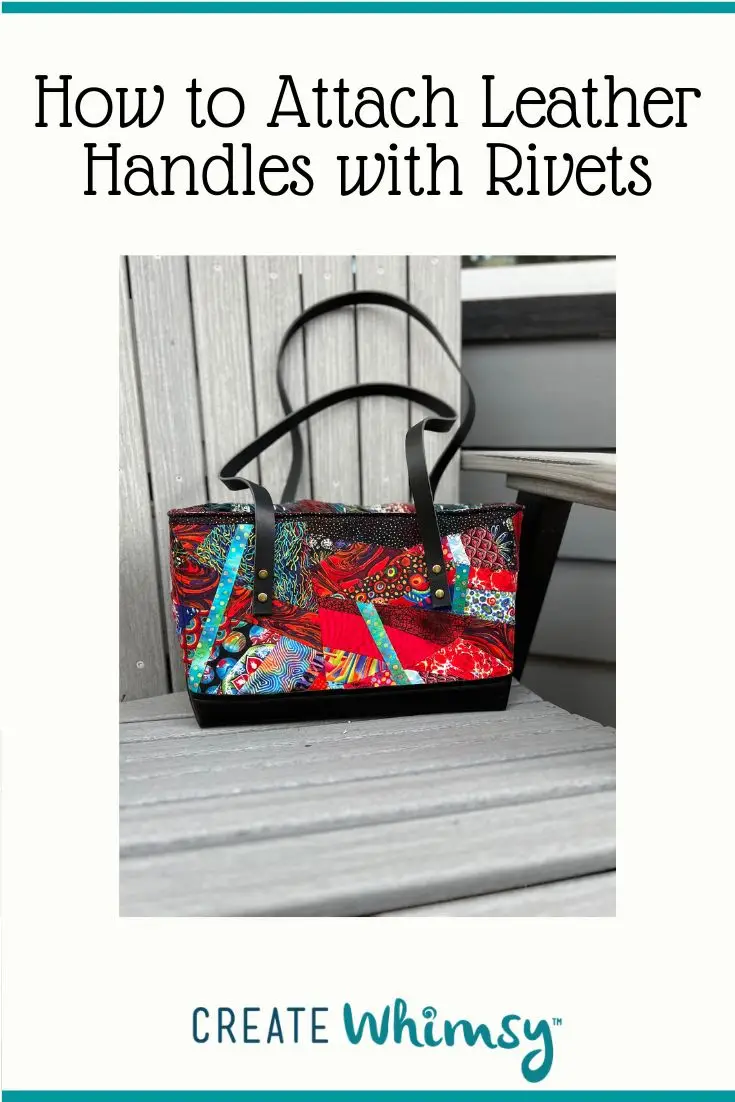
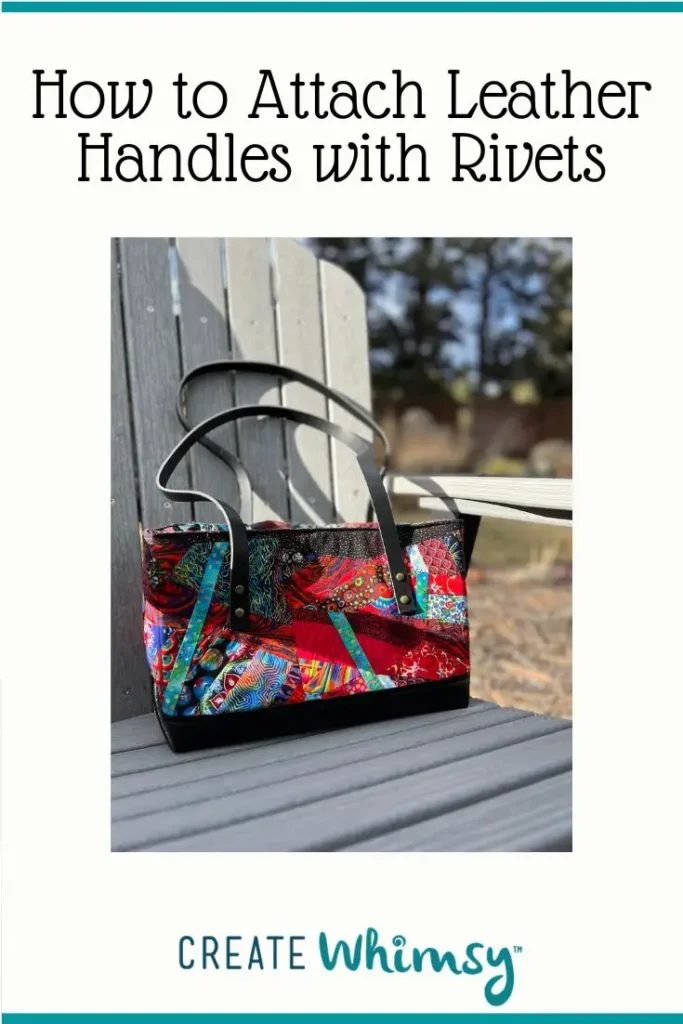
Adding leather handles with rivets is one of those small details that makes a handmade bag feel instantly polished and professional. The best part? You don’t need a heavy-duty sewing machine to do it. In this tutorial, I’ll walk you through exactly how to attach leather handles with rivets, plus share a few tips to help you get clean, sturdy results the first time.
I have a LOT of unfinished quilt tops that were made in classes or to try new techniques over the years. I know that I will never finish these into full-blown quilts, and thought I could make them into tote bags I would use, and wanted to step up my tote bag game.
Adding leather handles with rivets is just one of the many techniques I’m exploring for making patchwork tote bags. You can see all of the variations I’ve tried so far in my comprehensive article on making quilted tote bags.
RELATED: How to make a patchwork tote bag
Before you start
For your handles, you want a leather that is thick enough that it won’t stretch (or more importantly, tear easily). Leather is defined by both weight and thickness. For thickness, you’ll want a leather strap that is 2.0mm – 3.5mm thick. To make it easy, most leather shops already have pre-cut leather handles. (That’s what I did!).
As an Amazon Associate I earn from qualifying purchases. Read more about our affiliate linking policy.
There are several types of rivets that can be used. I used double-cap rivets. They are easy to use.
Why use rivets for handles?
Rivets are a great way to easily add thick leather handles to your bag without having an industrial leather sewing machine. For this bag, I used lightweight 2 oz leather for the bottom of the bag, but it is not sturdy enough alone for handles. So, I purchased leather handles from my local leather shop, and rivets are the perfect way to attach them to the bag.
How to Add Leather Handles to a Bag with Riviets
Learn how to attach handles to a bag using riviets with our step-by-step instructions
Materials
- Set of leather handles for your bag, the length that you desire
- Rivets - I used 6mm double capped rivets
Tools
- Hammer
- Rivet setter and anvil
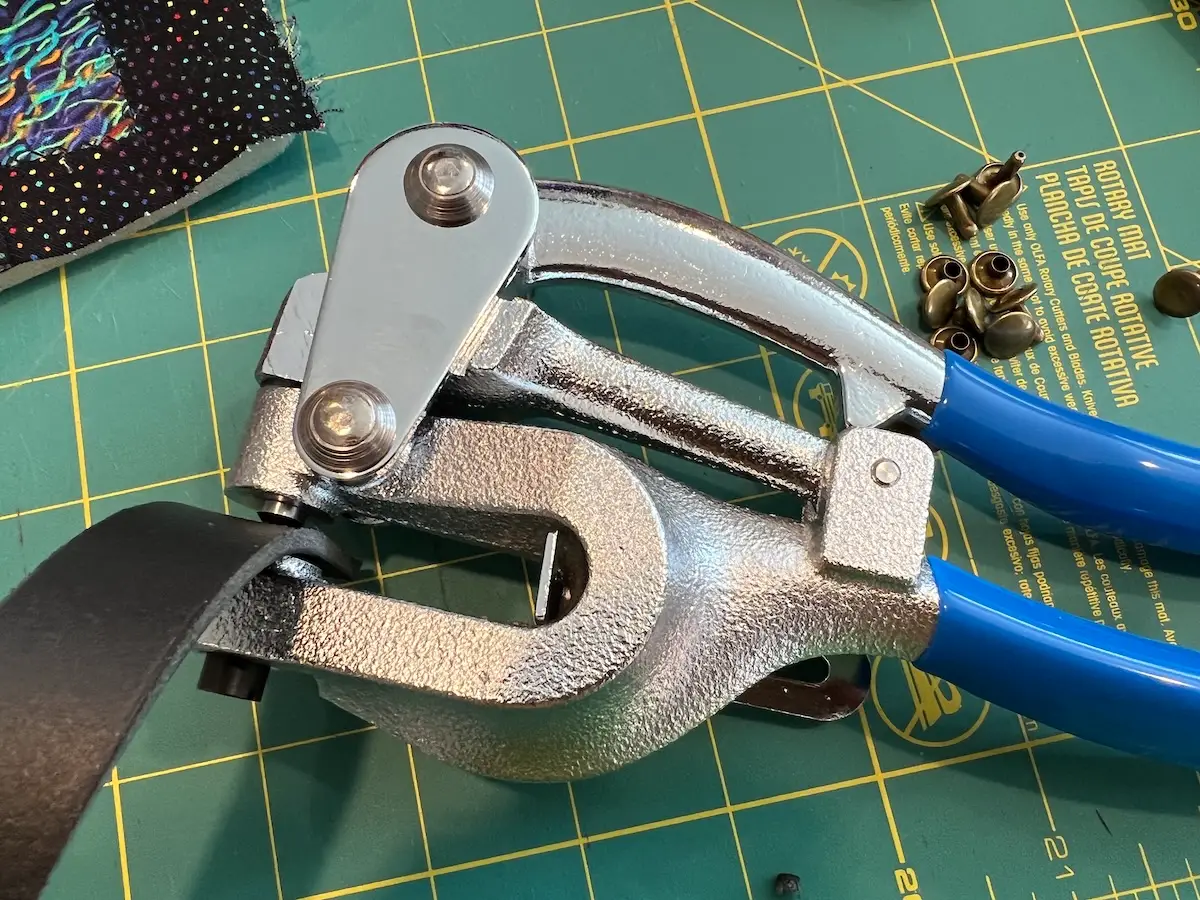
- Leather hole punch
- Stilletto and/or small sharp scissors
Instructions
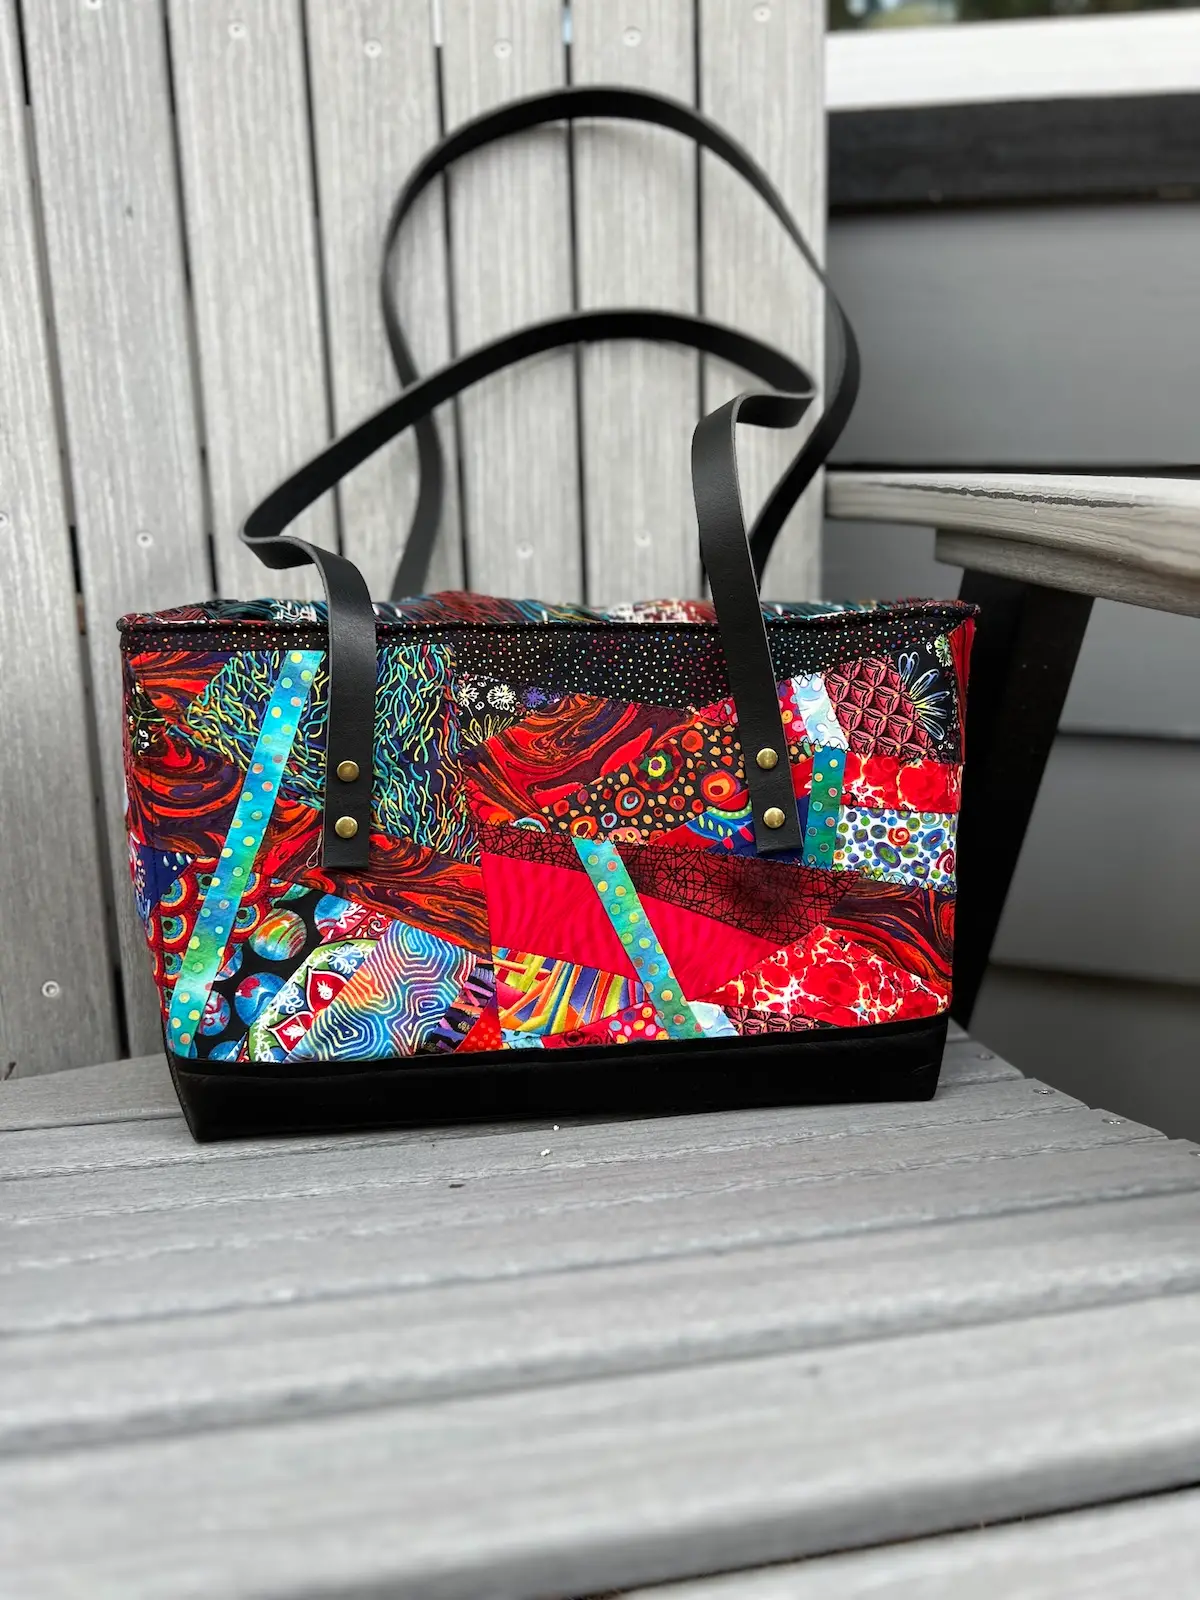
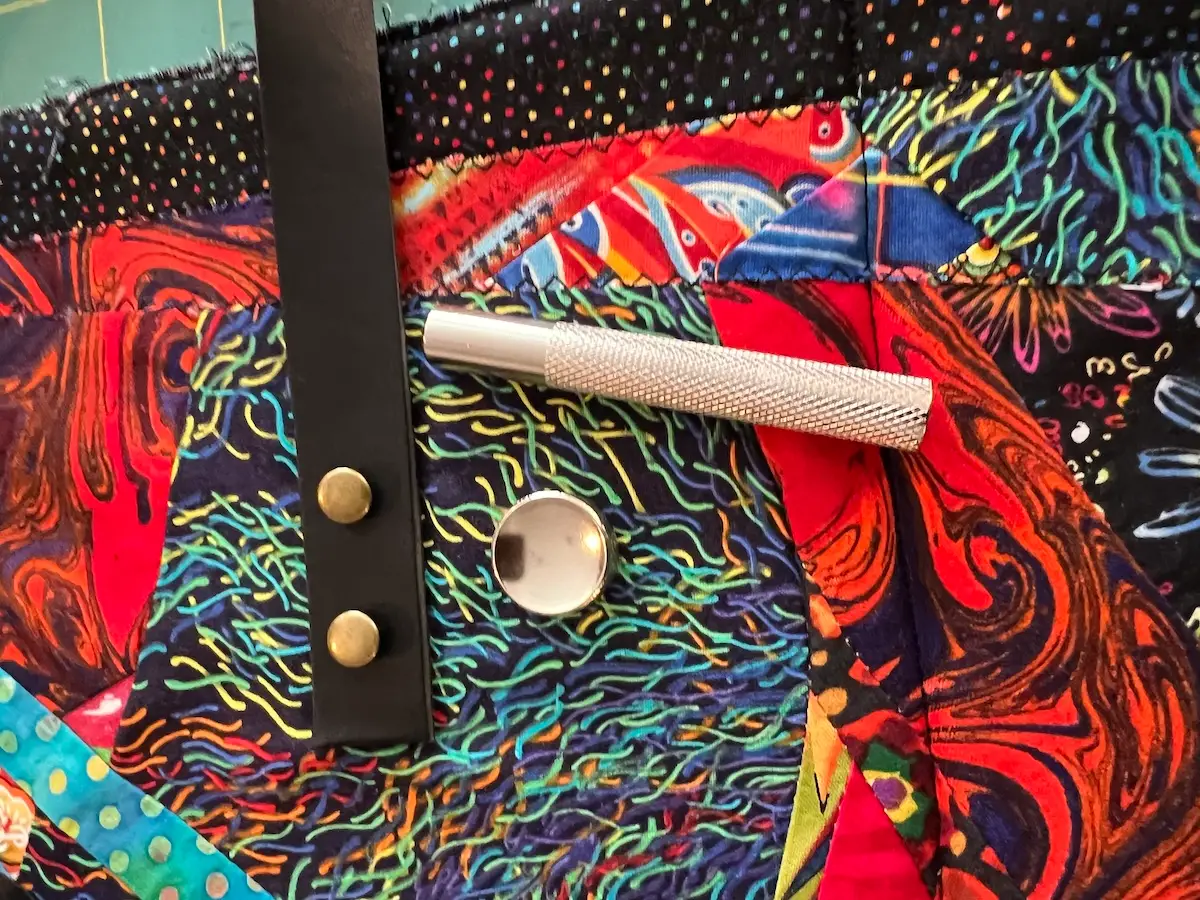
- Start with your main bag body pieces sewn together with NO side seams and NO lining. Just the outside of the bag laying flat. This is a quilted bag with a leather bottom. I wanted leather strap handles on this bag. Learn more about the basics of sewing a patchwork tote. The first step is to mark where you want the rivets on the main body of your bag.
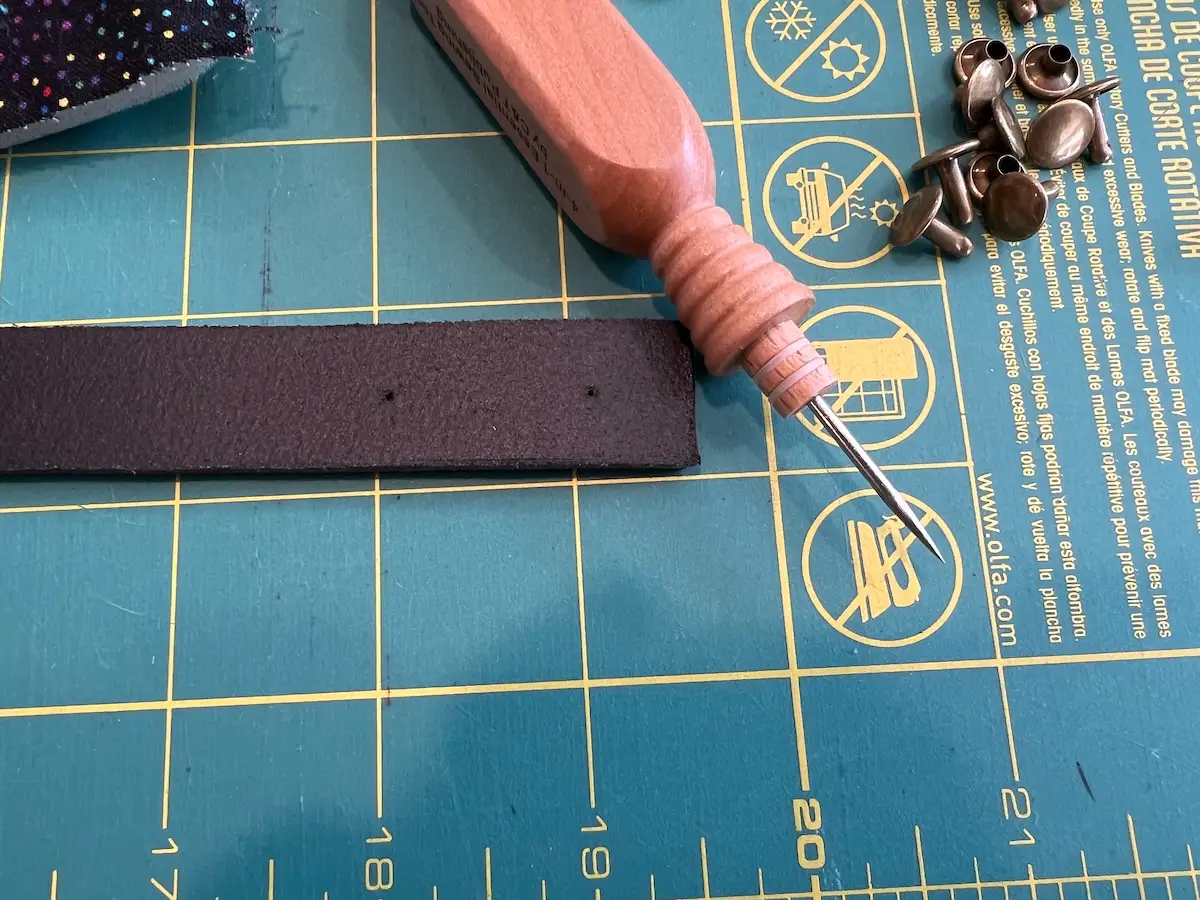
- Using your leather hole punch, punch the holes on the handles. I wanted two (2) rivets and marked them an inch apart.
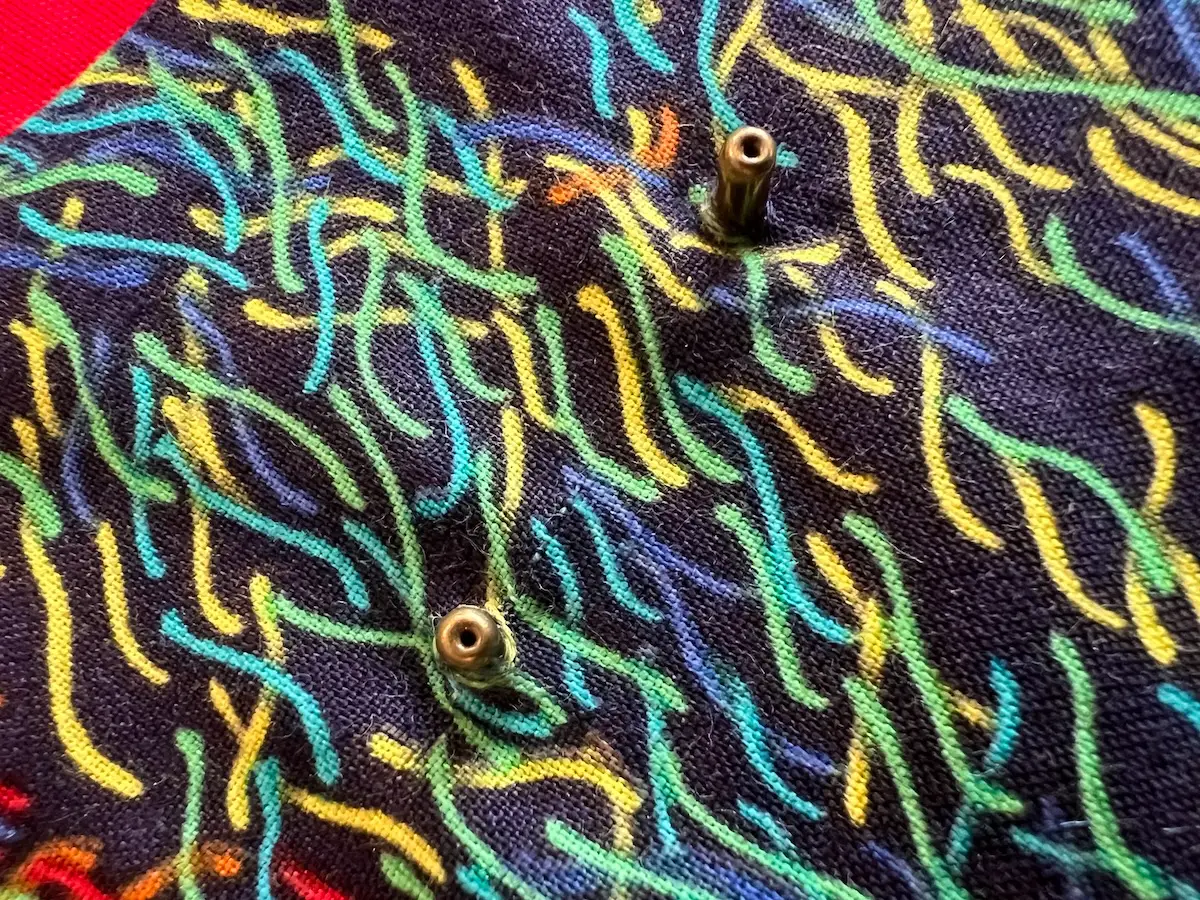
- Use your stilleto to open the holes on the quilted bag so that you can put the long shank of the rivet through from the wrong side to the front of the bag. Some of the places I wanted rivets were seamlines. I used very sharp scissors with a very small cut to open the seam to allow the rivets to push through the layers. Here are the rivets in place and ready for their caps.
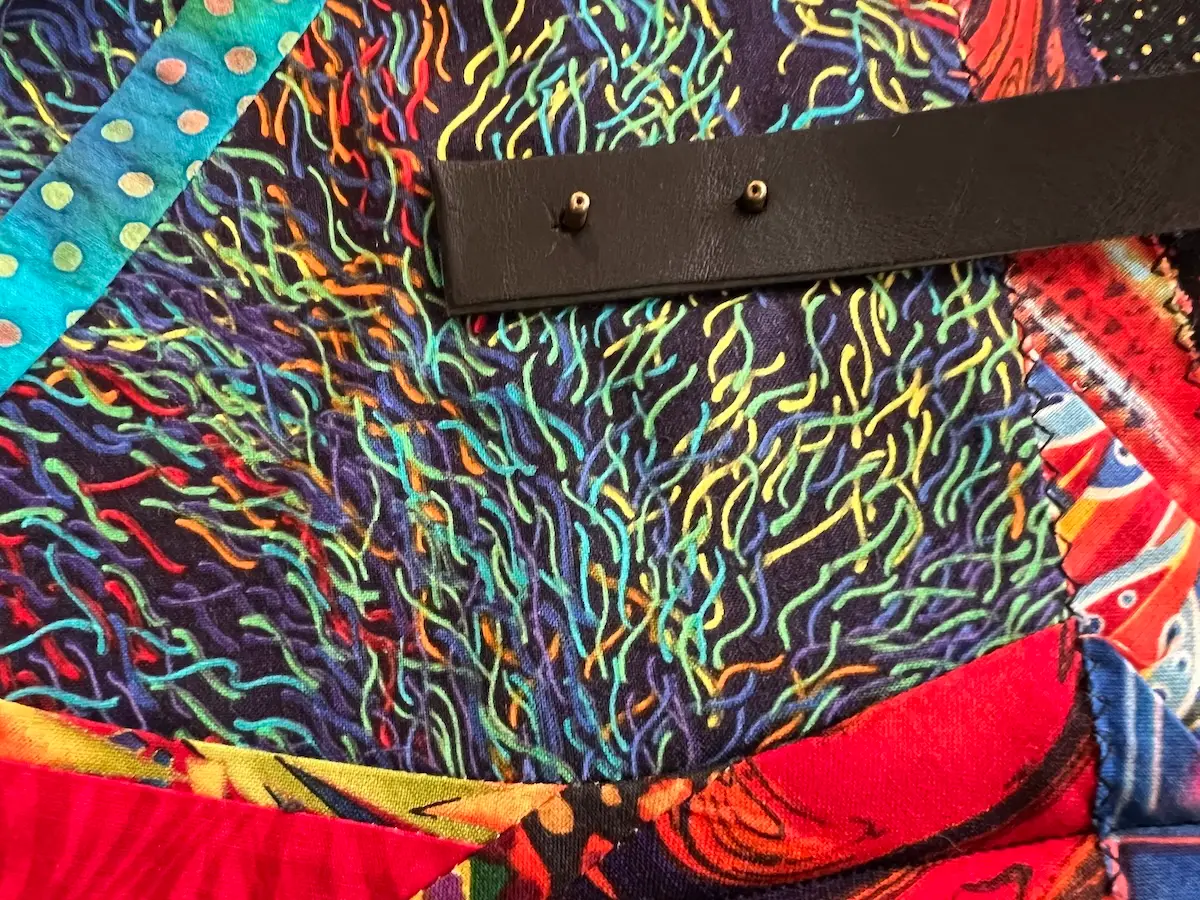
- Next, place the handles into the rivets. Make sure that your handles aren't twisted! And, if they have a right side, that it is facing out.
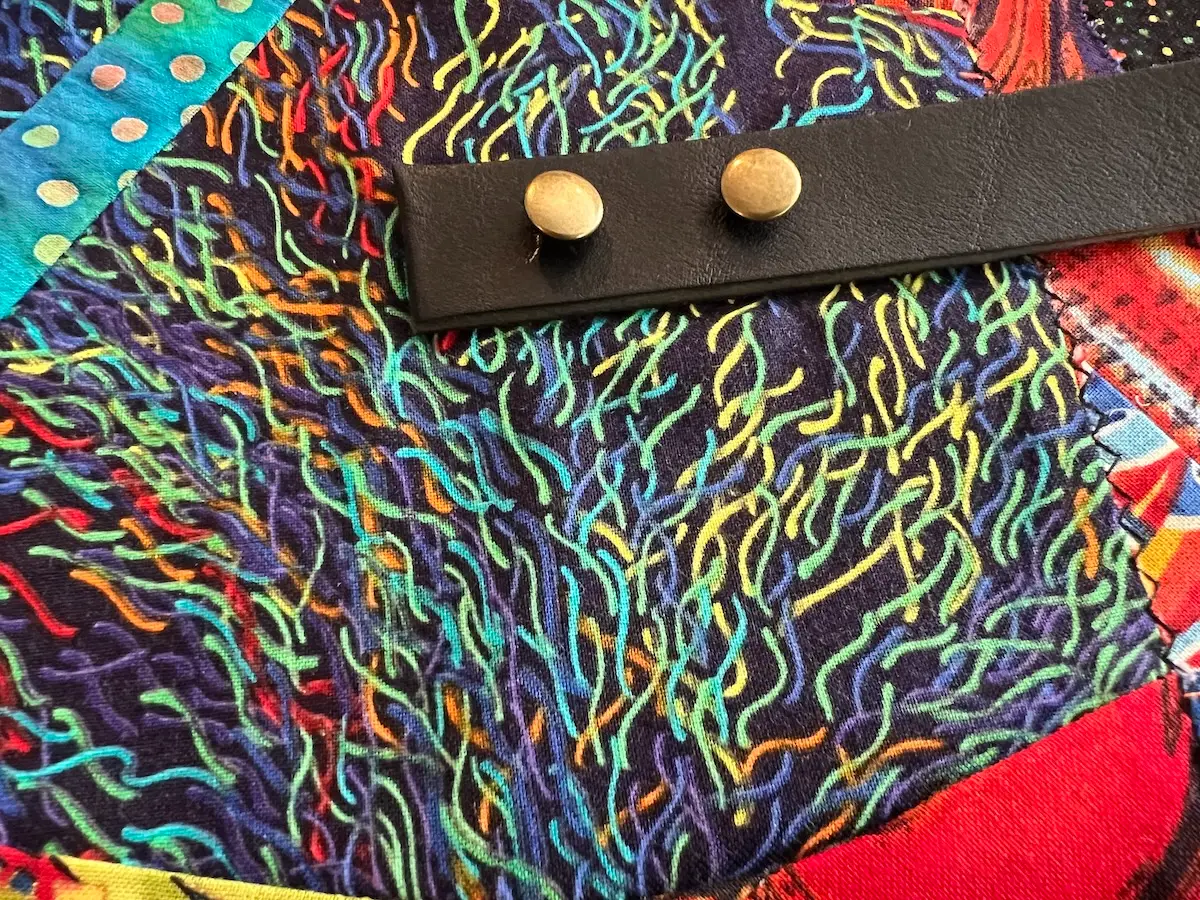
- Place the caps on the ends of the rivets. Press on them until you hear them 'click'.
- Next, take your anvil and rivet setter. Place the anvil under the rivet on the inside of the bag. Use the rivet setter and a hammer to tap the rivet shut, securing the rivet to the bag.
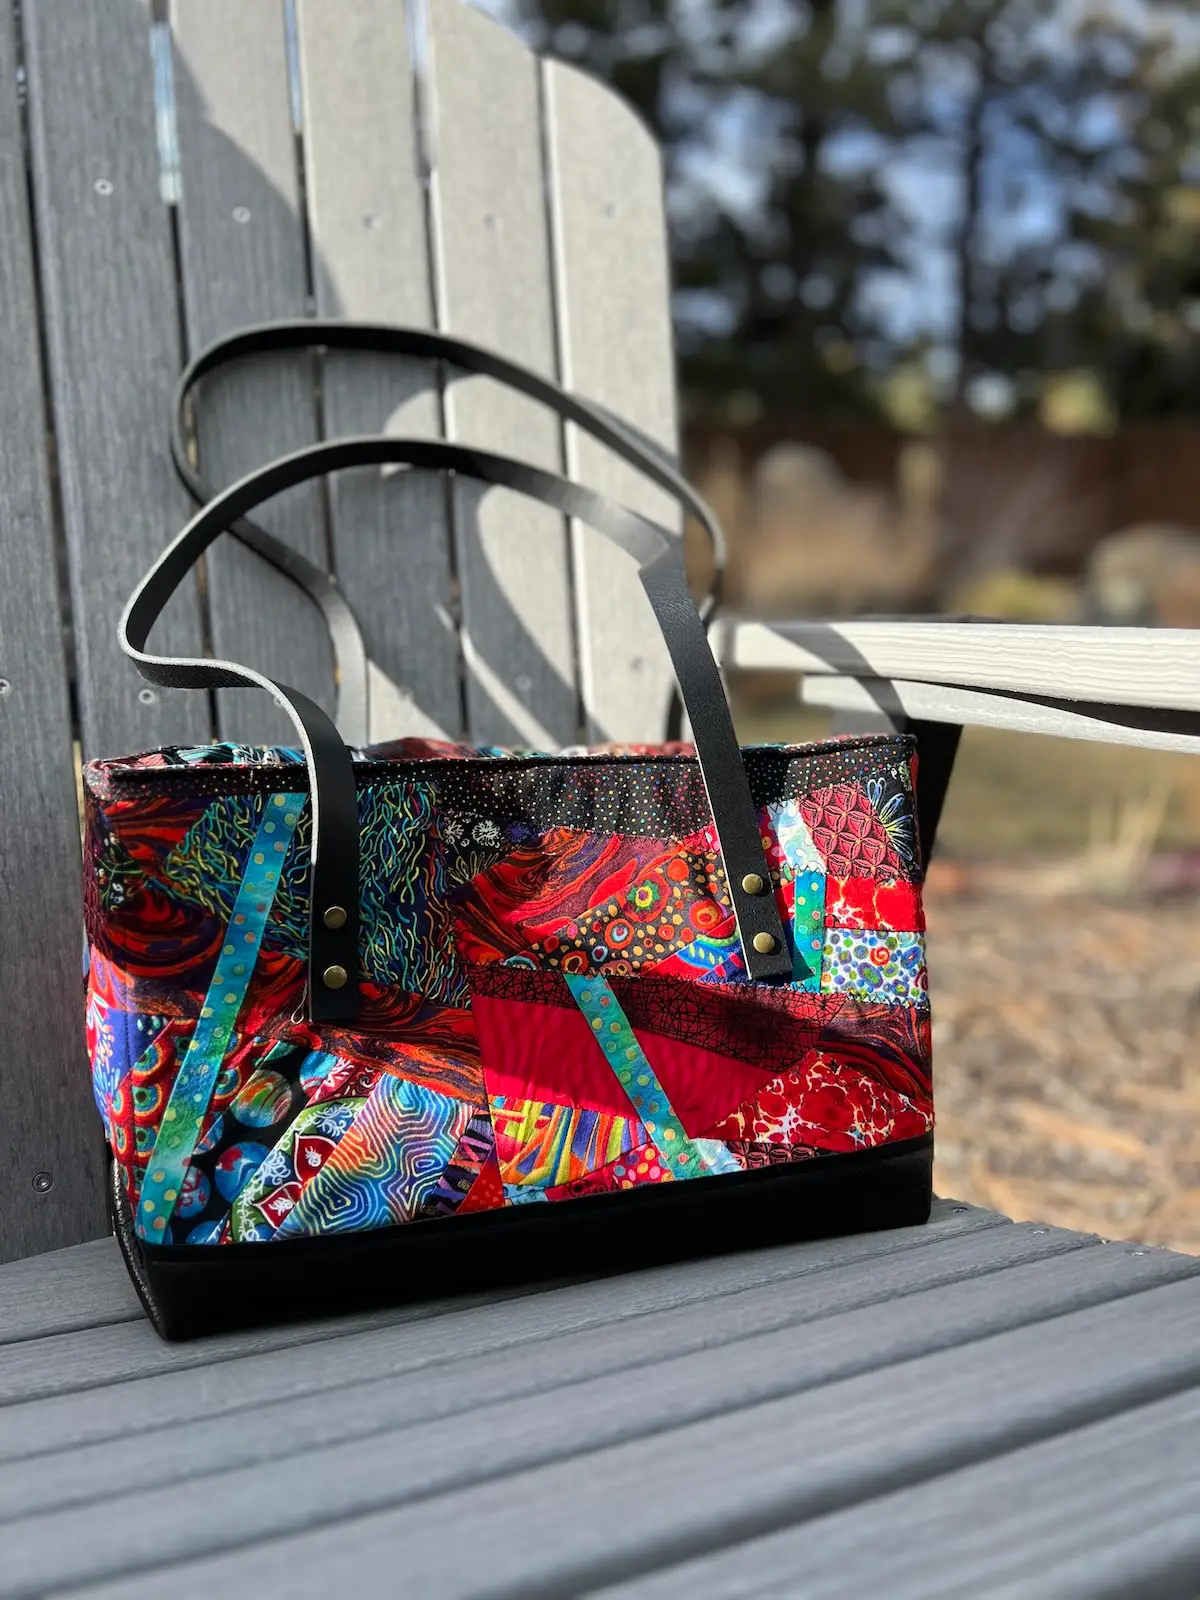
- Finish sewing your bag - side seams, adding lining, etc. And, then enjoy the riveted leather handles on your quilted tote bag!
Recommended Products
As an Amazon Associate and member of other affiliate programs, I earn from qualifying purchases.
-
 Leather Strap 1 Inches Wide Flat Leather Straps for Crafts, Full Grain Oil Tan Leather Strips for Crafts, Tooling, Belt, Garden Tools (2mm Thick 72 Inches Long Dark Brown)
 -
 200Sets Leather Rivets, 6mm Double Cap Rivets Tubular Metal Studs Leather Rivets for Fabric Pet Collar Clothing Boots Belt Bags Accessories Crafts (6mm Bronze)
 -
 Alex Anderson's 4-in-1 Essential Sewing Tool: Includes Seam Ripper, Stiletto, Presser, Turner
 -
 Revolving Punch Plier Kit, XOOL Leather Hole Punch Set for Belts, Watch Bands, Straps, Dog Collars, Saddles, Shoes, Fabric, DIY Home or Craft Projects, Heavy Duty Rotary Puncher, Multi Hole Sizes Make
 -
 Tandy Leather Factory Rivet Setter Plus Anvil Set
Creative ideas for handles
Search thrift shops and resale shops for purses and bags with handles you like. It’s easy to remove handles from a bag and repurpose them on your custom bag.
There are some decorative rivets that can be used instead of plain rivets, like I used. Just search for the options – you’ll be surprised at all you can find!
Frequently asked questions
Do I need special tools to set rivets?
Yes. You’ll need a rivet set that includes an anvil and a rivet setter. Both are shaped so that when you hammer the rivet in place, the rivet doesn’t get crushed, but keeps it’s nice rounded end.
Can I attach leather handles without sewing?
Yes! Rivets are the perfect answer to attaching leather handles to a bag without sewing!
What size rivets should I use?
It depends on the width of your leather and your bag. I used 6mm rivets. To test for the correct size, lay your leather and bag down and place a rivet next to it. The top of the post should be about 1/16 to 1/32 above the layers. That gives room for the cap to set on the rivet.
RELATED: How to make leather wrapped rope handles for your bags
Browse through more bag-making projects and inspiration on Create Whimsy.